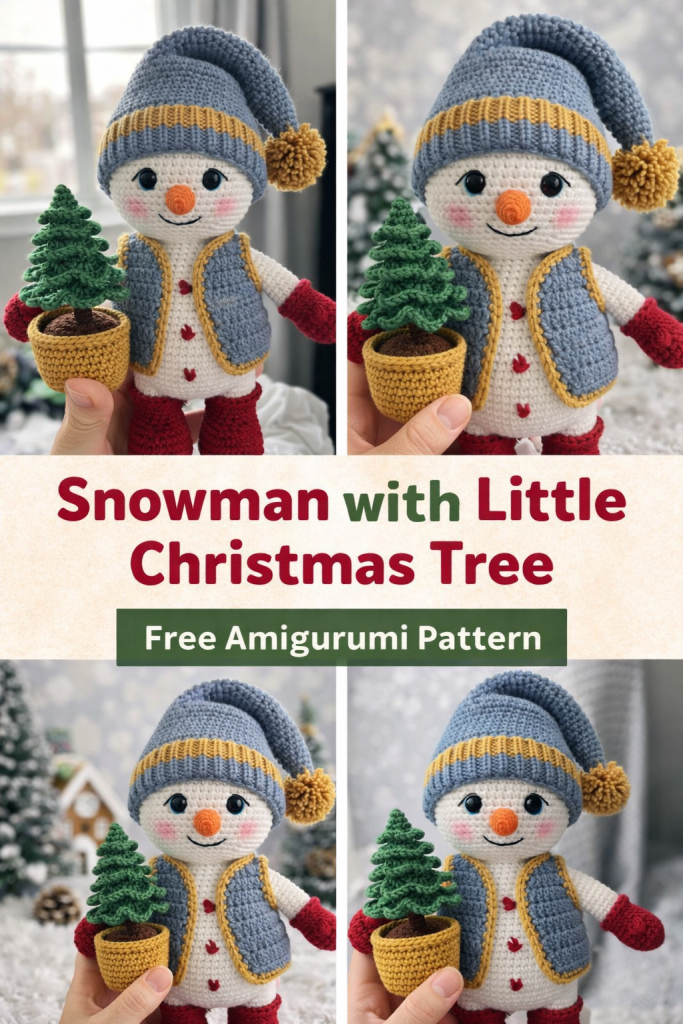
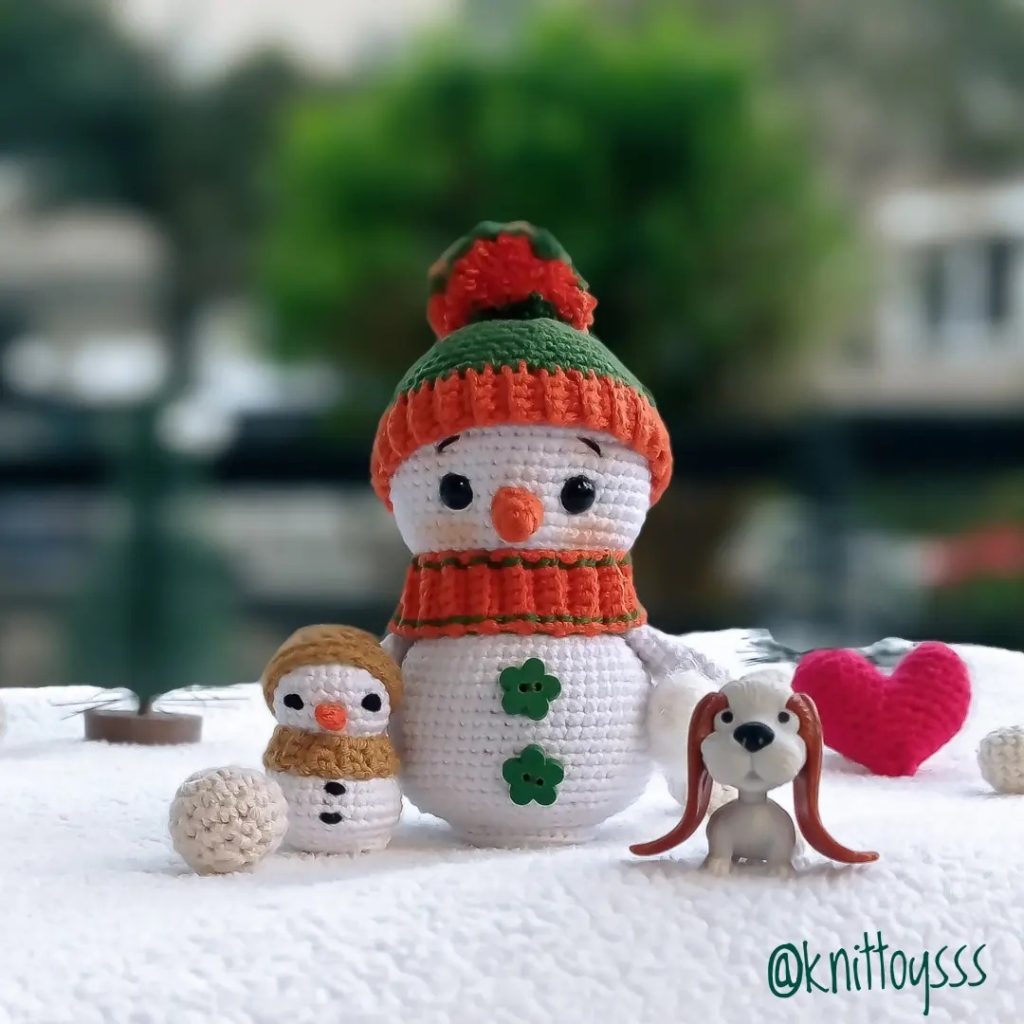
Snowman with Little Christmas Tree – Free Amigurumi Pattern
Hello dear Amigurumi Followers
Today we share one free amigurumi crochet pattern again for you. As you know we share new amigurumi free patterns every day. The main crochets are amigurumi gazelles, amigurumi bears, amigurumi pola, amigurumi pandas, amigurumi penguins, amigurumi giraffes, amigurumi llama, amigurumi pigs, amigurumi bunny, amigurumi clowns, amigurumi lambs, amigurumi bees, amigurumi unicorns, amigurumi dolls, amigurumi foxes, amigurumi penguins, amigurumi dinosaurs, amigurumi elephants, amigurumi hippos, amigurumi monkeys, amigurumi cats, amigurumi dogs and more …
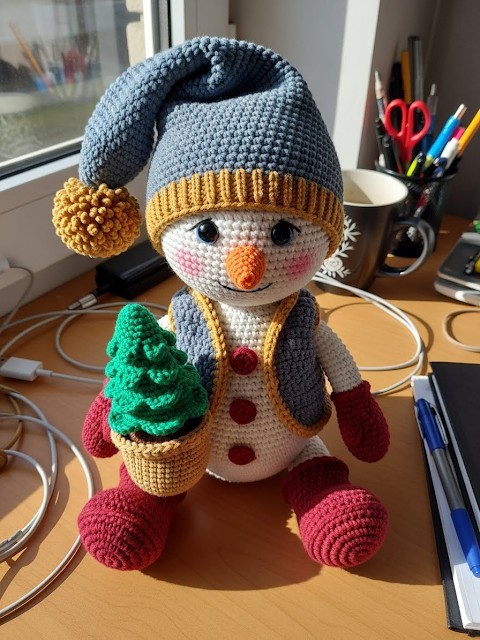
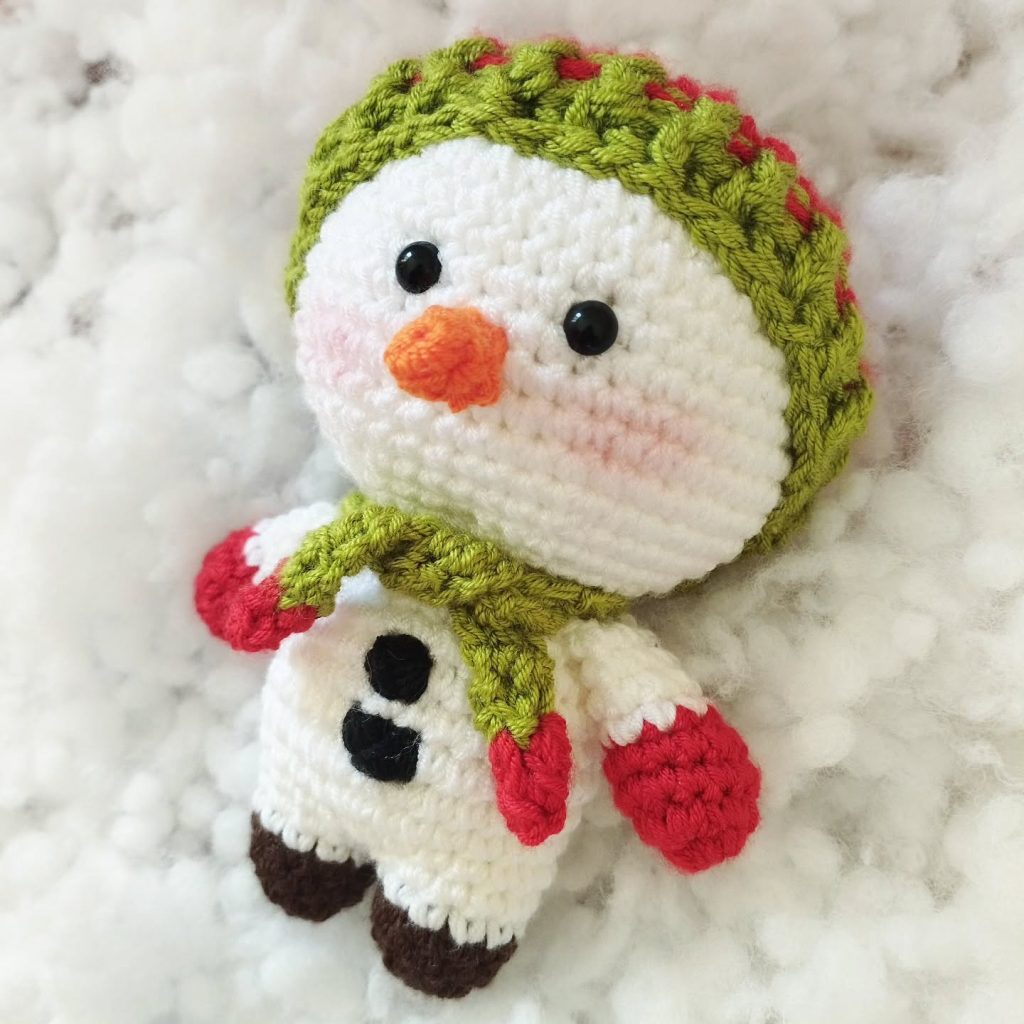
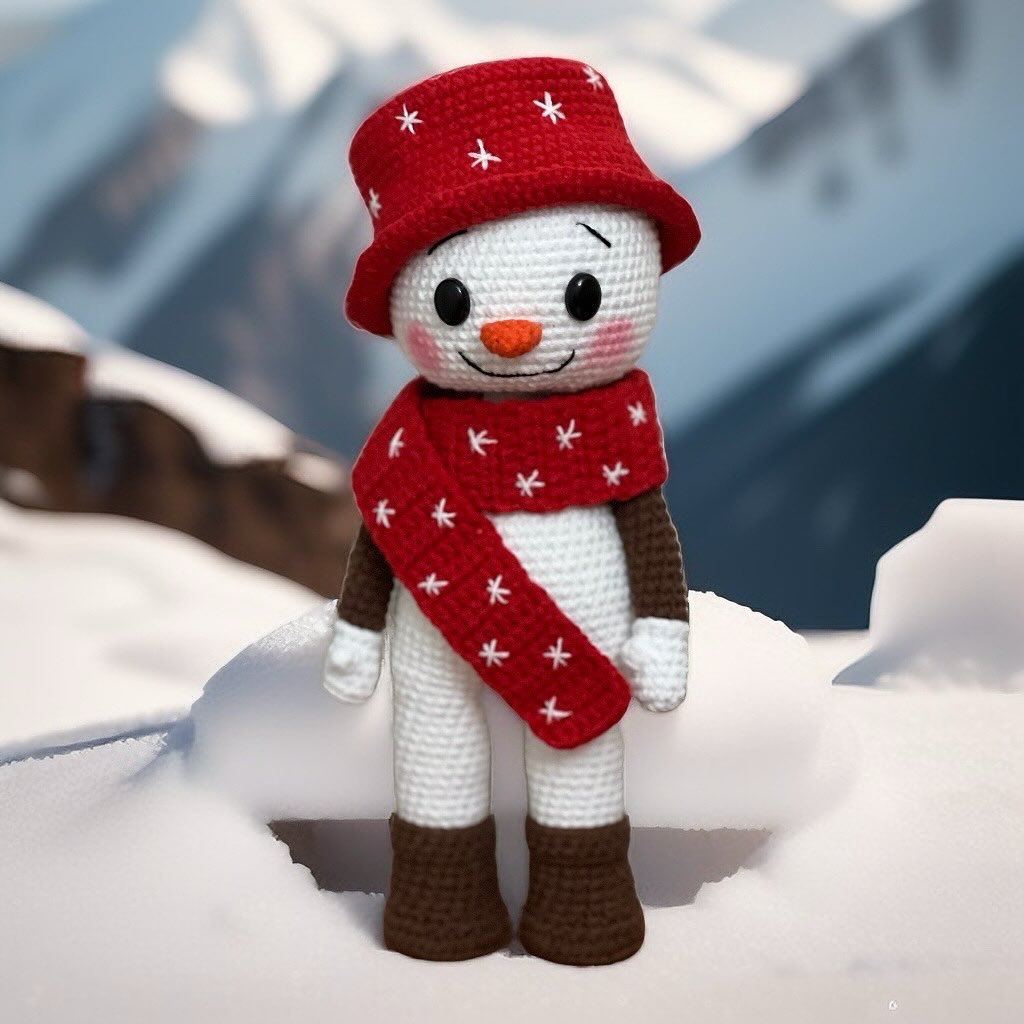
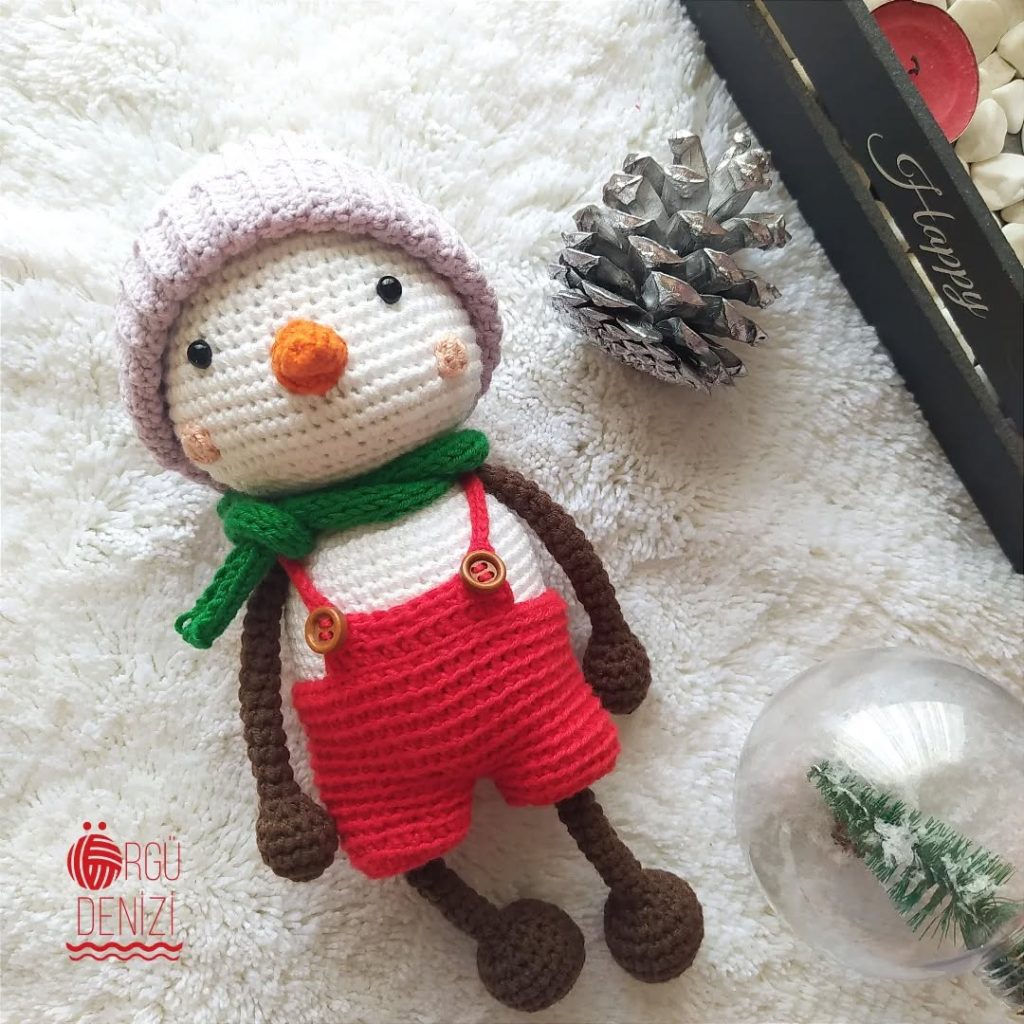
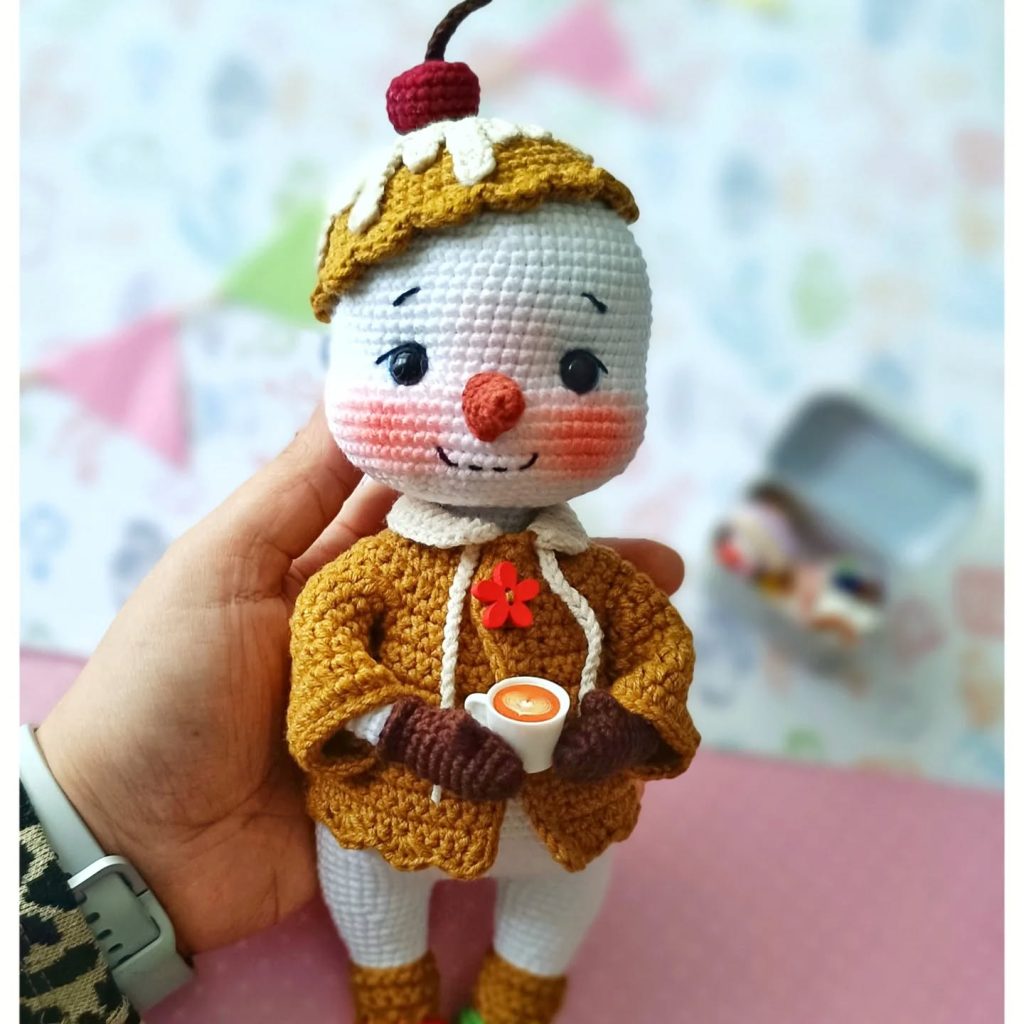
Todays daily new amigurumi free crochet pattern is amigurumi snowman
I want to give you some informations about this pattern ;
If you enjoy making amigurumi, here I share this easy and free amigurumi pattern for you for free. Your kids will love these toys.
Materials & Tools Needed
Yarn: DK or Sport Weight Cotton Blend. Colors needed: Milky White (Main), Dusty Slate Blue (Hat/Vest), Honey Gold (Trim), Deep Cranberry (Boots/Mittens), Cocoa Brown (Arms), Biscuit (Pot), Forest Green (Tree).
Hook: 2.25mm or 2.50mm (Use a size smaller than recommended for the yarn)
Other Materials: 9mm Safety Eyes, Polyfill stuffing, Tapestry needle, Stitch markers, Weighted plastic pellets (optional for stability), Embroidery floss (Pink for cheeks).
Abbreviations
We will be working in continuous rounds unless stated otherwise.
ch: chain
sl st: slip stitch
sc: single crochet
inc: increase (2 sc in one st)
dec: decrease (invisible decrease preferred)
hdc: half double crochet
dc: double crochet
BLO: back loop only
The Head
Rnd 1: Start 6 sc in a magic ring. (6 sts)
Rnd 2: Inc in each st around. (12 sts)
Rnd 3: (Sc 1, inc) repeat 6 times. (18 sts)
Rnd 4: (Sc 2, inc) repeat 6 times. (24 sts)
Rnd 5: (Sc 3, inc) repeat 6 times. (30 sts)
Rnd 6: (Sc 4, inc) repeat 6 times. (36 sts)
Rnd 7: (Sc 5, inc) repeat 6 times. (42 sts)
Rnd 8: (Sc 6, inc) repeat 6 times. (48 sts)
Rnd 9-12: Sc in each st around. (48 sts)
Rnd 13: (Cheek Shaping) Sc 18, inc in next 3 sts, sc 6, inc in next 3 sts, sc 18. (54 sts)
Rnd 14: Sc in each st around. (54 sts)
Rnd 15: Sc 19, inc, sc 1, inc, sc 10, inc, sc 1, inc, sc 19. (58 sts)
Rnd 16-20: Sc in each st around. (58 sts)
Rnd 21: (Sc 27, dec) repeat 2 times. (56 sts)
Rnd 22: (Sc 5, dec) repeat 8 times. (48 sts)
Rnd 23: (Sc 4, dec) repeat 8 times. (40 sts)
Rnd 24: (Sc 3, dec) repeat 8 times. (32 sts)
Rnd 25: (Sc 2, dec) repeat 8 times. (24 sts)
Rnd 26: (Sc 2, dec) repeat 6 times. (18 sts)
Artisan’s Note: Insert safety eyes between Rounds 13 and 14, spaced roughly 10 stitches apart. Ensure they sit “between” the cheek increases. Stuff firmly now.
The Body
Rnd 1: Start 6 sc in a magic ring. (6 sts)
Rnd 2: Inc in each st around. (12 sts)
Rnd 3: (Sc 1, inc) repeat 6 times. (18 sts)
Rnd 4: (Sc 2, inc) repeat 6 times. (24 sts)
Rnd 5: (Sc 3, inc) repeat 6 times. (30 sts)
Rnd 6: (Sc 4, inc) repeat 6 times. (36 sts)
Rnd 7: (Sc 5, inc) repeat 6 times. (42 sts)
Rnd 8: (Sc 6, inc) repeat 6 times. (48 sts)
Rnd 9: (Sc 7, inc) repeat 6 times. (54 sts)
Rnd 10-18: Sc in each st around. (54 sts)
Rnd 19: (Sc 7, dec) repeat 6 times. (48 sts)
Rnd 20-21: Sc in each st around. (48 sts)
Rnd 22: (Sc 6, dec) repeat 6 times. (42 sts)
Rnd 23-24: Sc in each st around. (42 sts)
Rnd 25: (Sc 5, dec) repeat 6 times. (36 sts)
Rnd 26: Sc in each st around. (36 sts)
Rnd 27: (Sc 4, dec) repeat 6 times. (30 sts)
Rnd 28: Sc in each st around. (30 sts)
Rnd 29: (Sc 3, dec) repeat 6 times. (24 sts)
Rnd 30: (Sc 2, dec) repeat 6 times. (18 sts)
Artisan’s Note: If you are using weighted pellets, place them in a small fabric pouch at the bottom of the body before adding fiberfill.
The Carrot Nose
Rnd 1: In Burnt Orange, start 4 sc in a magic ring. (4 sts)
Rnd 2: (Sc 1, inc) repeat 2 times. (6 sts)
Rnd 3: Sc in each st around. (6 sts)
Rnd 4: (Sc 2, inc) repeat 2 times. (8 sts)
Rnd 5: Sc in each st around. (8 sts)
Rnd 6: Sc in each st around. Fasten off leaving a tail. (8 sts)
Right Arm
Rnd 1: In Cocoa Brown, start 6 sc in a magic ring. (6 sts)
Rnd 2-12: Sc in each st around. (6 sts)
Rnd 13: Flatten the opening and sc through both layers to close. (3 sts)
Left Arm
Rnd 1: In Cocoa Brown, start 6 sc in a magic ring. (6 sts)
Rnd 2-12: Sc in each st around. (6 sts)
Rnd 13: Flatten the opening and sc through both layers to close. (3 sts)
Right Mitten
Rnd 1: In Cranberry Red, start 6 sc in a magic ring. (6 sts)
Rnd 2: Inc in each st around. (12 sts)
Rnd 3-5: Sc in each st around. (12 sts)
Rnd 6: (Thumb hole) Ch 3, skip 2 sts, sc in remaining 10 sts. (13 sts including chain)
Rnd 7: Sc in each st around (working into the chains). (13 sts)
Rnd 8: Dec, sc 11. (12 sts)
Rnd 9: Dec around. (6 sts). Close and fasten off.
Left Mitten
Rnd 1: In Cranberry Red, start 6 sc in a magic ring. (6 sts)
Rnd 2: Inc in each st around. (12 sts)
Rnd 3-5: Sc in each st around. (12 sts)
Rnd 6: (Thumb hole) Sc 5, Ch 3, skip 2 sts, sc in remaining 5 sts. (13 sts including chain)
Rnd 7: Sc in each st around (working into the chains). (13 sts)
Rnd 8: Dec, sc 11. (12 sts)
Rnd 9: Dec around. (6 sts). Close and fasten off.
Right Boot
Rnd 1: In Cranberry Red, ch 6. Start in 2nd ch from hook.
Rnd 2: Sc 4, 3 sc in last ch. Turn to other side. Sc 3, inc in last st. (12 sts)
Rnd 3: Inc, sc 3, inc 3 times, sc 3, inc 2 times. (18 sts)
Rnd 4: BLO Sc in each st around. (18 sts)
Rnd 5-6: Sc in each st around. (18 sts)
Rnd 7: Sc 5, dec 4 times, sc 5. (14 sts)
Rnd 8: Sc 5, dec 2 times, sc 5. (12 sts)
Rnd 9-10: Sc in each st around. (12 sts)
Rnd 11: Sc in each st around. Stuff firmly.
Left Boot
Rnd 1: In Cranberry Red, ch 6. Start in 2nd ch from hook.
Rnd 2: Sc 4, 3 sc in last ch. Turn to other side. Sc 3, inc in last st. (12 sts)
Rnd 3: Inc, sc 3, inc 3 times, sc 3, inc 2 times. (18 sts)
Rnd 4: BLO Sc in each st around. (18 sts)
Rnd 5-6: Sc in each st around. (18 sts)
Rnd 7: Sc 5, dec 4 times, sc 5. (14 sts)
Rnd 8: Sc 5, dec 2 times, sc 5. (12 sts)
Rnd 9-10: Sc in each st around. (12 sts)
Rnd 11: Sc in each st around. Stuff firmly.
The Hat
Rnd 1: In Honey Gold (Brim), ch 46. Join to first ch to form a ring (be careful not to twist).
Rnd 2-3: Ch 2 (does not count as st), dc in each st around. Sl st to join. Switch to Dusty Blue.
Rnd 4: Ch 1, sc in each st around. (46 sts)
Rnd 5-8: Sc in each st around. (46 sts)
Rnd 9: (Sc 21, dec) repeat 2 times. (44 sts)
Rnd 10: Sc in each st around. (44 sts)
Rnd 11: (Sc 9, dec) repeat 4 times. (40 sts)
Rnd 12: Sc in each st around. (40 sts)
Rnd 13: (Sc 8, dec) repeat 4 times. (36 sts)
Rnd 14: Sc in each st around. (36 sts)
Rnd 15: (Sc 7, dec) repeat 4 times. (32 sts)
Rnd 16: Sc in each st around. (32 sts)
Rnd 17: (Sc 6, dec) repeat 4 times. (28 sts)
Rnd 18-25: Continue decreasing by 4 sts every other round until you reach 4 stitches.
Rnd 26: Fasten off.
Hat Pompom
Rnd 1: In Honey Gold, start 6 sc in a magic ring. (6 sts)
Rnd 2: Inc in each st around. (12 sts)
Rnd 3: (Sc 1, inc) repeat 6 times. (18 sts)
Rnd 4-6: Sc in each st around. (18 sts)
Rnd 7: (Sc 1, dec) repeat 6 times. (12 sts)
Rnd 8: Dec around. (6 sts). Fasten off leaving long tail to sew to hat tip.
The Vest
Row 1: In Dusty Blue, ch 25. Turn.
Row 2: Sc in 2nd ch from hook and each ch across. (24 sts)
Row 3: Ch 1, turn. Sc 4, ch 6 (skip 4 sts for armhole), sc 8, ch 6 (skip 4 sts), sc 4.
Row 4: Ch 1, turn. Sc in every st and chain. (28 sts)
Row 5-8: Ch 1, turn. Sc in each st across. (28 sts)
Row 9: Change to Honey Gold. Sc around the entire perimeter of the vest for a clean edge.
Tree Pot
Rnd 1: In Biscuit color, start 6 sc in a magic ring. (6 sts)
Rnd 2: Inc in each st around. (12 sts)
Rnd 3: (Sc 1, inc) repeat 6 times. (18 sts)
Rnd 4: BLO Sc in each st around. (18 sts)
Rnd 5-8: Sc in each st around (work in BLO for texture if desired). (18 sts)
Rnd 9: Sl st around. Fasten off.
Tree Foliage
Rnd 1: In Forest Green, start 6 sc in a magic ring. (6 sts)
Rnd 2: (Sc 1, inc) repeat 3 times. (9 sts)
Rnd 3: (Sc 2, inc) repeat 3 times. (12 sts)
Rnd 4: BLO (Sc 1, inc) repeat 6 times. (18 sts)
Rnd 5: (Sc 2, inc) repeat 6 times. (24 sts)
Rnd 6: BLO (Sc 3, inc) repeat 6 times. (30 sts)
Rnd 7: Sc in each st around. (30 sts)
Rnd 8: Fasten off.
Artisan’s Note: To create the tiered look, join yarn to the exposed front loops of Rnd 4 and Rnd 6 and crochet a simple ruffle: (Ch 2, sl st in next st) around.
Tree Trunk
Rnd 1: In Brown, start 5 sc in a magic ring. (5 sts)
Rnd 2-6: Sc in each st around. (5 sts)
Rnd 7: Fasten off. Glue or sew inside the Pot and Foliage.
Assembly & Final Touches
Head & Body: Align the head so the cheeks are facing forward. Sew the head to the body using the 18 stitches of the neck opening. Add extra stuffing as you close to prevent a wobbly neck
Face: Embroider soft pink cheeks using horizontal satin stitches just below the eyes. Sew the nose centrally between the eyes
Limbs: Sew the arms to the body at Rnd 28. Slip the mittens onto the hands (you can sew them in place or leave them removable). Sew the boots to the bottom of the body, angled slightly outward for a “sitting” pose.
Accessories: Place the vest on the body. Sew the pompom to the tip of the hat. Place the hat on the head (secure with a few stitches if this is for a child). Sew the tree to the inside of one mitten or arm.
Tips & Frequently Asked Questions
– Can I use velvet or chenille yarn? A: Absolutely. However, you must increase your hook size to at least 4.0mm or 4.5mm. Barnaby will turn out significantly larger (approx. 30-35cm), so ensure you have enough yarn.
– My snowman’s head is wobbling. How do I fix it? A: This often happens if the neck isn’t stuffed enough. Use a chopstick to push stuffing firmly into the neck opening as you are sewing the final few stitches. You can also insert a foam hair roller into the neck for support.
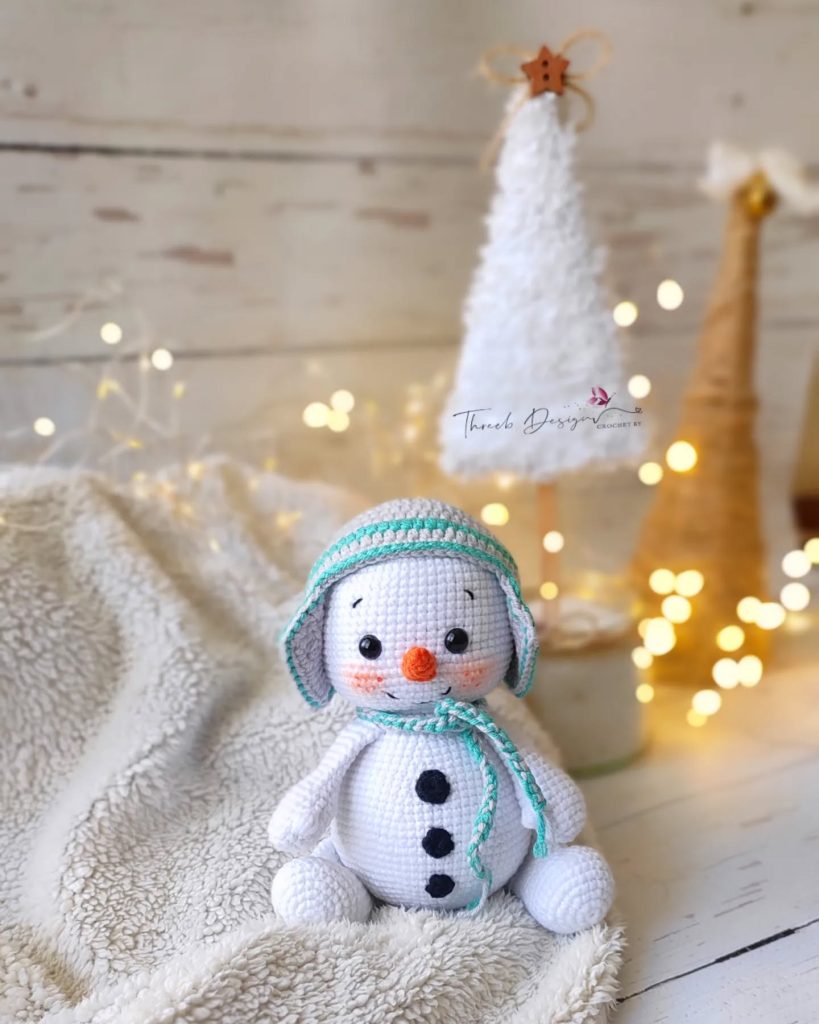
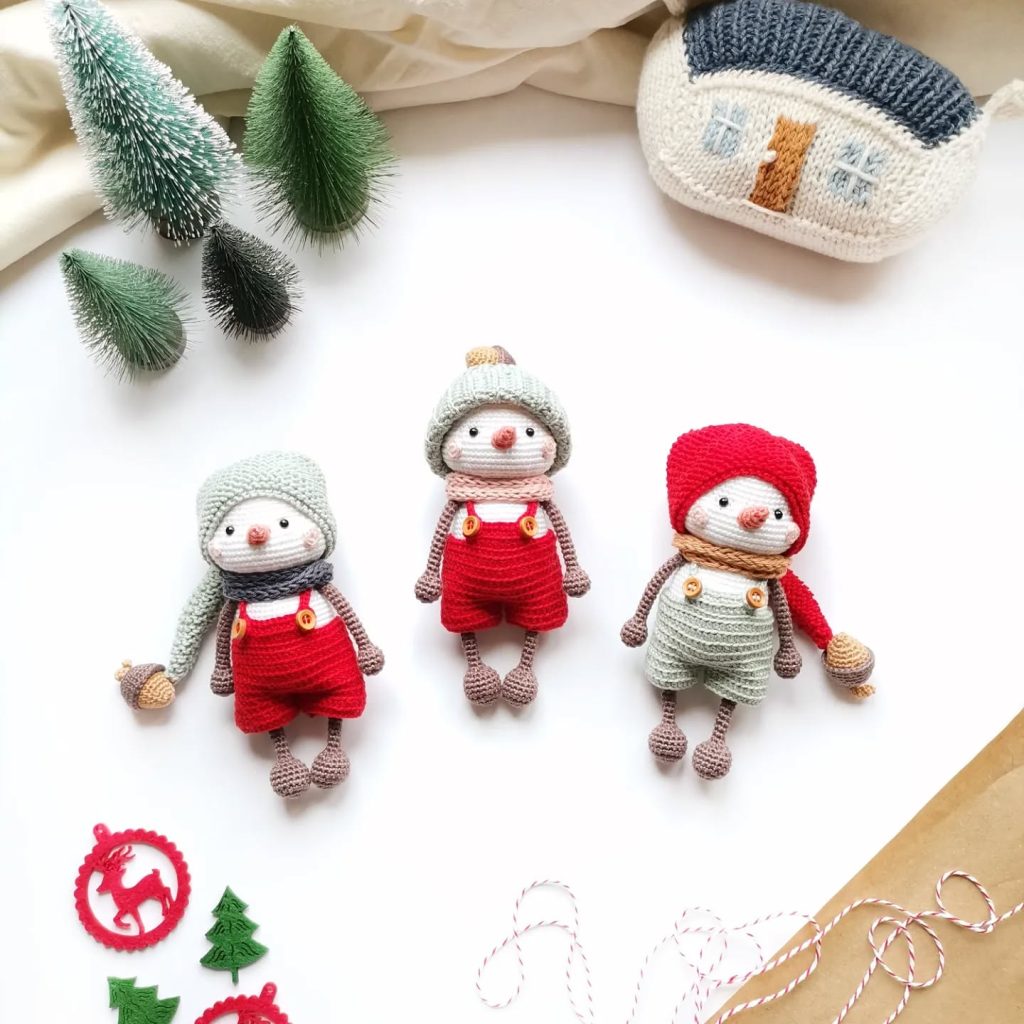
More Amigurumi Snowman İdeas