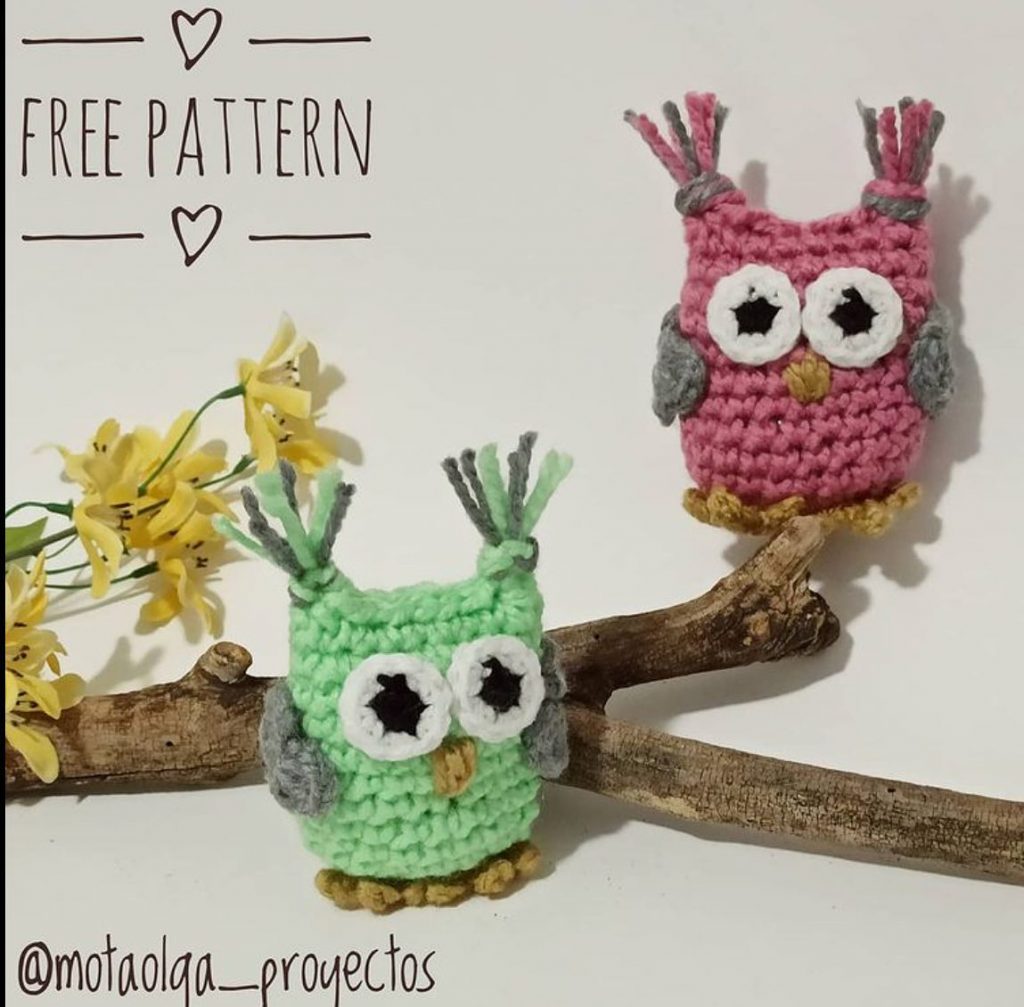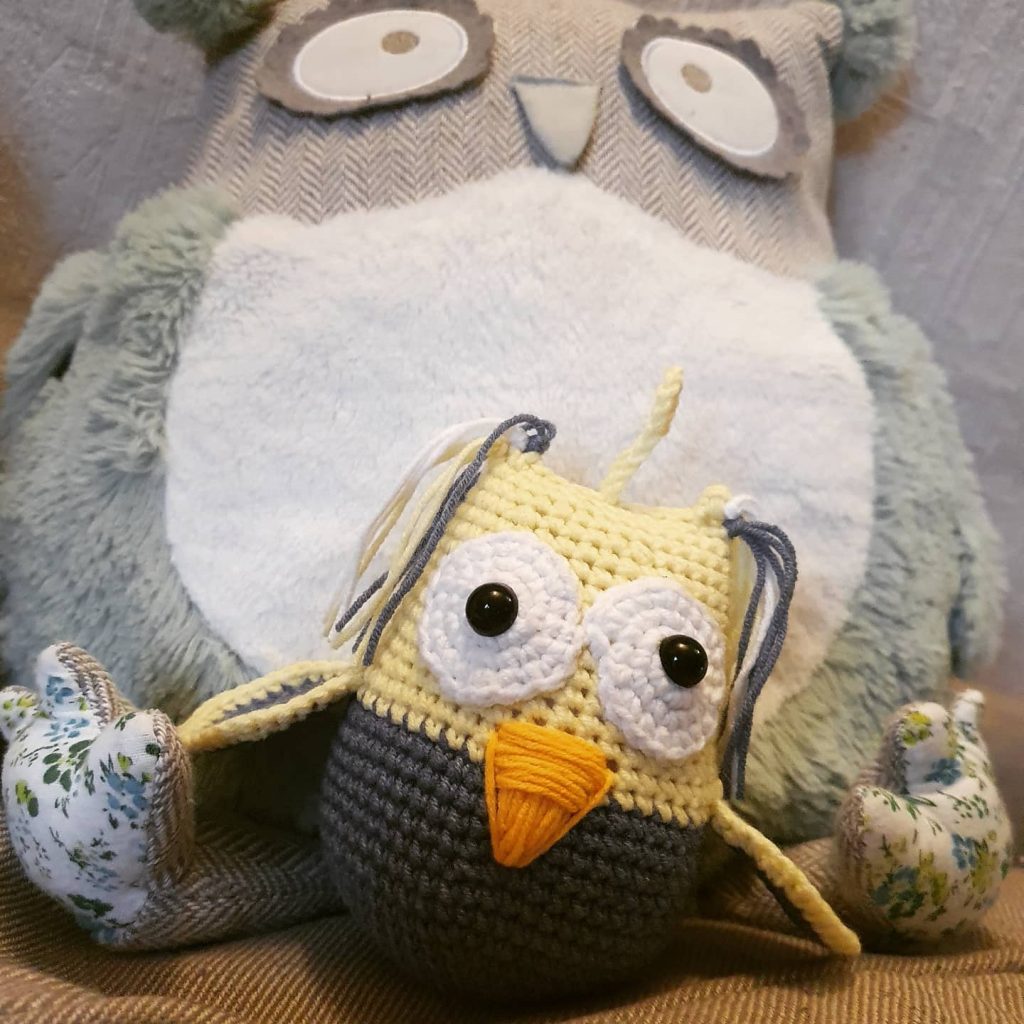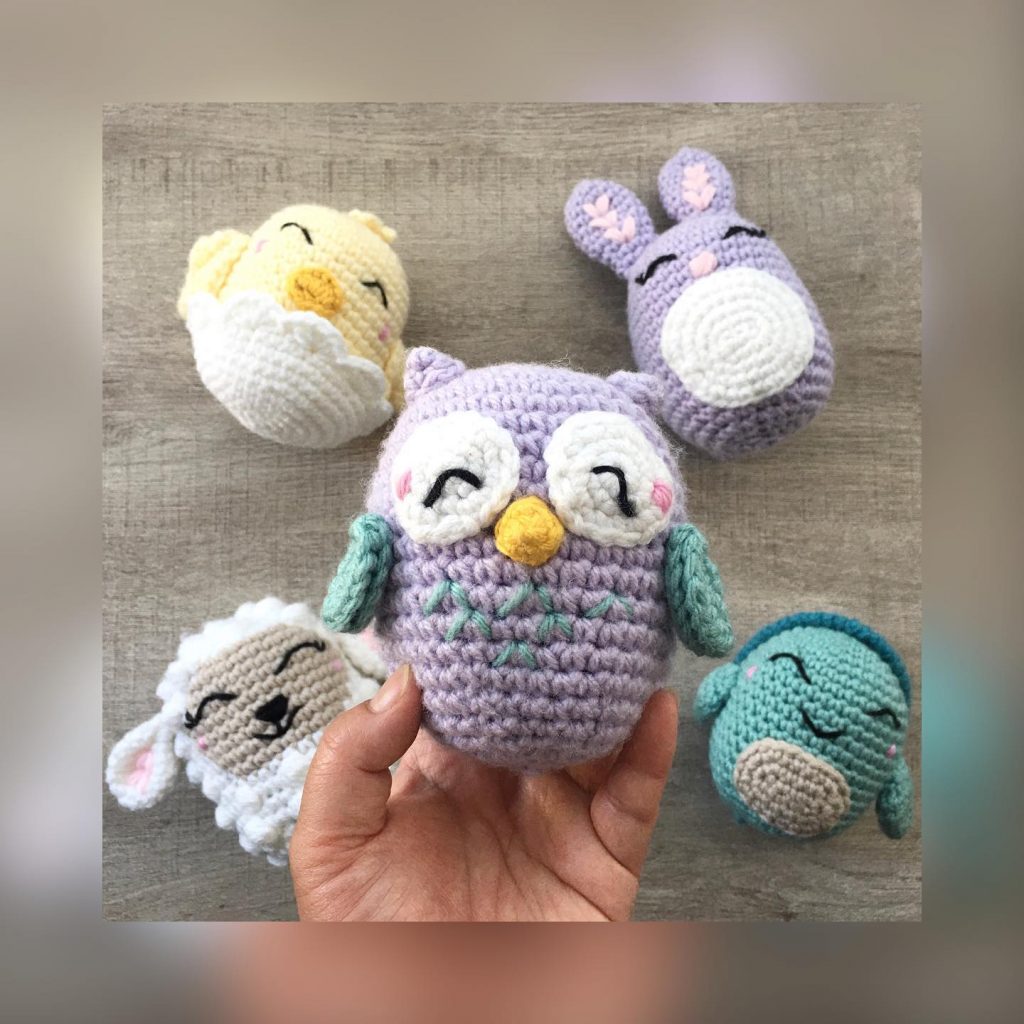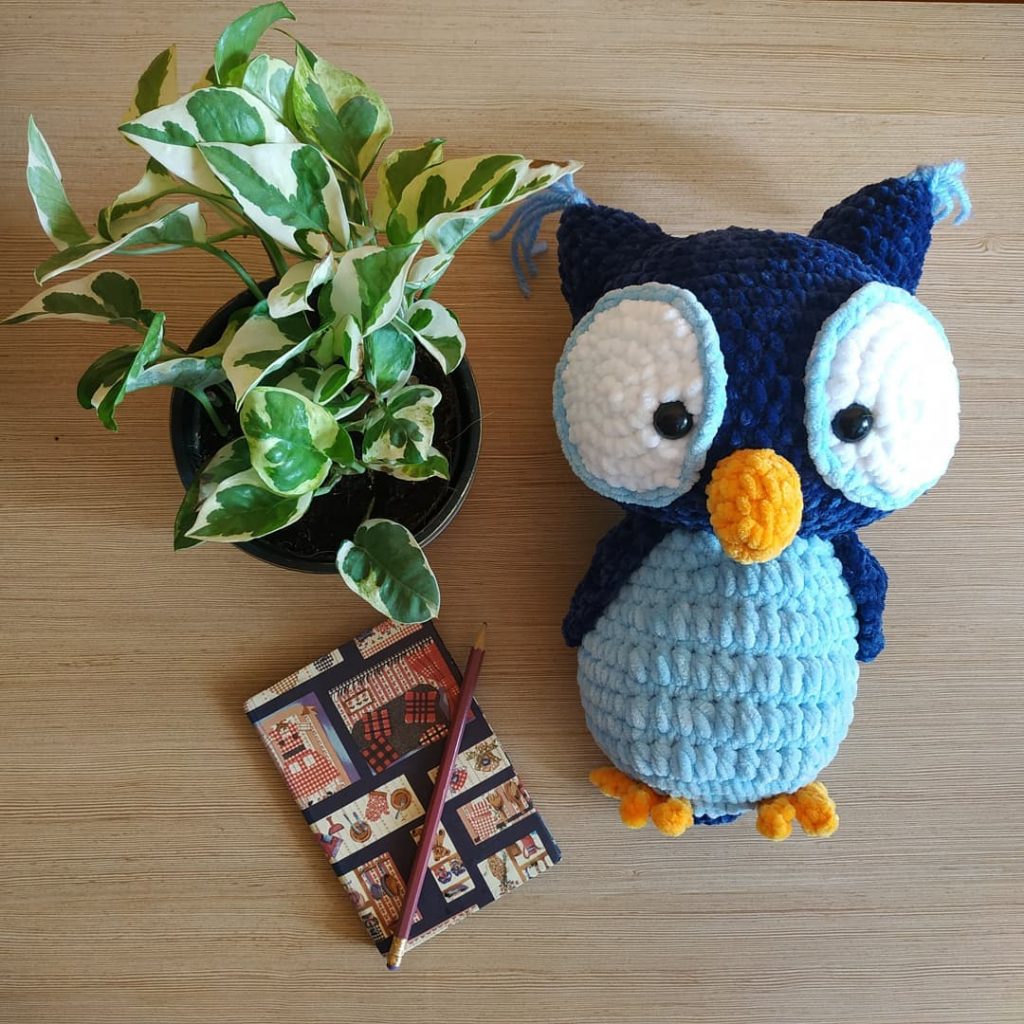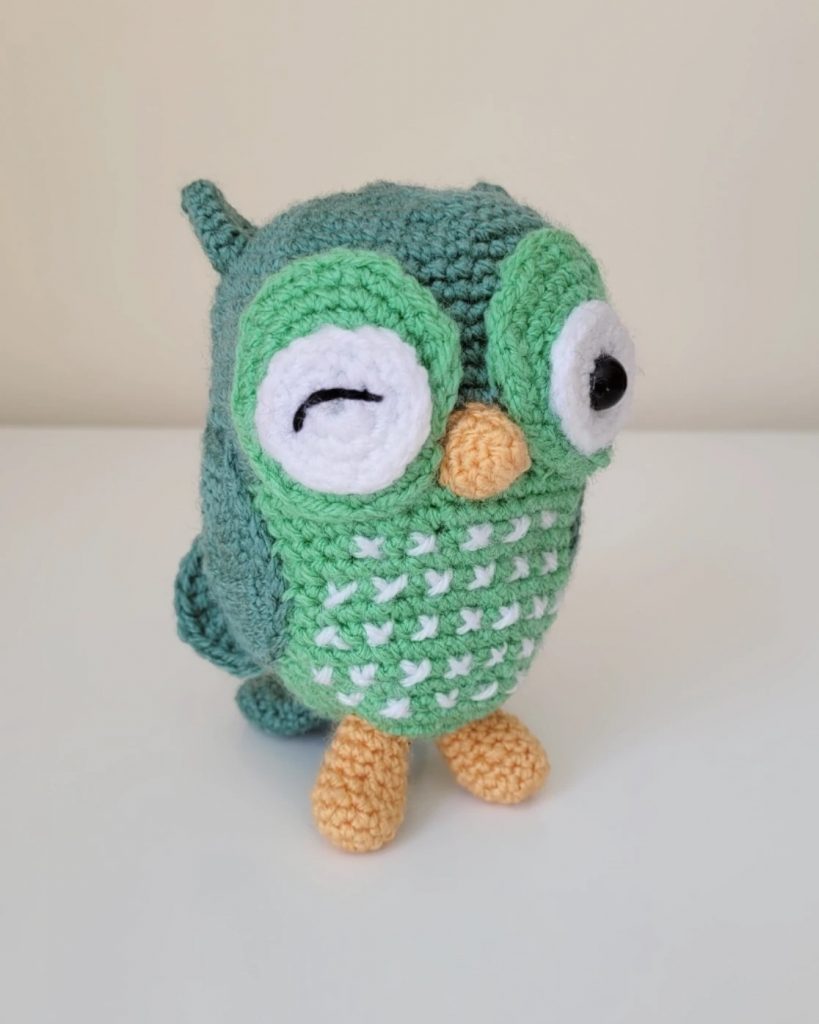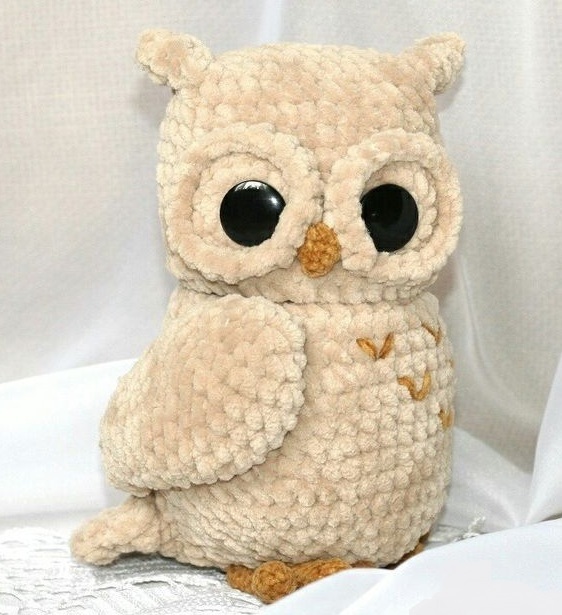
Amigurumi Owl Free Crochet Pattern
Hello dear Amigurumi Followers
Today we share one free amigurumi crochet pattern again for you. As you know we share new amigurumi free patterns every day. The main crochets are amigurumi gazelles, amigurumi bears, amigurumi pola, amigurumi pandas, amigurumi penguins, amigurumi giraffes, amigurumi llama, amigurumi pigs, amigurumi bunny, amigurumi clowns, amigurumi lambs, amigurumi bees, amigurumi unicorns, amigurumi dolls, amigurumi foxes, amigurumi penguins, amigurumi dinosaurs, amigurumi elephants, amigurumi hippos, amigurumi monkeys, amigurumi cats, amigurumi dogs and more …
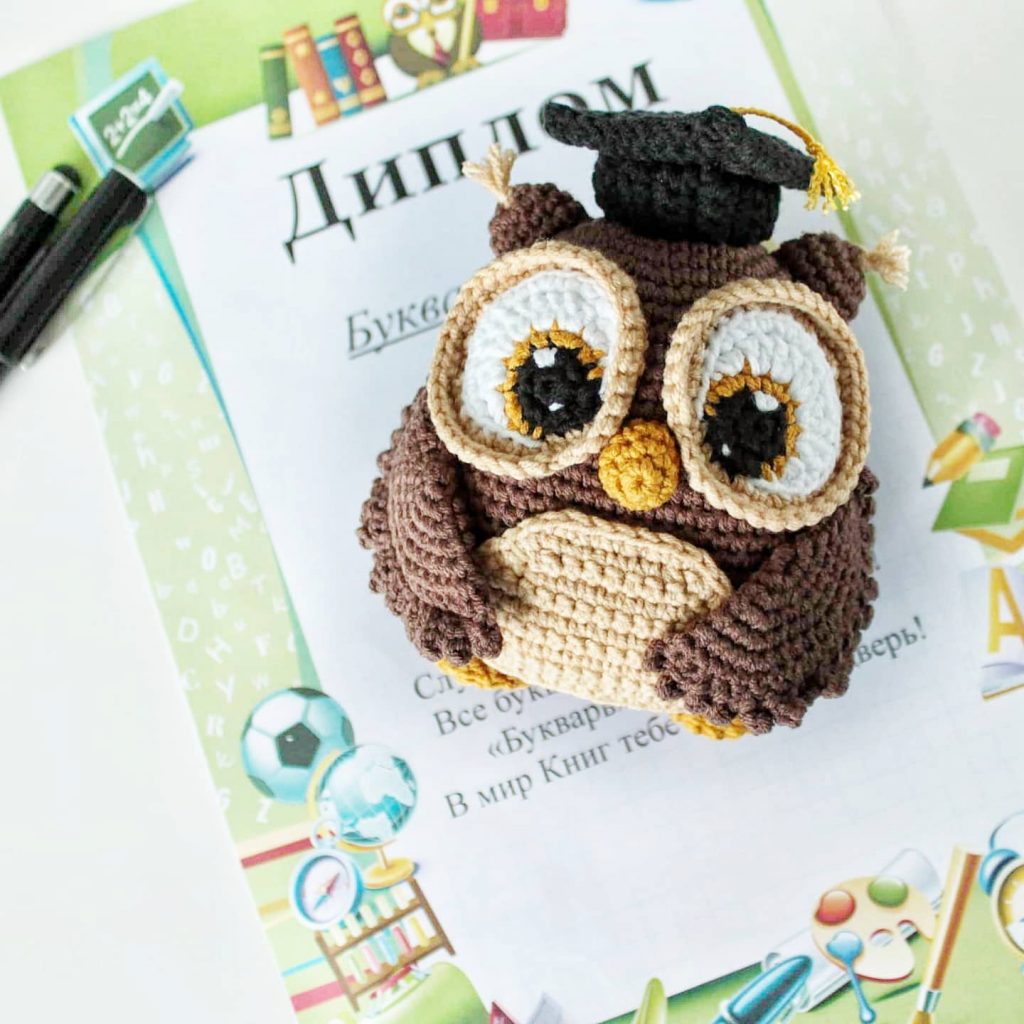
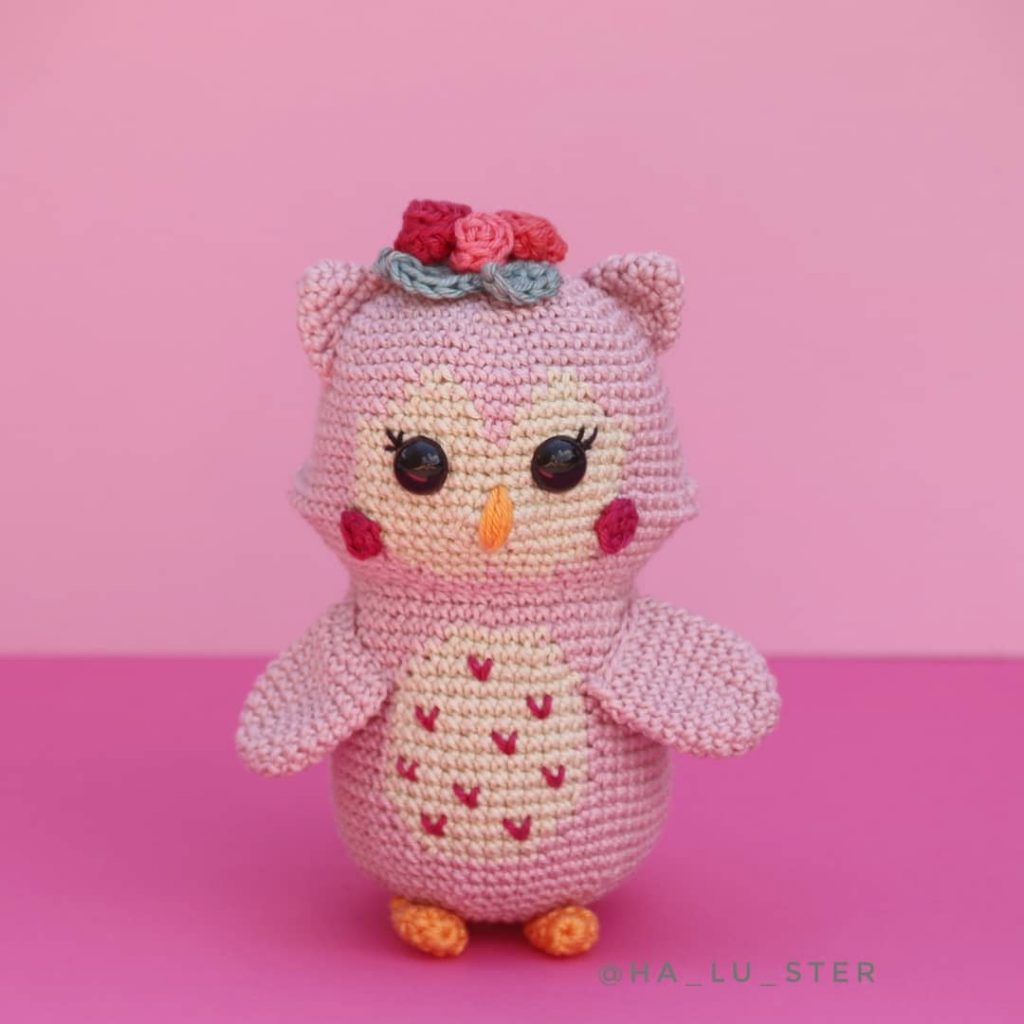
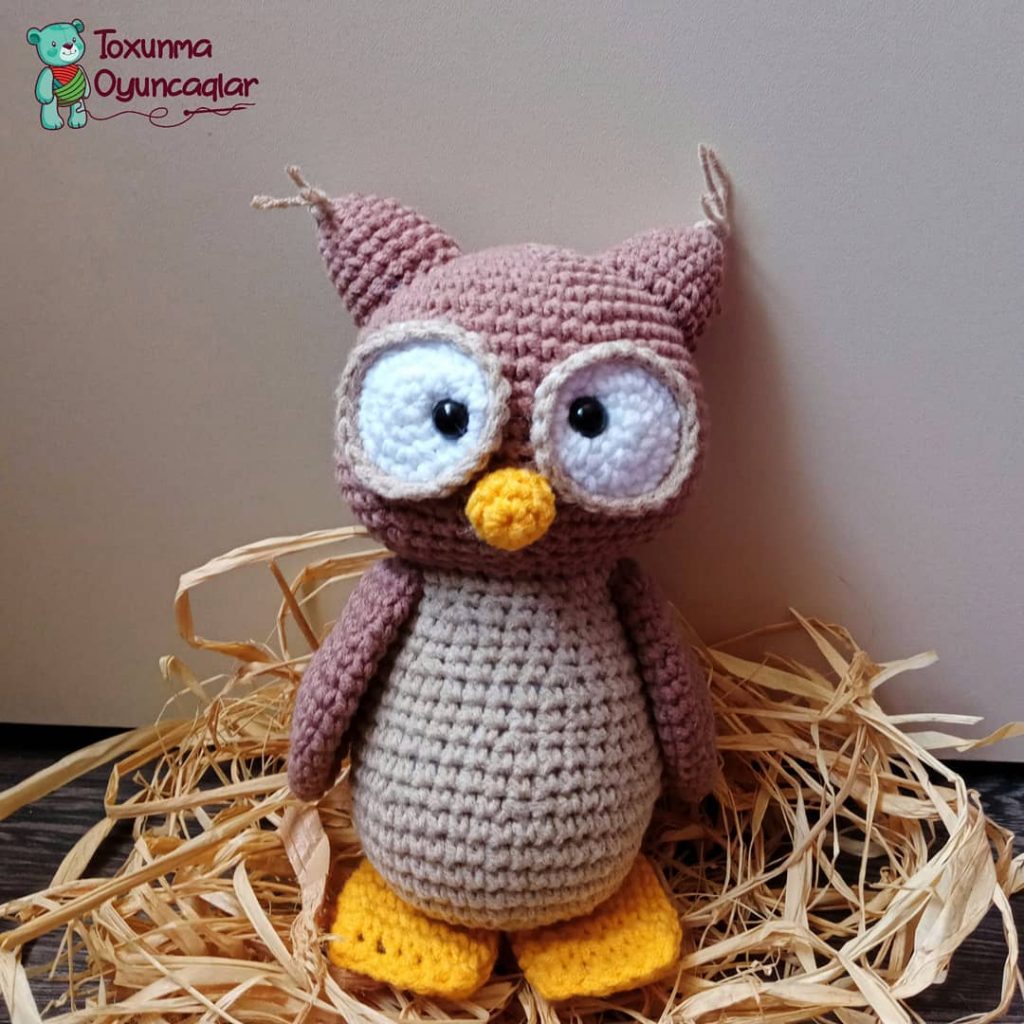
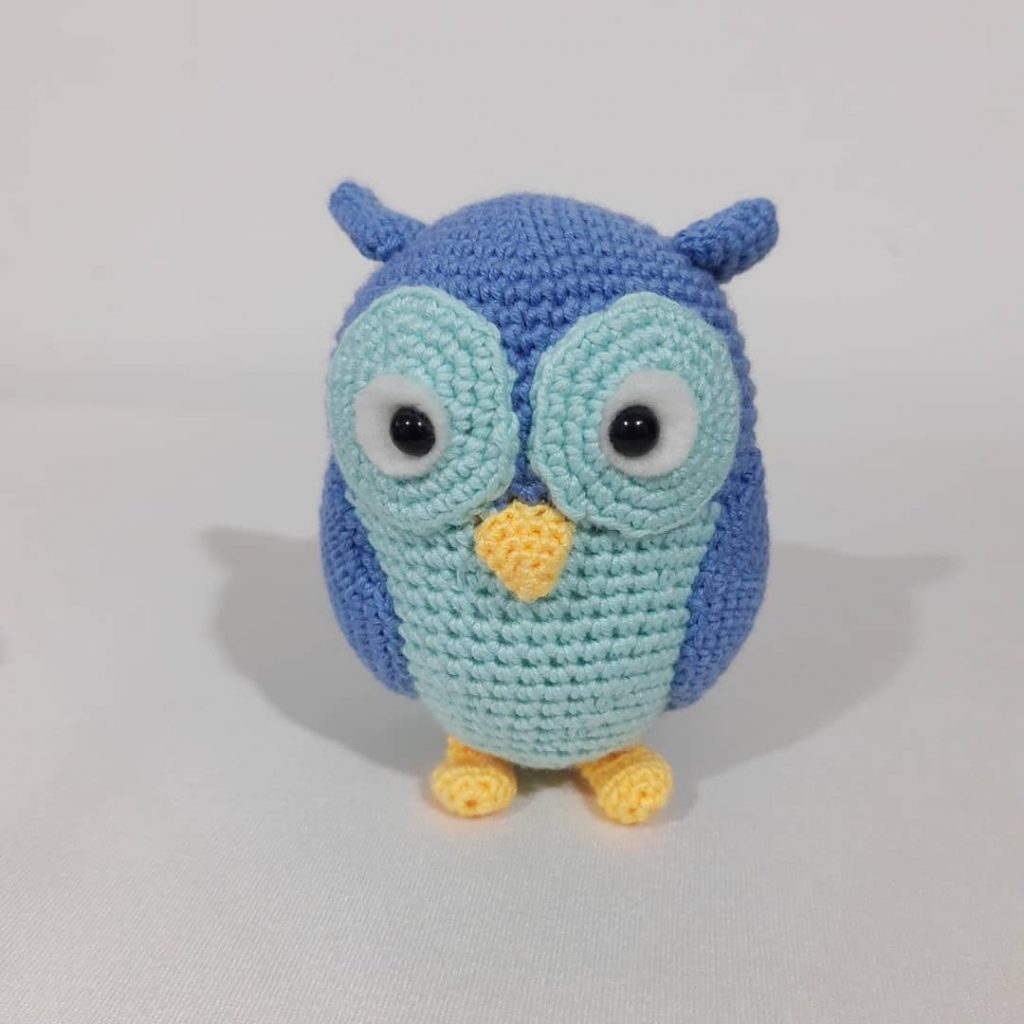
Todays daily new amigurumi free crochet pattern is amigurumi owl
I want to give you some informations about this pattern ;
If you enjoy making amigurumi, here I share this easy and free amigurumi pattern for you for free. Your kids will love these toys.
Materials:
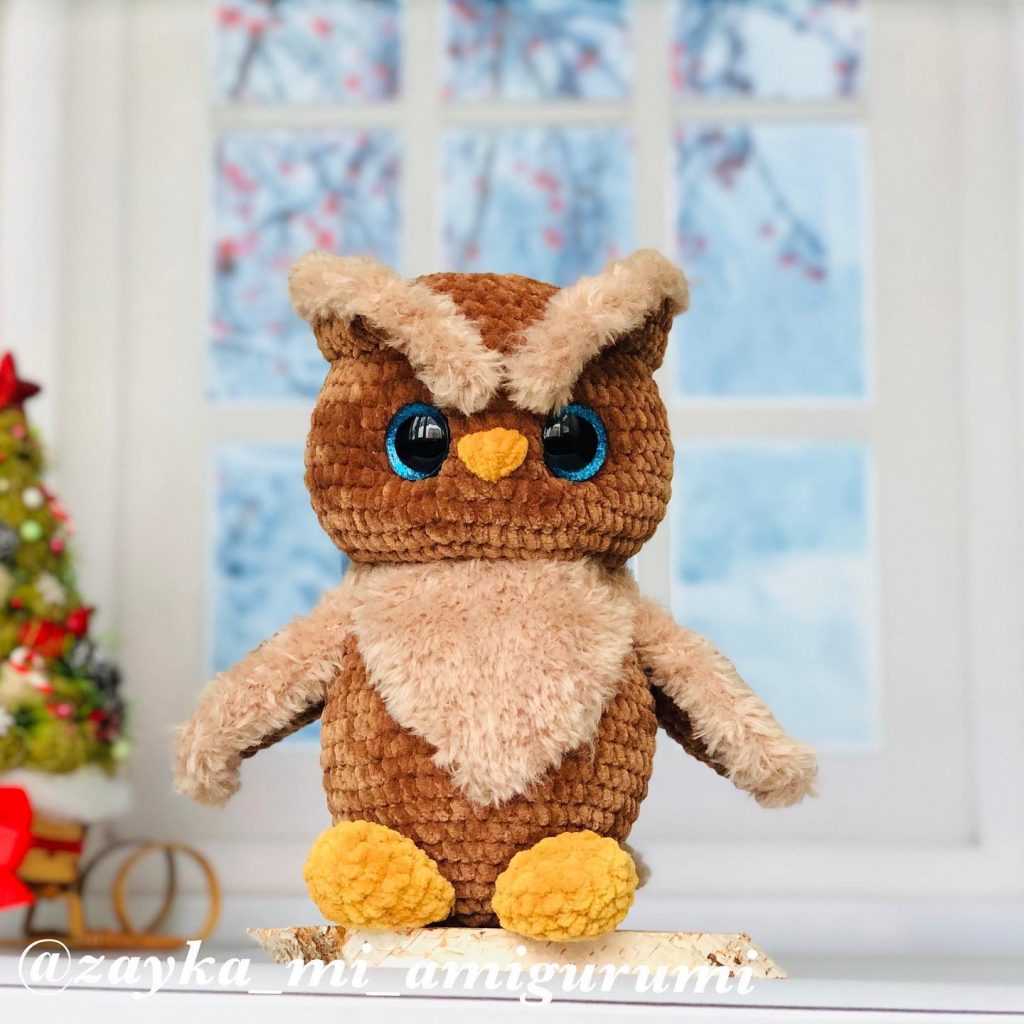
– The main part was crocheted with Dolphin yarn from Yarnart, legs and beak with velour yarn.
– For head mobility, use plastic joints for Teddy bears or 2 buttons and 2 discs cut from thick cardboard, the diameter is determined by the diameter of the head after crocheting the first 5 rows.
– Black eyes made of FIMO (polymer paste) or black felt, the diameter depending on the thread used.
HEAD
- 6sc in MR
- 2. 6 inc = 12
- 3. (1sc, inc)x 6 = 18
- 4. (2sc, inc)x 6 = 24
- 5. (3sc, inc)x 6 = 30
- 6. (4sc, inc)x 6 = 36
- 7-18. 36sc. FO. Fold end sew the 36 stitches after stuffing!
BODY
- 6sc in MR
- 2. 6 inc = 12
- 3. (1sc, inc)x 6 = 18
- 4. (2sc, inc)x 6 = 24
- 5. (3sc, inc)x 6 = 30
- 6. (4sc, inc)x 6 = 36
- 7-8. 36sc
- 9. 12sc, inc, 4sc, inc, 12sc, inc, 4sc, inc = 40
- 10-11. 40sc
- 12. 12sc, inc, 5sc, inc, 13sc, inc, 5sc, inc, 1sc = 44
- 13-14. 44sc
- 15. 13sc, inc, 6sc, inc, 14sc, inc, 6sc, inc, 1sc = 48
- 16. 1sc, 8ch, skip 8st, 1sc, dec, 4sc, dec, 4sc, dec, 10sc, dec, 4sc, dec, 4sc, dec = 42 (the hole of 8ch is for the tail)
- 17. (5sc, dec)x6 = 36
- 18. (4sc, dec)x6 = 30
- 19. (3sc, dec)x6 = 24. Stuff the body !
- 20. (2sc, dec)x6 = 18
- 21. (1sc, dec)x6 = 12
- 22. 6dec = 6. FO. Close the hole !
TAIL
Attach the thread to the hole of the 18 ch chain from the body (round n° 16).
- 1. 16sc (8sc + 8sc on the other side of the 18ch chain)
- 2. inc, 6sc, 2inc, 6sc, inc = 20
- 3. Fold and crochet the 10 stitches : 10sc
- 4. 1slst, 4hdc in the same st, skip 1st, 1slst, (1hdc, 2dc)-in the same st, (2dc,1hdc)-in the same st, 1slst, skip 1st, 4hdc in the same st, 1slst. (see diagram!)
LEGS x2 details
- 1. 5sc in MR
- 2. 5inc = 10
- 3-8. 10sc. Don’t cut the thread for the second detail!
Join the two details:
- 9. Start from the second: 3ch, 10sc on the first detail, 3sc on the chain, 10sc on the second, 3sc on the other side of the chain = 26
- 10. 9sc, 2dec, 9sc, 2dec = 22 (the decreases must be between the two fingers)
- 11. 3sc, 4dec, 3sc, 4dec = 14 (the decreases must be between the two fingers)
- 12. 3sc, 2dec, 3sc, 2dec = 10 (the decreases must be between the two fingers)
- 13-17. 10sc
- 18. 5dec = 5. FO. Close the hole!
EYES x2
- 1. 6sc in MR
- 2. 6 inc = 12
- 3. (1sc, inc)x 6 = 18
- 4. 18slst. FO. Leave a tail for sewing.
WINGS x2
- 1. 6sc in MR
- 2. 6 inc = 12
- 3. (1sc, inc)x 6 = 18
- 4-6. 18sc
- 7. dec, 6sc, 2inc, 6sc, dec = 18
- 8. dec, 14sc, dec = 16
- 9. dec, 5sc, 2inc, 5sc, dec = 16
- 10. dec, 12sc, dec = 14
- 11. 2dec, 2sc, 2inc, 2sc, 2dec = 12
- 12. dec, 8sc, dec = 10
- 13. 2dec, 2inc, 2dec = 8. FO. Close the hole! Don’t stuff!
BEAK
- 1. 4sc in MR
- 2. 4inc = 8
- 3. (1sc, inc)x4 = 12
- 4-5. 12sc
- 6. 6dec. FO. Stuff lightly!
ASSEMBLY
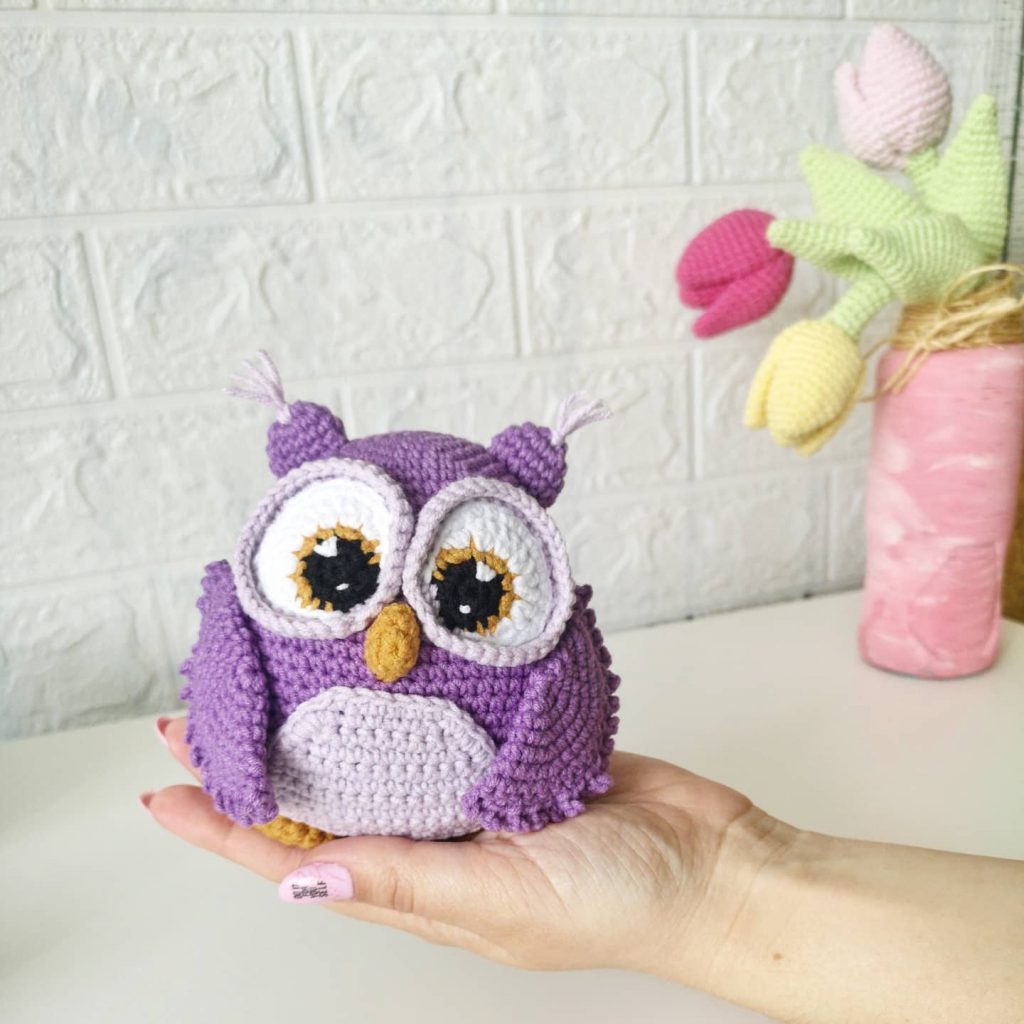
- Sew on the head the eyes, leaving a distance of 1sc between them. Glue the two large black pupils.
- Sew the beak between the eyes.
- After sewing the top of the head, sew the ears (the seam is the base of the triangle – the ear) between 15 and 16 rows of the head.
- Sew the wings on the body. Attach the end of the wing to the side towards the base of the tail, then sew it so that it is at the level of the neck (where the head is connected to the body)
- Sew the legs to the base of the body.
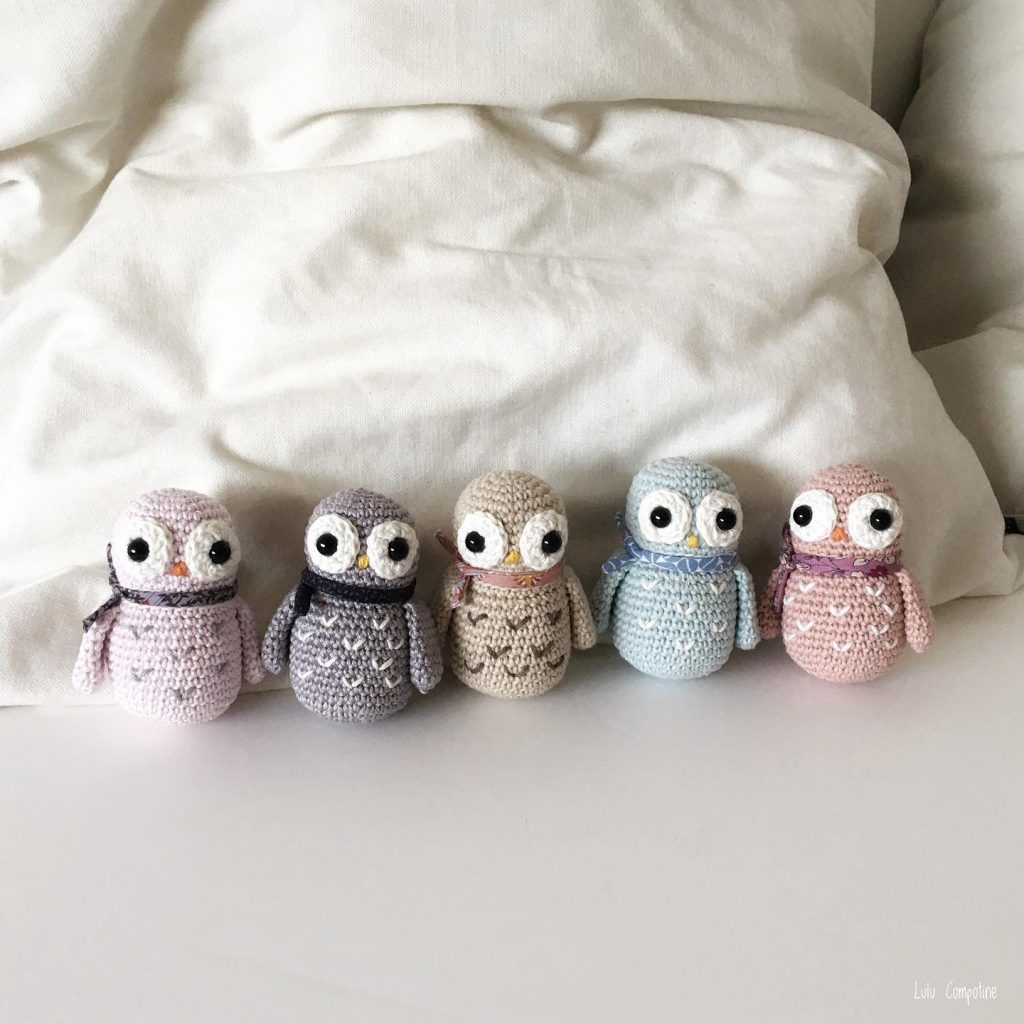
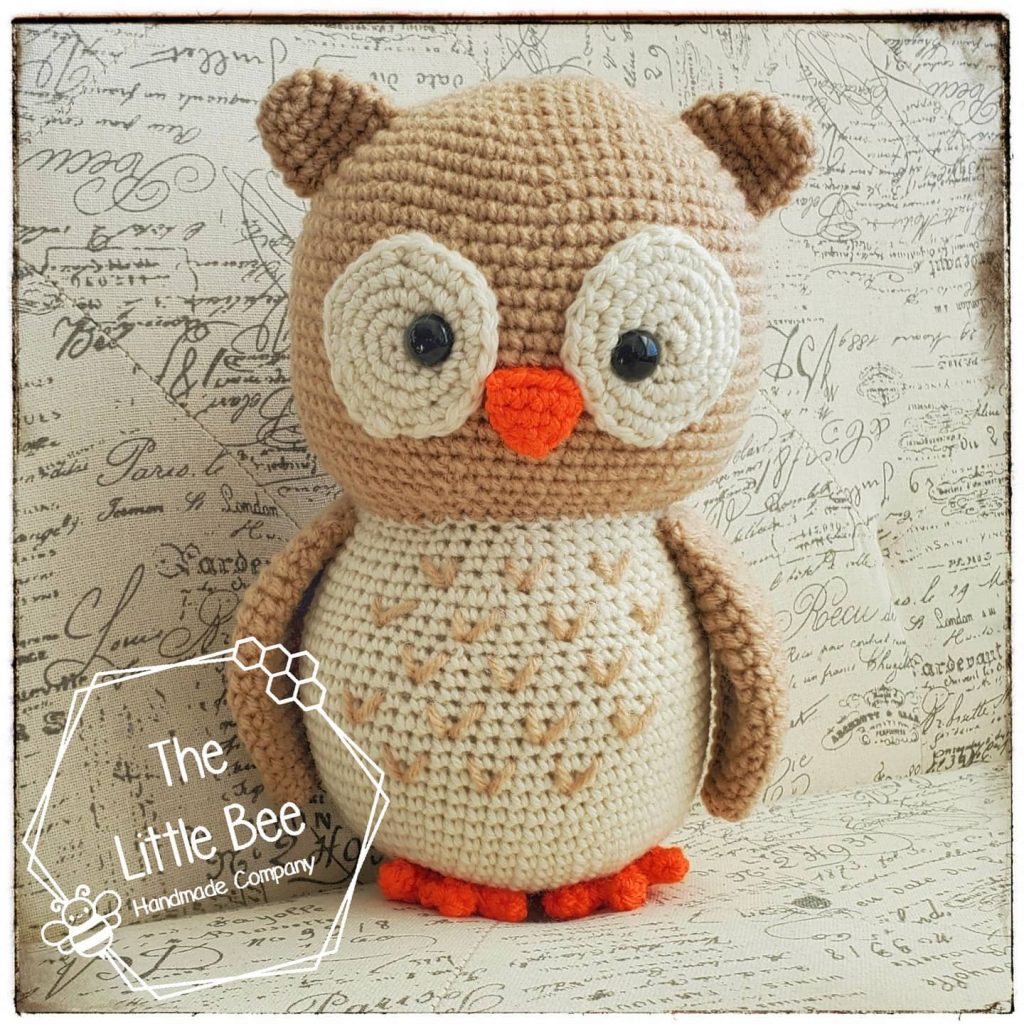
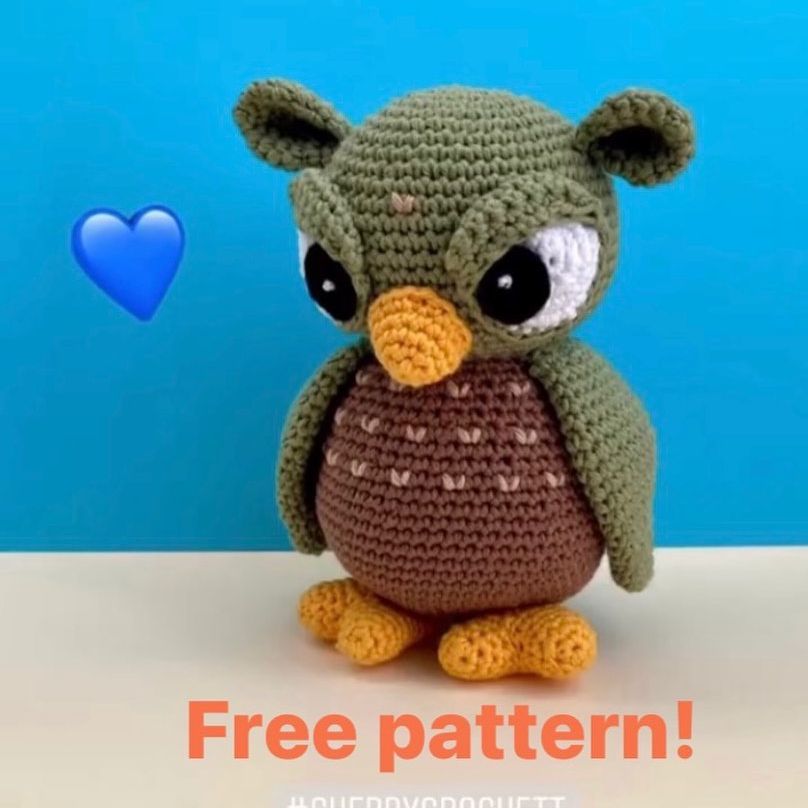
- Embroider with a contrasting thread a few V-shaped feathers on the chest, as in the photo.
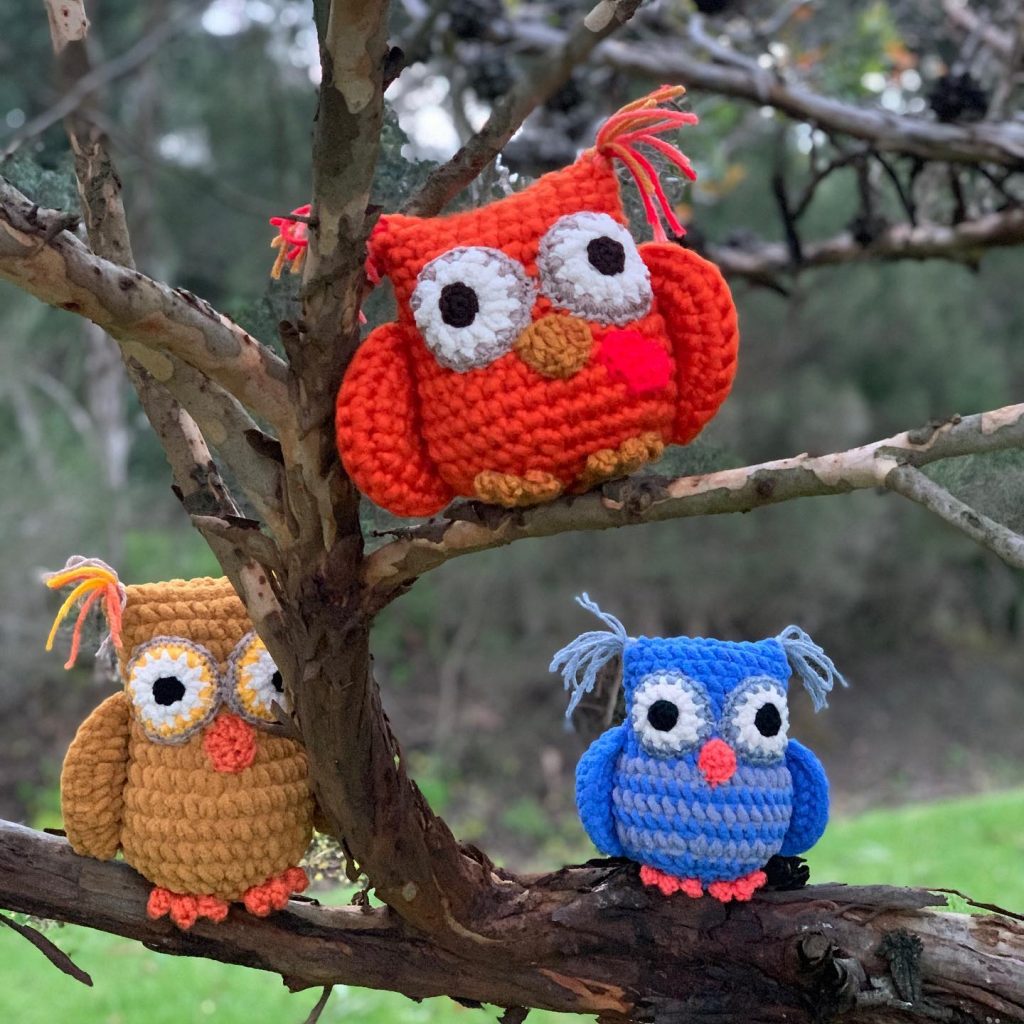
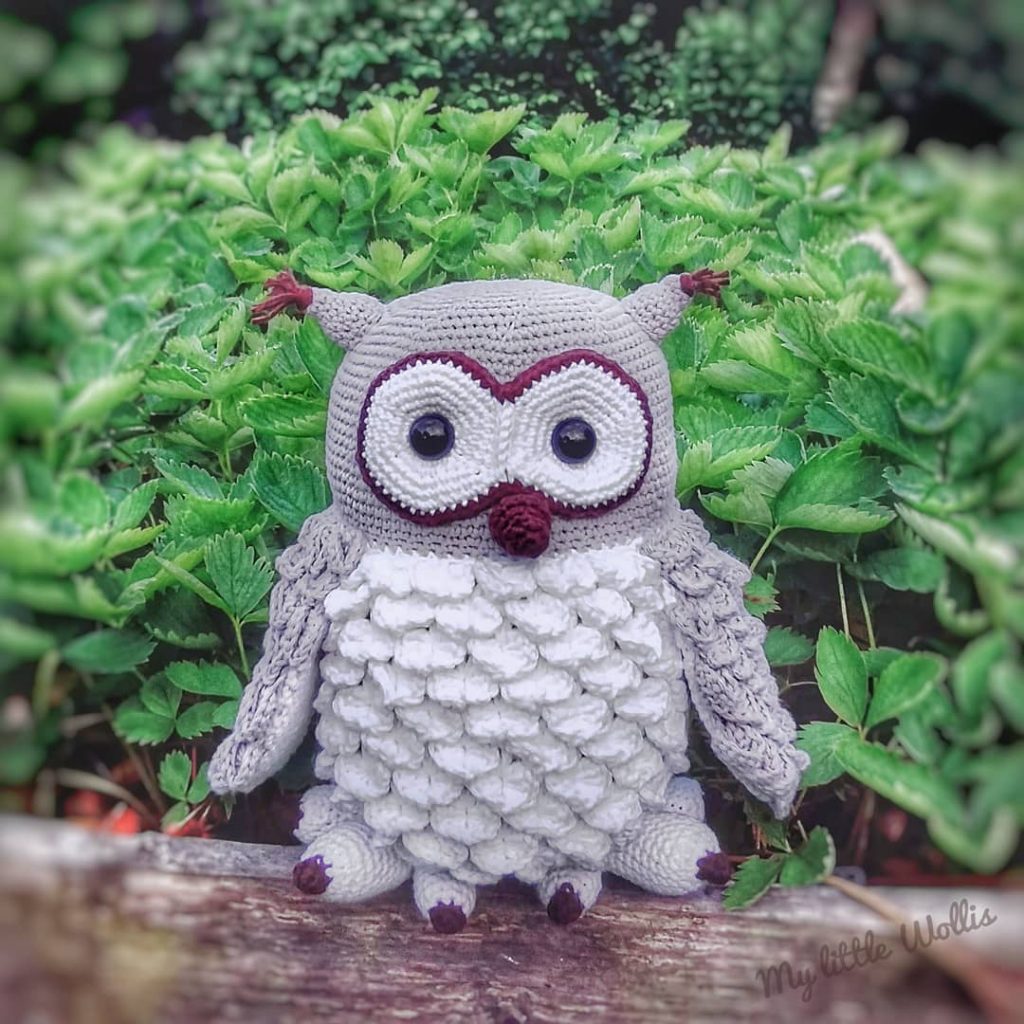
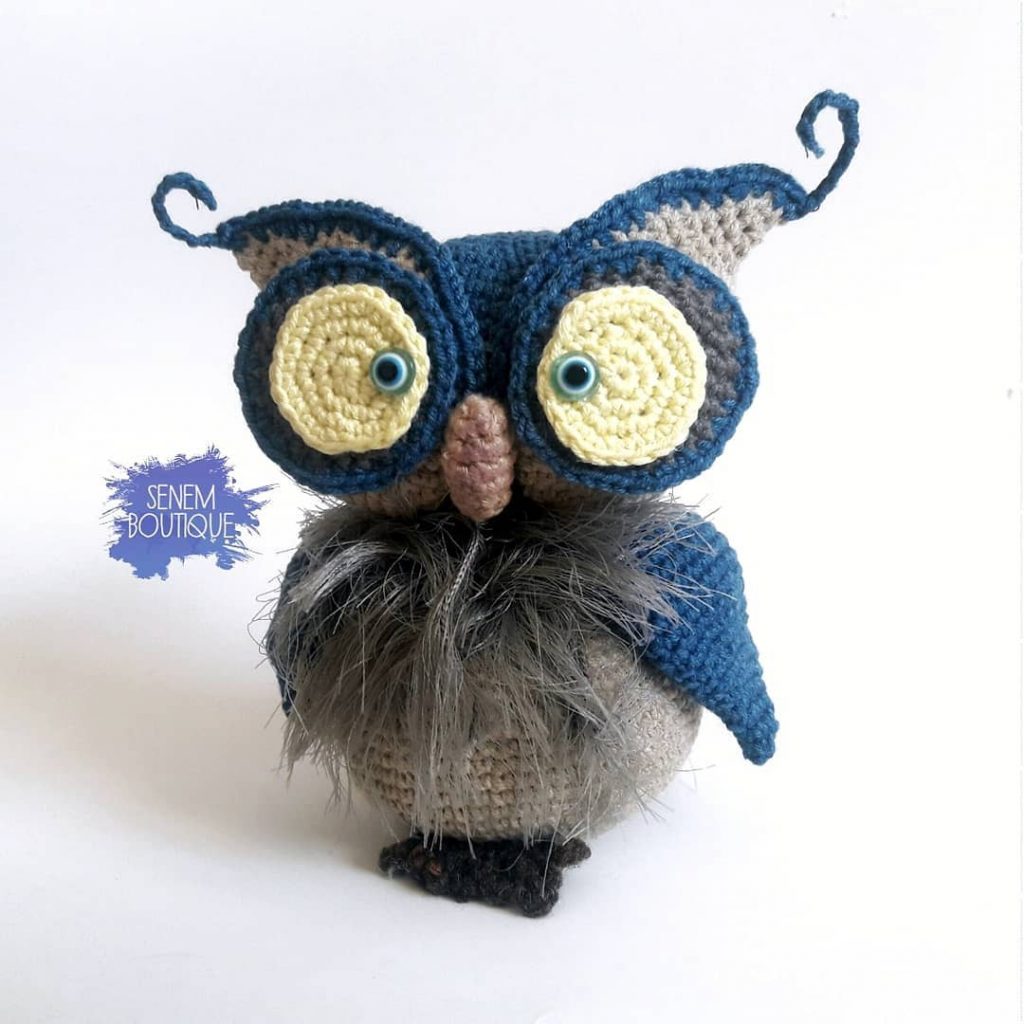
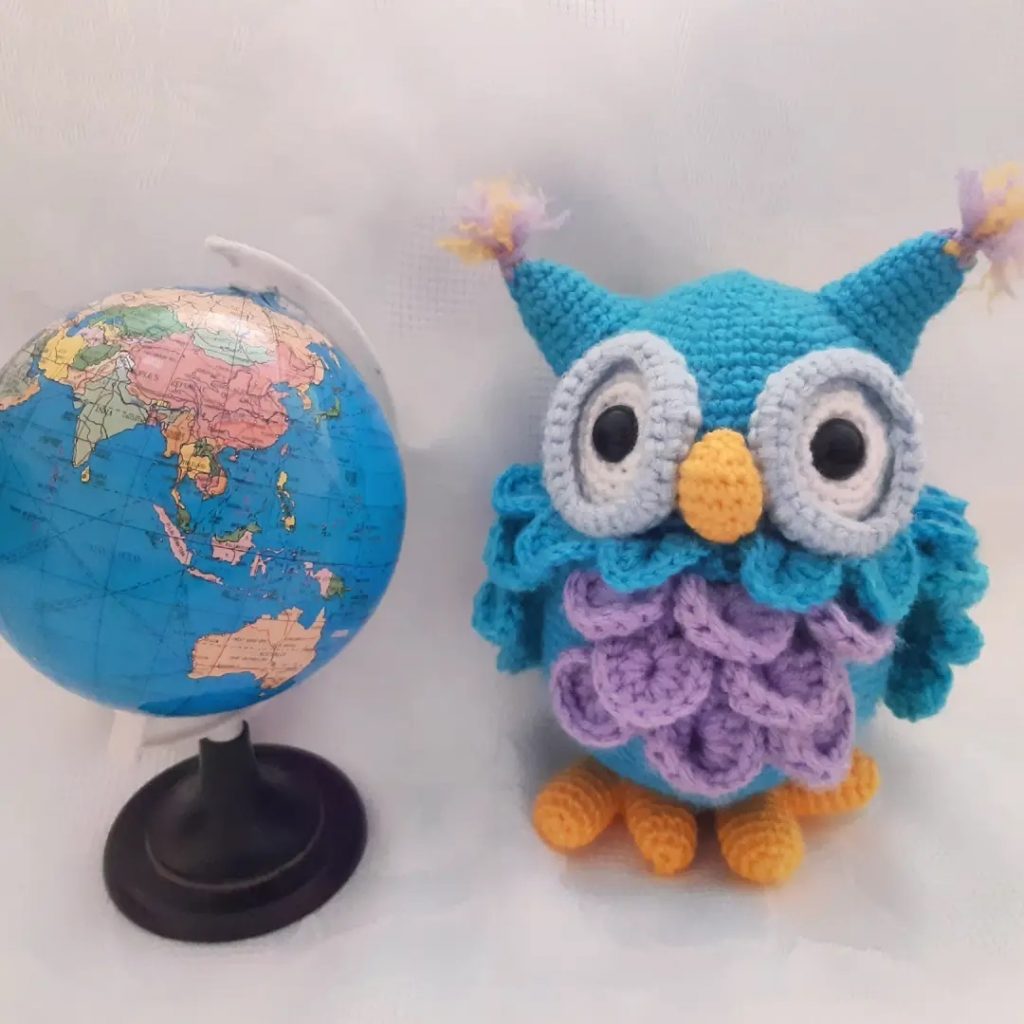
More Amigurumi Owl İdeas
