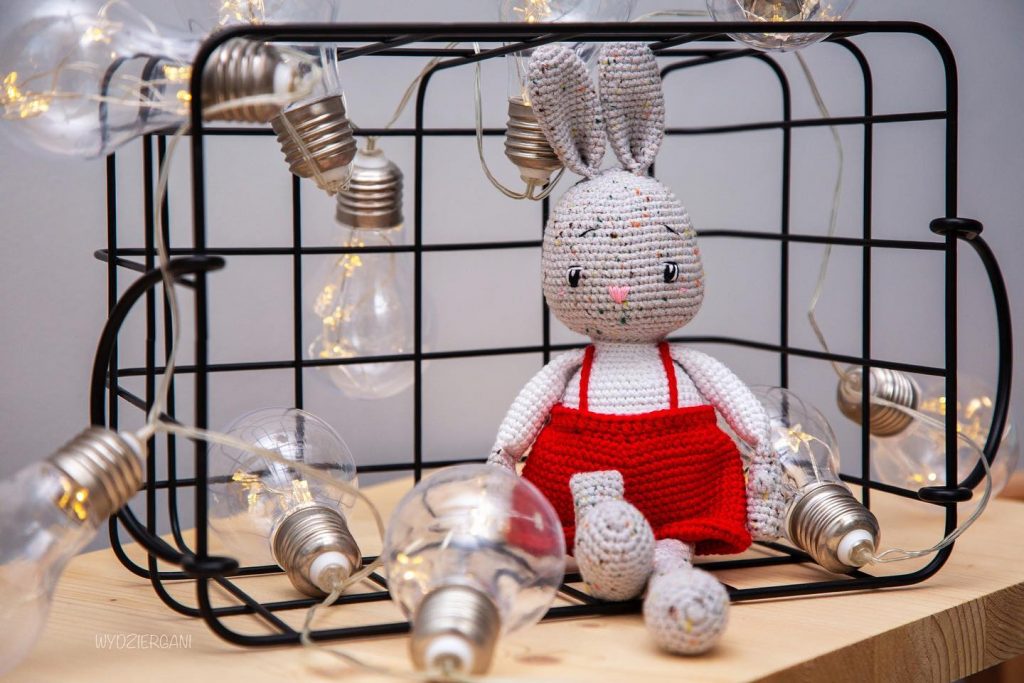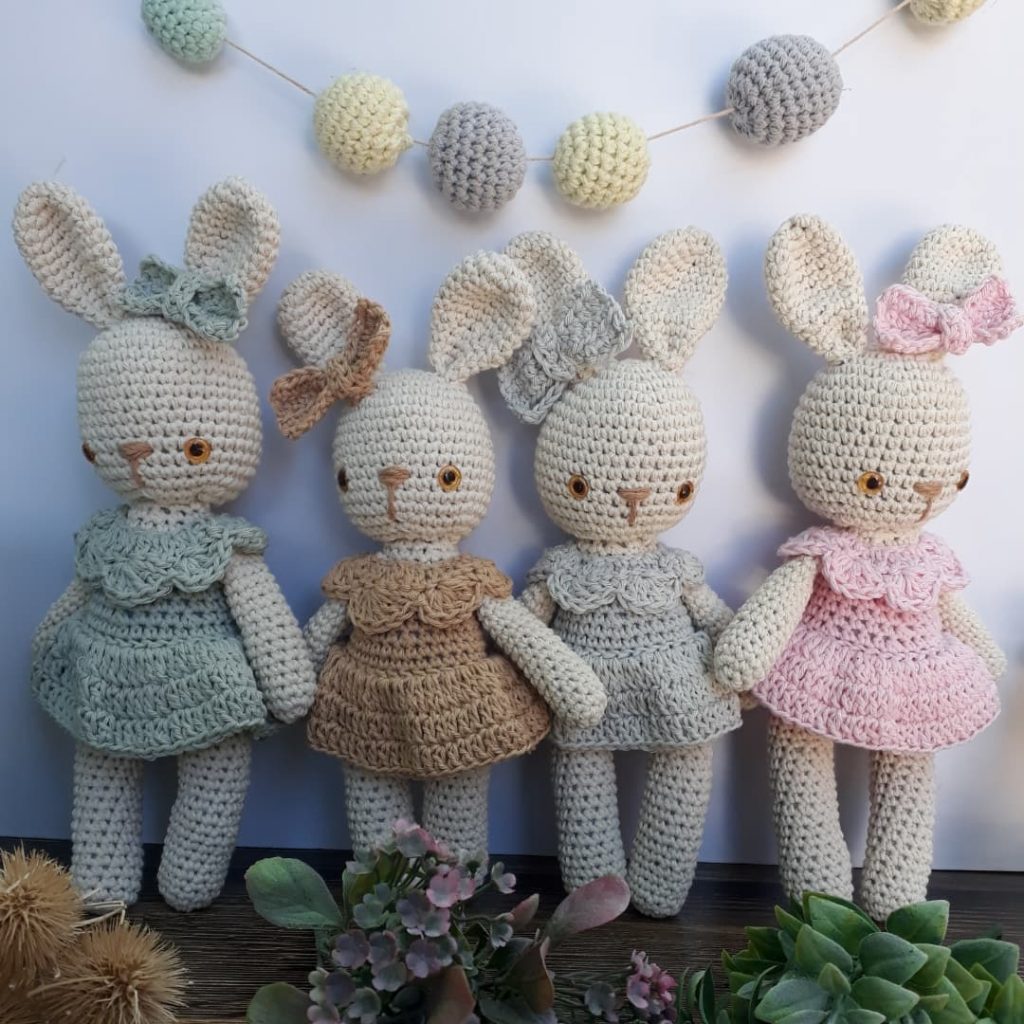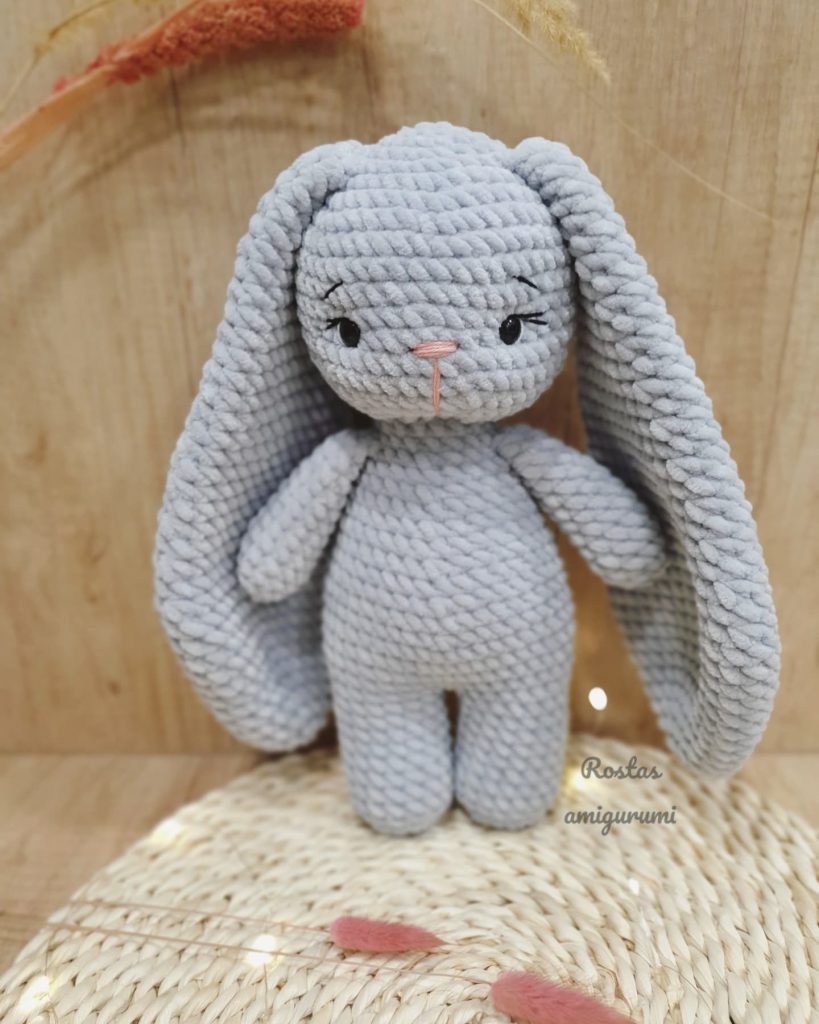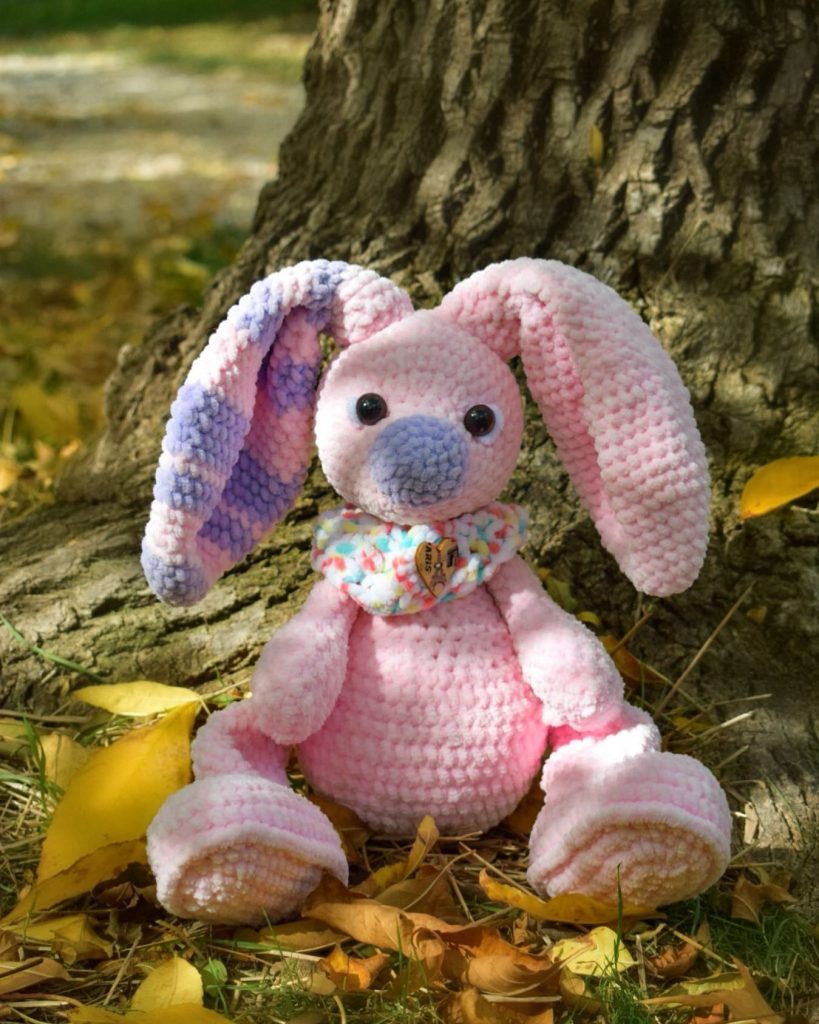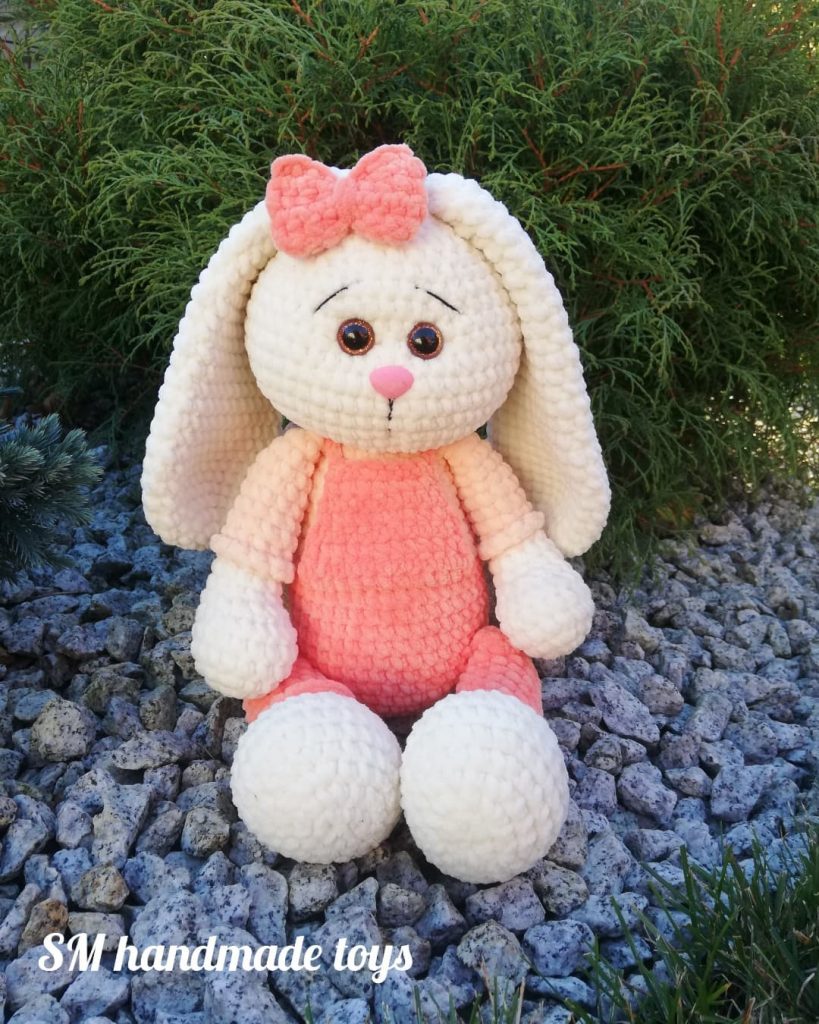
Amigurumi Bunny Baby Crochet Free Pattern
Hello dear Amigurumi Followers
Today we share one free amigurumi crochet pattern again for you. As you know we share new amigurumi free patterns every day. The main crochets are amigurumi gazelles, amigurumi bears, amigurumi pola, amigurumi pandas, amigurumi penguins, amigurumi giraffes, amigurumi llama, amigurumi pigs, amigurumi bunny, amigurumi clowns, amigurumi lambs, amigurumi bees, amigurumi unicorns, amigurumi dolls, amigurumi foxes, amigurumi penguins, amigurumi dinosaurs, amigurumi elephants, amigurumi hippos, amigurumi monkeys, amigurumi cats, amigurumi dogs and more …
Todays daily new amigurumi free crochet pattern is amigurumi bunny
I want to give you some informations about this pattern ;
If you enjoy making amigurumi, here I share this easy and free amigurumi pattern for you for free. Your kids will love these toys.
MATERIALS
Beaded (450 mt-492 yds; 100 g – 3.5 Oz) 100% acrylic. Beige color – 100 g.
New Kid’s (200 mt-218 yds; 50 g – 1.76 Oz) 100% acrylic. light green color – 250 g.
New Kid’s (200 mt-218 yds; 50 g – 1.76 Oz) 100% acrylic. Pink color – 50 g.
Yarn blue and white – 1 meter \ 39.3 inch
Cotton thread – black, brown for decoration.
Cotton / textile fabric 30×50 cm.
1 button
Hollofayber, hullfiber filler or sintepon.
5 cotter pin.
Eye screws 2 pcs.
Sizes 2 mm (US 4: UK 2.5 ) crochet hooks or size needed to obtain gauge
Scissors. Needle.
ABBREVIATIONS
MR – magic ring
ch — chain(s)
sl st — slip stitch
sc — single crochet\ double crochet
dec – decrease (2 sc together) \
decrease (2 dc together)
inc — increase (2 sc in one ch) \
increase (2 dc in one ch)
dc — double crochet \ treble crochet
hdc – half double crochet \ half
treble crochet
FPdc – Front post dc \ Front post tr
x- repeat N times
rnd- round(s)
Step 1. Crochet hands for a bunny (arms)
Work with beige color yarn.
1 rnd: MR (6)
2 rnd: inc х 6 (12)
3 rnd: (sc, inc) х 6 (18)
4 rnd: (2 sc, inc) х 6 (24)
5-8 rnd (4 rnds): 24 sc (24)
9 rnd: dec х 4, 16 sc (20)
10-13 rnd (4 rnds): 20 sc (20)
14 rnd: dec х 2, 16 sc (18)
15-36 rnd (22 rnds): 18 sc (18)
Move 2 rounds back downwards and insert the pin with a disk so that decreases of round
9 look frontwards. I used 22 mm joint disk for arms (in order for the arms to fit closely to
the body, the diameter of the joint should be equal to the width of the arm at the
attachment point). You may have other parameters for the joint diameter!
Please note: I created a DIY tutorial on making cotter pin joints for toys, which is
attached additionally.
Stuff the arm, do not stuff the upper part of the arm too tightly, it should stay flat.
37 rnd: (sc, dec) х 6 (12)
38 rnd: dec х 6 (6)
Fasten off, cut and weave in ends.
Crochet the second arm in the same way.
Make sure you have the right and left arms
placing joints.
Step 2. Crochet legs for a bunny (legs)
Work with beige yarn.
1 rnd: chain 10, starting from the 2nd loop from the hook: 3 sc into one stitch, 7sc along
the chain, 3 sc into the first ch, along the other side of the chain: 7 sc (20)
2 rnd: inc х 3, 7 sc, inc х 3, 7 sc (26)
3 rnd: (inc, sc) х 3, 7 sc, (inc, sc) х 3, 7 sc (32)
4 rnd: (inc, 2 sc) х 3, 7 sc, (inc, 2 sc) х 3, 7 sc (38)
5 rnd: (inc, 3 sc) х 3, 7 sc, (inc, 3 sc) х 3, 7 sc (44)
6 rnd: (inc, 4 sc) х 3, 7 sc, (inc, 4 sc) х 3, 7 sc (50)
7 rnd: (inc, 5 sc) х 3, 7 sc, (inc, 5 sc) х 3, 7 sc (56)
8 rnd: (inc, 6 sc) х 3, 7 sc, (inc, 6 sc) х 3, 7 sc (62)
9-16 rnd (8 rnds): 62 sc (62)
17 rnd: (sc, dec) х 9, (5 sc, dec) х 5 (48)
18 rnd: (sc, dec) х 6, (4 sc, dec) х 5 (37)
19 rnd: 37 sc (37)
20 rnd: (sc, dec) х 5, (3 sc, dec) х 4, 2 sc (28)
21 rnd: 28 sc (28)
22 rnd: (5 sc, dec) х 4 (24)
23- 36 rnd (14 rnds): 24 sc (24)
37 rnd: (3 sc, inc) х 6 (30)
38-49 rnd (12 rnds): 30 sc (30)
50 rnd: (3 sc, dec) х 6 (24)
51 rnd: (2 sc. dec) х 6 (18)
Move 3 rounds back downwards and insert a joint with a 32 mm disc. Stuff the leg and
continue crocheting.
52 rnd: (sc, dec) х 6 (12)
53 rnd: dec х 6 (6)
Fasten off, cut and weave in ends.
Crochet the second leg in the same way. Make sure you have the right and left legs
placing joints.
Step 3. Crochet body for a bunny (body)
Work with beige color yarn.
The marker indicating the beginning of each round should be at the back.
1 rnd: MR (6)
2 rnd: inc х 6 (12)
3 rnd: (sc, inc) х 6 (18)
4 rnd: (2 sc, inc) х 6 (24)
5 rnd: (3 sc, inc) х 6 (30)
6 rnd: (4 sc, inc) х 6 (36)
7 rnd: (5 sc, inc) х 6 (42)
8 rnd: 42 rnds (42)
9 rnd: (6 sc, inc) х 6 (48)
10 rnd: (7 sc, inc) х 6 (54)
11 rnd: 54 sc (54)
12 rnd: (8 sc, inc) х 6 (60)
13 rnd: 60 sc (60)
14 rnd: (9 sc, inc) х 6 (66)
15 rnd: 24 sc, (sc, inc) х 9, 24 sc (75)
16-19 rnd (4 rnds): 75 sc (75)
20 rnd: (23 sc, dec) х 3 (72)
21-24 rnd (4 rnds): 72 sc (72)
25 rnd: (22 sc, dec) х 3 (69)
26-28 rnd (3 rnds): 69 sc (69)
29 rnd: (21 sc, dec) х 3 (66)
30-32 rnd (3 rnds): 66 sc (66)
Fold the body in half, the marker is placed at the middle of the body, place the legs joints
between rounds 7 and 8.
33 rnd: (9 sc, dec) х 6 (60)
34 rnd: (8 sc, dec) х 6 (54)
35 rnd: 54 sc (54)
36 rnd: (7 sc, dec) х 6 (48)
37 rnd: 48 sc (48)
38 rnd: (6 sc, dec) х 6 (42)
39-41 rnd (3 rnds): 42 sc (42)
42 rnd: (5 sc, dec) х 6 (36)
43-46 rnd (4 rnds): 36 sc (36)
Fold the body in half, the marker is placed at the middle of the body, move 4 rounds
back downwards and place the arms joints.
Stuff the body and continue crocheting.
47 rnd: (4 sc, dec) х 6 (30)
48 rnd: (3 sc, dec) х 6 (24)
49 rnd: (2 sc, dec) х 6 (18)
Stuff the body tightly. Place the head joint, the diameter of the joint is 36 mm.
50-53 rnd (4 rnds): 18 sc (18)
54 rnd: (sc, dec) х 6 (12)
55 rnd: dec х 6 (6)
Fasten off, cut and weave in ends.
Step 4. Crochet head for a bunny (head)
Work with beige yarn.
The marker indicating the beginning of each round should be at the back of the head.
1 rnd: MR (6)
2 rnd: inc х 6 (12)
3 rnd: (sc, inc) х 6 (18)
4 rnd: (2 sc, inc) х 6 (24)
5 rnd: (3 sc, inc) х 6 (30)
6 rnd: (4 sc, inc) х 6 (36)
7 rnd: (5 sc, inc) х 6 (42)
8 rnd: (6 sc, inc) х 6 (48)
9 rnd: (7 sc, inc) х 6 (54)
10 rnd: (8 sc, inc) х 6 (60)
11 rnd: (9 sc, inc) х 6 (66)
12 rnd: (10 sc, inc) х 6 (72)
13-14 rnd (2 rnds): 72 sc (72)
15 rnd: (11 sc, inc) х 6 (78)
16 rnd: (12 sc, inc) х 6 (84)
17 rnd: (13 sc, inc) х 6 (90)
18 rnd: (14 sc, inc) х 6 (96)
19 rnd: (15 sc, inc) х 6 (102)
20-27 rnd (8 rnds): 102 sc (102)
28 rnd: 21 sc, dec x 12, 12 sc, dec x 12, 21 sc (78)
29-30 rnd (2 rnds): 78 sc (78)
31 rnd: (11 sc, dec) х 6 (72)
32-33 rnd (2 rnds): 72 sc (72)
34 rnd: (10 sc, dec) х 6 (66)
35-36 rnd (2 rnds): 66 sc (66)
37 rnd: (9 sc, dec) х 6 (60)
38 rnd: 60 sc (60)
39 rnd: (8 sc, dec) х 6 (54)
40 rnd: (7 sc, dec) х 6 (48)
Place the joint and fix the head, continue crocheting.
41 rnd: (6 sc, dec) х 6 (42)
42 rnd: (5 sc, dec) х 6 (36)
43 rnd: 36 sc (36)
Stuff more tightly.
44 rnd: (4 sc, dec) х 6 (30)
45 rnd: (3 sc, dec) х 6 (24)
46 rnd: (2 sc, dec) х 6 (18)
47 rnd: (sc, dec) х 6 (12)
48 rnd: dec х 6 (6)
Fasten off, cut and weave in ends.
Step 5. Crochet ears for a bunny (ears)
Work with beige yarn, in turning rows.
1 rnd: 2 ch
2 rnd: into the 2nd loop from the hook 3 sc (3)
3 rnd: ch, turn, inc, sc, inc (5)
4 rnd; ch, turn, (sc, inc) х 2, sc (7)
5 rnd: ch, turn, (inc, sc) х 3, inc (11)
6-7 rnd (2 rnds): ch, turn, 11 sc (11)
8 rnd: ch, turn, (inc. sc) х 5, inc (17)
9-10 rnd (2 rnds): ch, turn, 17 sc (17)
11 rnd: ch, turn, (sc. inc) х 8, sc (25)
12-14 rnd (3 rnds):ch, turn, 25 sc (25)
15 rnd: ch, turn, (inc, sc) х 12, inc (38)
16 -17 rnd (2 rnds): ch, turn, 38 sc (38)
18 rnd: ch, turn, 3 sc, (dec, 4 sc) х 5, dec, 3 sc (32)
19 rnd: ch, turn, 3 sc, (dec, 4 sc) х 4, dec, 3 sc (27)
20 rnd: ch, turn, 27 sc (27)
21 rnd: ch, turn, (3 sc, dec) х 3, 2 sc, (dec, 3 sc) х 2 (22)
22-28 rnd (7 rnds): ch, turn, 22 sc (22)
29 rnd: ch, turn, (6 sc, dec) х 2, 6 sc (20)
30-43 rnd (14 rnds): ch, turn, 20 sc (20)
44 rnd: ch, turn, 5 sc, dec, 6 sc, dec, 5 sc (18)
45-51 rnd (7 rnds): ch, turn, 18 sc (18)
52 rnd: ch, turn, 5 sc, dec, 4 sc, dec, 5 sc (16)
53-57 rnd (5 rnds): ch, turn, 16 sc (16)
58 rnd: ch, turn, (4 sc. dec) х 2, 4 sc (14)
59-63 rnd (5 rnds): ch, turn, 14 sc (14)
64 rnd: ch, turn, 3 sc, dec, 4 sc, dec, 3 sc (12)
65 rnd: ch, turn, 12 sc (12)
Fasten off, leave 25 cm tail for sewing and cut off.
Crochet the second ear.
Please note: if the ears are wrinkled, careful steaming could help.
Step 6. Bunny decoration
- Tighten the faces
Outline the points for sculpting on the face of a bunny to form eyeholes and mouth.
At this point, fix the thread (I advise using the yarn you used to crochet the head) under
the chin and draw the needle upwards to point 1, the needle passes inside the head.
Insert the needle in the point of the mouth 0 and pull it out upwards to point 1 (right
eye), the needle passes inside the head. Skip 10 stitches, insert the needle in point 2 and
pull it out in the point of the mouth, tighten. Repeat the above-mentioned steps,
tightening the thread. Repeat the instructions for the left eye, at the end tie a strong
knot.
Attach the eyes, embroider the nose, and embroider brows and mouth. You can slightly
tone the mouth and the areas around the eyes.
Please see the scheme of face sculpting.
- Ears and heels decoration.
Outline the contour of the ear on fabric and cut out two parts (they should be the same
size as the ears or slightly larger). Sew the cut parts with an invisible stitch, folding the
excess fabric inward.
Crochet round the ears in sc.
Sew ears in a position at your discretion.
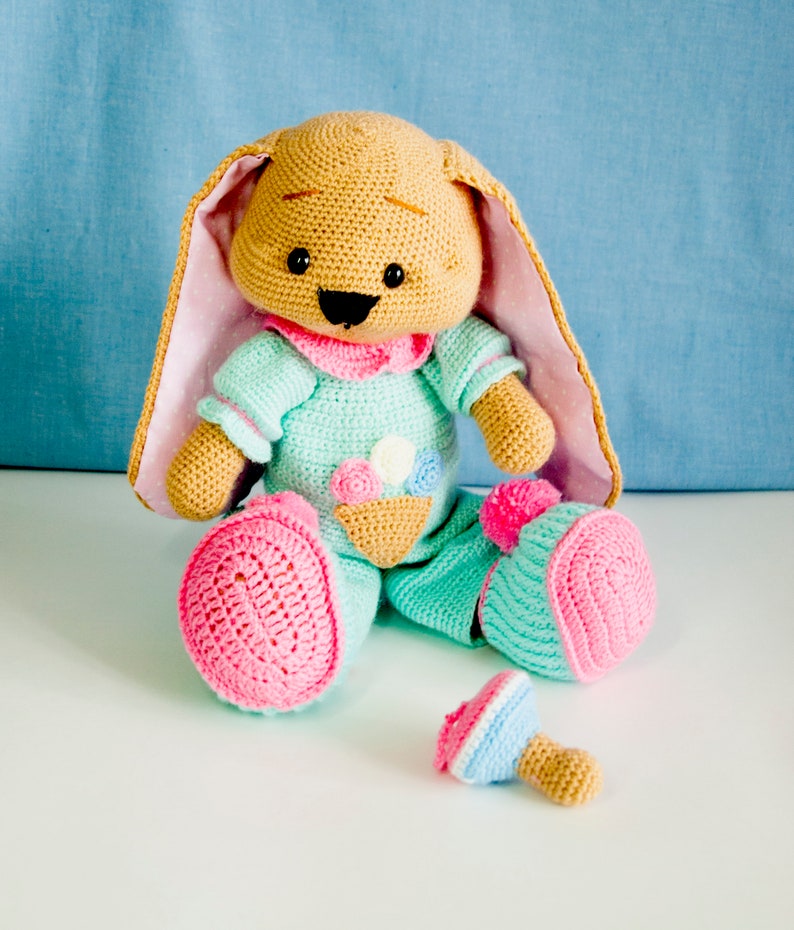
Step 7. Overalls for a Bunny
Work with light green yarn, 2 mm crochet hook.
Crochet the right overalls leg.
1 rnd: 42 ch, join to make a circle (42)
2-5 rnds (4 rnds): 42 sc (42)
6 rnd: (2 sc, inc) х 14 (56)
7-16 rnds (10 rnds): 56 sc (56)
17 rnd: (5 sc, dec) х 8 (48)
18-22 rnds (5 rnds): 48 sc (48)
Fasten off and cut the thread.
Crochet the left overalls leg in the same way.
Do not cut the yarn; continue crocheting joining right and left legs together.
Join the thread at the point you finished crocheting the right leg, put a marker, this will
be the beginning of the rounds and continue crocheting:
23 rnd: 48 sc along the right leg, 48 sc along the left leg (96)
24-29 rnds (6 rnds): 96 sc (96)
30 rnd: (10 sc, dec) х 8 (88)
31-35 rnds (5 rnds): 88 sc (88)
36 rnd: (9 sc, dec) х 8 (80)
37-41 rnds (5 rnds): 80 sc (80)
42 rnd: (8 sc, dec) х 8 (72)
43-46 rnds (4 rnds): 72 sc (72)
47 rnd: 6 sc (to align the rnd), ch, turn, 66 sc (72)
48-57 rnds (10 rnds): ch, turn, 72 sc (72)
58 rnd: ch, turn, (4 sc, dec) х 12 (60)
59-60 rnd (2 rnds): ch, turn, 60 sc (60)
61 rnd: ch, turn, 14 sc, 12 ch, count 7 stitches on the overalls and skip, 18 sc, 12 ch, count
7 stitches on the overalls and skip, 14 sc (60)
62 rnd: ch, turn, 14 sc, 12 sc on a chain, 18 sc, 12 sc on a chain, 14 sc (70)
63 rnd: ch, turn, (5 sc, dec) х 10 (60)
64 rnd: ch, turn, (4 sc, dec) х 10 (50)
65 rnd: ch, turn, (3 sc, dec) х 10 (40)
66 rnd: ch, turn, (2 sc, dec) х 10 (30)
67 rnd: ch, turn, 30 sc (30)
Fasten off and cut the thread
Sleeves for overalls
For the left hand:
Attach the light green yarn to the armhole of the
left sleeve:
1 rnd: 8 sc, (inc) х 12 (32)
2-10 rnds (9 rnds): 32 sc (32)
Attach pink yarn.
11 rnd: (sc, dec) х 16 (16)
12 rnd: 16 sc (16)
Fasten off and cut the thread
Continue to crochet light green yarn.
13 rnd: 2 ch, dc (2 dc in one stitch) х 15 Work in front loop only (32)
Fasten off and cut the thread
For the right hand: crochet just like for the left sleeve.
Neck
Attach pink yarn to the neck of the overalls.
1 rnd: 82 sc round (82)
Make a buttonhole for the size of your button. Sew a button.
Collar for overalls
Continue to crochet with pink yarn along the neck of the left side.
1 rnd: 3 ch, dc, ( 2 dc in one stitch) х 13 Work in front loop only (28)
2 rnd: 2 ch, turn, 27 dc, 3 chs, sl st (28)
Fasten off and cut the thread.
Attach the pink yarn to the neck of the right side.
1 rnd: 3 ch, dc, ( 2 dc in one stitch) х 13 Work in back loop only (28)
2 rnd: 2 ch, turn, 27 dc, 3 chs, sl st (28)
Fasten off and cut the thread
Overalls decoration: ice cream
Crochet 3 circles of: pink, blue, white yarn, hook № 2.
1 rnd: MR (6)
2 rnd: inc х 6 (12)
3 rnd: (sc, inc) х 6 (18)
Fasten off, leave 15 cm\ 6 inch tail for sewing and cut off.
Work with beige yarn, hook № 2.
1rnd: 2 ch, starting from the 2nd loop from the hook: 3 sc (3)
2 rnd: ch, turn, 3 sc (3)
3 rnd: ch, turn, inc, sc, inc (5)
4 rnd: ch, turn, 5 sc (5)
5 rnd: ch, turn, (inc, sc) х 2, inc (8)
6-7 rnds (2 rnds): ch, turn, 8 sc (8)
8 rnd: ch, turn, (inc, 3 sc) х 2 (10)
9-10 rnds (2 tnds): ch, turn, 10 sc (10)
11 rnd: ch, turn, (sc, inc) х 5 (15)
12 rnd: ch, turn, 15 sc (15)
Fasten off, leave 20 cm\ 7.8 inch tail for sewing and cut off.
Decoration: place all parts on overalls. Sew the ice cream cup to the jumpsuit, then sew
the circles on the sides, sew the last circle in the middle.
Step 8. Cap for bunny
Work with light green yarn, 2 mm crochet hook.
1 rnd: MR (6)
2 rnd: inc х 6 (12)
3- 4 rnds (2 rnds): 12 sc (12)
5 rnd: (sc, inc) х 6 (18)
6-8 rnds ( 3 rnds): 18 sc (18)
9 rnd: (2 sc, inc) х 6 (24)
10-12 rnds (3 rnds): 24 sc (24)
13 rnd: (3 sc, inc) х 6 (30)
14-17 rnds (4 rnds): 30 sc (30)
18 rnd: (4 sc, inc) х 6 (36)
19-22 rnds (4 rnds): 36 sc (36)
23 rnd: ( 5 sc, inc) х 6 (42)
24 – 28 rnds (5 rnds): 42 sc (42)
29 rnd: (6 sc, inc) х 6 (48)
30-34 rnds (5 rnds): 48 sc (48)
35 rnds: (7 sc, inc) х 6 (54)
36-40 rnds (5 rnds): 54 sc (54)
41 rnd: (8 sc, inc) х 6 (60)
42-46 rnds ( 5 rnds): 60 sc (60)
47 rnd: (9 sc, inc) х 6 (66)
48-52 rnds (5 rnds): 66 sc (66)
53 rnd: (10 sc, inc) х 6 (72)
54-69 rnds (16 rnds): 72 sc (72)
70 rnd: 6 sc, 16 ch (count 16 stitches on the cap and skip), 28 sc, 16 ch (count 16 stitches
and on the cap skip), 6 sc (72)
71 rnd: 6 sc, 16 sc on a chain, 28 sc, 16 sc on a chain, 6 sc (72)
72 rnd: 3 ch, 71 dc, sl st (72)
73-76 rnds (4 rnds): 3 ch, (FPdc, dc) х 36, sl st (72)
Fasten off and cut the thread.
Attach the pink yarn and continue to crochet.
77 rnd: ch, 71 sc, sl st (72)
Fasten off and cut the thread.
Make a pom-pom for the cap.
Wrap pink yarn around 6 cm\ 2.3 inch cardboard piece, make a gap in the middle for the
thread you will tighten the pom-pom with. Make around 120-150 wraps around the
cardboard (the more wraps, the fluffier the pom-pom). Tie a strong knot in the middle.
Cut the looped ends of yarn from both sides. Trim the pom-pom and sew it on the cap.
Step 9. Bootees for bunny
Crochet sole.
Work with pink yarn, 2 mm crochet hook.
1 rnd: 12 ch + 3 ch (15), starting from the 4th loop from the hook: 3 dc into one stitch, 10
dc along the chain, 6 dc into the first ch, along the other side of the chain: 10 dc along the
chain, 2 dc into one stitch, sl st (32)
2 rnd: 3 ch, ( 2 dc into one stitch) x 3, 10 dc, (2 dc into one stitch) x 6, 10 dc, (2 dc into
one stitch) x 2, 1 dc, sl st (44)
3 rnd: 3 ch, (1 dc, ( 2 dc into one stitch)) x 3, 10 dc, (1 dc (2 dc into one stitch) x 6, 10 dc,
( 1 dc, (2 dc into one stitch)) x 2, 1 dc, sl st (56)
4 rnd: ch, 55 sc, sl st (56)
Fasten off and cut the thread.
Attach a light green yarn.
5 rnd: 3 ch, 55 dc Work in back loop only, sl st (56)
6-7 rnds (2 rnds): 3 ch, (FPdc, dc) х 27, FPdc, sl st (56)
Fold the shoe in half, find the middle and count the 12 stitches to the left and 12 stitches
to the right, total 24 stitches.
8 rnd: 3 ch, next, crochet the pattern until the stitch is marked (FPdc, dc) х 7, FPdc.
Continue to crochet according to the pattern: (dc, FPdc) х 8, sl st (44
9 rnd: 3 ch, (FPdc, dc) х 7, FPdc.
Decrease according to the scheme: ( 2 FPdc with shared cluster) x 6
i.e. enter the hook under FPdc
Continue to crochet according to the pattern: (dc, FPdc) х 8, sl st (38)
10 rnd: 3 ch, (FPdc, dc) х 7, FPdc.
Decrease according to the scheme: 2 FPdc with shared cluster, 2 FPdc, 2 FPdc with shared
cluster.
Continue to crochet according to the pattern: (dc, FPdc) х 8, sl st (36)
11 rnd: 3 ch, (FPdc, dc) х 7, FPdc, 4 dc, (dc, FPdc) х 8, sl st (36)
12-13 rnds (2 rnds): 3 ch, (FPdc, dc) х 17, FPdc, sl st (36)
Fasten off and cut the thread.
Attach pink yarn.
14 rnd: ch, 36 sc, sl st (36)
Fasten off and cut the thread.
Attach the pink yarn to the top of the 5th rnd of the base of the sole of the bootees and
crochet in a circle: ch, 55 sc, sl st Work in front loop only (56)
Fasten off and cut the thread.
Make a pom-pom for the bootees.
Wrap pink yarn around 3 cm\ 1.18 inch cardboard piece, make a gap in the middle for the
thread you will tighten the pom-pom with. Make around 80-100 wraps around the
cardboard (the more wraps, the fluffier the pom-pom). Tie a strong knot in the middle.
Cut the looped ends of yarn from both sides. Trim the pom-pom and sew it on the
bootees.
Sew the pompom to the booties. Crochet the second bootees in the same way.
Step 10. Nipple for bunny
Start to work with beige yarn, 2 mm crochet hook.
1 rnd: MR (6)
2 rnd: inc х 6 (12)
3 rnd: (sc, inc) х 6 (18)
4-6 rnds (3 rnds): 18 sc (18)
7 rnd: (sc, dec) х 6 (12)
8-11 rnds (4 rnds): 12 sc (12)
Fasten off and cut the thread.
Attach the blue yarn and continue to crochet.
12 rnd : 12 sc (12)
13 rnd: (sc, inc) х 6 Work in front loop only (18)
14 rnd: (2 sc, inc) х 6 (24)
15 rnd: 24 sc (24)
16 rnd: (3 sc, inc) х 6 (30)
17 rnd: (4 sc, inc) х 6 (36)
18 rnd: 36 sc Work in back loop only (36)
Fasten off and cut the thread.
Attach the white yarn and continue to crochet.
19 rnd: 36 sc (36)
Fasten off and cut the thread.
Attach the pink yarn and continue to crochet.
20 rnd: 36 sc Work in back loop only (36)
21 rnd: 36 sc (36)
22 rnd: (4 sc, dec) х 6 (30)
23 rnd: (3 sc, dec) х 6 (24)
24 rnd: (2 sc, dec) х 6 (18)
Fill with filler.
25 rnd: ( sc, dec) х 6 (12)
26 rnd: dec х 6 (6)
For strap: 36 ch and close with 26 rnd
Fasten off and cut the thread.
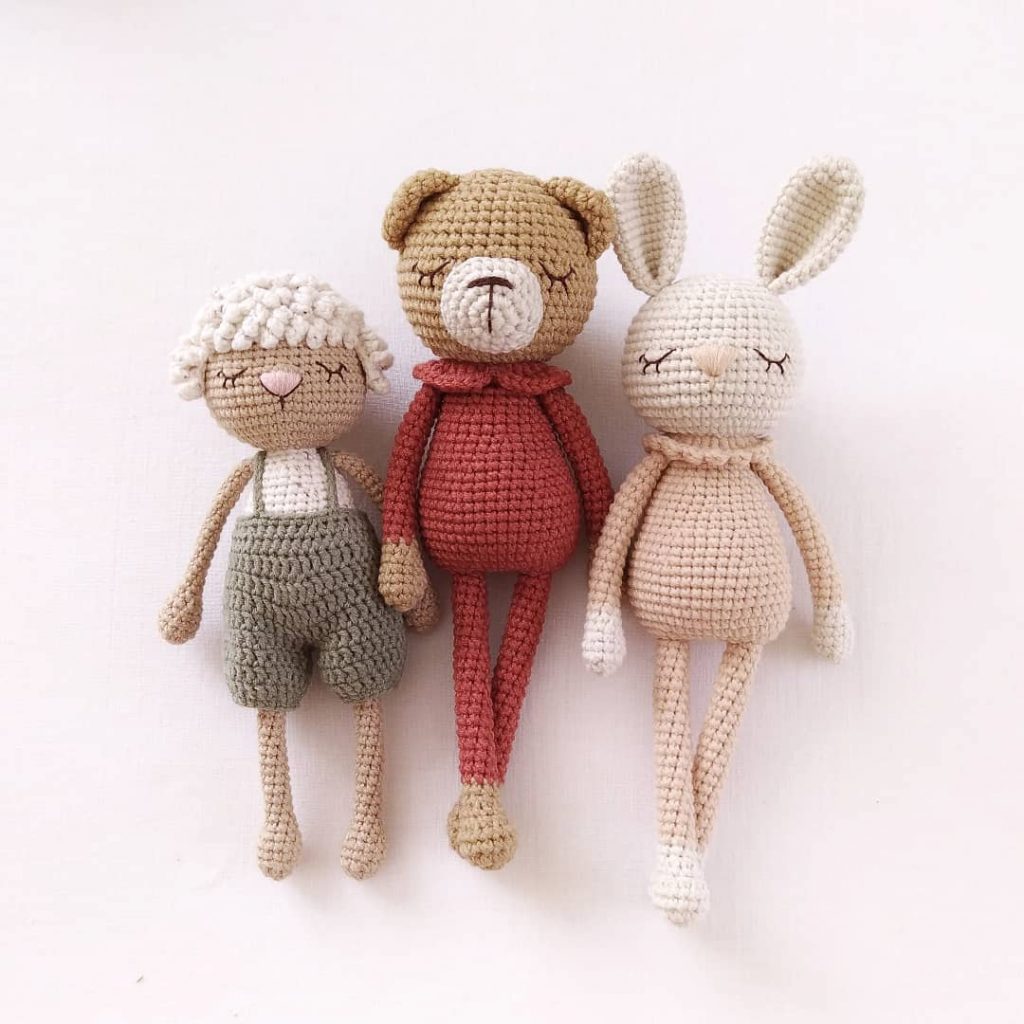
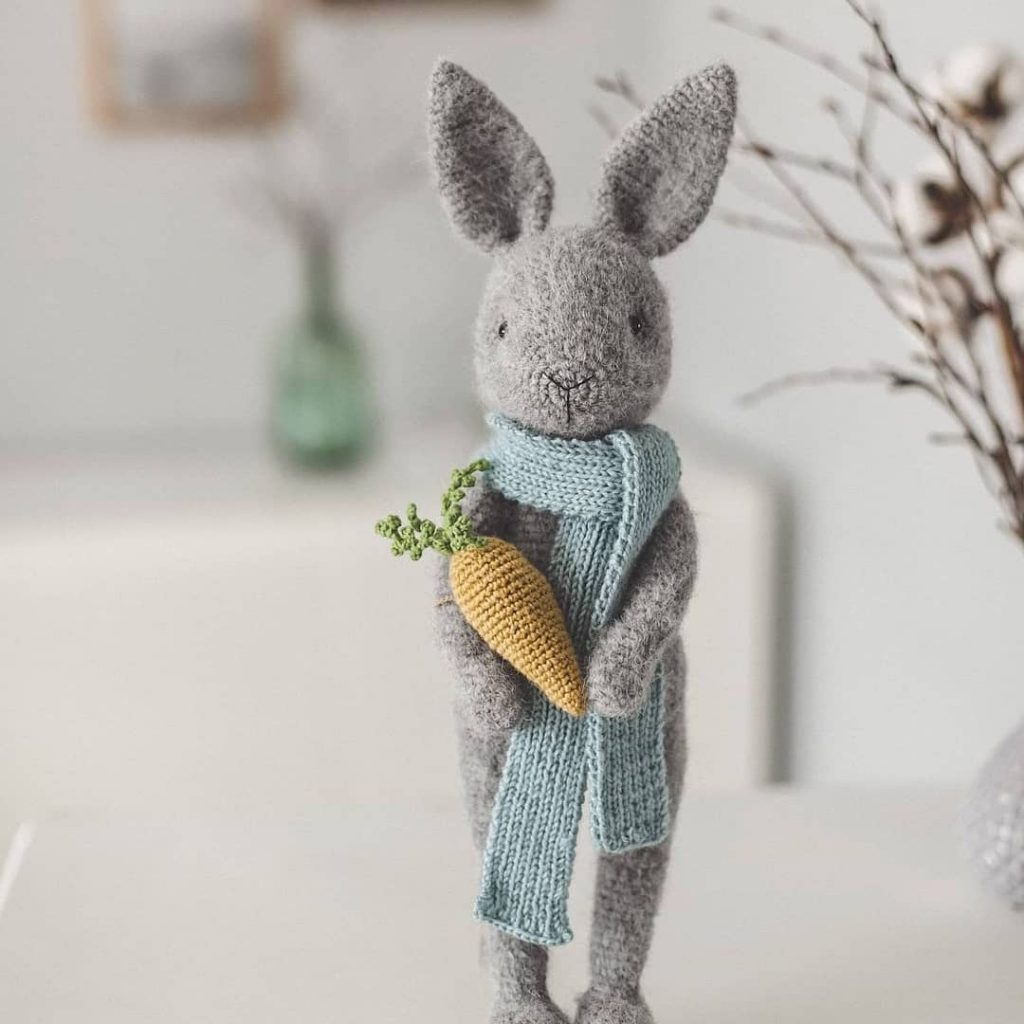
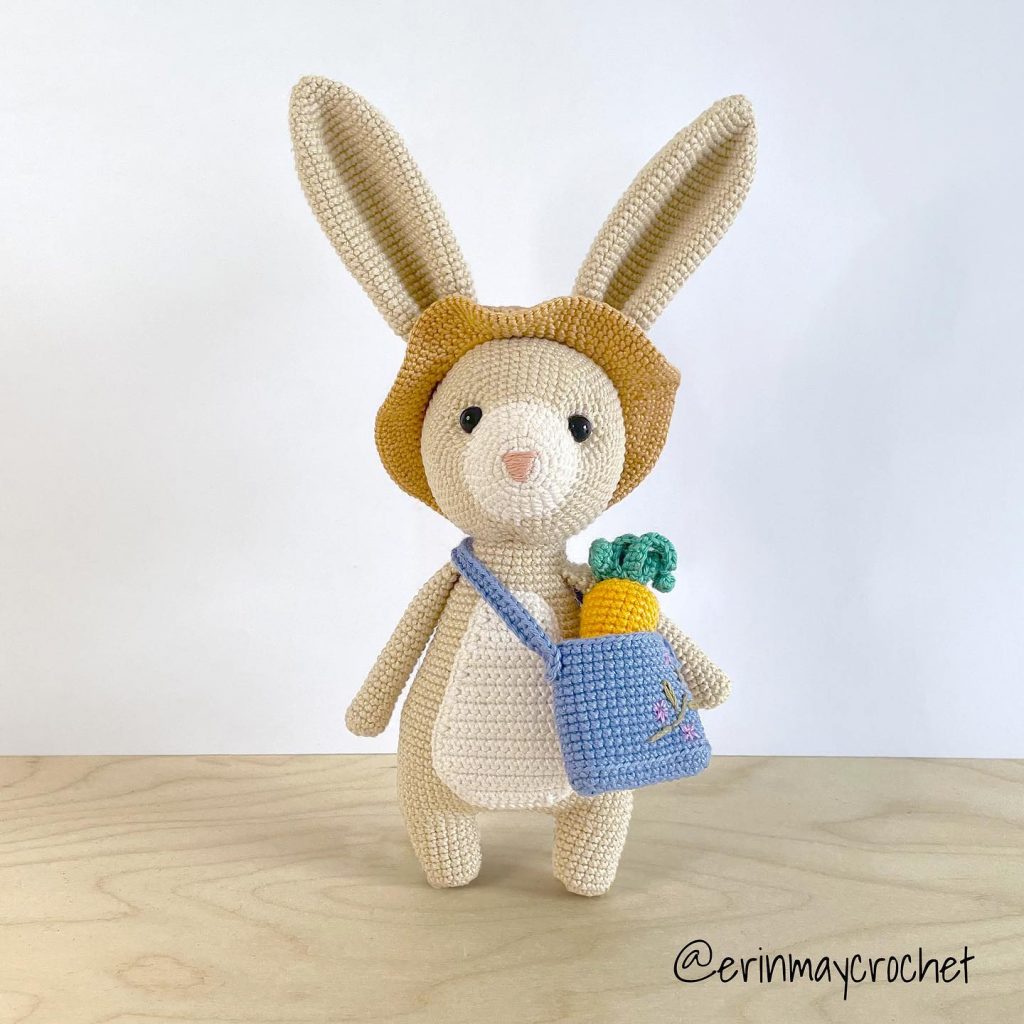
More Amigurumi Bunny İdeas