Amigurumi Champagne Set Free Pattern
Hello dear Amigurumi Followers
Today we share one free amigurumi crochet pattern again for you. As you know we share new amigurumi free patterns every day. The main crochets are amigurumi gazelles, amigurumi bears, amigurumi pola, amigurumi pandas, amigurumi penguins, amigurumi giraffes, amigurumi llama, amigurumi pigs, amigurumi bunny, amigurumi clowns, amigurumi lambs, amigurumi bees, amigurumi unicorns, amigurumi dolls, amigurumi foxes, amigurumi penguins, amigurumi dinosaurs, amigurumi elephants, amigurumi hippos, amigurumi monkeys, amigurumi cats, amigurumi dogs and more …
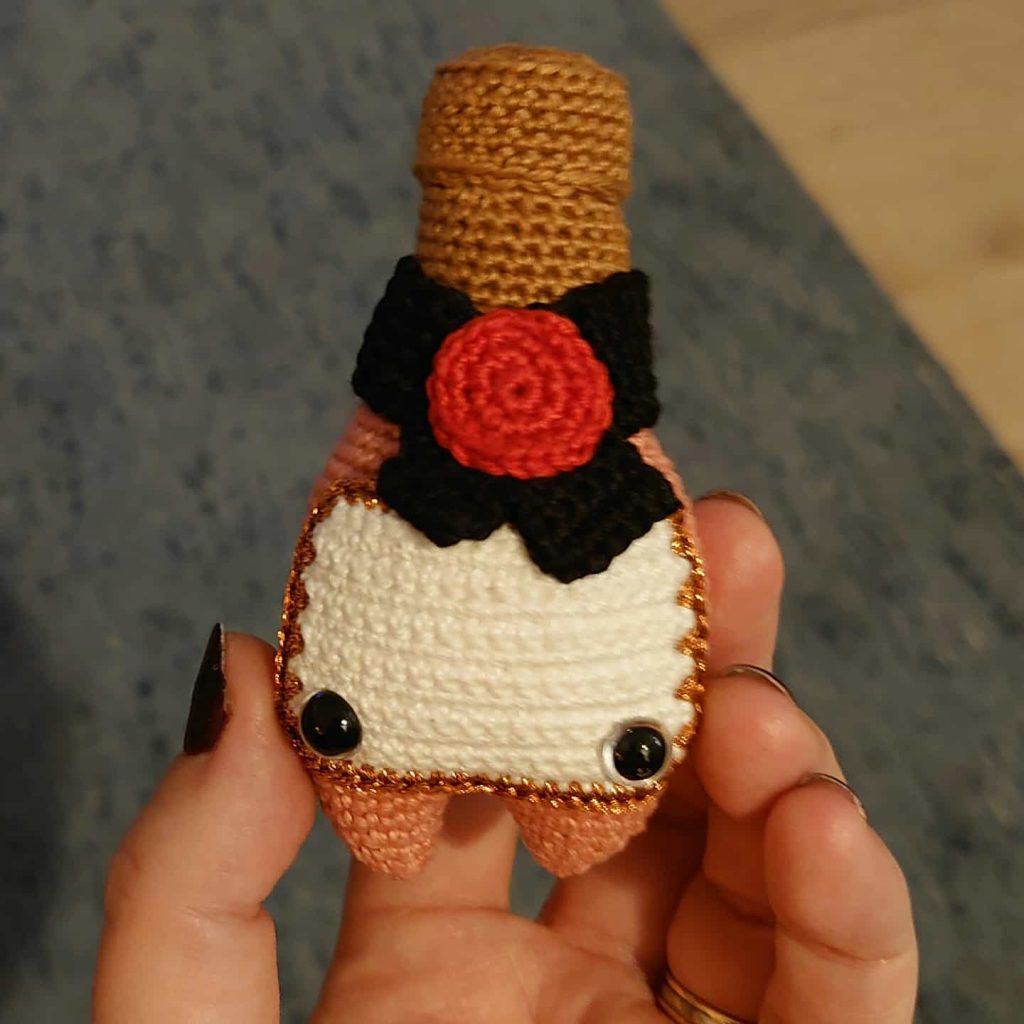
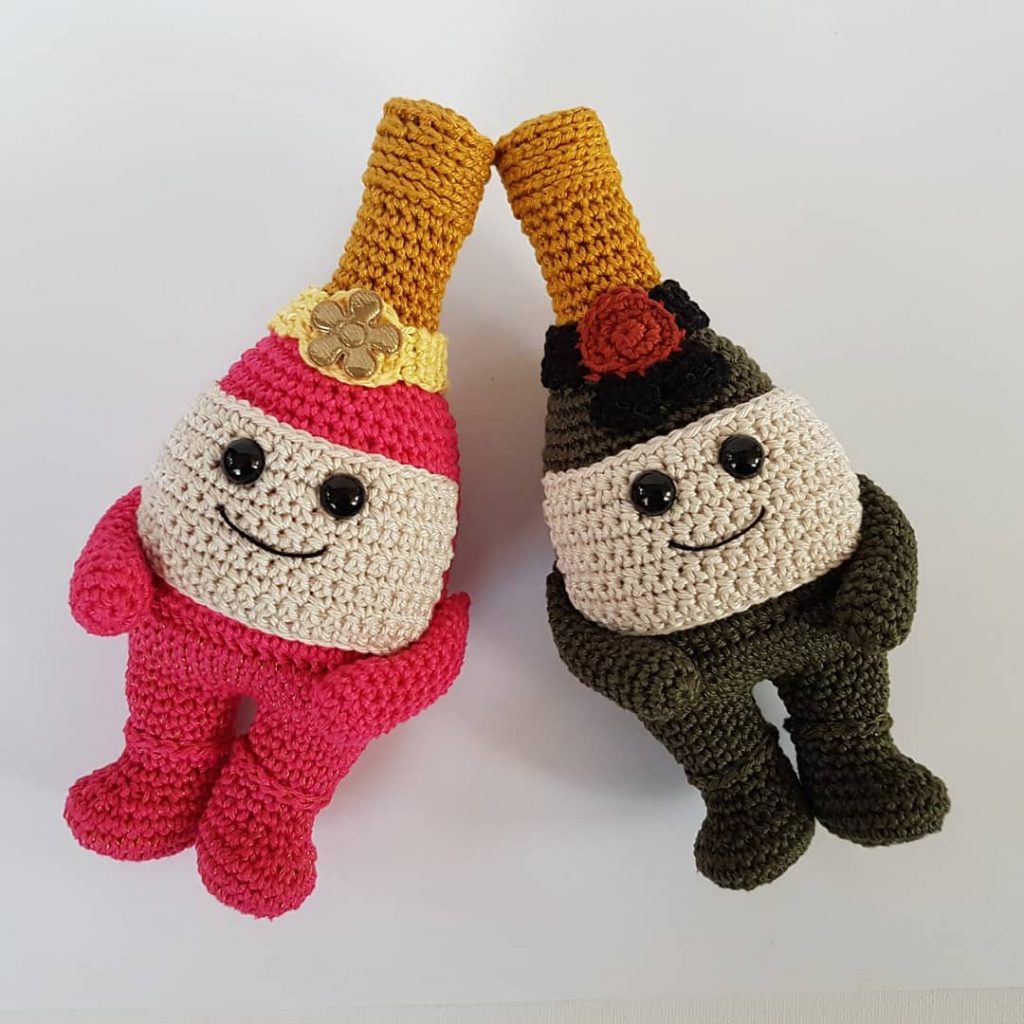
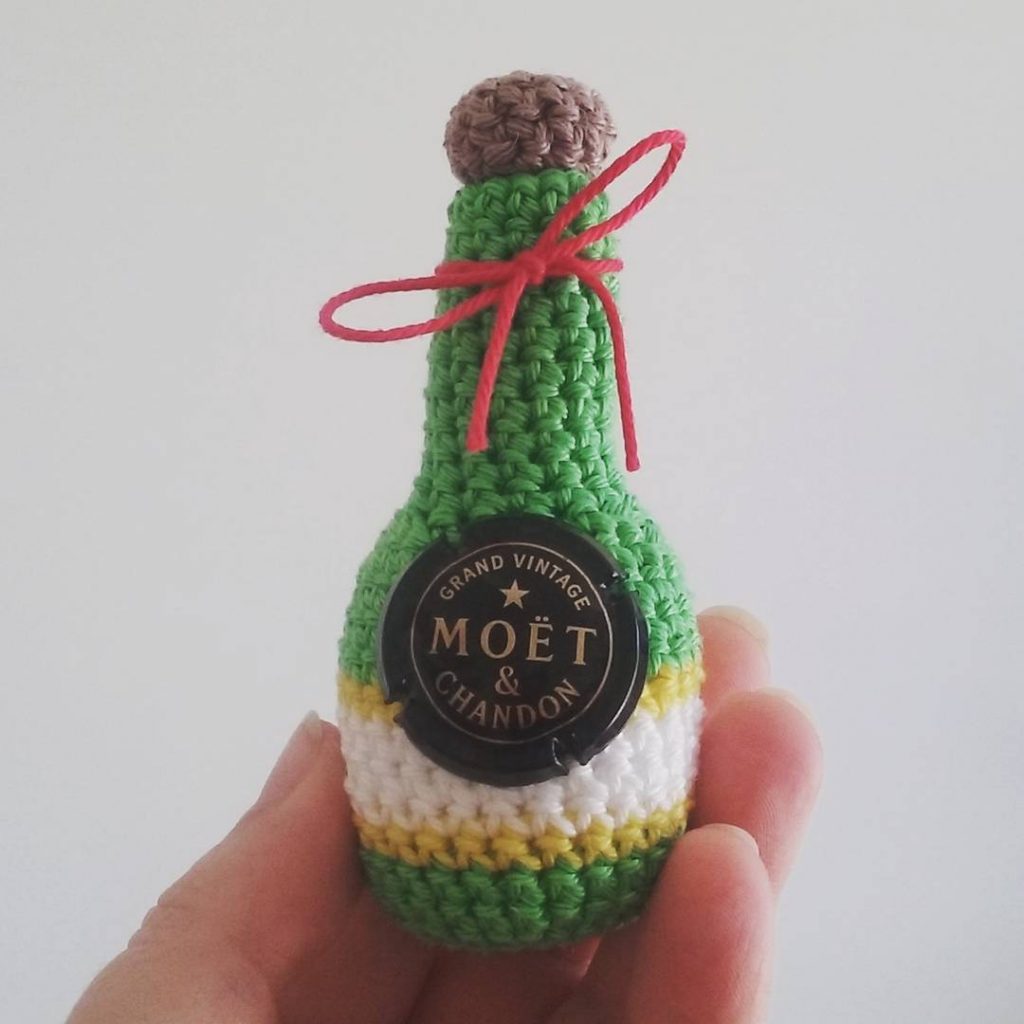
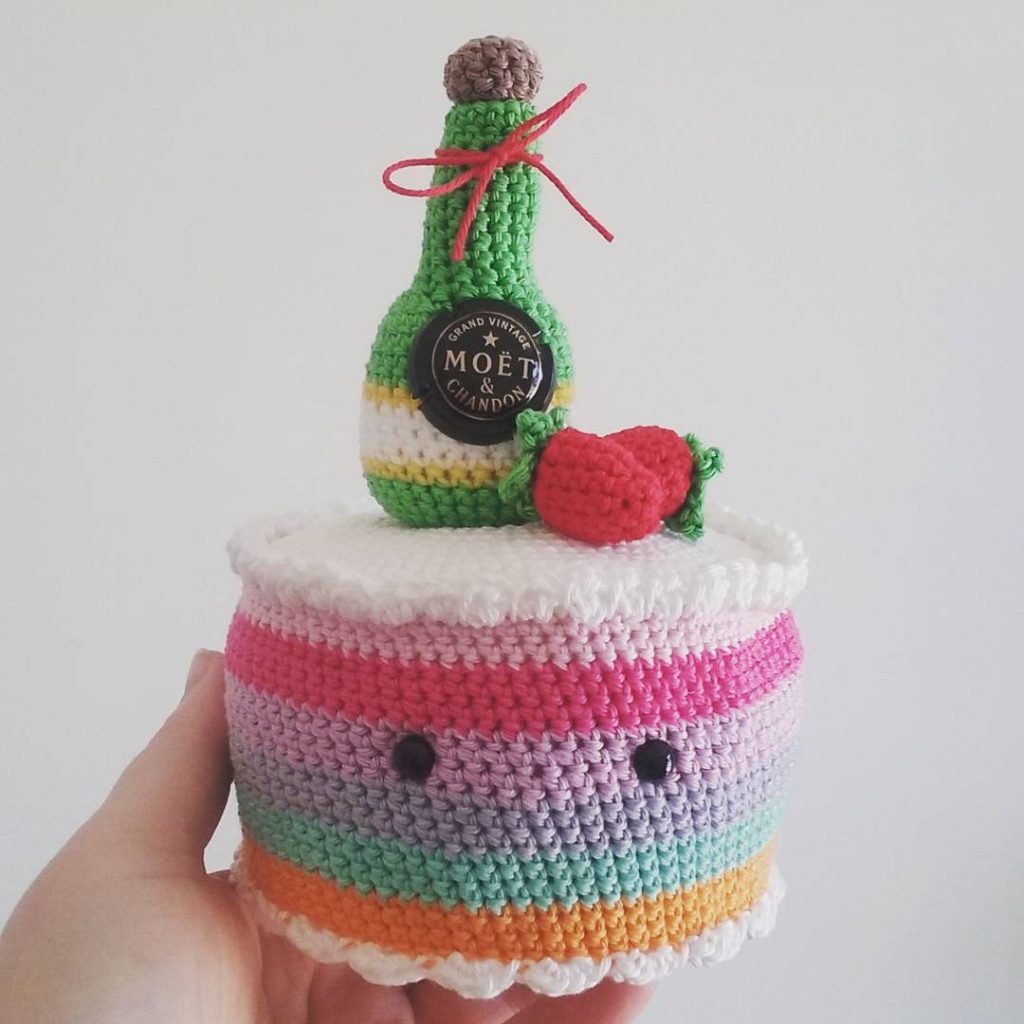
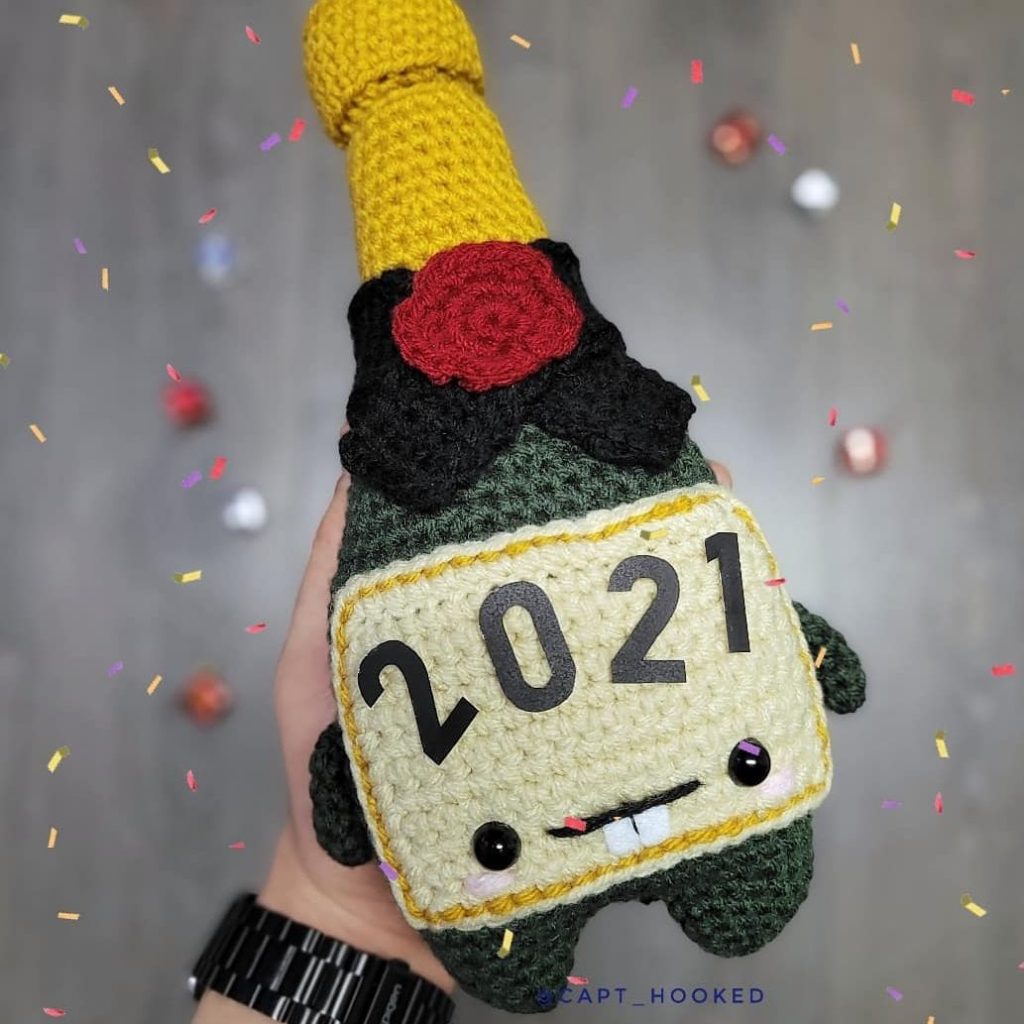
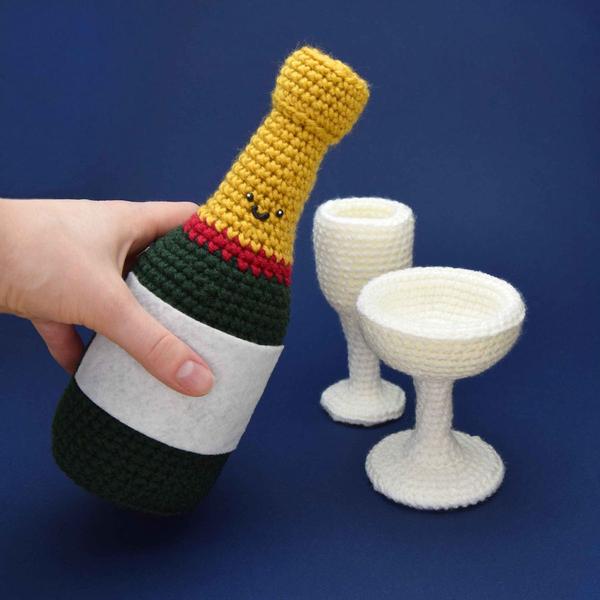
Todays daily new amigurumi free crochet pattern is amigurumi champagne
I want to give you some informations about this pattern ;
Materials
-Worsted weight yarn in dark green, red, gold, and white
– 5.0mm (H) Odyssey hook
– Stuffing
– White felt
– Fabric glue
– Black fabric paint
– Floral wire or white pipe cleaner
– Tapestry needle
– Stitch marker
– Scissors
Abbreviations
Ch = chain
Slp st = slip stitch
Sc = single crochet
Sc dec = single crochet decrease
BLO = back loops only
FLO = front loops only
FO = finish off
PART ONE
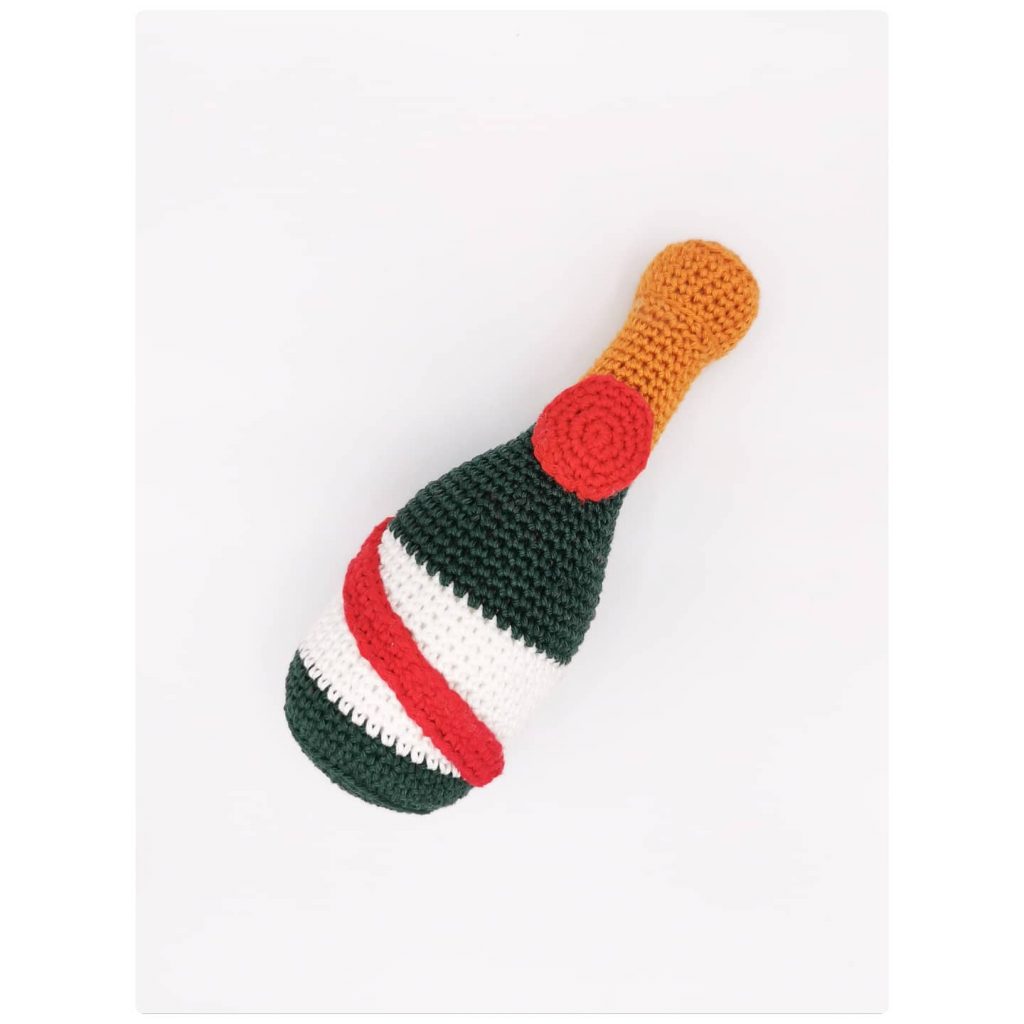
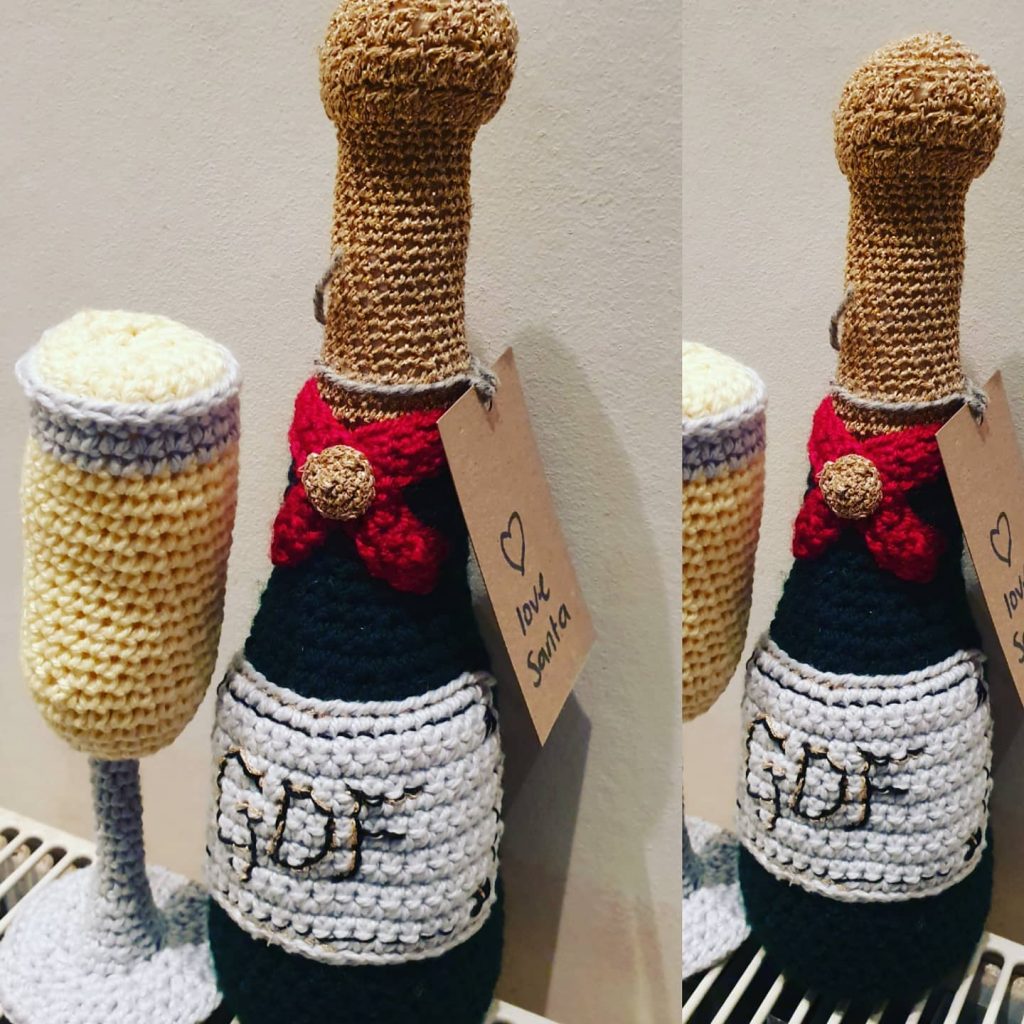
This week we’ll be making the star of the show: the Champagne bottle! Then, next week, we’ll make the glasses so we can all toast to a fabulous new year.
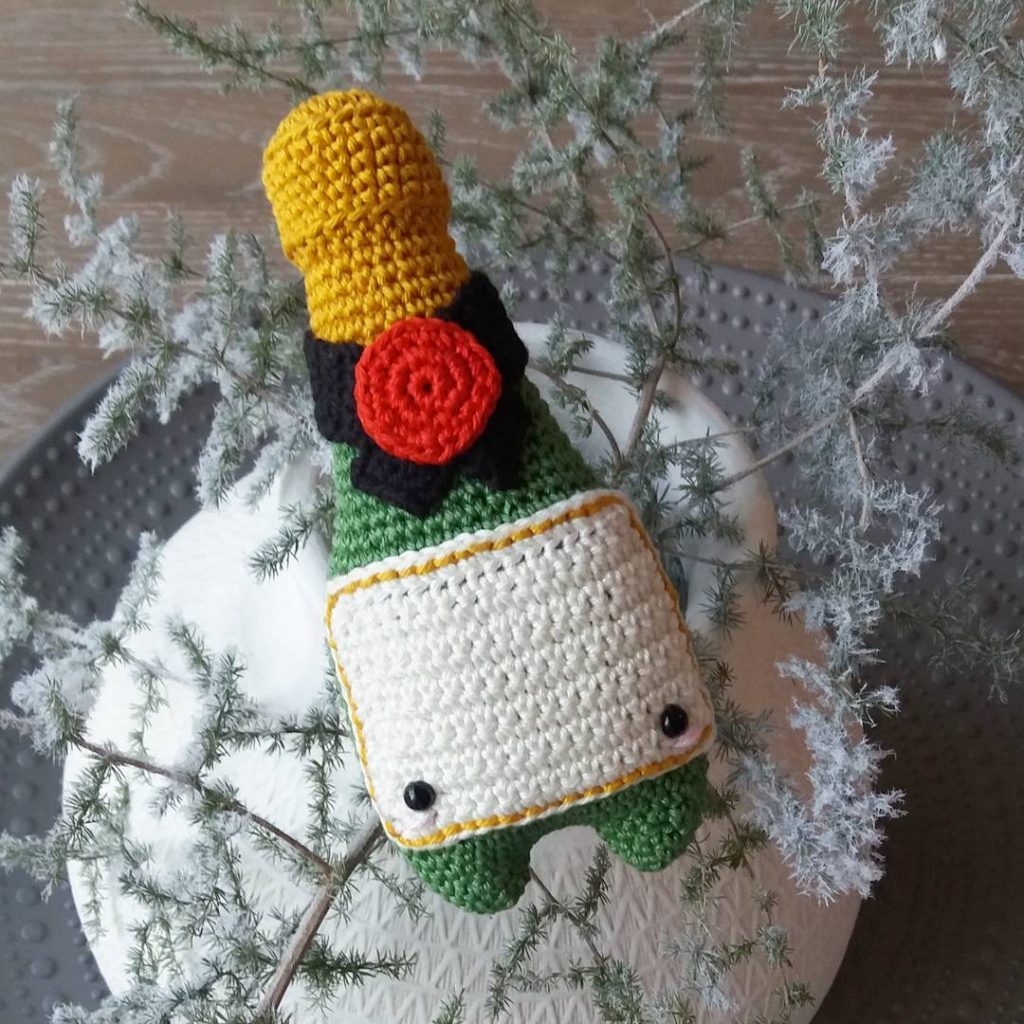
Champagne Bottle
With dark green, ch 2 or magic ring
Rnd 1: 6 sc in 2nd ch from hook / ring (6)
Rnd 2: 2 sc in each sc around (12)
Rnd 3: *2 sc in 1st sc, sc in next sc* rep *-* around (18)
Rnd 4: *2 sc in 1st sc, sc in next 2 sc* rep *-* around (24)
Rnd 5: *2 sc in 1st sc, sc in next 3 sc* rep *-* around (30)
Rnd 6: *2 sc in 1st sc, sc in next 4 sc* rep *-* around (36)
Rnd 7: *2 sc in 1st sc, sc in next 5 sc* rep *-* around (42)
Rnd 8: in BLO, sc dec, sc in next 19 sc, sc dec, sc in last 19 sc (40)
Rnds 9-27: now in both loops, sc in each sc around (40)
Rnd 28: *sc dec, sc in next 8 sc* rep *-* around (36)
Rnd 29: sc in each sc around (36)
Rnd 30: *sc dec, sc in next 4 sc* rep *-* around (30)
Rnd 31: sc in each sc around (30)
STUFF the bottom of the bottle
SWITCH color to RED
Rnd 32: *sc dec, sc in next 3 sc* rep *-* around (24)
Rnd 33: sc in each sc around (24)
SWITCH color to GOLD
Rnd 34: sc in each sc around (24)
Rnd 35: *sc dec, sc in next 2 sc* rep *-* around (18)
Rnds 36-40: sc in each sc around (18)
Rnd 41: *sc dec, sc in next 7 sc* rep *-* around (16)
Rnd 42-43: sc in each sc around (16)
Rnd 44: sc in 1st 3 sc, sc dec, sc in next 6 sc, sc dec, sc in last 3 sc (14)
Rnd 45: sc in each sc around (14)
STUFF the neck of the bottle
Rnd 46: in FLO, *2 sc in next sc, sc in next 2 sc* rep *-* 4x, 2 sc in next sc, sc in last sc (19)
Rnd 47: in BLO, sc in each sc around (19)
Rnds 48-51: now in both loops, sc in each sc around (19)
Rnd 52: in BLO, *sc dec, sc in next 2 sc* rep *-* 4x, sc dec, sc in last sc (14)
STUFF the cork
Rnd 53: now in both loops *sc dec, sc in next sc* rep *-* 4x, sc dec (9)
Rnd 54: sc dec around
FO and use tail to close up hole. Weave in the ends.
Using black fabric paint, daub a little face onto the gold foil of the champagne bottle: allow to dry.
In white felt, cut a rectangle about 2” x 4”. If adding a message, embroider or paint it on now.
Apply fabric glue to the side of the label that you don’t want showing. Pin the felt in place on the front of the bottle and allow to dry.
Come back next week to make some fancy glassware with us!
PART TWO
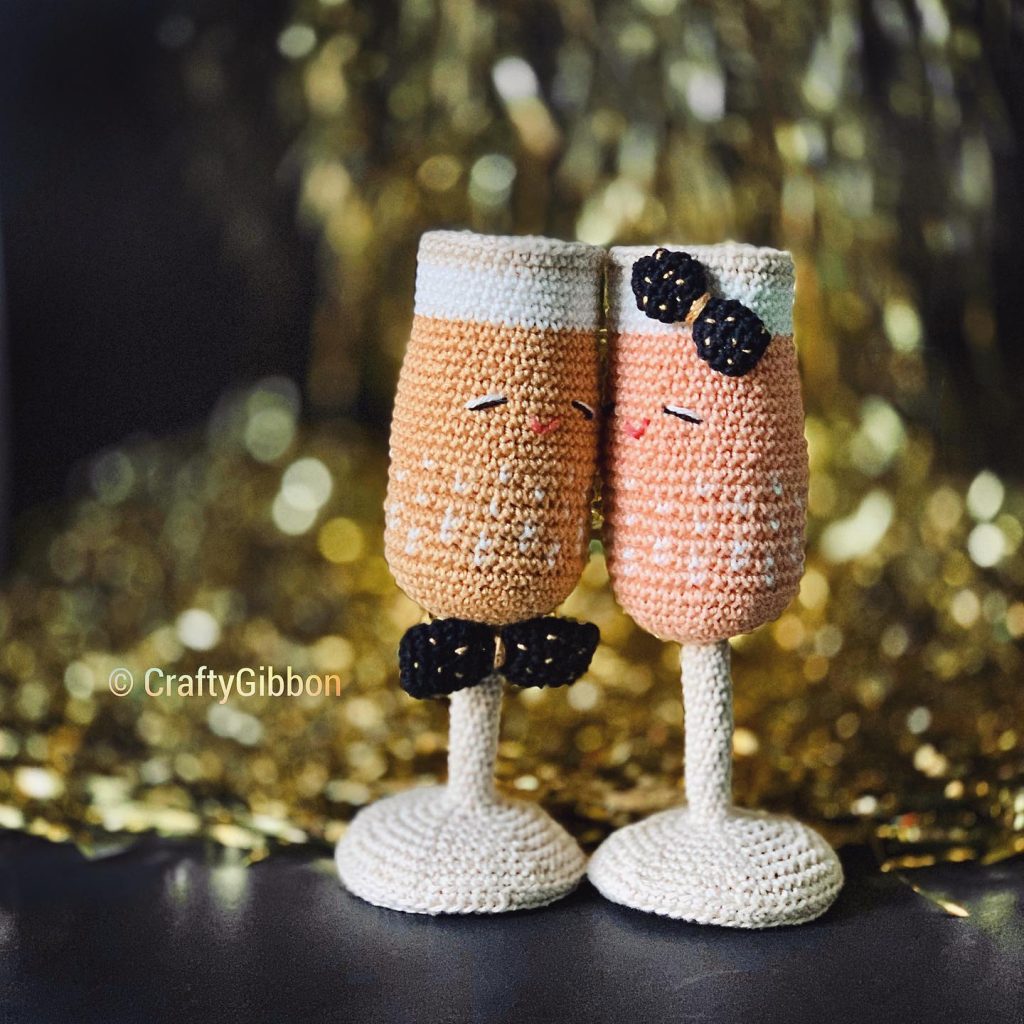
Welcome back to the party! It’s time to grab your hooks and make a few glasses to raise in toast.
1920’s Champagne Glass (Coupe glass)
With white, ch 2 or magic ring
Rnd 1: 6 sc in 2nd ch from hook / ring (6)
Rnd 2: 2 sc in each sc around (12)
Rnd 3: *2 sc in 1st sc, sc in next sc* rep *-* around (18)
Rnd 4: *2 sc in 1st sc, sc in next 2 sc* rep *-* around (24)
Rnd 5: *2 sc in 1st sc, sc in next 3 sc* rep *-* around (30)
Rnd 6: *2 sc in 1st sc, sc in next 4 sc* rep *-* around (36)
Rnd 7: sc in each sc around (36)
Rnd 8: *2 sc in 1st sc, sc in next 5 sc* rep *-* around (42)
Rnds 9-12: sc in each sc around (42)
Rnd 13: in BLO, *2 sc in 1st sc, sc in next 20 sc* rep *-* around (44) – this will be the rim of the glass
Rnd 14: in BLO, sc in each sc around (44) – starting to build the outside of the glass.
Rnds 15-17: sc in each sc around (44)
Roll these last 4 rounds down over the interior of the coupe glass, like rolling down the cuff of a sock. Round 13 should form the rim of the glass. Continue working with the interior and exterior of the glass folded like this (we’re working down the glass now, we’ll be decreasing to match the shape of the bowl, and then we’ll start building the stem).
Rnd 18: *sc dec, sc in next 5 sc* rep *-* 5x, sc dec, sc in next 3 sc, sc dec, sc in last 2 sc (37)
Rnd 19: *sc dec, sc in next 4 sc* rep *-* 6x, sc in last sc (31)
Rnd 20: *sc dec, sc in next 3 sc* rep *-* 6x, sc in last sc (25)
Rnd 21: *sc dec, sc in next 2 sc* rep *-* 6x, sc in last sc (19)
Rnd 22: *sc dec, sc in next sc* rep *-* 6x, sc in last sc (13)
Rnd 23: in FLO, sc in each sc around (13)
Rnd 24: now in both loops, *sc dec, sc in next 2 sc* rep *-* 3x, sc in last sc (10)
Rnd 25: *sc dec, sc in next 3 sc* rep *-* around (8)
Rnds 26-32: sc in each sc around (8)
Rnd 33: *2 sc in 1st sc, sc in next sc* rep *-* around (12)
Rnd 34: sc in each sc around (12)
Rnd 35: *2 sc in 1st sc, sc in next sc* rep *-* around (18)
FO
Base – make 2
Ch 2 or magic loop / ring
Rnd 1: 6 sc in 2nd ch from hook / loop (6)
Rnd 2: 2 sc in each sc around (12)
Rnd 3: *2 sc in 1st sc, sc in next sc* rep *-* around (18)
Rnd 4: *2 sc in 1st sc, sc in next 2 sc* rep *-* around (24)
Rnd 5: *2 sc in 1st sc, sc in next 3 sc* rep *-* around (30)
Rnd 6: *2 sc in 1st sc, sc in next 4 sc* rep *-* around (36)
Rnd 7: sc in 1st 4 sc, *2 sc in next sc, sc in next 5 sc* rep *-* 5x, 2 sc in next sc, sc in last sc (42) (offsetting the increases like this helps prevents a hexagon shape)
FO
Sew the two discs together with the right sides facing out (wrong sides together).
Add a little stuffing to the stem of the glass, and a folded piece of floral wire for stability. Sew the end of the stem (round 35 of the glass) to the center of the base.
If the interior bowl of the glass isn’t keeping its shape because of the little bit of stuffing we added, weave the end up through the stem of the glass and through the center of the cup, then back down (making a small stitch, don’t go back through the same hole you came up through) to pin the interior of the cup down through the stem. Weave in the ends.
Champagne Flute
With white, ch 2 or magic loop / ring
Rnd 1: 6 sc in 2nd ch from hook (6)
Rnd 2: *2 sc in 1st sc, sc in next sc* rep *-* around (9)
Rnd 3: *2 sc in 1st sc, sc in next 2 sc* rep *-* around (12)
Rnd 4: *2 sc in 1st sc, sc in next 2 sc* rep *-* around (16)
Rnd 5: *2 sc in 1st sc, sc in next 3 sc* rep *-* around (20)
Rnd 6: *2 sc in 1st sc, sc in next 4 sc* rep *-* around (24)
Rnds 7-16: sc in each sc around (24)
Rnd 17: in BLO, *2 sc in 1st sc, sc in next 4 sc* rep *-* 5x (30) – this forms the rim of the glass.
Rnd 18: in BLO, *sc dec, sc in next 13 sc* rep *-* 2x (28) – starting to build the outside of the glass.
Rnds 19-24: sc in each sc around (28)
Roll these last 6 rounds down over the interior of the flute, like rolling down the cuff of a sock. Round 17 should form the rim of the glass. Continue working with the interior and exterior of the glass folded like this (we’re working down the glass now, we’ll be decreasing to match the shape of the interior bowl, and then we’ll start building the stem).
Rnd 25: sc dec, sc in last 25 sc (27)
Rnds 26-29: sc in each sc around (27)
Rnd 30: *sc dec, sc in next 5 sc, sc dec, sc in next 4 sc* rep *-* around (23)
Rnd 31: *sc dec, sc in next 4 sc, sc dec, sc in next 3 sc* rep *-* around (19)
Rnd 32: *sc dec, sc in next 3 sc, sc dec, sc in next 2 sc* rep *-* around (15)
Rnd 33: sc in each sc around (15)
Rnd 34: *sc dec, sc in next 2 sc, sc dec, sc in next sc* rep *-* around (11)
Rnd 35: sc in each sc around (11)
Rnd 36: *sc dec, sc in next 3 sc* rep *-* 2x, sc in last sc (9)
Rnds 37-41: sc in each sc around (9)
Rnd 42: *2 sc in 1st sc, sc in next 2 sc* rep *-* 3x (12)
Rnd 43: sc in each sc around (12)
FO
Base – make 2
Ch 2 or magic loop / ring
Rnd 1: 6 sc in 2nd ch from hook / loop (6)
Rnd 2: 2 sc in each sc around (12)
Rnd 3: *2 sc in 1st sc, sc in next sc* rep *-* around (18)
Rnd 4: *2 sc in 1st sc, sc in next 2 sc* rep *-* around (24)
Rnd 5: *2 sc in 1st sc, sc in next 3 sc* rep *-* around (30)
Rnd 6: sc in 1st 3 sc, *2 sc in 1st sc, sc in next 4 sc* rep *-* 5x, 2 sc in next sc, sc in last sc (36) (offsetting the increases like this helps prevents a hexagon shape)
FO
Sew the two discs together with the right sides facing out (wrong sides together).
Add a little stuffing to the stem of the glass, and a folded piece of floral wire for stability. Sew the end of the stem (round 43 of the glass) to the center of the base.
If the interior bowl of the glass isn’t keeping its shape because of the little bit of stuffing we added, weave the end up through the stem of the glass and through the center of the cup, then back down (making a small stitch, don’t go back through the same hole you came up through) to pin the interior of the cup down through the stem. Weave in the ends.
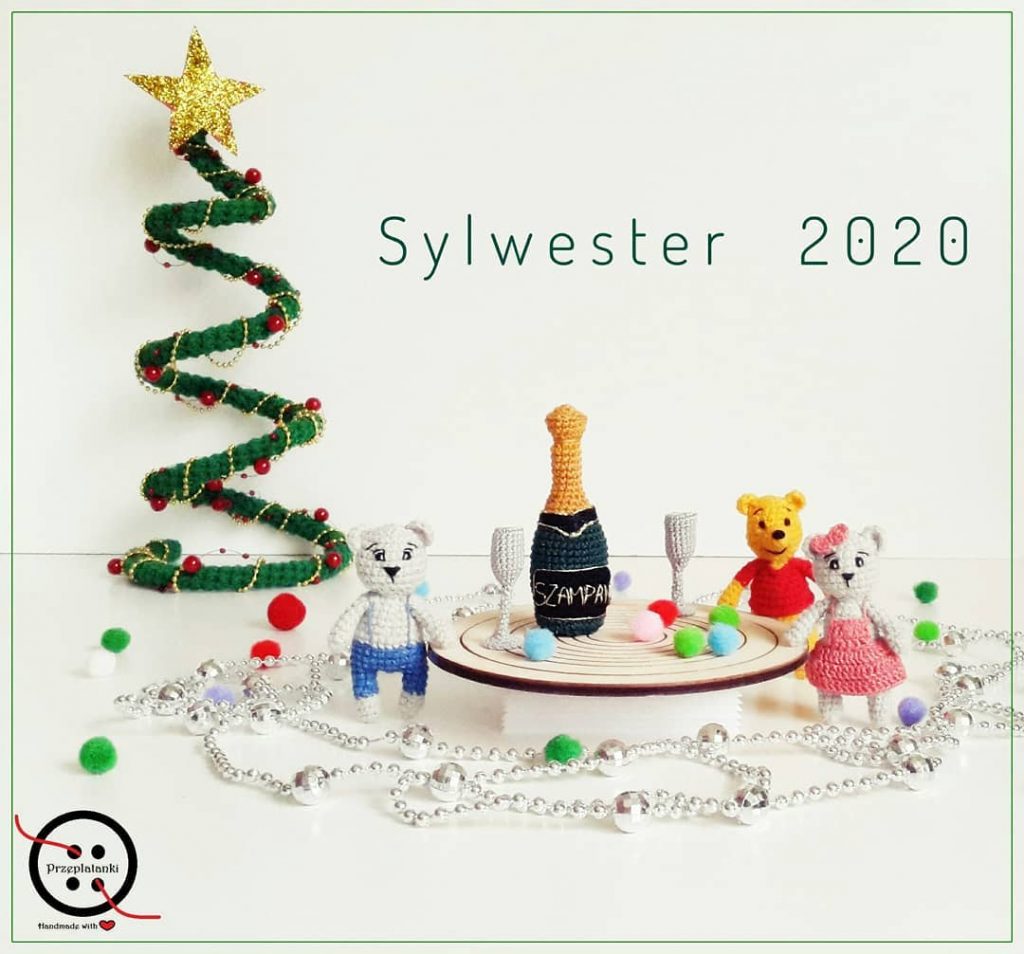
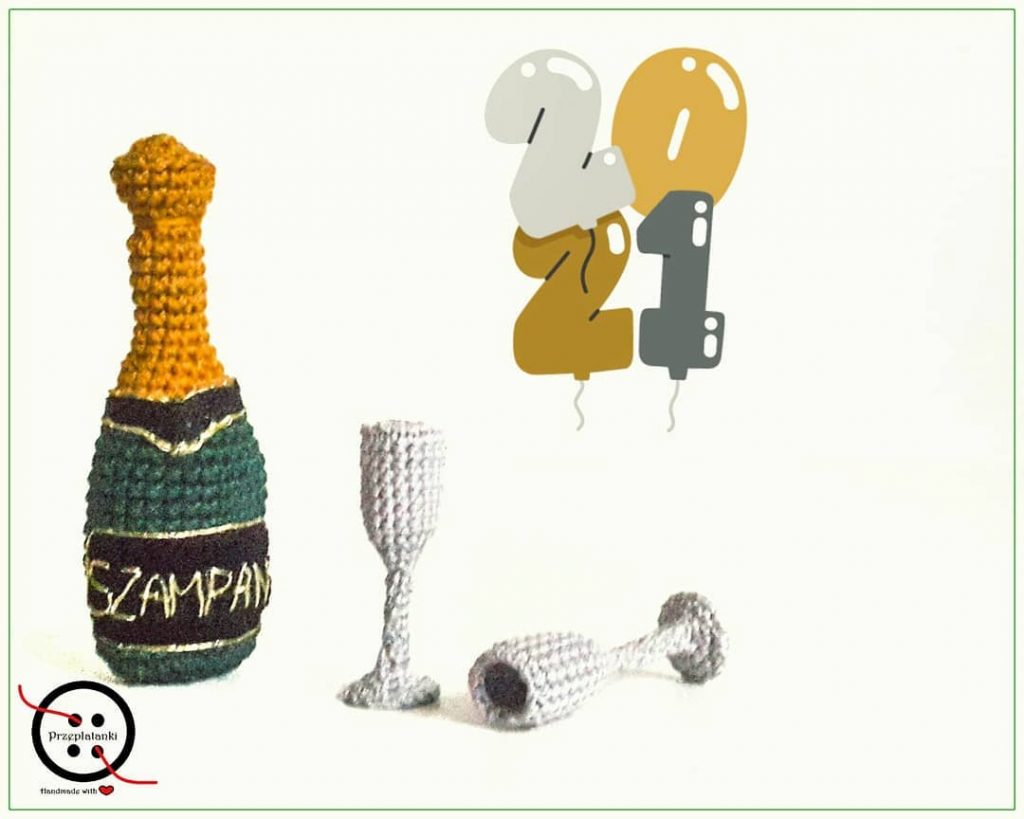
More Amigurumi Champagne İdeas