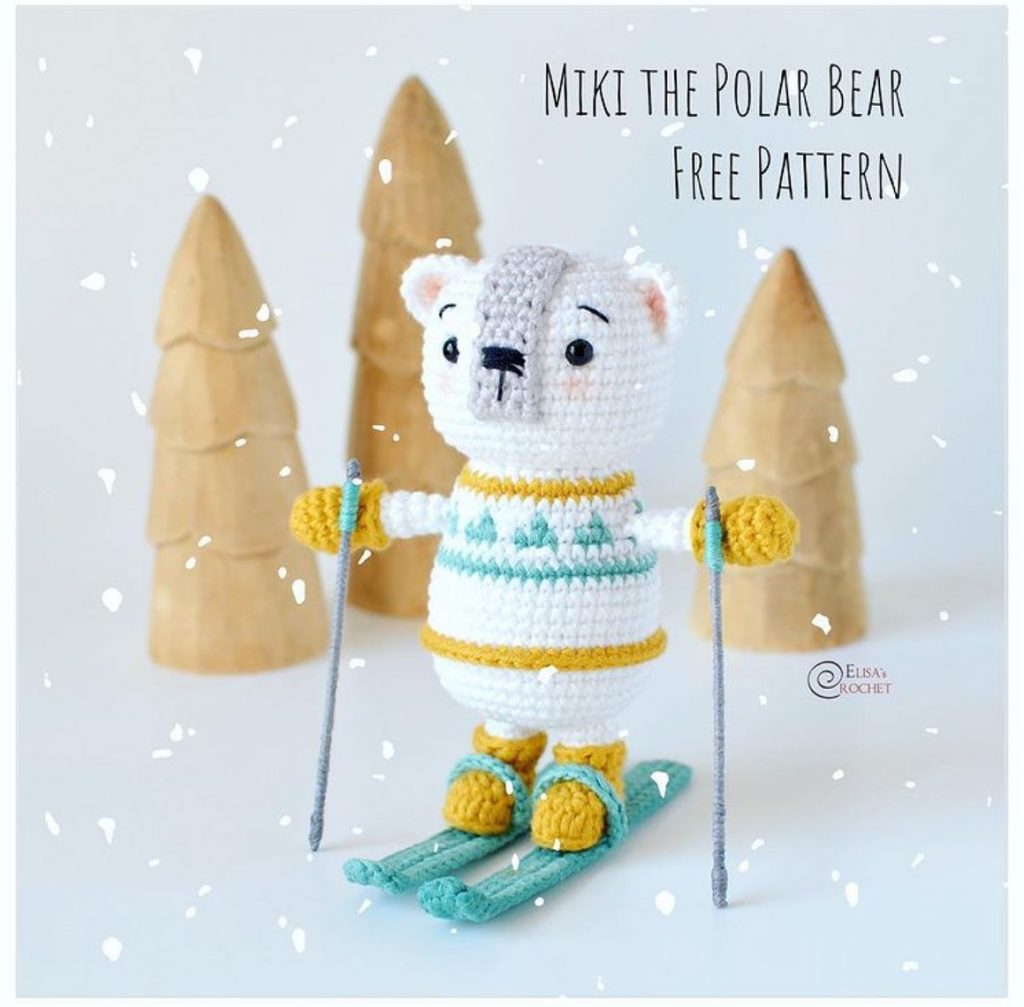
Amigurumi Crochet Polar Bear Free Pattern
Hello dear Amigurumi Followers
Today we share one free amigurumi crochet pattern again for you. As you know we share new amigurumi free patterns every day. The main crochets are amigurumi gazelles, amigurumi bears, amigurumi pola, amigurumi pandas, amigurumi penguins, amigurumi giraffes, amigurumi llama, amigurumi pigs, amigurumi bunny, amigurumi clowns, amigurumi lambs, amigurumi bees, amigurumi unicorns, amigurumi dolls, amigurumi foxes, amigurumi penguins, amigurumi dinosaurs, amigurumi elephants, amigurumi hippos, amigurumi monkeys, amigurumi cats, amigurumi dogs and more …
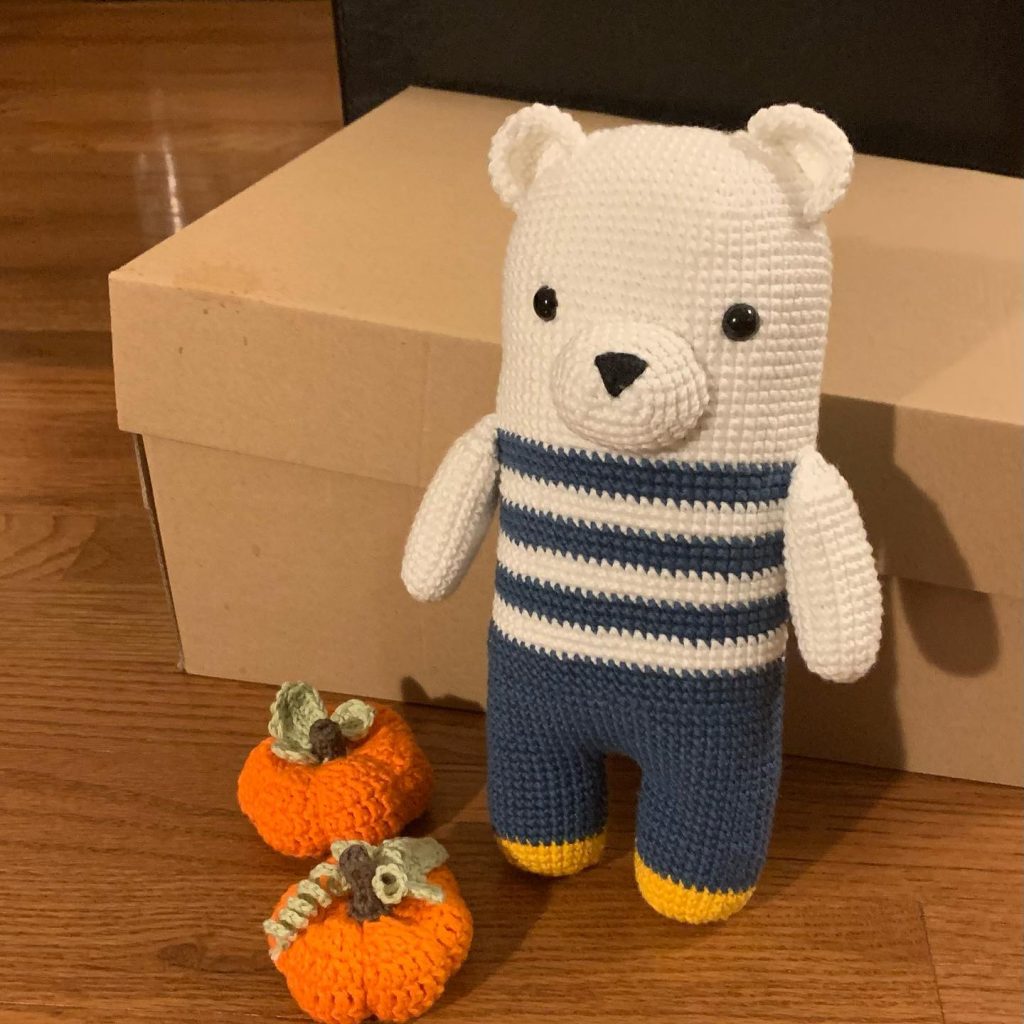
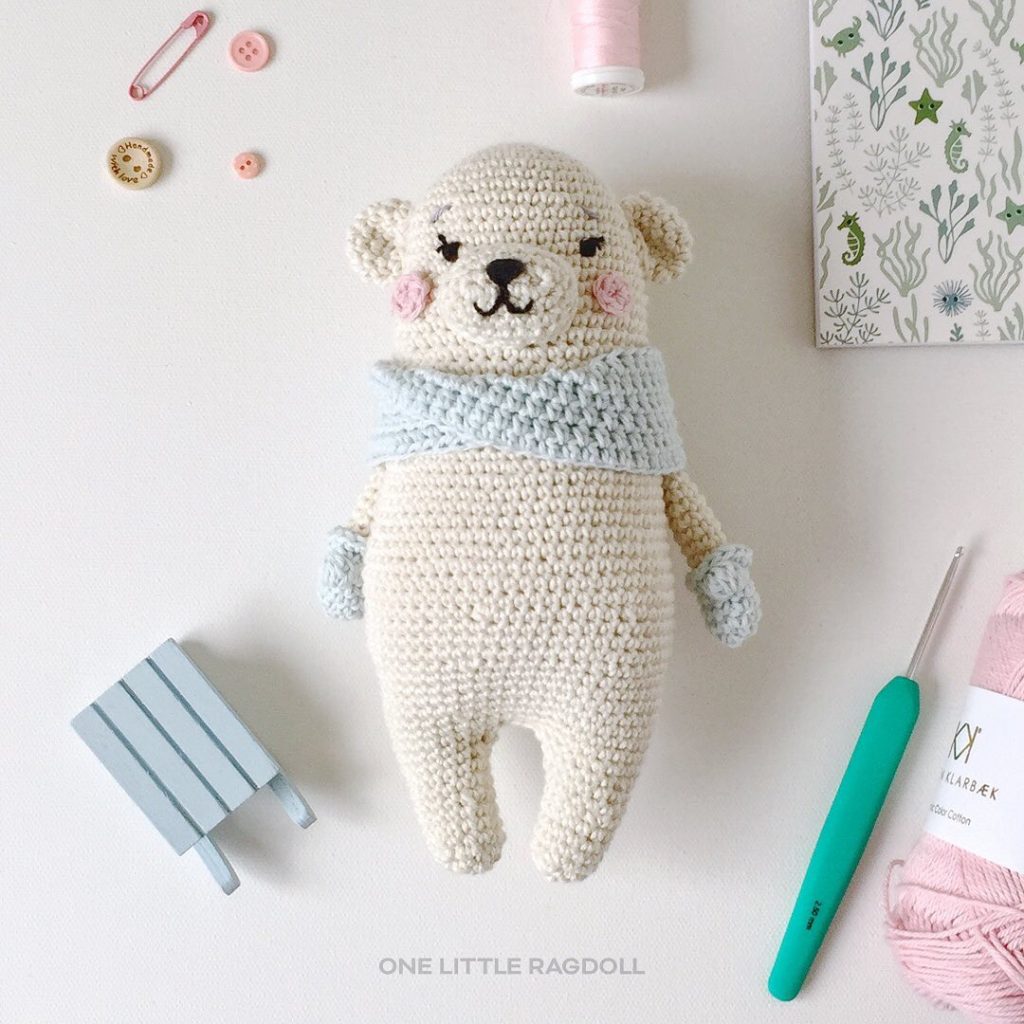
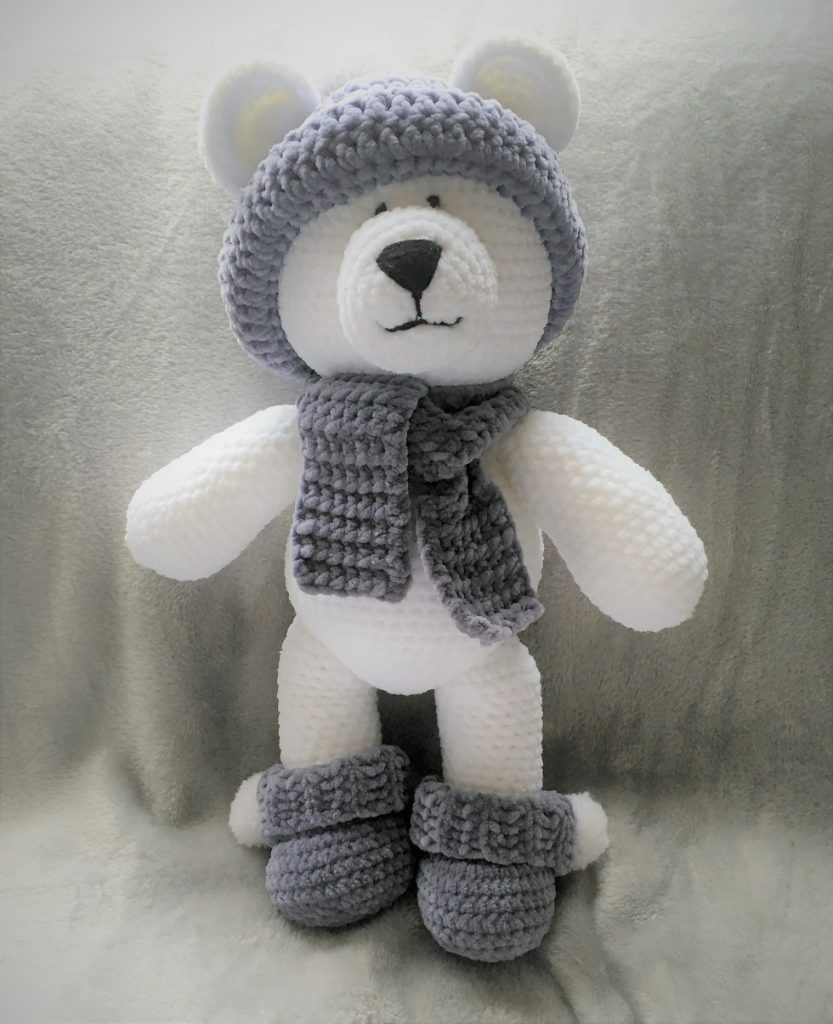
Todays daily new amigurumi free crochet pattern is amigurumi polar bear
I want to give you some informations about this pattern ;
If you enjoy making amigurumi, here I share this easy and free amigurumi pattern for you for free. Your kids will love these toys.
MATERİALS
– Crochet Hook Size:
*For larger bear – Crochet Hook 6mm
*For smaller bear – Crochet Hook 5mm
– Yarn:
*Main Body Colour – James C Brett Flutterby Chunky in WHITE 100g
*Contrasting Colour – James C Brett Flutterby Chunky in DARK GREY / PEWTER 100g or DUSKY PINK 100G
*A small amount of FAB DK BLACK for sewing face features
*A small amount of FAB DK WHITE or KING COLE GLITZ DK DIAMOND WHITE for pom-poms
– Yarn/darning needle with a large eye for weaving in the yarn ends.
– Pom-pom maker – large for the hat and small for booties
– Soft toy filling approximately 100g
– Sewing thread in matching main body colour
– Sewing needle
ABBREVİATİONS
CH – Chain
SC – Single Crochet
HDC – Half Double Crochet
DC – Double Crochet
INC – Increase (2 stitches in 1 stitch)
DEC – Decrease (I use the invisible decrease stitch)
SS – Slip Stitch
NOTES
– Gauge is not important, but if you find you crochet loosely you may want to go down a hook size
– Due to the texture of the flutterby yarn tie a knot at the beginning of each piece of yarn before you start, this prevents the yarn from fraying at the ends
– All parts are made in the round except the scarf and boot cuffs
– Start with a chain of 2 instead of a magic ring, due to the texture of the yarn it makes it difficult to close the magic ring
Body – White Yarn (Main Colour)
- CH2, work 6SC into 1st chain (6sts)
- INC x 6 (12sts)
- 1SC, INC x 6 (18sts)
- 2SC, INC x 6 (24sts)
- 3SC, INC x 6 (30sts)
- 4SC, INC x 6 (36sts)
- 5SC, INC x 6 (42sts)
- 6SC, INC x 6 (48sts)
Stop increasing
- 1SC x 48 for 8 rows
- 6SC, DEC x 6 (42sts)
- 1SC x 42 for 1 row (42sts)
- 5SC, DEC x 6 (36sts)
- 1SC x 36 for 1 row (36sts)
- 4SC, DEC x 6 (30sts)
- 1SC x 30 for 1 row (30sts)
- 3SC, DEC x 6 (24sts)
- 1SC x 24 for 1 row (24sts)
- 2SC, DEC x 6 (18sts)
- 1SC x 18sts for 1 row (18sts)
- SS, fasten off and weave in loose ends
- Stuff firmly with soft toy filling
Head – White (Main Colour)
- CH2, work 6SC into 1st chain (6sts)
- INC x 6 (12sts)
- 1SC, INC x 6 (18sts)
- 2SC, INC x 6 (24sts)
- 3SC, INC x 6 (30sts)
- 4SC, INC x 6 (36sts)
- 5SC, INC x 6 (42sts)
- 6SC, INC x 6 (48sts)
Stop increasing
- 1SC x 48 for 8 rows (48sts)
- 6SC, DEC x 6 (42sts)
- 5SC, DEC x 6 (36sts)
- 4SC, DEC x 6 (30sts)
- 3SC, DEC x 6 (24sts)
Fill with soft toy stuffing
- 2SC, DEC x 6 (18sts)
- 1SC, DEC x 6 (12sts)
Add more soft toy filling if needed
- DEC x 6 (6sts)
- SS, fasten off and weave in loose ends
Sew the head to the body using sewing thread.
Sew the body (18sts) evenly to the 3rd row of the bottom of the head.
Snout – White Yarn (Main Colour)
- CH2, work 6SC into 1st chain (6sts)
- INC x 6 (12sts)
- 1SC, INC x 6 (18sts)
- 2SC, INC x 6 (24sts)
- 1SC x 24 for 4 rows (24sts)
- SS, fasten off and weave in loose ends
Sew the snout onto the head. Pin the snout to the head first to position it, then sew securely with the sewing needle and thread.
Arms (make 2) – White (Main Colour)
- CH2, work 6SC into 1st chain (6sts)
- INC x 6 (12sts)
- 1SC, INC x 6 (18sts)
Stop increasing
- 1SC x 18 for 6 rows (18sts)
- DEC, 16SC (17sts)
- 1SC x 17 for 1 row (17sts)
- DEC, 15SC (16sts)
- 1SC x 16 for 1 row (16sts)
- DEC, 14SC (15sts)
- 1SC x 15 for 1 row (15sts)
- DEC, 13SC (14sts)
- 1SC x 14 for 1 row (14sts)
- DEC, 12SC (13sts)
- 1SC x 13 for 1 row (13sts)
- DEC, 11SC (12sts)
- 1SC x 12 for 1 row (12sts)
- SS, fasten off and weave in loose ends
- Stuff loosely with soft toy filling
Sew the arms onto each side of the body. Pin each arm to the sides of the body first to position them, then sew securely to the body with the sewing needle and thread.
Boots & Legs (make 2) – Contrasting Colour
- Using contrasting colour –
- CH2, work 6SC into 1st chain (6sts)
- INC x 6 (12sts)
- 1SC, INC x 6 (18sts)
- 2SC, INC x 6 (24sts)
- 3SC, INC x 6 (30sts)
- 1SC x 30 for 2 rows (30sts)
- DEC 3 times then 1SC in each st x 24 (27sts)
- DEC 3 times then 1SC in each st x 21 (24sts)
- DEC 3 times then 1SC in each st x 18 (21sts)
- DEC 3 times then 1SC in each st x 15 (18sts)
- 1SC x 18 for 1 row
Change to white yarn (Main Colour)
- Working in back loops only – 1SC BLO x 18 for 1 row
- Work in both loops – 1SC x 18 for 11 rows
Start filling with soft toy filling
- 1SC, DEC x 6 (12sts)
- DEC x 6 (6sts)
- SS, fasten off and weave in loose ends
Boot Cuffs (make 2) – Contrasting Colour
- Do not work in the round – Using contrasting colour
- CH8
- In 2nd CH from hook, 1HDC x 7, CH 2, turn (7sts)
- 1HDC x 7, CH2 turn – repeat 20 rows (do not complete chain 2 on the last row) (7sts)
- SS, fasten off and weave in loose ends
TIP: Due to tension or using the YO/YU technique the gauge may be slightly smaller. Check your measurements by wrapping the boot cuff around the teddy bear’s leg and make sure that the boot cuff overlaps by approximately one inch. If it is too short, add one or two extra HDC rows to the boot cuff.
Sew each boot cuff as above images onto each side of the boot. Pin each boot cuff to the top of the boot attached to the leg. (where pink boot joins the white leg). Sew the boot cuff securely along the pink/white edge of the boot/leg with the sewing needle and thread. Carry on along the whole edge of the boot cuff, overlapping boot cuff then fasten off the thread. See the image below.
Fold each boot cuff over towards the bottom of the boot. See the images below.
Sew each leg onto each side of the body with sewing thread. Lie the bear on a flat surface and pin each leg to the body first to make sure they are level. See the image below.
Scarf – Contrasting Colour
- Do not work in the round
- CH8
- In 2nd CH from hook, 1HDC x 7, CH 2, turn (7sts)
- 1HDC x 7, CH2 turn – repeat 42 rows (do not complete chain 2 on the last row) (7sts)
- SS, fasten off and weave in loose ends
TIP: Due to tension or using the YO/YU technique the gauge may be slightly smaller. Check your measurements by wrapping the scarf around the teddy bear’s neck and make sure that you can tie a loose knot. If it is too short, add one or two extra HDC rows to the scarf.
Hat – Contrasting Colour
- CH2, work 6DC into 1st chain, carry on working in the round (6sts)
- 2DC in each st (12sts)
- 1DC, INC x 6 (18sts)
- 2DC, INC x 6 (24sts)
- 3DC, INC x 6 (30sts)
- 4DC, INC x 6 (36sts)
- 5DC, INC x 6 (42sts)
- 6DC, INC x 6 (48sts)
Stop increasing
- 1DC in each st (48sts) x 6 rows
- 1DC, 1HDC, 1SC, SS, fasten off and weave in loose ends
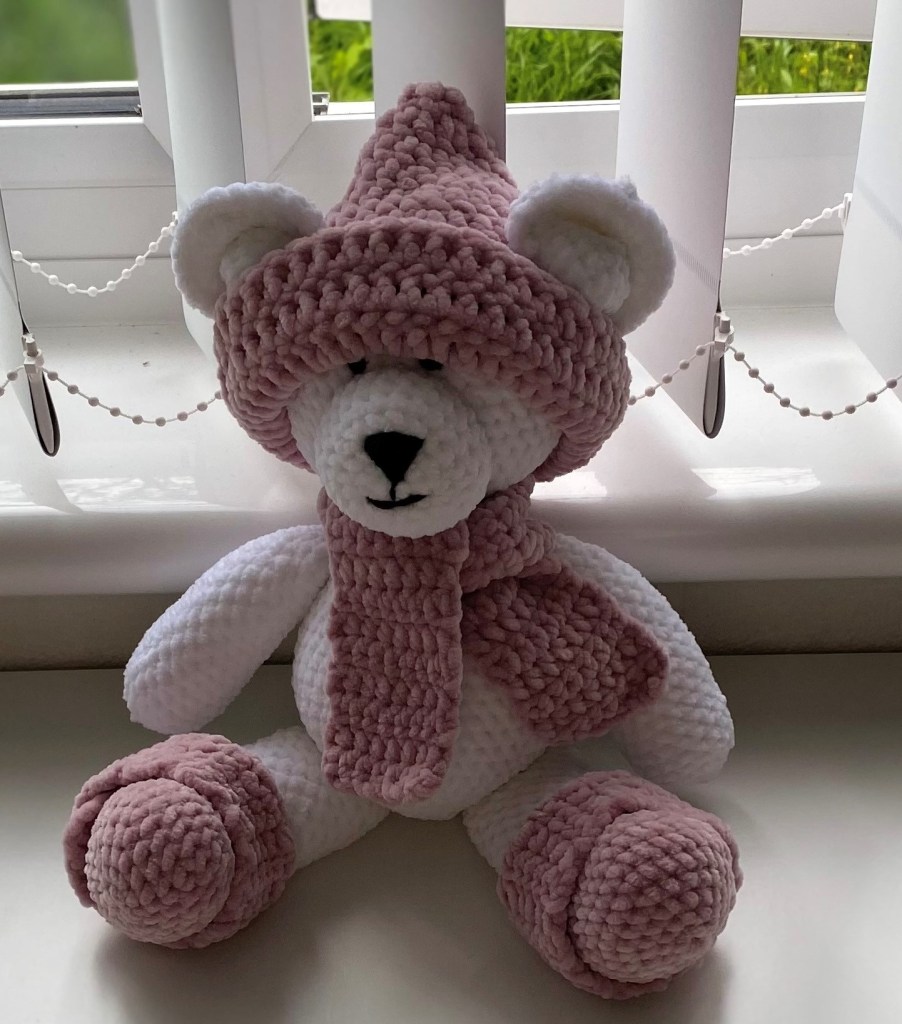
Position the hat onto the bears head and fold over approximately three rows to form the brim. Sew to the bears head securely around the fold of the hat.
Attach the scarf by loosely wrapping it around the bear’s neck and tie a loose knot.
Crochet Polar Bear Pattern – Face Details
Using black yarn:
Sew the bear’s eyes on the snout line. Leave 3 stitches between the eyes.
Sew an upside-down triangle centrally on the snout and lines for the mouth.
Ears – White Yarn (Main Colour) make 4
- CH2, work 6SC into 1st chain (6sts)
- INC x 6 (12sts)
- 1SC, INC x 6 (18sts)
- 2SC, INC x 6 (24sts)
- 1SC x 24 for 1 row (24sts)
- SS, fasten off and leave a long piece of yarn attached. (For joining two ear pieces together, see below).
Join the ears together
- Place two ear pieces together, back to back.
- Using one of the long pieces of yarn attached, we will be slip stitching through both pieces of the two ears to join them together.
- SS through both ear pieces in each stitch all around the ear (24sts)
- Fasten off, knot both of the yarn tails together and cut short.
Shape the ears by folding the bottom edge in on itself as seen in the image below and using sewing thread, securely sew to hold the shape. Do not fasten off as we will be sewing onto the hat/head to attach.
Attach Ears to the Hat/Head of the Bear
Sew each ear onto each side of the hat/head with sewing thread. Pin each ear onto the hat/head, make sure you are pinning through both the hat and head. When you are happy with the position of the ears, sew both ears onto your bear. MAKE SURE TO SEW SECURELY THROUGH BOTH THE HAT AND HEAD. See the image below.
Tail – White Yarn (Main Colour)
- CH2, work 6SC into 1st chain (6sts)
- INC x 6 (12sts)
- 1SC x 12 for 2 rows (12sts)
Lightly fill with soft toy stuffing
- DEC x 6 (6sts)
- SS, fasten off and weave in loose ends
Sew the tail onto the back of the body with sewing thread. Lie the bear on a flat surface and pin the tail in position to the body first to make sure it is central. See the images below.
Pompoms
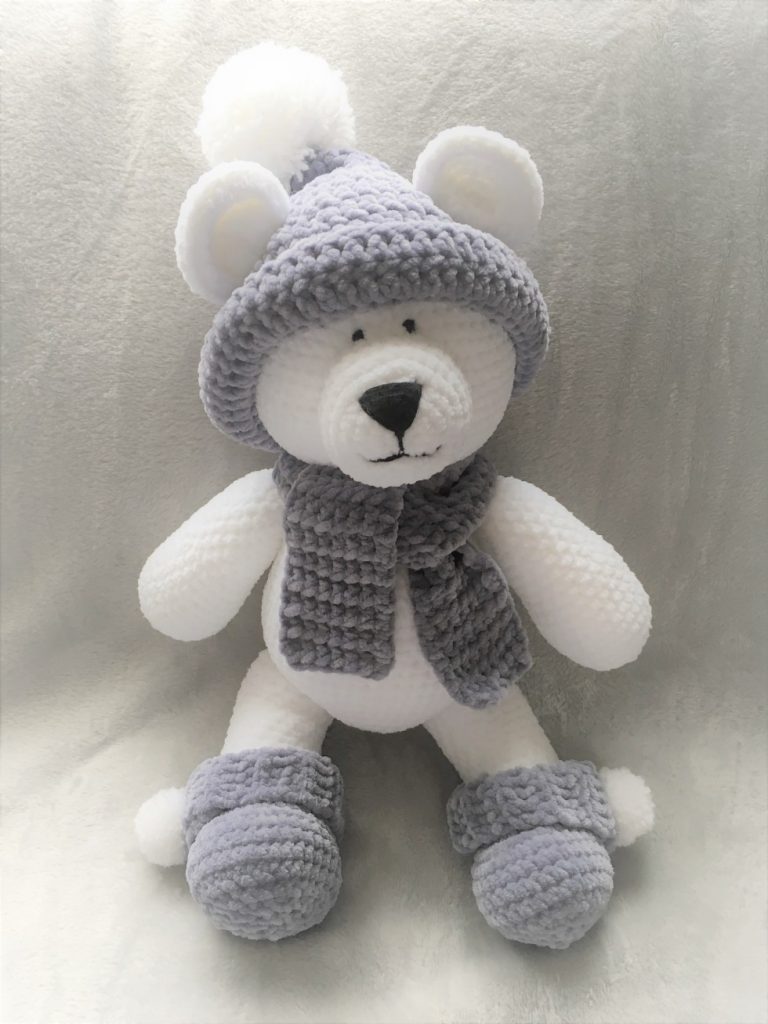
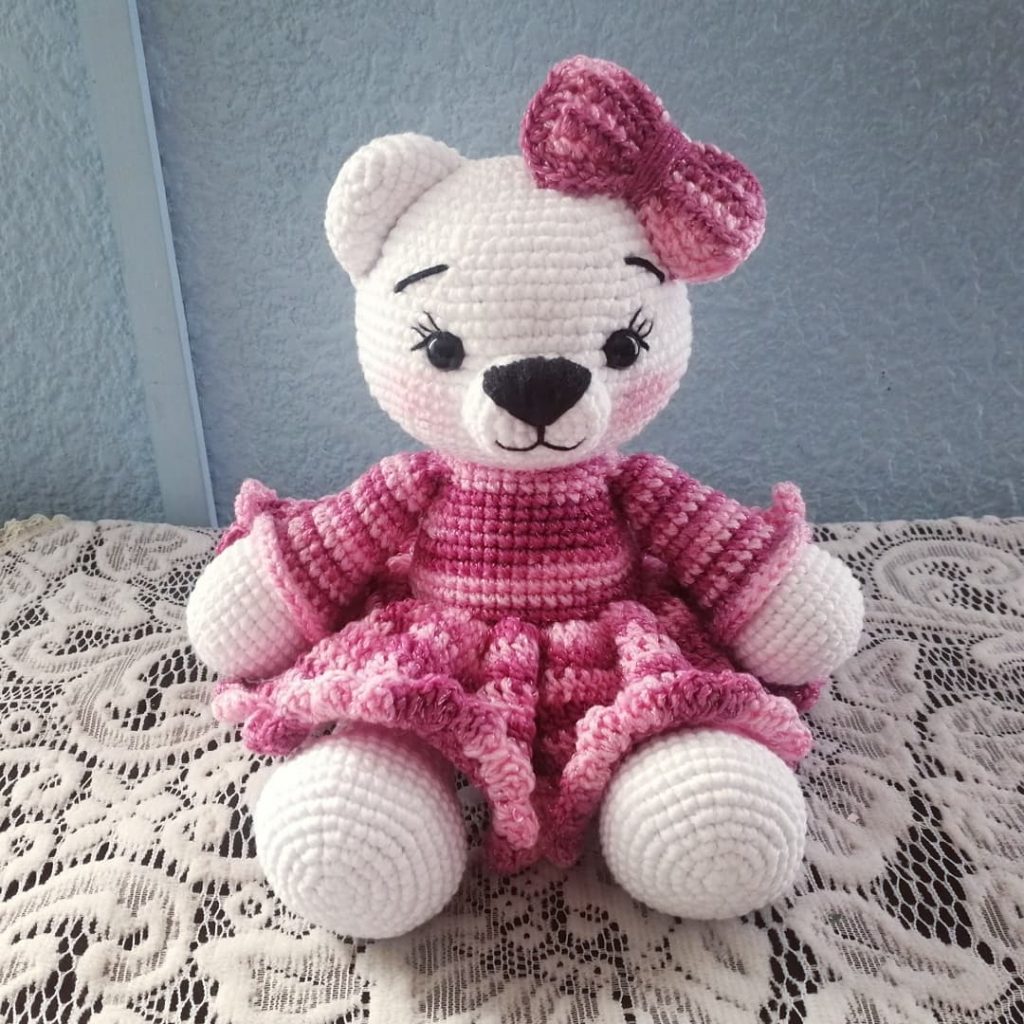
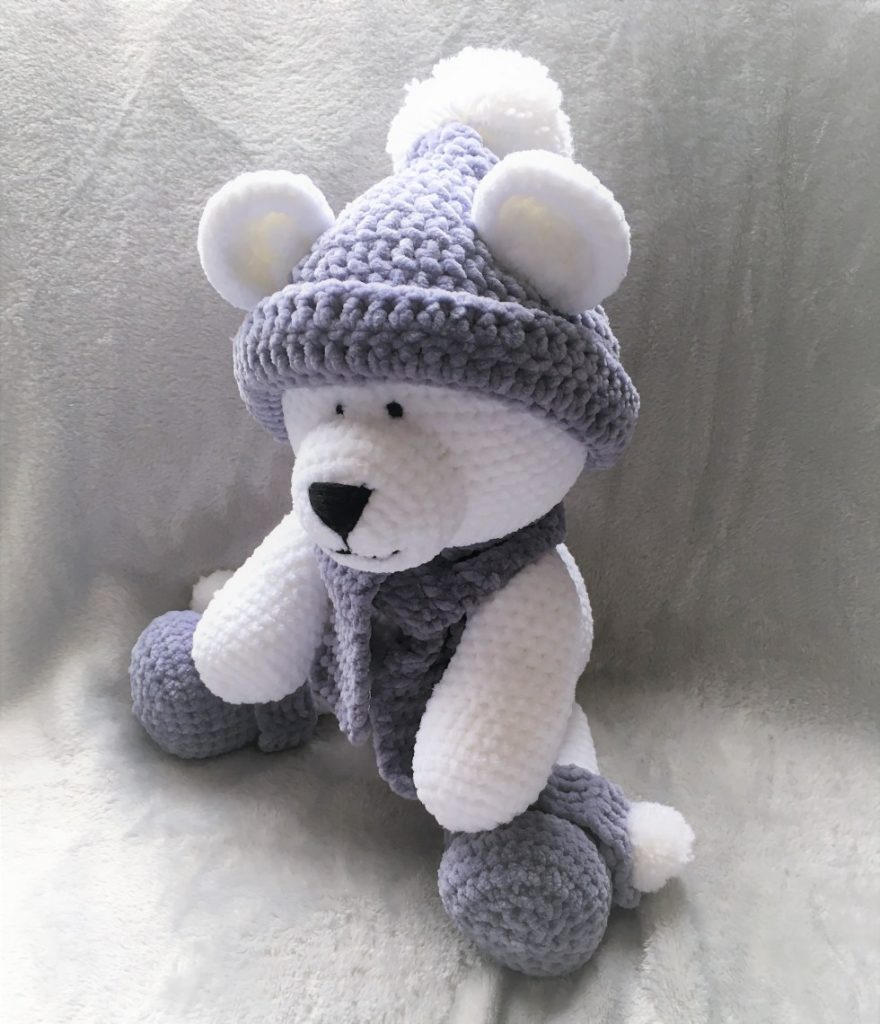
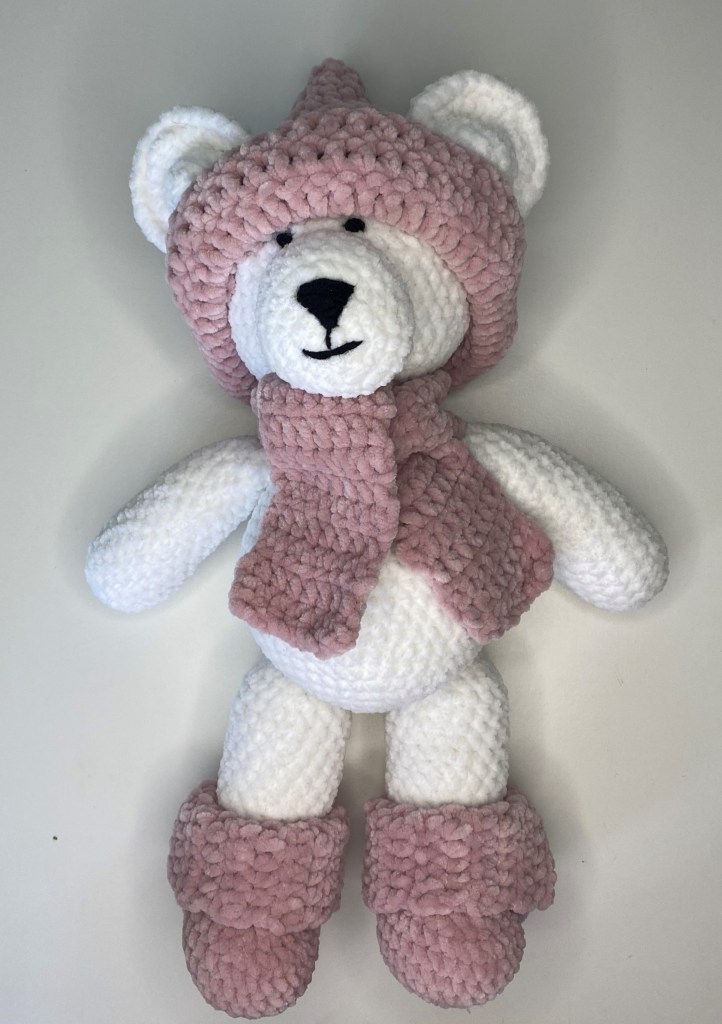
If you wish you can add pompoms onto the hat and the booties, like the large grey and white polar bear. Or leave without like the small pink and white polar bear.
More Amigurumi Bear İdeas