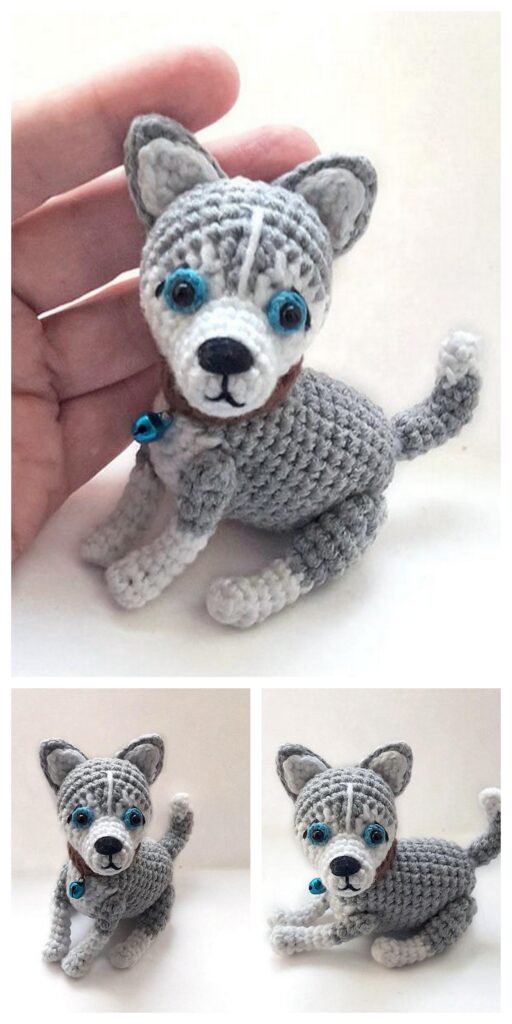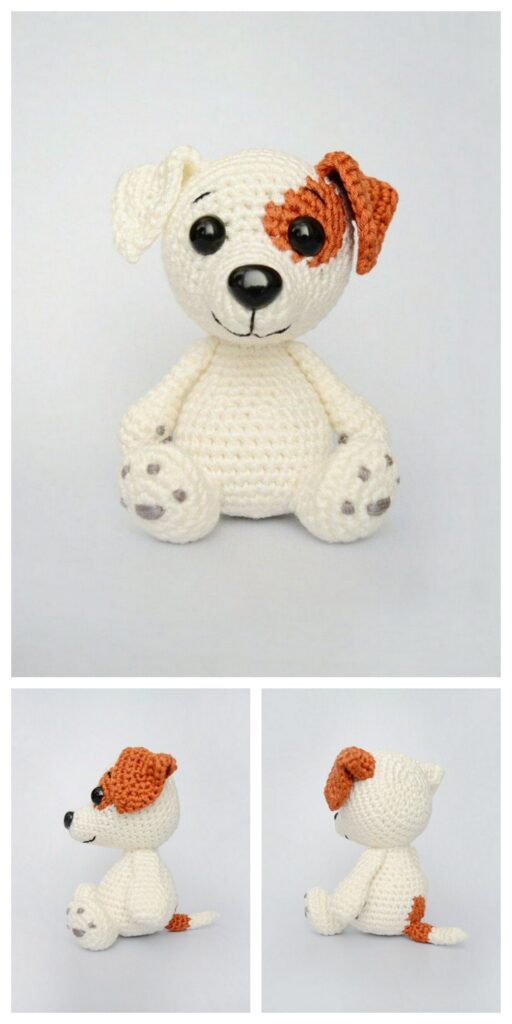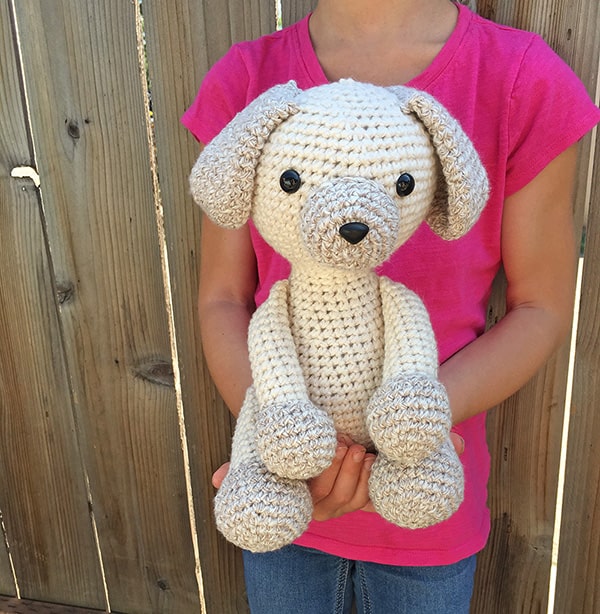
Amigurumi Crochet Puppy Free Pattern
Hello dear Amigurumi Followers
Today we share one free amigurumi crochet pattern again for you. As you know we share new amigurumi free patterns every day. The main crochets are amigurumi gazelles, amigurumi bears, amigurumi pola, amigurumi pandas, amigurumi penguins, amigurumi giraffes, amigurumi llama, amigurumi pigs, amigurumi bunny, amigurumi clowns, amigurumi lambs, amigurumi bees, amigurumi unicorns, amigurumi dolls, amigurumi foxes, amigurumi penguins, amigurumi dinosaurs, amigurumi elephants, amigurumi hippos, amigurumi monkeys, amigurumi cats, amigurumi dogs and more …
Todays daily new amigurumi free crochet pattern is amigurumi dog
I want to give you some informations about this pattern ;
Materials You Will Need
– Size 4 worsted weight yarn
150g yarn for the body ( I used Yarn Bee Denim in Color in Ivory)
Small amount of accent color for the nose, ears and paws (I used Yarn Bee Denim in Color in Taupe)
– 3.5 mm crochet hook
– 12mm safety eyes
– 15mm safety nose
– Scissors
– Tapestry needle
– Stuffing
– Stitch markers
– Sewing Pins (these are super helpful when it comes time for sewing)
Optional Materials
If you would like your puppy to be weighted (this helps in balancing/stability in a sitting position) you will also want the following materials:
– Poly-pellets – approx. 1/2 – 1 cup
– Knee-high nylon (I found a package at Wal-Mart for 50 cents; if you are choosing a light colored yarn for your puppy you may want to also use a light colored nylon for your weight)
– Funnel (a rolled up piece of paper will also do the trick, this helps in filling the nylon with the small poly-pellets)
Abbreviations (US terminology)
SC- Single crochet
SC INC- Single crochet increase
INV DEC- Invisible decrease
Rep – Repeat
St(s) – Stitch(es)
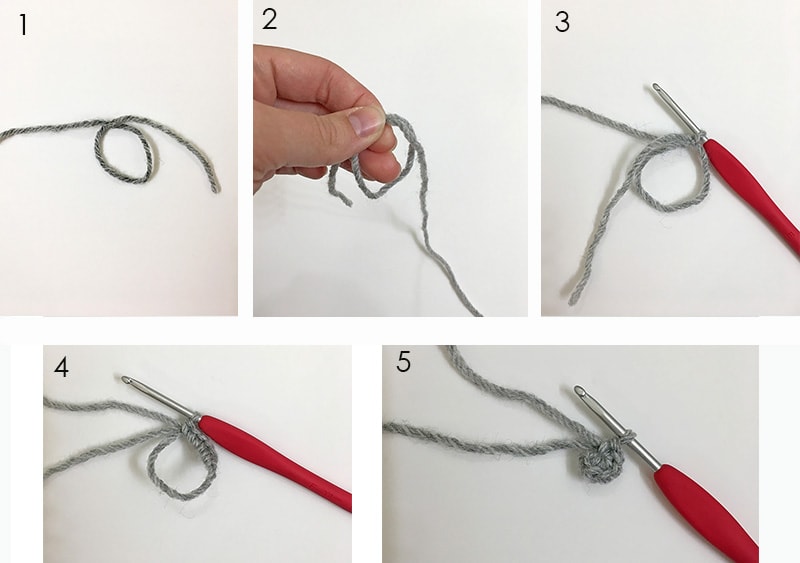
Magic Circle
A magic circle (also called an adjustable loop) is the most common way to start amigurumi.
1. Leaving about a 4 inch tail wrap the yarn into a circle as in the photos below.
2. Hold the loop by placing your fingers over the part where the working yarn crosses over the tail.
3. Insert your hook into the circle, yarn over, pull through and chain 1.
4. You’re magic circle is complete and ready to begin as pattern instructs (ex: if round says 6 SC you will complete 6 SC around the loop).
5. Pull your tail tight to close.
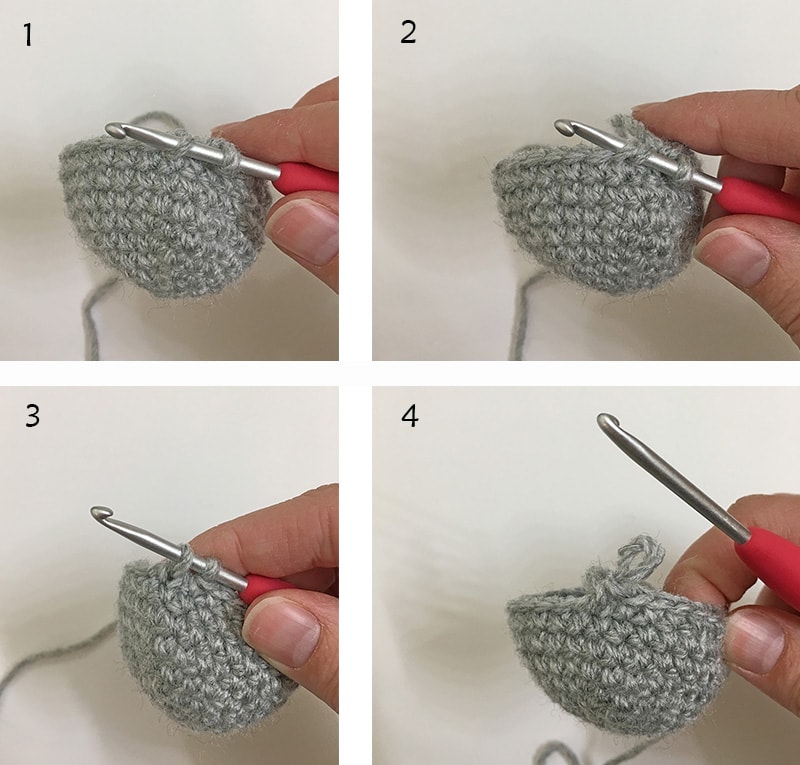
Invisible Decrease
This is the preferred way to decrease in amigurumi, it keeps the decrease tight and avoids the ‘bump’ of a regular SC decrease.
An invisible decrease happens over two stitches, insert your hook into the front loop of the first stitch and then into the front loop of the next stitch (you will have 3 loops on your hook), yarn over, pull through two loops (you will have 2 loops left on your hook), yarn over again and pull through all loops on the hook.
You’re invisible decrease is done!
Ready to start? Here we go!
Part 1
Notes
· Slowly stuff as you go, you want it to be firm but not stretched. You will be working in a continuous round; I recommend using a stitch marker at the beginning or end of each round.
· For this pattern the body and head will be made as one piece.
Nose
With accent color
Round 1: Create a magic circle with 6 SC
Round 2: SC INC in each stitch (12)
Round 3: SC in the first stitch, SC INC in the next, rep around (18)
Round 4: SC in the first 2 sts, SC INC in the next, rep around (24)
Rounds 5-7: SC around (24)
Fasten off leaving a long tail for sewing. Insert your safety nose just above the middle point. I placed mine between rounds 2 and 3.
Body
With body color
Round 1: Create a magic circle with 6 SC
Round 2: SC INC in each stitch around (12)
Round 3: SC in the first stitch, SC INC in the next, rep around (18)
Round 4: SC in the first 2 sts, SC INC in the next, rep around (24)
Round 5: SC in the first 3 sts, SC INC in the next, rep around (30)
Round 6: SC in the first 4 sts, SC INC in the next, rep around (36)
Round 7: SC in the first 5 sts, SC INC in the next, rep around (42)
Round 8: SC in the first 6 sts, SC INC in the next, rep around (48)
Rounds 9-15: SC around (48)
Round 16: SC in the first 6 sts, INV DEC in the next, rep around (42)
Round 17-18: SC around (42)
Round 19: SC in the first 5 sts, INV DEC in the next, rep around (36)
Rounds 20-21: SC around (36)
Round 22: SC in the first 4 sts, INV DEC in the next, rep around (30)
Rounds 23-24: SC around (30)
Round 25: SC in the first 3 sts, INV DEC in the next, rep around (24)
Rounds 26-27: SC around (24)
Round 28: SC in the first 2 sts, INV DEC in the next, rep around (18)
Rounds 29-30: SC around (18)
*We will now start the head*
Round 31: SC in the first 2 sts, SC INC in the next, rep around (24)
Round 32: SC in the first 3 sts, SC INC in the next, rep around (30)
Round 33: SC in the first 4 sts, SC INC in the next, rep around (36)
Round 34: SC in the first 5 sts, SC INC in the next, rep around (42)
Round 35: SC in the first 6 sts, SC INC in the next, rep around (48)
Round 36: SC in the first 7 sts, SC INC in the next, rep around (54)
Rounds 37-45: SC around (54)
Note: Here is where we will add the facial features before we start closing the head. Insert the eyes between rows 42 and 43, 8 stitches apart. Optional: Add eyelashes/eyebrows to your liking.
Lastly, sew your nose centered between the eyes slowly stuffing as you go.
Round 46: SC in the first 7 sts, INV DEC in the next, rep around (48)
Round 47: SC in the first 6 sts, INV DEC in the next, rep around (42)
Round 48: SC in the first 5 sts, INV DEC in the next, rep around (36)
Round 49: SC in the first 4 sts, INV DEC in the next, rep around (30)
Round 50: SC in the first 3 sts, INV DEC in the next, rep around (24)
*Continue to stuff the head firmly
Round 51: SC in the first 2 sts, INV DEC in the next, rep around (18)
Round 52: SC in the first stitch, INV DEC in the next, rep around (12)
Round 53: INV DEC around (6)
Fasten off and sew remaining part closed, weave in your end.
Part 2
Arms
Make 2 starting with your accent color and stuffing lightly.
Round 1: Create a magic circle with 6 SC
Round 2: SC INC in each stitch around (12)
Round 3: SC in the first stitch, SC INC in the next, rep around (18)
Round 4: SC in the first 2 sts, SC INC in the next, rep around (24)
Rounds 5-7: SC around (24)
Round 8: SC in the first 2 sts, INV DEC in the next, rep around (18)
Round 9: SC in the first stitch, INV DEC in the next, rep around (12)
Change to body color
Rounds 10-23: SC around (12)
Fasten off leaving a long tail to sew onto the body.
Legs
Make 2 starting with your accent color and stuffing lightly.
Round 1: Create a magic circle with 6 SC
Round 2: SC INC in each stitch (12)
Round 3: SC in the first stitch, SC INC in the next, rep around (18)
Round 4: SC in the first 2 sts, SC INC in the next, rep around (24)
Round 5: SC in the first 3 sts, SC INC in the next, rep around (30)
Rounds 6-8: SC around (30)
Round 9: SC in the first 3 sts, INV DEC in the next, rep around (24)
Round 10: SC in the first 2 sts, INV DEC in the next, rep around (18)
Change to body color
Rounds 11-21: SC around (18)
Fasten off and leave a long tail to sew onto the body.
Part
Ears
Make 2 with accent color. Do not stuff.
Round 1: Create a magic circle with 6 SC
Round 2: SC INC in each stitch around (12)
Round 3: SC in the first stitch, SC INC in the next, rep around (18)
Round 4: SC in the first 2 sts, SC INC in the next, rep around (24)
Round 5: SC in the first 3 sts, SC INC in the next, rep around (30)
Round 6: SC in the first 4 sts, SC INC in the next, rep around (36)
Rounds 7-9: SC around (36)
Round 10: SC in the first 4 sts, INV DEC in the next, rep around (30)
Rounds 11-12: SC around (30)
Round 13: SC in the first 3 sts, INV DEC in the next, rep around (24)
Rounds 14-15: SC around (24)
Round 16: SC in the first 2 sts, INV DEC in the next, rep around (18)
Rounds 17-18: SC around (18)
At the end of round 18 pinch the ear flat and make 9 SC across the top to close, fasten off and leave a long tail to sew onto the body.
Tail
With accent color
Round 1: Create a magic circle with 6 SC
Round 2: SC INC in each stitch around (12)
Rounds 3-4: SC around (12)
Round 5: SC in the first stitch, SC INC in the next, rep around (18)
Round 6: SC around (18)
Change to body color
Rounds 7-9: SC around (18)
Fasten off leaving a long tail to sew onto the body.
Assembly
Optional: Use pins to hold each piece, this will help in finding the desired placement. Use your facial features as your centered point.
1. Sew the ears onto either side of the head at round 5.
2. Next, sew on the arms covering a span of 4 rounds angled down.
3. Third, attach the legs covering a span of about 5 rounds angled straight (forward).
4. Lastly, sew the tail onto the bottom center of the back, stuffing as you go.
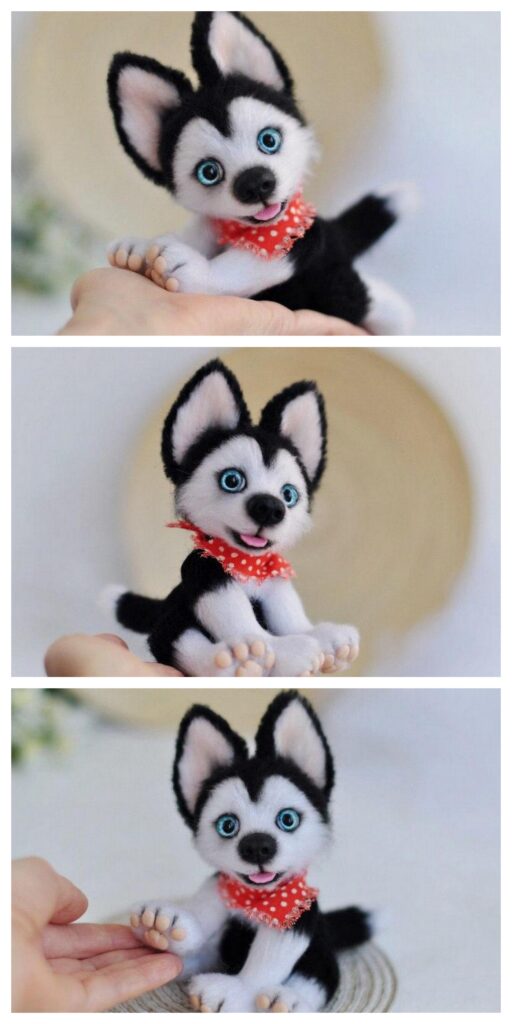
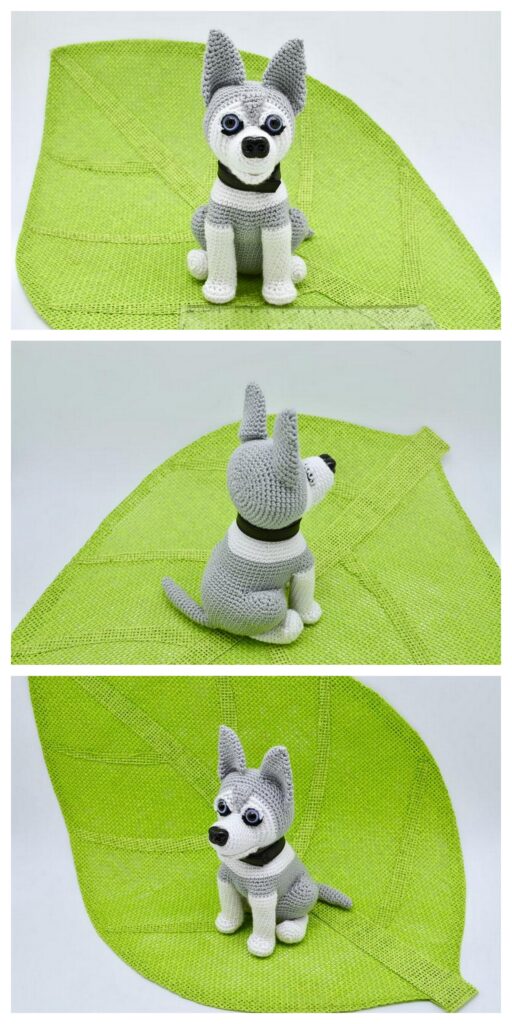
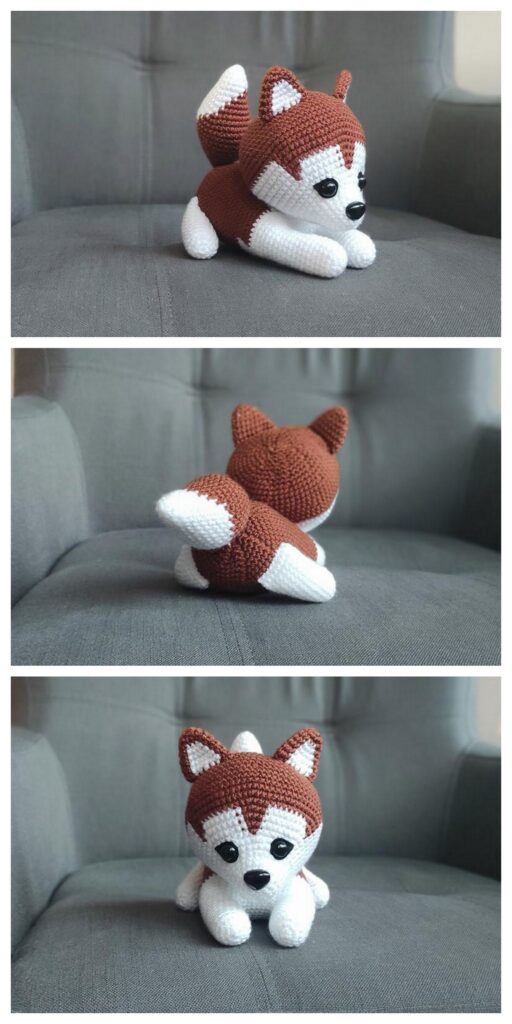
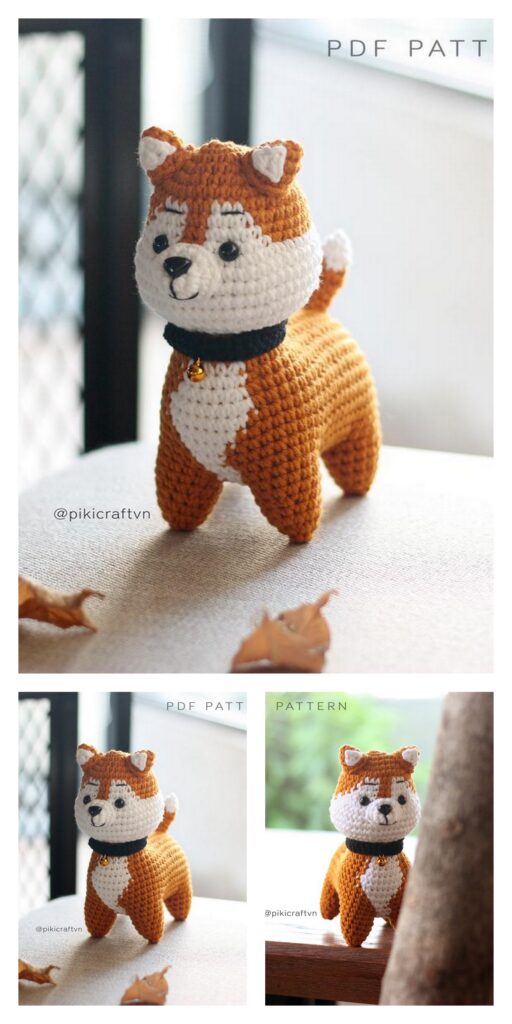
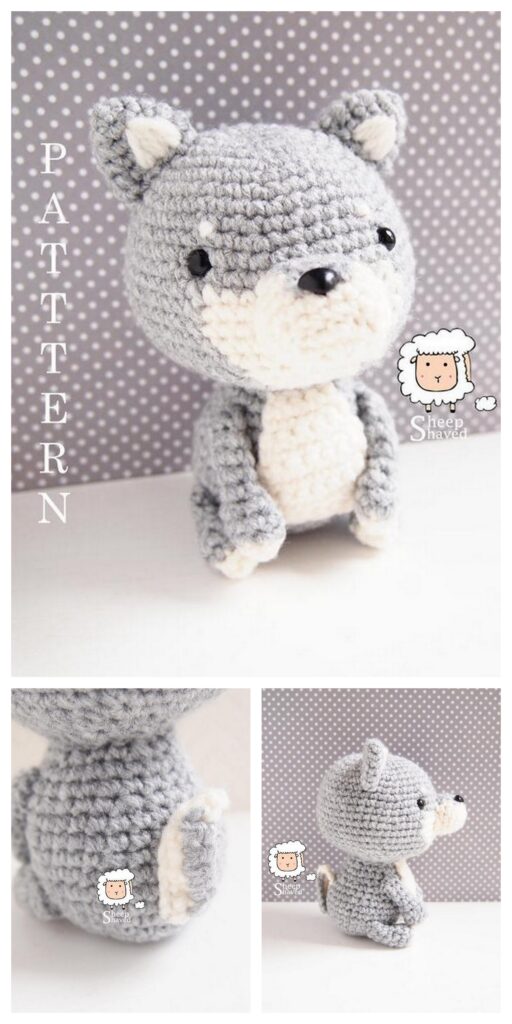
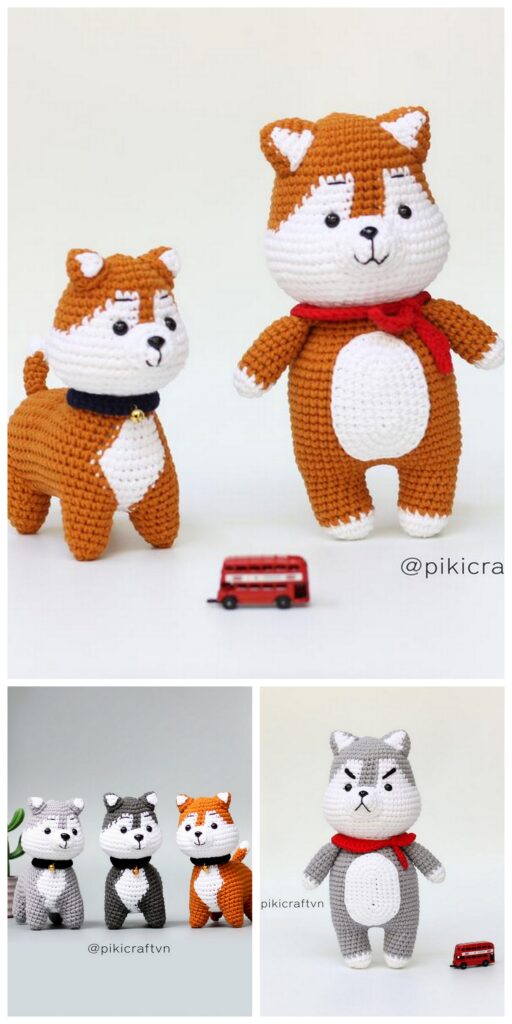
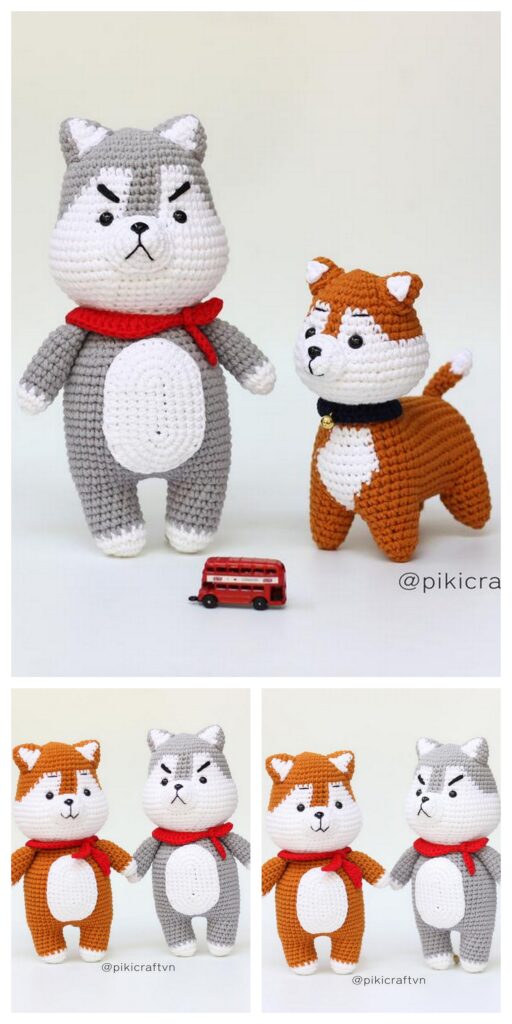
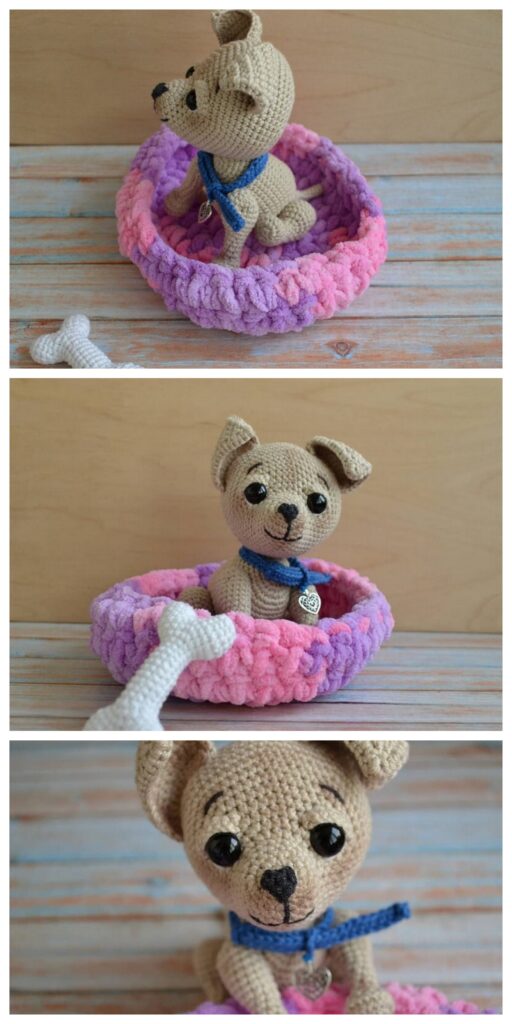
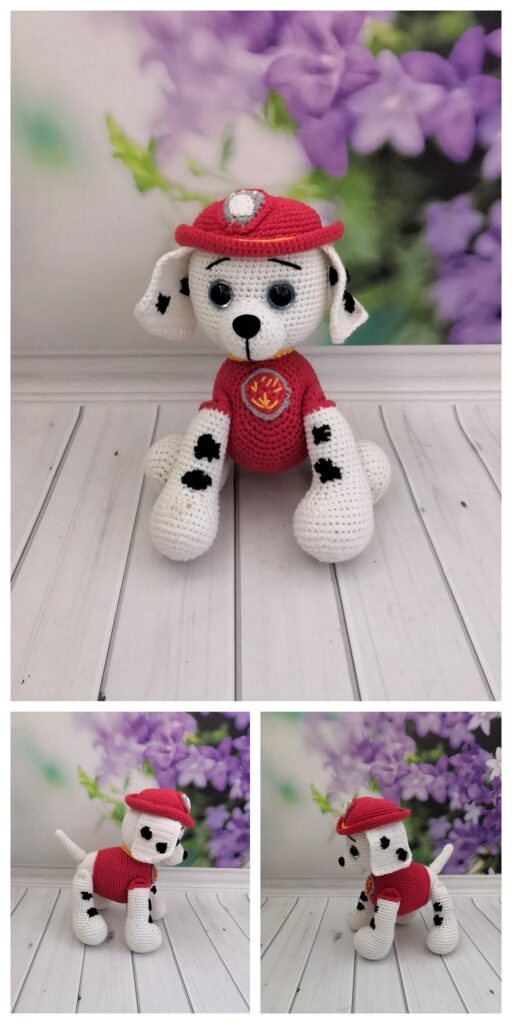
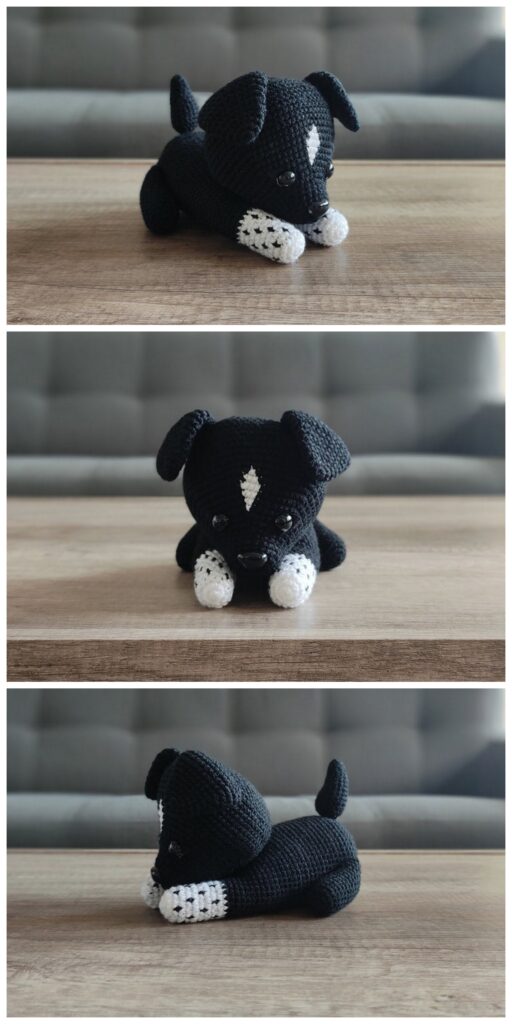
More Amigurumi Dog İdeas