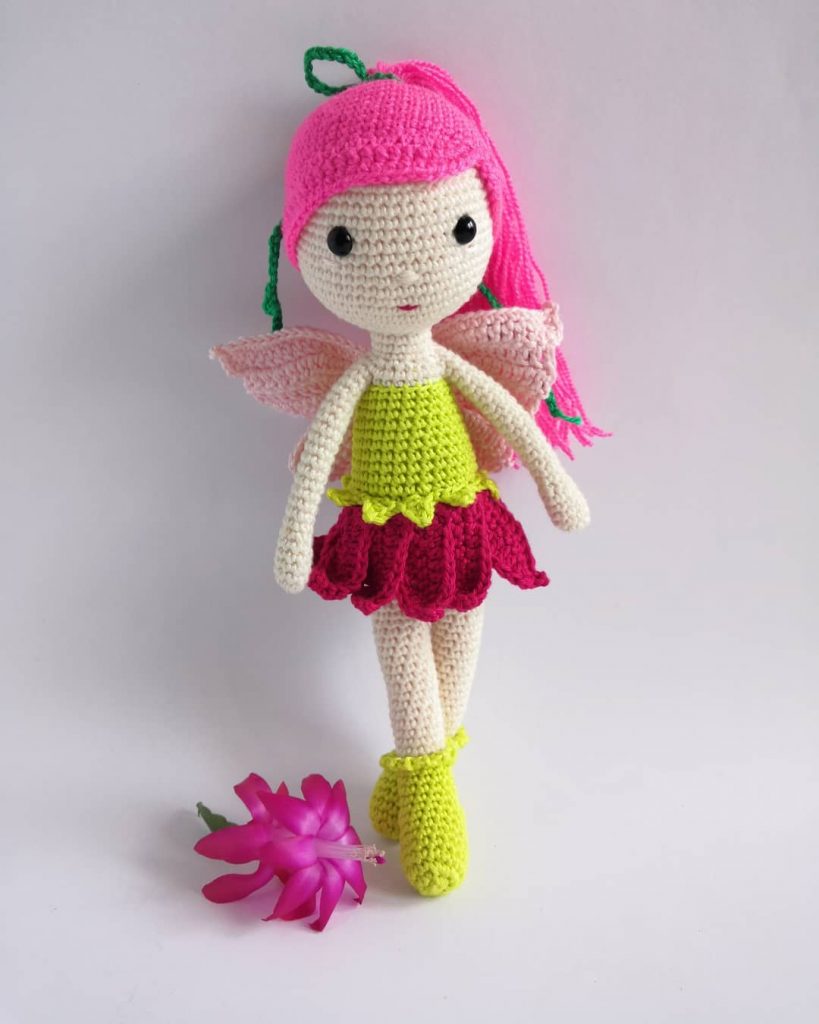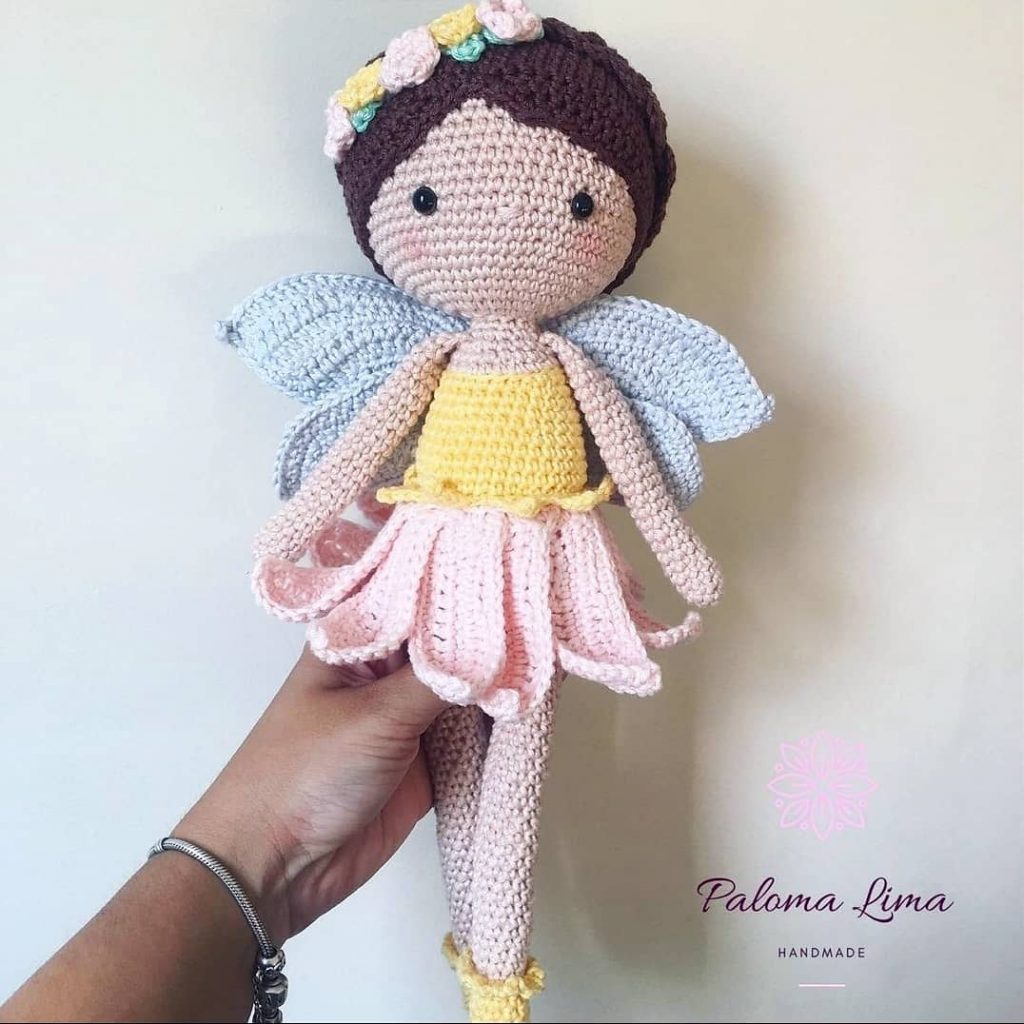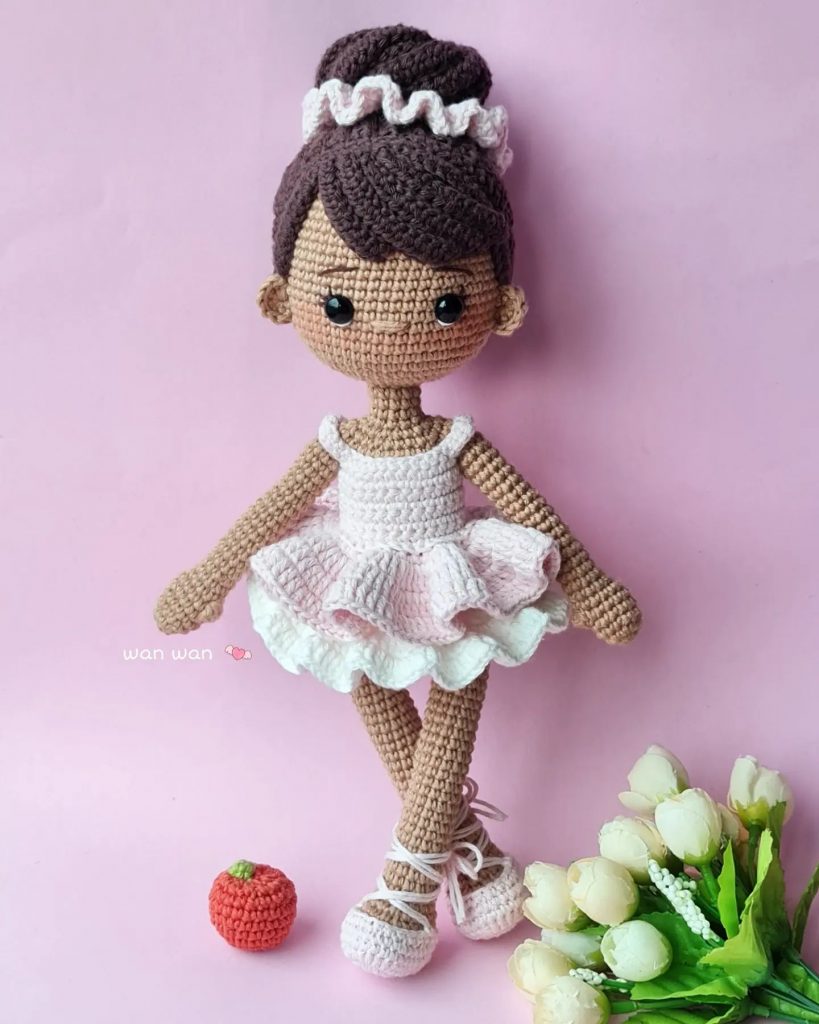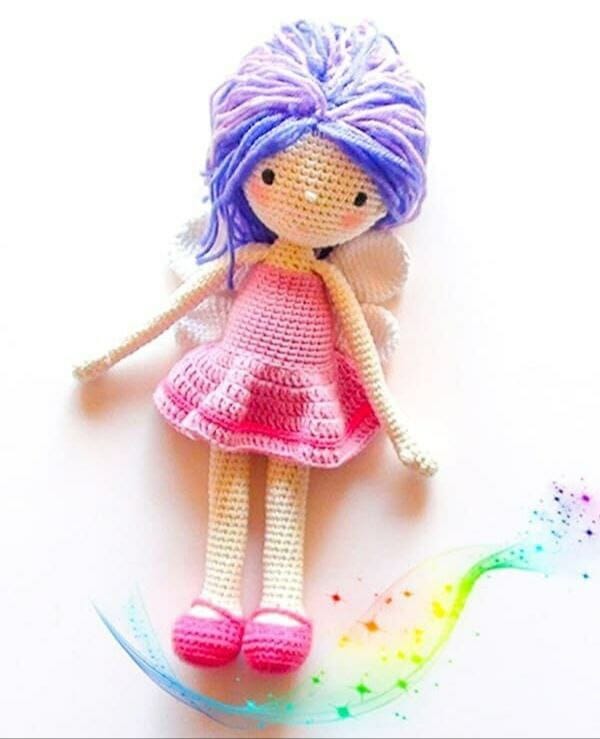
Amigurumi Fairy Doll Free Pattern
Hello dear Amigurumi Followers
Today we share one free amigurumi crochet pattern again for you. As you know we share new amigurumi free patterns every day. The main crochets are amigurumi gazelles, amigurumi bears, amigurumi pola, amigurumi pandas, amigurumi penguins, amigurumi giraffes, amigurumi llama, amigurumi pigs, amigurumi bunny, amigurumi clowns, amigurumi lambs, amigurumi bees, amigurumi unicorns, amigurumi dolls, amigurumi foxes, amigurumi penguins, amigurumi dinosaurs, amigurumi elephants, amigurumi hippos, amigurumi monkeys, amigurumi cats, amigurumi dogs and more …
Todays daily new amigurumi free crochet pattern is amigurumi doll
I want to give you some informations about this pattern ;
If you enjoy making amigurumi, here I share this easy and free amigurumi pattern for you for free. Your kids will love these toys.
Materials
Skin-colored cotton thread
Pink cotton thread
Cotton thread color lavender
synthetic padding
Scissors
Crochet hook 3.00 mm
Abbreviations
AM – magic ring
Pb – low point
Inc – increase in single crochet
Dec– Decrease
Ch – chain
Pc– slip stitch, slip stitch
Pa – high point or double crochet
Now let’s go on to make the crochet doll, for this we will start from the head part. Good luck!
Head
We begin to weave the same color as the doll’s hair (so that there are no gaps). We knit in a spiral.
R 1. 6 sc in AM (6)
R 2. (inc)*6 (12) R 3. (sc, inc) *6 (18)
R 4. (2 sc, inc)*6 (24)
R 5. (3sc, inc)*6 (30)
R 6. (4sc, inc)*6 (36)
R 7. (5sc, inc)*6 (42)
R 8. (6sc, inc)*6 (48)
R 9. (7sc, inc)*6 (54)
R 10. 54 sc (54)
Change the yarn to skin color.
R 11-20. 54 sc (54)
Insert safety eyes or sew between rows 15 and 16 at a distance of 9 columns. Embroider the beak.
Ears (Make 2)
We make a magic ring inc, 4 sc and pc. Sew, stepping back 4 columns from the eyes.
We continue knitting the head:
R 21. (7sc, dec)* 6 (48)
R 22. (6sc, dec)* 6 (42)
R 23. (5sc, dec )* 6 (36)
R 24. (4sc, dec)* 6 (30)
R 25. (3sc, dec)* 6 (24)
R 26. (2sc, dec)* 6 (18) R 27. (sc, dec) * 6 (12)
Remove remaining hole , secure the thread, hide the end of the thread.
Right leg
We start with 6 ch.
R 1. sc in 2 laps from hook, 3 sc, in last loop 3 sc, continue on second side of chain 3 sc, inc (12)
R 2. sc, 3 sc, 3 inc, 3 sc, 2 inc (18 )
R 3. sc, 4sc, 4inc, 8sc, inc (24) R
4-6. sc in each column (24)
R 7. 7sc, 5dc, 7sc (19)
R 8. 6sc, 3d, 5sc, dec (15)
R 9. (2sc, dec)*3, 3sc (12) R
10-35 . 12 sc (12)
R 36. 8sc, pc.
We fill. We fasten the thread and leave a long tail, so that later we sew the area between the two legs.
Left leg
We knit in the same way as the knit of rows 1-35
V 36. 3 sc
We do not break the thread, we will continue to knit the body.
Body
We continue from the 36th row of the left leg.
R 37. Ch 4, sc in connecting column of right legs, ch 4, sc in a loop of left leg (32)
R 38-48. 32sc
Sew the hole between the legs with a thread from the right leg.
R 49. (6sc, dec)*4 (28)
R 50. 28 sc (28) R 51. (5sc, dec)*4 (24 )
R 52. 24 sc (24)
R 53. (4sc, dec) *4 (20)
R 54. For the back half loops we sc in each column (20)
R 55. For both half loops (3 sc, dec) *4 (16)
R 56. 16 sc (16)
R 57. ( 2sc, dec)*4 (12)
R 58. 12 sc (12)
We fix the thread and leave a long tail to sew the head to the body.
Arms (Make 2)
R 1. 4sc in AM (4)
R 2. (inc)*4 (8)
R 3. (sc, inc)*4 (12)
R 4. 12sc (12)
R 5. 4sc, dec, 4sc, dec (10)
R 6. 4sc, exuberant column, 5sc (10)
R 7. 4sc, dec, 4sc (9)
Fill the stem well.
F 8-32. 9sc (9)
We fill the rest of the piece loosely or we don’t fill it at all.
R 33. Fold the open part and sew 4sc, pc.
We hold the thread and leave a long end to sew the hand to the body.
DressTurn the body upside down and connect the thread with a connecting column in the first loop.
R 1. We begin to knit the first row of the dress 54 rows from the body for the front half loops 20 sc (20)
R 2. 20 sc (20)
R 3. (4sc, inc)*4 (24)
R4. 24 sc (24)
R 5. (5 sc, inc)*4 (28)
R 6. 28 sc (28)
R 7. (6 sc, inc)*4 (32)
R 8-16. 32sc (32)
R 17. For the back half-loops we knit (dc, increase from dc)*16, connect pc (48), ch
R 18. For both half-loops dc, an increase in dc, (3dc, an increase in dc)*11, 2dc, connect dc (60), 2ch
R 19. (4dc, increase dc)*12, connect dc (72), 2ch
R 20. 2dc, increase dc, (5dc, increase dc) *11, 3dc, connect pc (84), 2ch
Change color
R 21. 84 sc (84)
Change color again
R 22.For the back half loops we knit (6dc, an increase of dc)*12, connect pc (96)
We fasten and hide the tip in knitting.
HairWe cut the thread into strands. You can easily cut a large amount of yarn at one time by wrapping it around the book. Fold the strand in half. Insert the hook under the stitch and take the center of the yarn and make a loop. Repeat until you fill the entire head. We collect the hair in a ponytail and gently lift it to tighten the loops.
Shoes
We start with ch 6.
R 1. sc in 2 laps from hook, 3 sc, in last loop 3 sc, continue to second side of chain 3 sc, inc, connect pc (now this is 1 st column row), ch (12)
R 2. Inc, 3sc, 3inc, 3sc, 2inc, connect sc, ch (18)
R 3. inc, 4sc, 4inc, 8sc, inc, connect sc, ch (24)
R 4. For half loops back we knit 24sc, connect pc, ch (24)
R 5-6. For both 24 sc half loops, we are connecting pc, ch (24) ch
R 7. 7sc, 5dc, 7sc, connect pc, ch (19) ch
R 8. 6sc, 6ch, 7sc, ch (19) ch
R 9. 5ch, 9ch , skip 9sc, 5ch (19)
We fasten and hide the point in crochet.
At
We make 2 parts for each wing, one large and one small.
first wing
Great detail:
R 1. 6 sc in AM (6)
R 2. (inc)*6 (12) R 3. (sc, inc) *6 (18)
R 4. (2 sc, inc)*6 ( 24)
R 5-9. 24sc (24)
R 10. (2sc, dec)*6 (18) R 11. (sc, dec) *6 (12)
R 12-14. 12sc (12)
We fasten and hide the tip in knitting.
Small detail:
R 1. 6 sc in AM (6)
R 2. (inc)*6 (12)
R 3. (sc, inc)*6 (18)
R 4-8. 18sc (18)
R 9. (sc, dec)*6 (12)
R 10. 12sc (12)
R 11. (4sc, dec)*2 (10)
R 12-13. 10pb (10)
We do not break the thread
We connect 2 parts on a wing:
R 1. we are knitting sc in each loop of the first part, sc in each loop of the second part (22)
R 2. dec, 5sc, dec, 5sc, dec, 4sc, dec (18)
R 3. (sc, dec)*6 (12)
R 4. (dec)*6 (6)
We repeat all the steps and knit the second wing. We sew two wings in one detail and sew to the doll.
Mounting
We mark the places where the handles will be located, we sew.
Sew the wings on the back with Blossom, if you haven’t done it before.
Add a bit of blush to the cheeks.
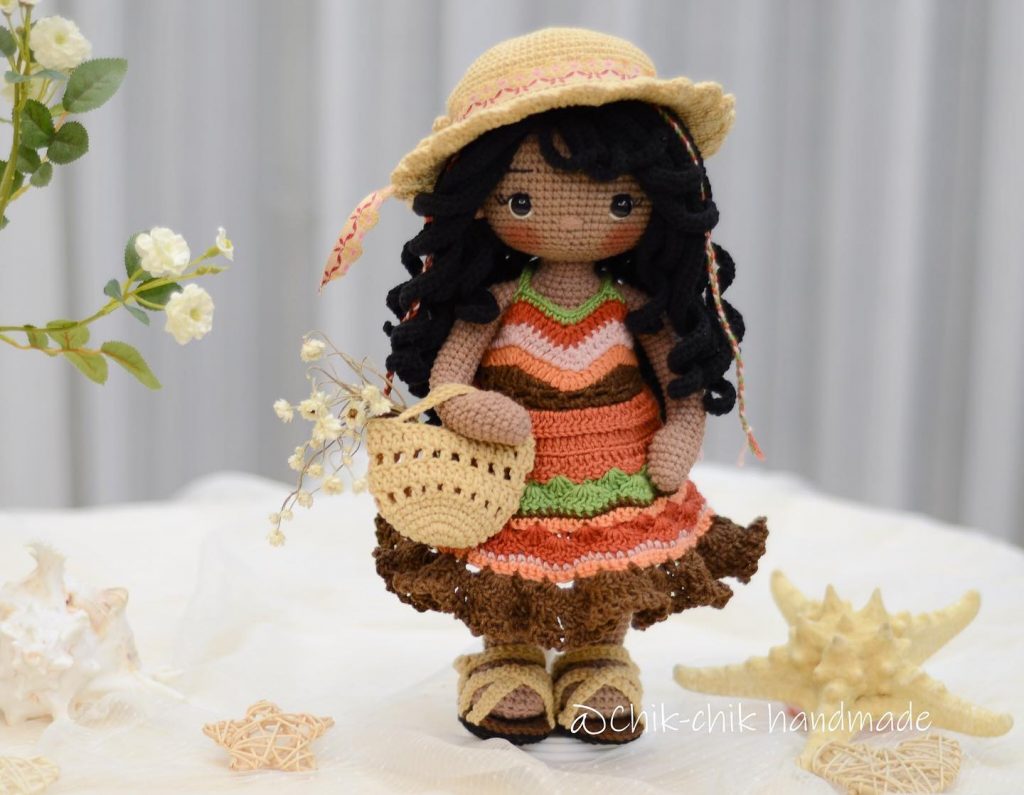
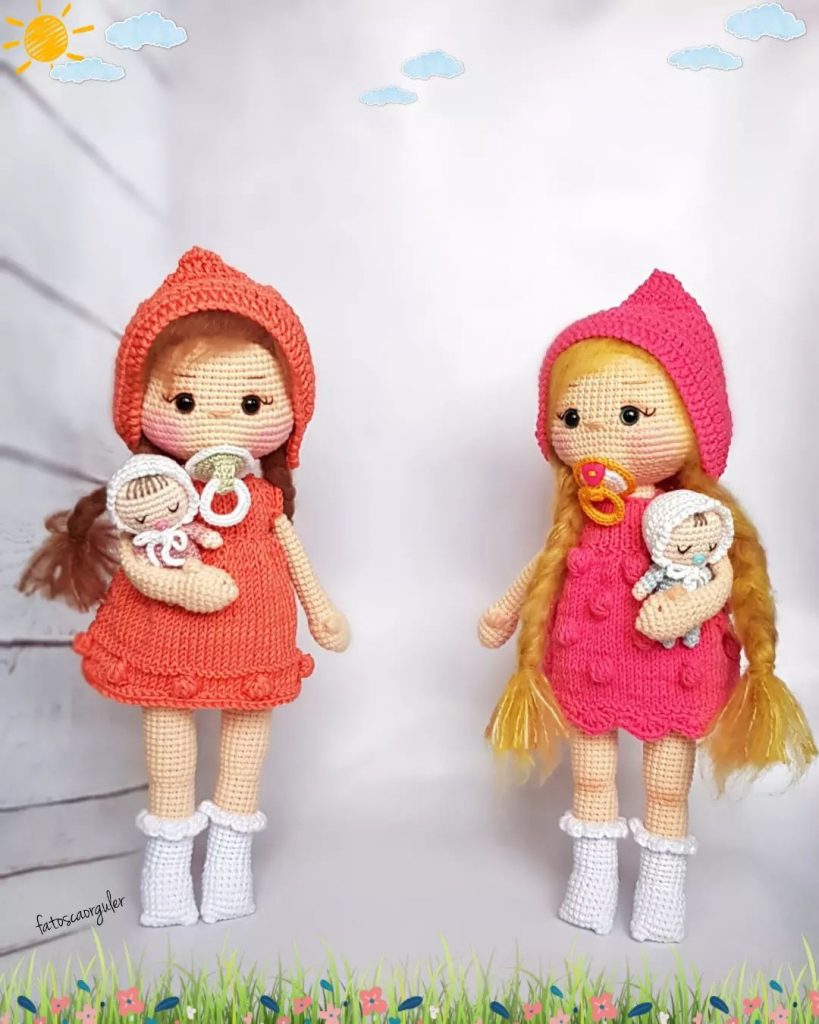
More Amigurumi Doll İdeas