Amigurumi Sloth Free Pattern
Hello dear Amigurumi Followers
Today we share one free amigurumi crochet pattern again for you. As you know we share new amigurumi free patterns every day. The main crochets are amigurumi gazelles, amigurumi bears, amigurumi pola, amigurumi pandas, amigurumi penguins, amigurumi giraffes, amigurumi llama, amigurumi pigs, amigurumi bunny, amigurumi clowns, amigurumi lambs, amigurumi bees, amigurumi unicorns, amigurumi dolls, amigurumi foxes, amigurumi penguins, amigurumi dinosaurs, amigurumi elephants, amigurumi hippos, amigurumi monkeys, amigurumi cats, amigurumi dogs and more …
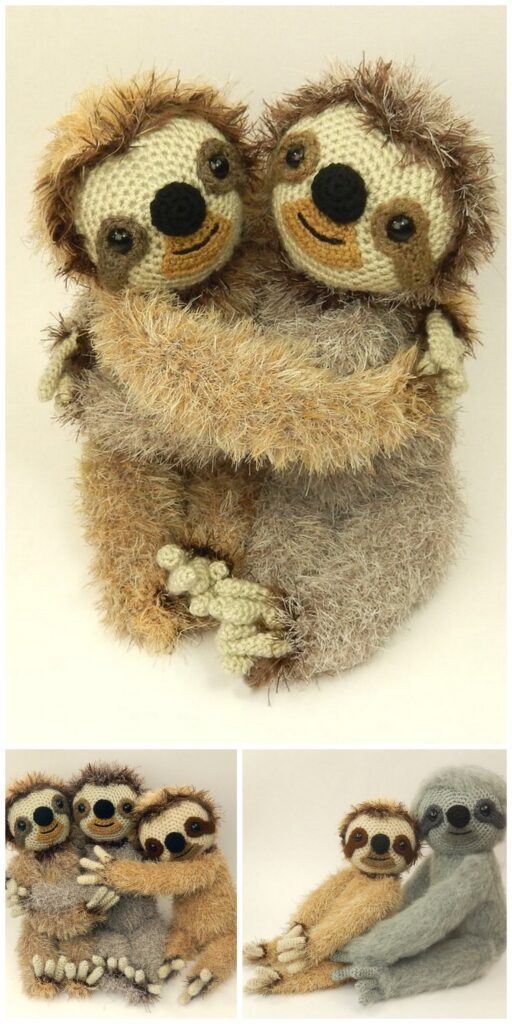
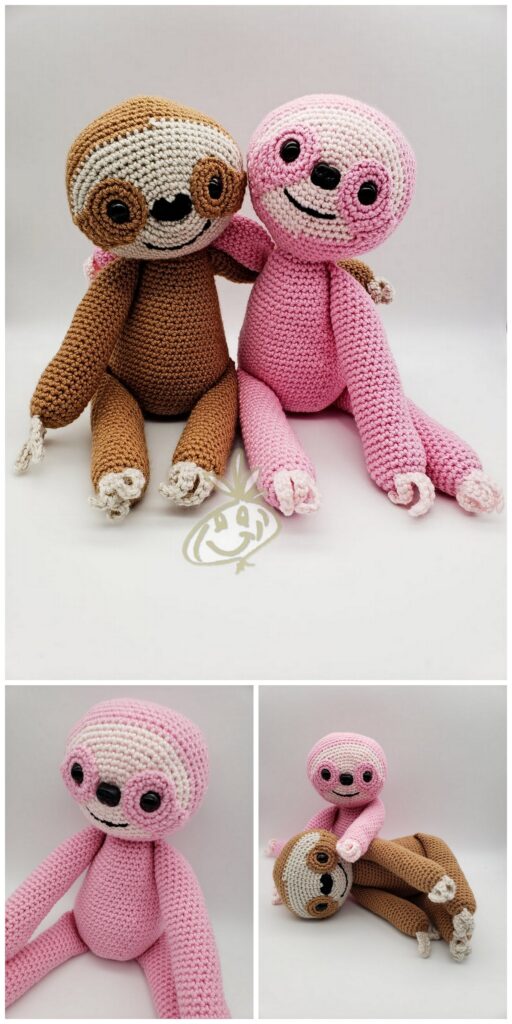
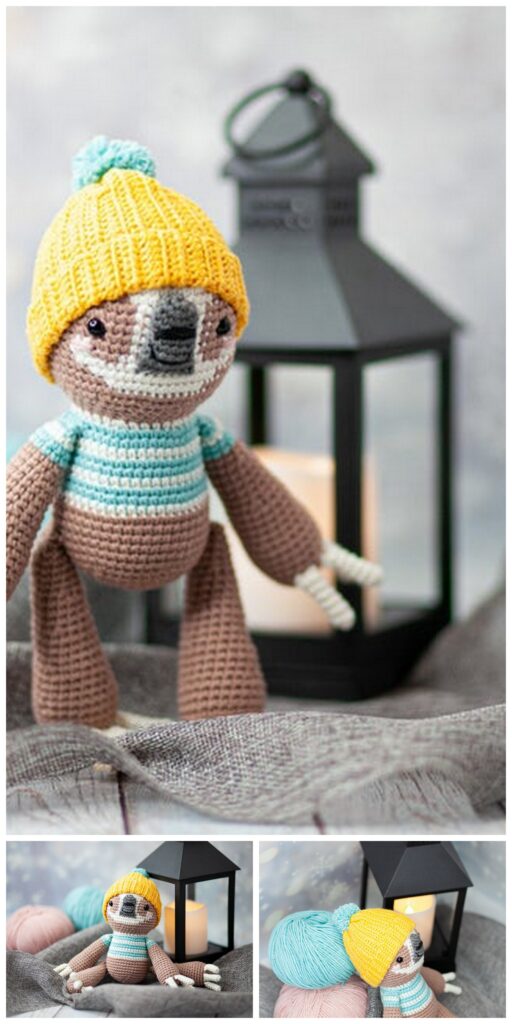
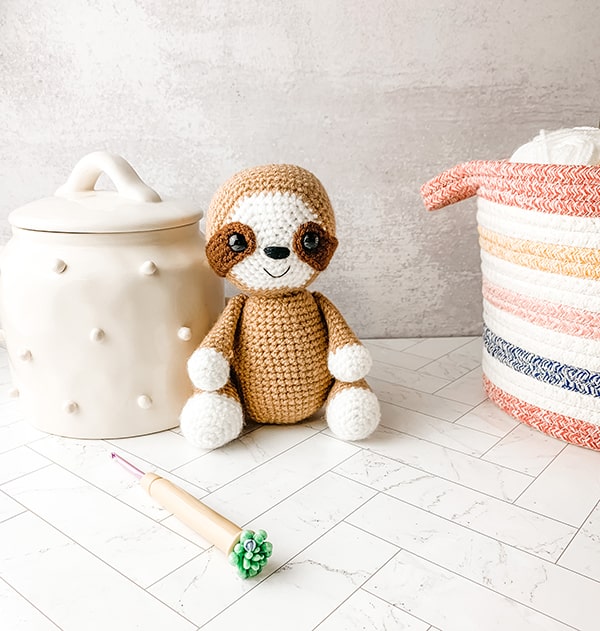
Todays daily new amigurumi free crochet pattern is amigurumi sloth
I want to give you some informations about this pattern ;
Materials
Size 4 worsted weight yarn (75 yards of light brown; small amount of dark brown, white and black)
3.5 mm crochet hook
12mm safety eyes
Black crochet/embroidery thread for smile (optional)
Scissors
Tapestry needle
Stuffing
Stitch markers
Abbreviations – US terminology
MC- Magic circle
SC- Single crochet
SC INC- Single crochet increase
INV DEC- Invisible decreas
St(s)- Stitch(es)
NOTES –
– Slowly stuff as you go, you want it to be firm but not stretched. You will be working in the round; I like to use a stitch marker at the beginning of each round.
– Finished sloth measure approximately 7 inches tall in its sitting position.
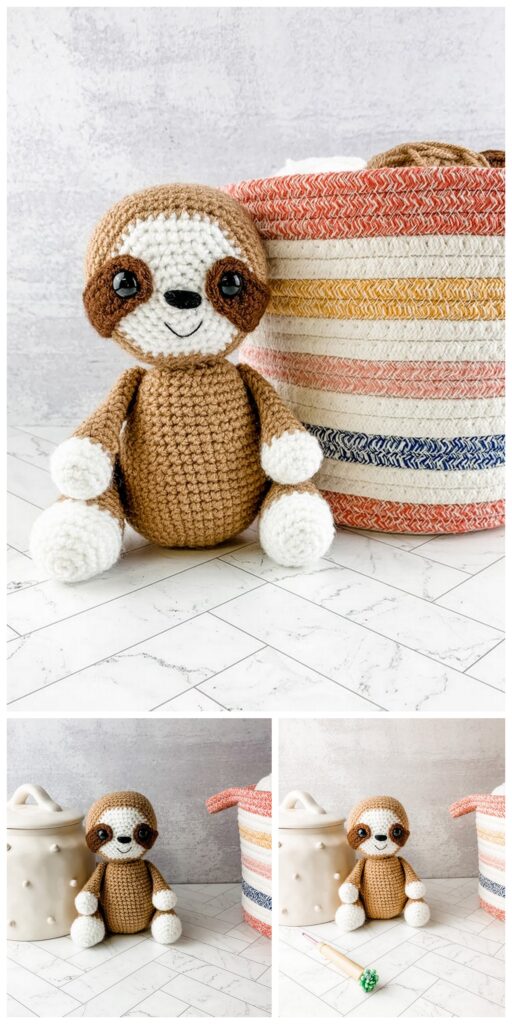
Eye Patch – Make 2
This piece is worked crocheting on both sides of the foundation chain to create an oval shape, you will want to keep your chain tight to help avoid the look of ‘holes’, we will be working in the round.
With dark brown chain 10
Round 1: SC in the 2nd chain from hook, SC in the next 7 chains, 3SC in the last chain; working down the other side of the foundation chain (see picture to the right), SC in the next 7 chains, complete 2SC in the last chain (which is also the first chain we started with) (20)
Round 2: 2SC in the first st, SC in the next 7, 2SC in each of the next 3 sts, SC in the next 7, 2 SC in each of the last 2 sts (26)
Fasten off leaving a long tail for sewing. Insert your safety eye in round one by an edge and set aside; do not secure the backs just yet.
Head
With white
Round 1: Create a magic circle with 6 SC
Round 2: SC INC in each st (12)
Round 3: SC in the first st, SC INC in the next, rep around (18)
Round 4: SC in the first 2 sts, SC INC in the next, rep around (24)
Round 5: SC in the first 3 sts, SC INC in the next, rep around (30)
Round 6: SC in the first 4 sts, SC INC in the next, rep around (36)
Round 7: SC in the first 5 sts, SC INC in the next, rep around (42)
Change to light brown
Round 8: SC in the first 6 sts, SC INC in the next, rep around (48)
Round 9: SC in the first 7 sts, SC INC in the next, rep around (54)
Rounds 10-16: SC around
NOTE – Here is where we will attach the facial features. Place the safety eyes (inside of your eye patches) in between rounds 5 and 6 on each side. Next, angle your eye patches to your liking. I angled mine down and to the side on each side. Once you find the angle you like sew your eye patch into place and secure your safety eyes.
Nose – With black yarn and your tapestry needle make a pass through 3 rounds between your eyes. Continue to pass through to create your desired thickness.
Smile – (Optional) With your black embroidery thread (or yarn) create a smile below the nose by making a ‘v’. I added my smile after closing the head but adding it at this stage can make this step easier.
Round 17: SC in the first 7 sts, INV DEC in the next, rep around (48)
Round 18: SC in the first 6 sts, INV DEC in the next, rep around (42)
Round 19: SC in the first 5 sts, INV DEC in the next, rep around (36)
Round 20: SC in the first 4 sts, INV DEC in the next, rep around (30)
Round 21: SC in the first 3 sts, INV DEC in the next, rep around (24)
*Continue to stuff firmly*
Round 22: SC in the first 2 sts, INV DEC in the next, rep around (18)
Round 23: SC in the first st, INV DEC in the next, rep around (12)
Round 24: INV DEC around (6)
Fasten off and sew remaining hole closed, weave in your end.
Body
With light brown
Round 1: Create a magic circle with 6 SC
Round 2: SC INC in each stitch around (12)
Round 3: SC in the first stitch, SC INC in the next, rep around (18)
Round 4: SC in the first 2 sts, SC INC in the next, rep around (24)
Round 5: SC in the first 3 sts, SC INC in the next, rep around (30)
Round 6: SC in the first 4 sts, SC INC in the next, rep around (36)
Round 7: SC in the first 5 sts, SC INC in the next, rep around (42)
Round 8: SC in the first 6 sts, SC INC in the next, rep around (48)
Rounds 9-15: SC around (48)
Round 16: SC in the first 6 sts, INV DEC in the next, rep around (42)
Round 17-18: SC around (42)
Round 19: SC in the first 5 sts, INV DEC in the next, rep around (36)
Rounds 20-21: SC around (36)
Round 22: SC in the first 4 sts, INV DEC in the next, rep around (30)
Rounds 23-24: SC around (30)
Round 25: SC in the first 3 sts, INV DEC in the next, rep around (24)
Round 26: SC in the first 2 sts, INV DEC in the next, rep around (18)
Fasten off leaving a long tail for sewing.
Arms
Make 2 stuffing lightly at the bottom
With white
Round 1: Create a magic circle with 6 SC
Round 2: SC INC in each stitch around (12)
Round 3: SC in the first st, SC INC in the next, rep around (18)
Round 4: SC around (18)
Round 5: SC in the first stitch, INV DEC in the next, rep around (12)
Change to light brown
Rounds 6-17: SC around (12)
Fasten off leaving a long tail for sewing.
Legs
Make 2 stuffing lightly at the bottom
With white
Round 1: Create a magic circle with 6 SC
Round 2: SC INC in each stitch around (12)
Round 3: SC in the first st, SC INC in the next, rep around (18)
Round 4: SC in the first 2 sts, SC INC in the next, rep around (24)
Rounds 5-6: SC around (24)
Round 7: SC in the first 2 sts, INV DEC in the next, rep around (18)
Change to light brown
Rounds 8-19: SC around (18)
Fasten off leaving a long tail for sewing.
Assembly
– Sew the head onto the body making sure to add extra stuffing as you go. This will help add strength to avoid a wobbly head.
– Next, sew the legs onto the body starting at the 9th round from the bottom and ending at the 17th round.
– Lastly, sew the arms onto the body with a slight angle down (this will help the arms to rest onto the legs when sitting). I sewed my arms starting at round 20 and ending at round 25 when counting from the bottom.
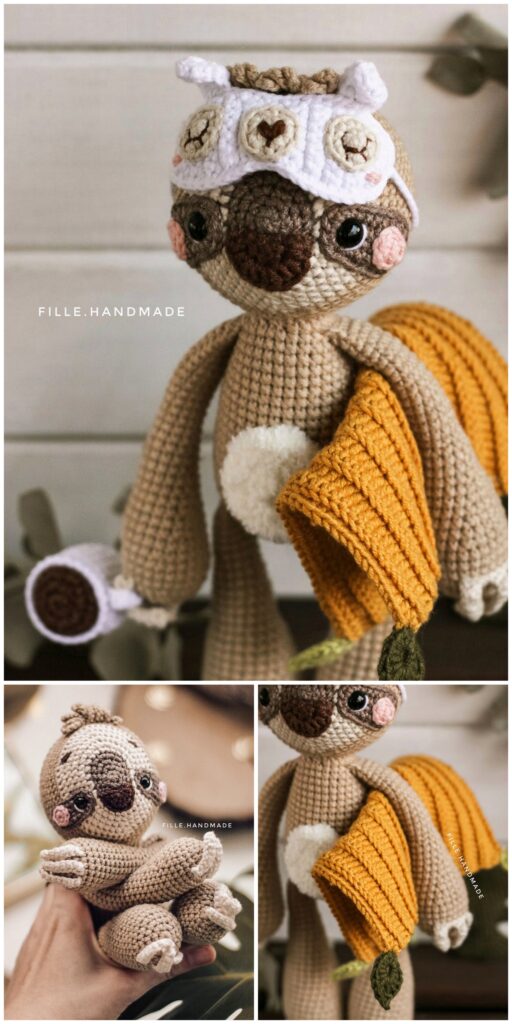
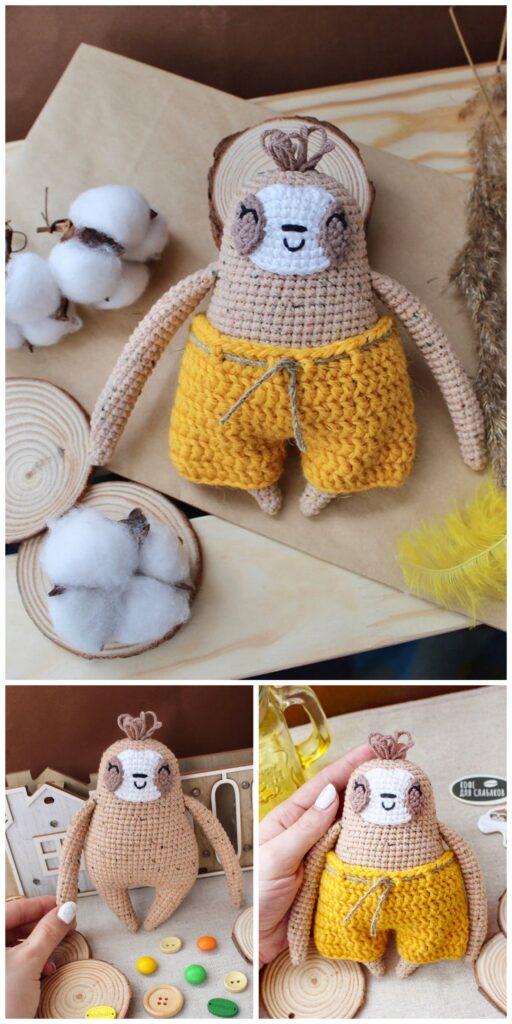
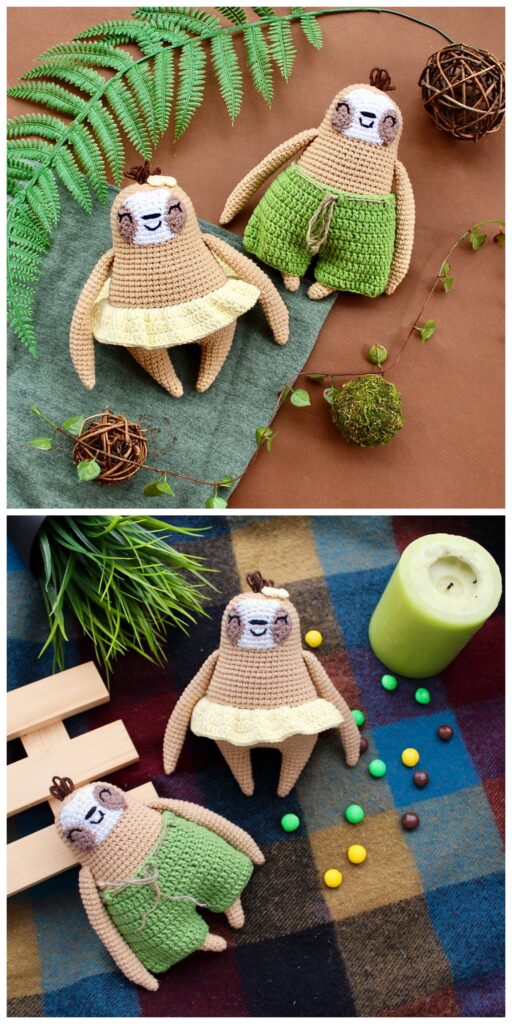
More Amigurumi Sloth İdeas