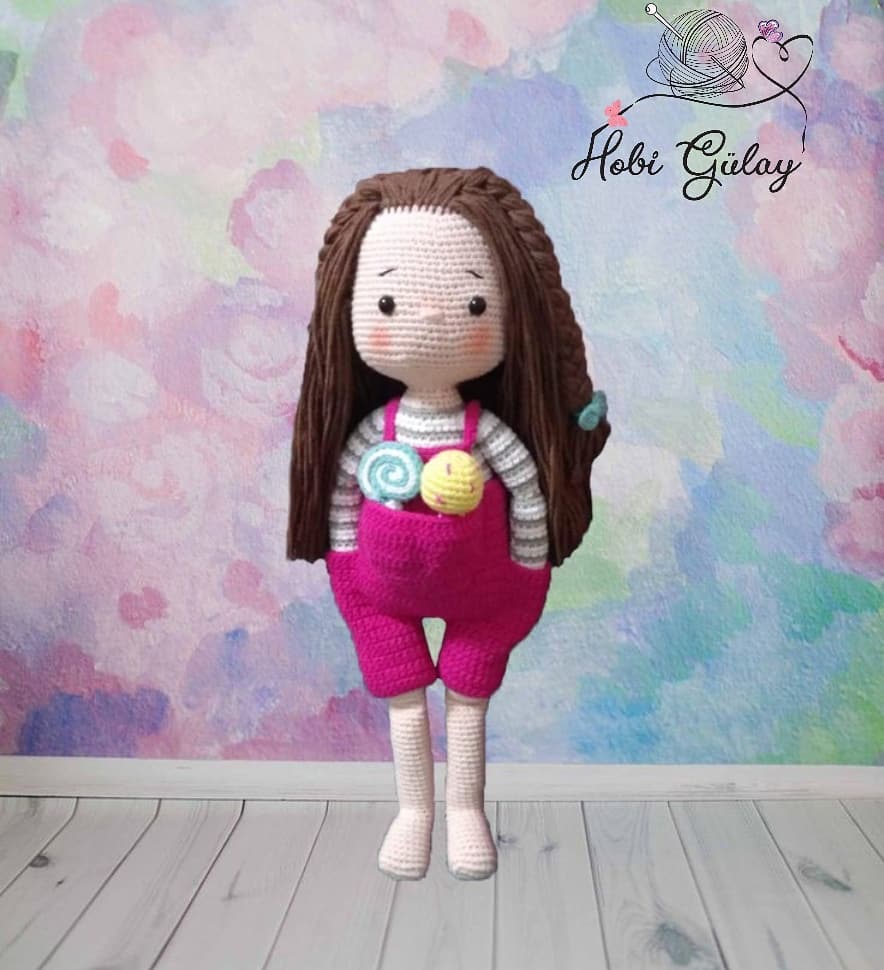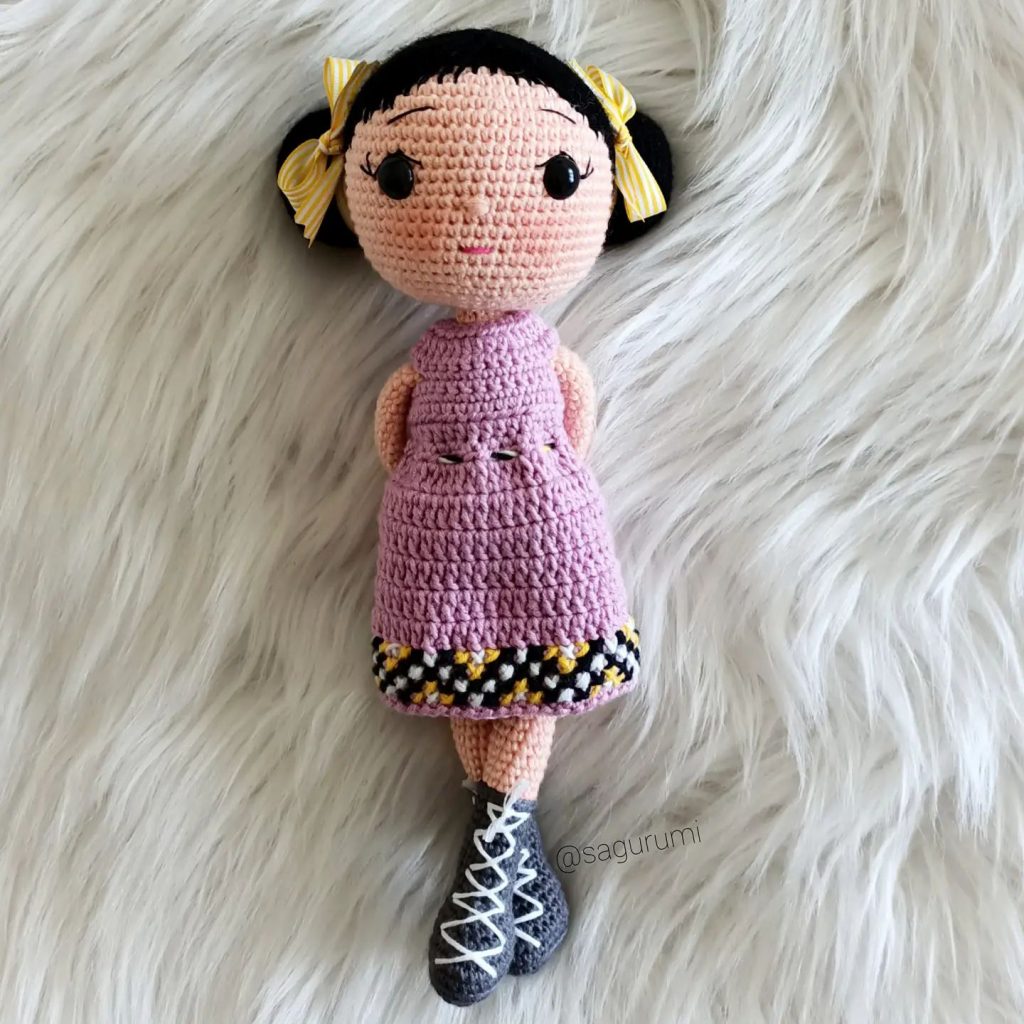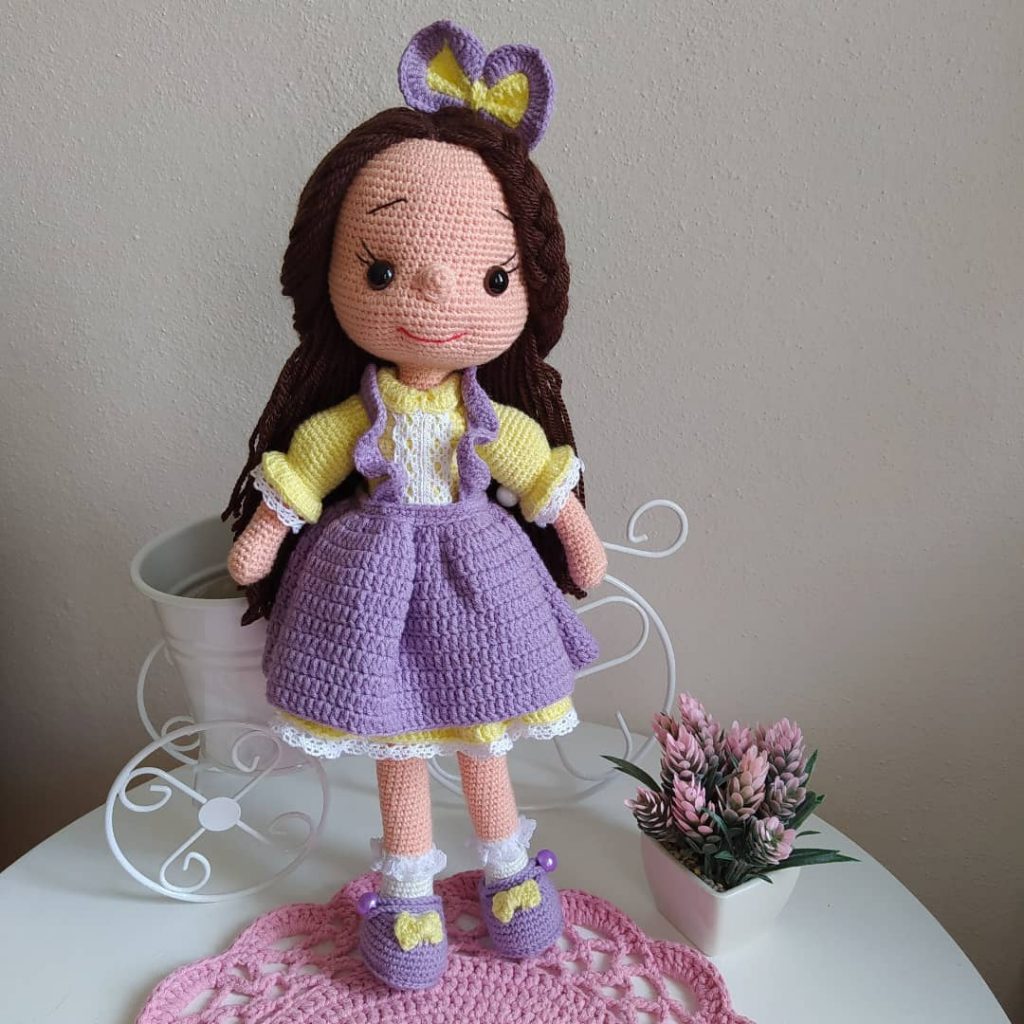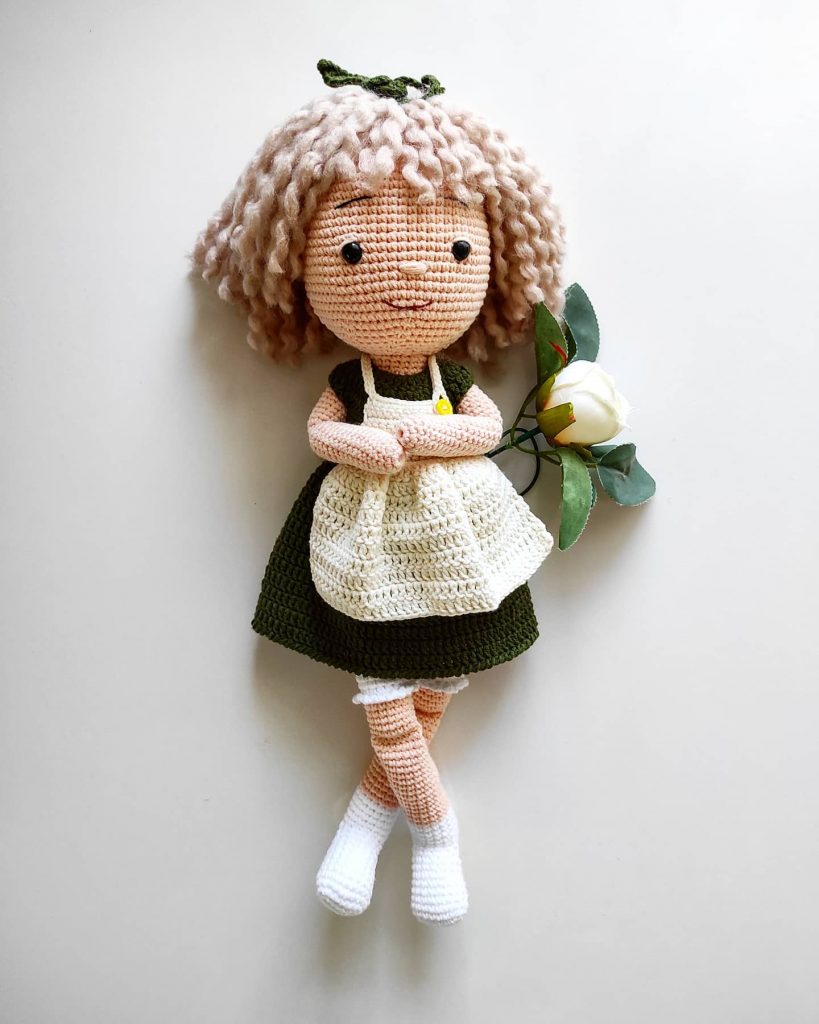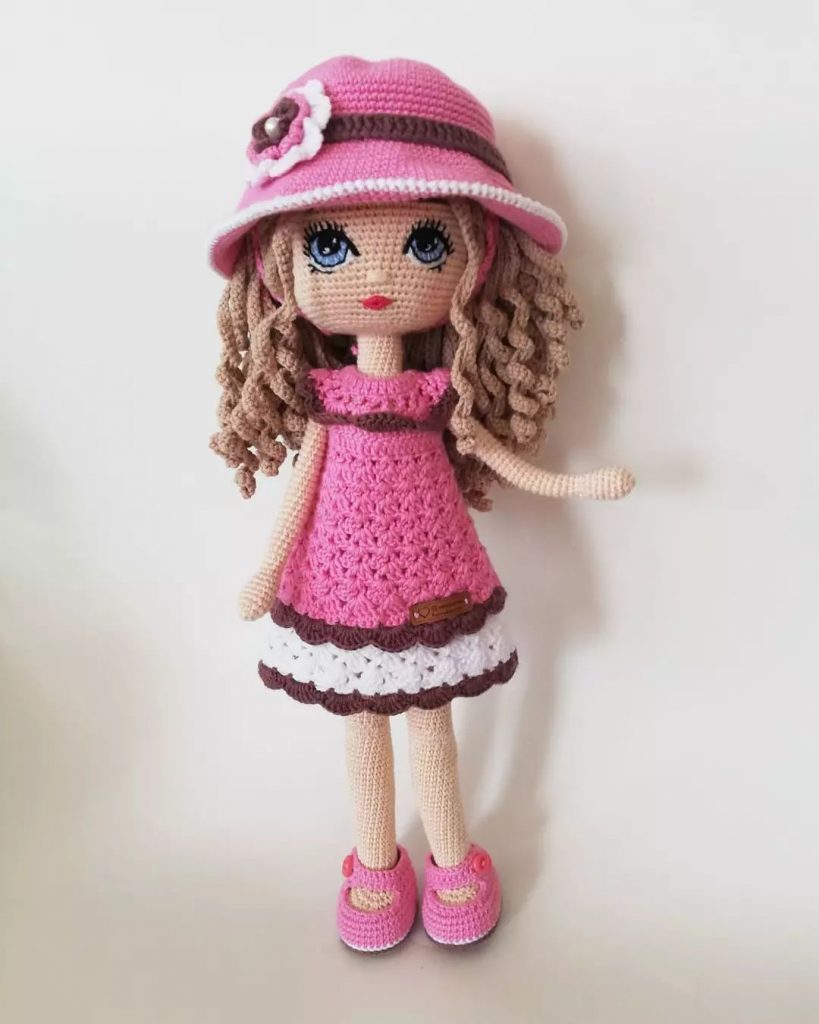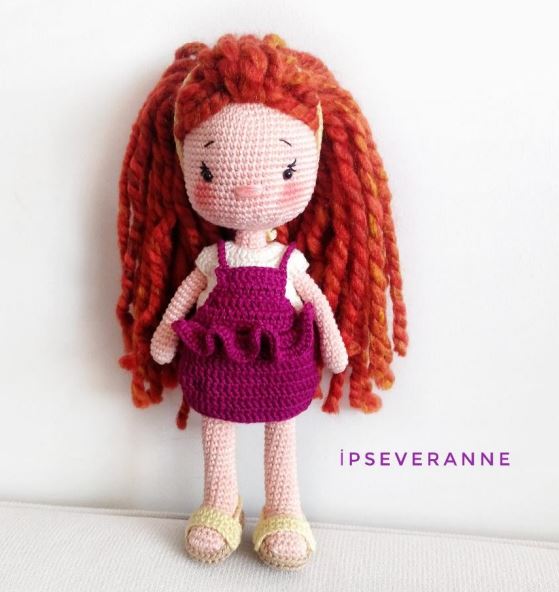
Clara Doll Amigurumi Free Crochet Pattern
Hello dear Amigurumi Followers
Today we share one free amigurumi crochet pattern again for you. As you know we share new amigurumi free patterns every day. The main crochets are amigurumi gazelles, amigurumi bears, amigurumi pola, amigurumi pandas, amigurumi penguins, amigurumi giraffes, amigurumi llama, amigurumi pigs, amigurumi bunny, amigurumi clowns, amigurumi lambs, amigurumi bees, amigurumi unicorns, amigurumi dolls, amigurumi foxes, amigurumi penguins, amigurumi dinosaurs, amigurumi elephants, amigurumi hippos, amigurumi monkeys, amigurumi cats, amigurumi dogs and more …
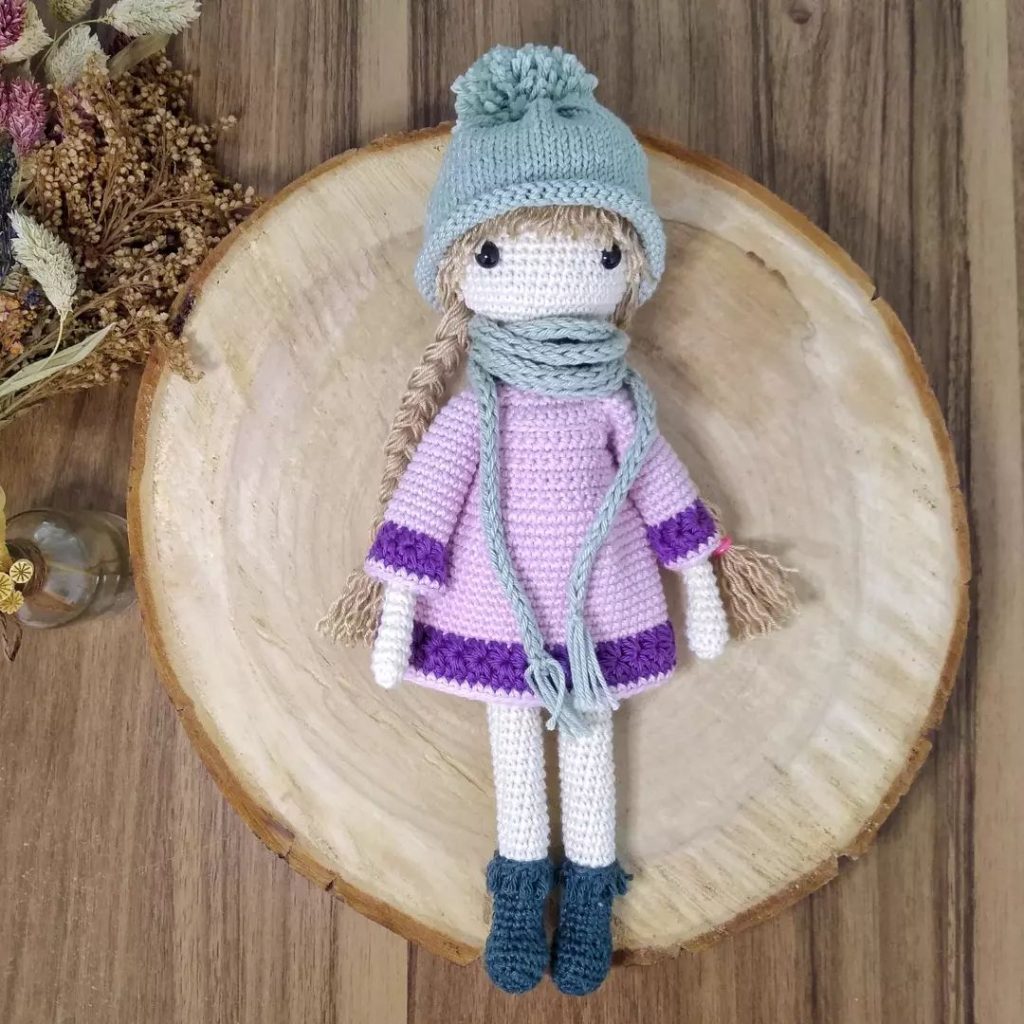
Todays daily new amigurumi free crochet pattern is amigurumi doll
I want to give you some informations about this pattern ;
If you enjoy making amigurumi, here I share this easy and free amigurumi pattern for you for free. Your kids will love these toys.
MATERIALS
– Kartopu Organica color no: K253 : ( Skin )
– Kartopu Organica color no: K331 : ( Yellow)
– Kartopu Organica color no: K1838 : ( Soft Brown)
– Catania Originals color no: 0128 : ( Jumper)
– Kartopu Organica color no: K019 : (Cream)
– Nako spagetti effect color no : 7793 (Hair)
– 2 mm crochet hook, sewing needle,
– Polyester fiberfill for stuffing,
– 5 mm safety eyes,
– 3 buttons.
ABBREVIATIONS
– Mr: Magic ring,
– sc: single crochet,
– V: increase,
– A: decrease,
– x: repeat.
– BLO: Back Loop only,
– FLO: Front Loop only,
– HDC: Double crochet.
– VHDC: Half Double Crochet increase.
– AHDC: Half Double Crochet decrease.
– DC: Double Crochet
– VDC: Double Crochet increase.
– ADC: Double Crochet decrease.
HEAD
Rnd 1. 7 sc in mr: 7 sc,
Rnd 2. 7 V : 14 sc,
Rnd 3. (1 sc, inc) x 7 : 21 sc,
Rnd 4. (2 sc, inc) x 7 : 28 sc,
Rnd 5. (3 sc, inc) x 7 : 35 sc,
Rnd 6. (4 sc, inc) x 7 : 42 sc,
Rnd 7. (6 sc, inc) x 6 : 48 sc,
Rnd 8. (11 sc, inc) x 4 : 52 sc,
Rnd 9. (12 sc, inc) x 4 : 56 sc,
Rnd 10 – 17. 60 sc, ( 8 Rows )
Rnd 18. (6 sc, inc ) x 8 : 64 sc,
Rnd 19 – 22. 64 sc, ( 4 Rows )
Rnd 23. (6 sc, dec) x 8 : 56 sc,
Insert the safety eyes between round 16 and 17, leave 12 hole between them.
Rnd 24. (5 sc, dec) x 8 : 48 sc,
Rnd 25. (4 sc, dec) x 8 : 40 sc,
Rnd 26. (3 sc, dec) x 8 : 32 sc,
Rnd 27. (2 sc, dec) x 8 : 24 sc,
Rnd 28. (1 sc, dec) x 8 : 16 sc,
Rnd 29. (2 sc, dec) x 4 : 12 sc,
finish it with slip stitch, leave long yarn tail for sewing and fill the head.
For shape the face; with skin color yarn and needle, follow my steps, Insert your needle from cheek and out from 1, insert 2 and out from 4. Stretch your yarn a few, insert from 3 again and out from 1 again. Insert to 2 and out from first insert point in cheek. Stretch your yarn and make eyes a little bir closer and tie both yarn tail to each other carefully.
ARMS
Rnd 1. 8 sc in mr: 8 sc,
Rnd 2. (3 sc, 1 inc ) x 2 : 10 sc,
Rnd 3-12. 10 sc, (10 Rows)
Rnd 13. 8 sc, 1 dec: 9 sc,
Rnd 14-20. 9 sc, ( 17 Rows )
Rnd 21. 7 sc, 1 dec : 8 sc,
Rnd 22-29. 8 sc,
Chain 1, Put two side together and crochet 4 sc : 4 sc, finish it with slip stitch, leave long yarn tail for
sewing.
FOOT-LEG
Rnd 1. Chain 5, leave 1 and sc next, 1 inc, 2 sc, 3 sc in 1, 3 sc : 10 sc,
Rnd 2. 2 inc, 2 sc, 3 inc, 2 sc, 1 inc : 16 sc,
Rnd 3-7. 6 sc, ( 5 Rows ) + 3 sc extra,
Rnd 8. Chain 1, turn, 8 sc,
Rnd 9. Chain 1, turn, 1 dec, 4 sc, 1 dec : 6 sc,
Rnd 10. Chain 1, turn, 1 dec, 2 sc, 1 dec : 4 sc,
Rnd 11. Chain 1, turn, 2 dec : 2 sc, this point will be your new start point,
Rnd 12. 4 sc, take 1 sc from side 1 sc from middle and decrease, 6 sc, 1 dec, take 1 sc from middle 1 sc from side and decrease, 4 sc, 1 dec : 17 sc,
Rnd 13. 1 dec, 2 sc, 1 dec, 4 sc, 1 dec, 2 sc, 1 dec, 1 sc : 13 sc,
Rnd 14-33. 13 sc, + 3 sc extra for color change, this point will be your new start point,
Change color to cream,
Rnd 34-35. 13 sc, finish it with slip stitch and fill the leg. Make the second leg with same pattern
but for just second leg crochet 4 sc extra
Tip for 12. Row: After your first 4 single crochets you will make a decrease. As you know to make a decrease you should take two sc in one time. In this case one of your sc will be from side part other one will be the part which you left for top of your foot.
BODY
We will join the legs and continue to body from here.
Rnd 1. From second leg Chain 5 to and slip stitch to first leg. Our join point must be back of the first leg.
You can mark this point if you want. After slip stitch sc around two legs and both side of the chains : 36 sc,
Rnd 2. 8 sc, 1 inc, 3 sc, 1 inc, (1 sc, 1 inc) x 3, 3 sc, 1 inc, 13 sc : 42 sc,
Rnd 3-5. 42 sc, ( 3 Rows )
Change color to skin,
Rnd 6-9. 42 sc, ( 4 Rows )
Rnd 10. ( 12 sc, 1 dec ) x 3 : 39 sc,
Rnd 11. 39 sc,
Rnd 12. ( 11 sc, 1 dec) x 3 : 36 sc,
Rnd 13. 36 sc,
Rnd 14. ( 10 sc, 1 dec ) x 3 : 33 sc,
Rnd 15-16. 33 sc, ( 2 Rows)
Rnd 17. ( 9 sc, 1 dec ) x 3 : 30 sc,
Rnd 18. 30 sc, fill the body,
Rnd 19. ( 8 sc, 1 dec ) x 3 : 27 sc,
Rnd 20. 27 sc,
Rnd 21. ( 7 sc, 1 dec ) x 3 : 24 sc,
Rnd 22. ( 2 sc, 1 dec) x 6 : 18 sc,
Rnd 23. ( 1 sc, 1 dec) x 6 : 12 sc,
Rnd 24-26. 12 sc, ( 3 Rows),
finish it with slip stitch and fill the body,
Our toy’s neck is slim as you see. We need to help it with a device. I used a flag stick for support the head. You can also use wire or thick straw too. We prepare it for 6 cm long. Insert 3 cm inside to neck and body, 3 cm inside to head.
TSHIRT
2 chain in the beginning will count as a DC.
Rnd 1. Chain 26, leave 6, continue from 7. Chain. (1 DC, 1 VDC) x 10 : 30 DC,
Rnd 2. Chain 2, turn, 1 VDC, (1 DC, 1 VDC) x 14 : 45 DC,
Rnd 3. Chain 2, turn, 7 DC, 1 VDC, (8 DC, 1 VDC) x 4 : 50 DC,
Rnd 4. Chain 1, turn, 8 sc, (Chain 4, leave 9 sc), 16 sc, (chain 4, leave 9 sc), 8 sc : 40 sc,
Rnd 5. Chain 6, turn, 8 DC, 1 VDC, ( 9 DC, 1 VDC) x 3 : 44 DC,
Rnd 6. Chain 2, turn, 9 DC, 1 VDC, (10 DC, 1 VDC) x 3 : 48 DC,
Rnd 7-8. Chain 2, turn, 47 DC : 48 DC,
Rnd 9.. Chain 6, turn, 48 DC : 48 DC, finish and hide your yarntail.
Sew your buttons opposite side of the button holes.
DRESS
Front part:
Rnd 1. Chain 11, leave 1, slip stitch to 2. Chain.
Rnd 2. Chain 2, 9 DC : 10 DC,
Rnd 3. Chain 2, 9 DC : 10 DC,
Rnd 4. Chain 2, 1 VDC right next to it, (Like 3 DC in same stitch), 8 DC, 3 DC in same stitch : 14 DC,
Rnd 5. Chain 2, 1 VDC right next to it, (Like 3 DC in same stitch), 12 DC, 3 DC in same stitch : 18 DC,
finish this part.
Back part:
Rnd 1. Chain 11, leave 1, slip stitch to 2. Chain.
Rnd 2. Chain 2, 1 VDC right next to it, (Like 3 DC in same stitch), 8 DC, 3 DC in same stitch : 14 DC,
We will continue to make our dress from here. First we should join our two part and continue from
there.
Rnd 1. Chain 10, join to front part’s last stitch, 18 sc, chain 10 and join to other side of back part, 14 sc,
this point will be your next start point,
Rnd 2. Slip stitch to next, chain 2, 9 DC, (BLO : 18 DC), 24 DC : 52 DC,
Rnd 3-6. Slip stitch to last DC, chain 2, 51 DC : 52 DC,
Rnd 7.. Slip stitch to last DC, chain 2, 2 ADC from each side, make DC rest of the row : 48 DC,
Rnd 8. Slip stitch to last DC, chain 2, 1 ADC from each side, make DC rest
of the row : 46 DC, slip stitch to last DC and finish, hide the yarn.
For suspenders: insert your yarn from front part’s right or left corner,
chain 18, 10 sc to back parts top, chain 18 and slip stitch to other corner of the front part. Finish and
hide the yarn.
Frill:
Insert your yarn from BLO line, chain 2, make 1 DC right next to it (Like VDC), 17 DCV : 36 DC,
Chain 1, turn, 36 V : 72 sc, finish and hide the yarn.
HAIR BAND
Rnd 1. Chain 70, slip stitch to first chain and make a ring,
Rnd 2. Chain 1, 70 sc, slip stitch to first sc and finish. Hide the yarn.
SANDALS
Rnd 1. Chain 7, leave 1 and continue from second. 1 inc, 4 sc, 3 sc in 1, 5 sc : 14 sc,
Rnd 2. Slip stitch to first sc, chain 1, 2 inc, 4 sc, 3 inc, 4 sc, 1 inc : 20 sc,
Rnd 3. Slip stitch to first sc, chain 2, 1 HDC, 1VHDC, 1 HDC, 1 VHDC, 4 DC,
(1DC, 3 DC in 1) x 3, 4 DC, 1 HDC, 1 VHDC,
Rnd 4. Chain 1, BLO : 30 sc, slip stitch to first sc, finish and hide the yarn.
Top part
With yellow:
Rnd 1. Chain 14, leave 1 continue from second, 13 sc : 13 sc,
Rnd 2. Chain 1, turn, 13 sc : 13 sc,
Rnd 3. Chain 1, turn, 2 sc, slip stitch to next, chain 14 sc, slip stitch to 11. Stitch, 2 sc, finish and
leave a yarn tail for sewing.
HAIR
Cut your hairs 36 cm long, fold it and add them to top of your head to row 5 like classical hair adding
method.
SEWING NOTES
– With a few black yarn make eyelash between.
– Dress her with the tshirt and button up.
– Use some blusher under her eyes and top of her nose.
– If you sew arms before sew head this will be easier. Sew the arms to row 22- 23.
– With a few black or blue yarn make little eyebrows on row 12 like the picture.
– Make the nose with skin color yarn between rows 18. And row 19. Leave 2 holes.
– Dress her with her dress, sandals and hairband and your Clara doll is ready.
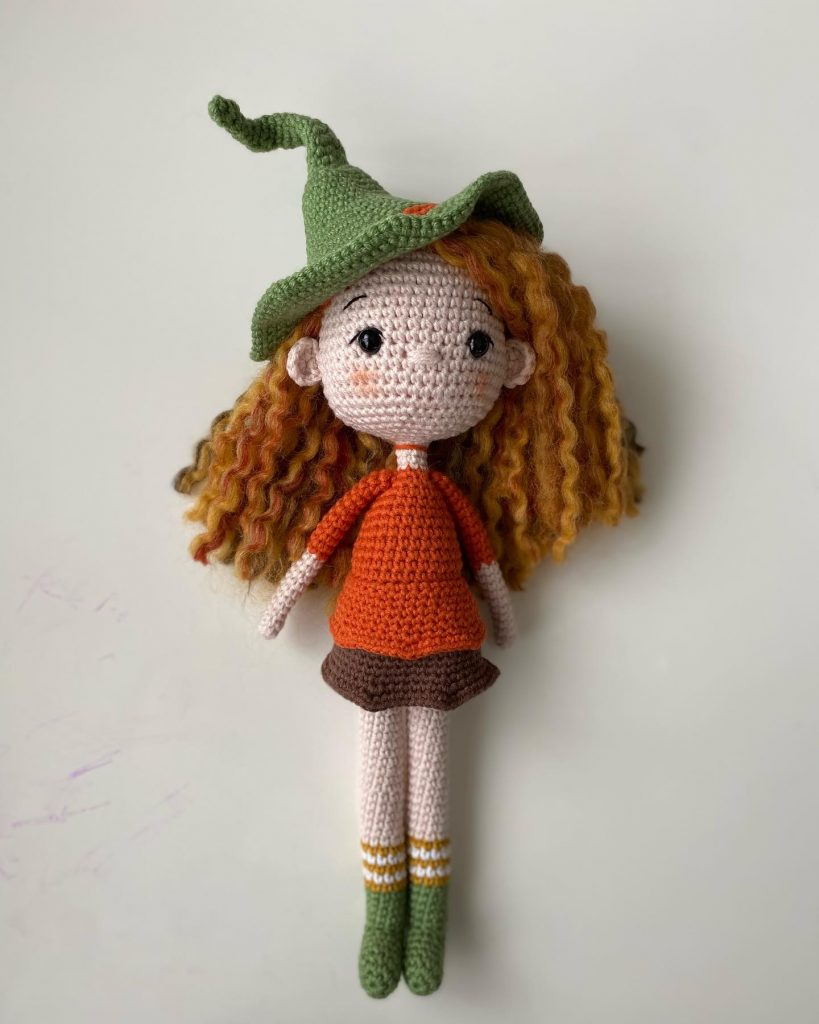
More Amigurumi Doll İdeas