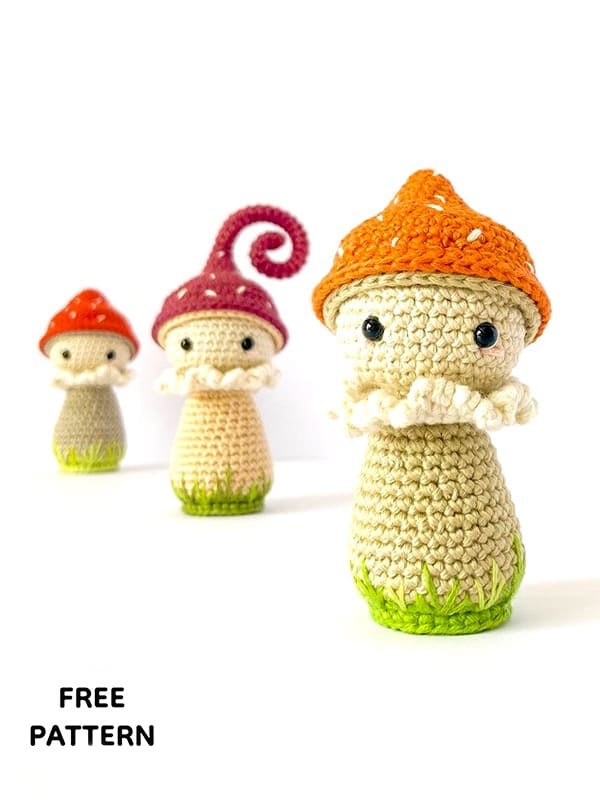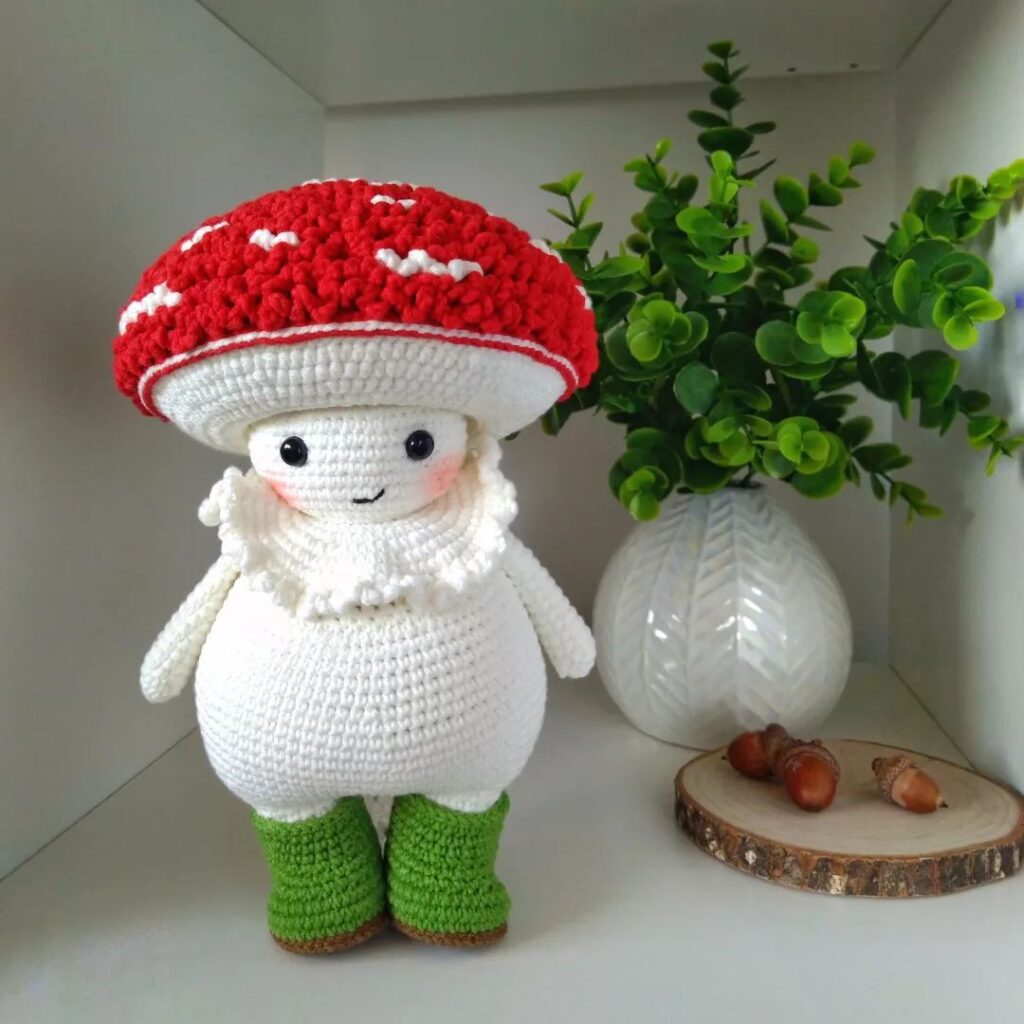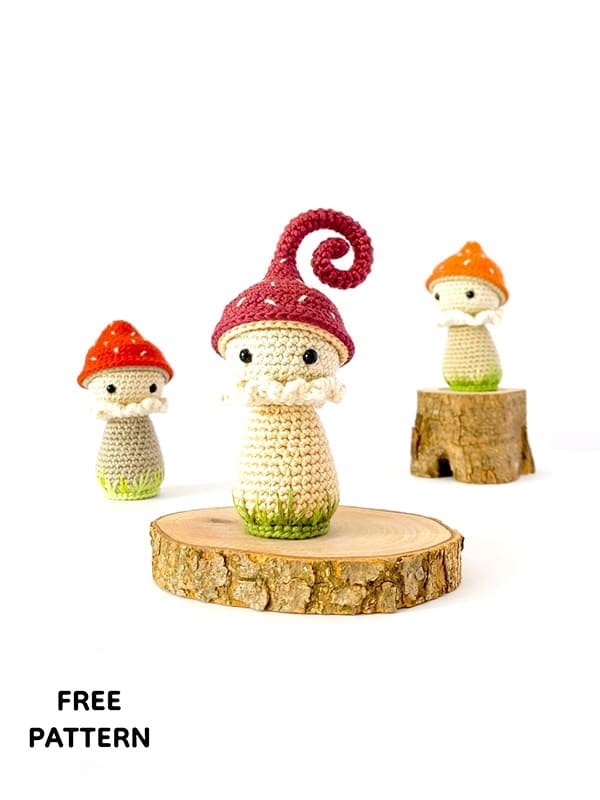
Crochet Mushroom Wildlings Amigurumi Free Pattern
Hello dear Amigurumi Followers
Today we share one free amigurumi crochet pattern again for you. As you know we share new amigurumi free patterns every day. The main crochets are amigurumi gazelles, amigurumi bears, amigurumi pola, amigurumi pandas, amigurumi penguins, amigurumi giraffes, amigurumi llama, amigurumi pigs, amigurumi bunny, amigurumi clowns, amigurumi lambs, amigurumi bees, amigurumi unicorns, amigurumi dolls, amigurumi foxes, amigurumi penguins, amigurumi dinosaurs, amigurumi elephants, amigurumi hippos, amigurumi monkeys, amigurumi cats, amigurumi dogs and more …
Todays daily new amigurumi free crochet pattern is amigurumi mushroom
I want to give you some informations about this pattern ;
If you enjoy making amigurumi, here I share this easy and free amigurumi pattern for you for free. Your kids will love these toys.
Materials
Vinni’s colours- Nikkim (100% cotton yarn)
Weight: DK
Colour A (head)
Colour B (mushroom base)
Colour C (mushroom trim)
Colour D (mushroom cap)
Colour E (grass)
2.5 mm crochet hook
5 mm safety eyes
Pipe cleaner/ thin wire
Toy stuffing
Stitch markers
Sewing needles
Scissors
Embroidery thread
Abbreviations
MR: Magic ring
Ch: Chain
Sc: Single crochet
Slst: Slip stitch
BLO: Back loop only
FLO: Front loop only
Inc: Increase
Dec: Decrease
Head
Starting in colour A yarn.
Rnd 1. 6 sc in MR (6)
Rnd 2. 6 inc (12)
Rnd 3. (sc1,inc)*6 (18)
Rnd 4. BLO (sc2,inc)*6 (24)
Rnd 5. (sc3,inc)*6 (30)
Rnd 6. (sc4,inc)*6 (36)
Rnd 7-13. sc 36 (36)
Place safety eyes between rounds 8-9, about 6 stitches apart.
Rnd 14. (sc4,dec)*6 (30)
Rnd 15. (sc3,dec)*6 (24)
Rnd 16. (sc2,dec)*6 (18)
Rnd 17. (sc1,dec)*6 (12)
Rnd 18. 6 dec (6)
Stuff the head firmly. Fasten off and cut yarn. Weave the yarn tail through the front loops and pull tight to close.
Mushroom cap 1
Starting in colour D yarn.
Rnd 1. 6 sc in MR (6)
Rnd 2. (sc 1, inc)*3 (9)
Rnd 3. (sc 2, inc)*3 (12)
Rnd 4. (sc 3, inc)*3 (15)
Rnd 5. (sc 4, inc)*3 (18)
Rnd 6. 18 sc (18)
Rnd 7. (sc 2, inc)*6 (24)
Rnd 8. (sc 3, inc)*6 (30)
Rnd 9. (sc 4, inc)*6 (36)
Rnd 10. (sc 5, inc)*6 (42)
Rnd 11. (sc 6, inc)*6 (48)
Rnd 12. 48 sc (48)
Rnd 13. (sc 6, dec)*6 (42)
Place a stitch marker in the back loop in the first stitch of the next round.
We’ll pick this up later as this will create the inner cap. Working in the FLO for the next round:
Rnd 14. FLO- 42 sc (42)
Rnd 15. 42 sc (42)
Fasten off invisibly and weave in ends.
Inner cap
Place your hook in the back loop of rnd 13 where you placed a stitch marker and pull up a loop of colour B yarn, ch 1 and continue the following rounds:
Rnd 1. BLO- (sc 12, dec)*3 (39)
Rnd 2. 39 sc (39)
Fasten off and leave a long tail for sewing.
Mushroom cap 2
Starting in colour D yarn.
Rnd 1. 6 sc in MR (6)
Rnd 2. 6 inc (12)
Rnd 3. 12 sc (12)
Rnd 4. (sc 1,inc)*6 (18)
Rnd 5. 18 sc (18)
Rnd 6. (sc 2,inc)*6 (24)
Rnd 7. 24 sc (24)
Rnd 8. (sc 3,inc)*6 (30)
Rnd 9. (sc 4,inc)*6 (36)
Rnd 10. (sc 5,inc)*6 (42)
Rnd 11. (sc 6,inc)*6 (48)
Rnd 12. 48 sc (48)
Rnd 13. (sc 6,dec)*6 (42)
Place a stitch marker in the back loop in the first stitch of the next round.
We’ll pick this up later as this will create the inner cap. Working in the FLO for the next round:
Rnd 14. FLO 42 sc (42)
Rnd 15. 42 sc (42)
Fasten off invisibly and weave in ends.
Inner cap
Place your hook in the back loop of rnd 13 where you placed a stitch marker and pull up a loop of colour B yarn, ch 1 and continue the following rounds:
Rnd 1. BLO (sc 12, dec)*3 (39)
Rnd 2. sc 39 (39)
Fasten off and leave a long tail for sewing.
Mushroom cap 3
Starting in colour D yarn.
Rnd 1. sc 6 in MR (6)
Rnd 2-30. sc 6 (6)
Rnd 31. (sc 1,inc)*3 (9)
Rnd 32. (sc 2,inc)*3 (12)
Rnd 33. (sc 3,inc)*3 (15)
Rnd 34. (sc 4,inc)*3 (18)
Rnd 35. sc 18 (18)
Rnd 36. (sc 2,inc)*6 (24)
Fold a pipe cleaner in half or use a thin wire and insert into the mushroom cap to create a spiral shape.
Cut the excess tips off and fold back to avoid a sharp edge.
Rnd 37. (sc 3,inc)*6 (30)
Rnd 38. (sc 4,inc)*6 (36)
Rnd 39. (sc 5,inc)*6 (42)
Rnd 40. (sc 6,inc)*6 (48)
Rnd 41. sc 48 (48)
Rnd 42. (sc 6,dec)*6 (42)
Place a stitch marker in the back loop in the first stitch of the next round.
We’ll pick this up later as this will create the inner cap.
Working in the FLO for the next round:
Rnd 43. FLO sc 42 (42)
Rnd 44. sc 42 (42)
Fasten off invisibly and weave in ends.
Inner cap
Place your hook in the back loop of rnd 42 where you placed a stitch marker and pull up a loop of colour B yarn, ch 1 and continue the following rounds:
Rnd 1. BLO (sc 12,dec)*3 (39)
Rnd 2. sc 39 (39)
Fasten off and leave a long tail for sewing.
Mushroom base
Starting in colour E yarn.
Rnd 1. sc 7 in MR (7)
Rnd 2. 7 inc (14)
Rnd 3. (sc 1,inc)*7 (21)
Rnd 4. (sc 2,inc)*7 (28)
Rnd 5. BLO- (sc 6,inc)*4 (32)
Colour change to colour B and continue the following rounds:
Rnd 6-10. 32 sc (32)
Rnd 11. (sc 6,dec)*4 (28)
Rnd 12. sc 28 (28)
Rnd 13. (sc 5,dec)*4 (24)
Rnd 14. sc 24 (24)
Rnd 15. (sc 6,dec)*3 (21)
Rnd 16-17. sc 21 (21)
Rnd 18. (sc 5,dec)*3 (18)
Slst into the next stitch, fasten off and leave a long tail for sewing.
Trim
Hold the mushroom base upside down.
Place your hook in the front loop of rnd 18 and pull up a loop of color C, ch 1 and continue the following rounds:
Rnd 1. FLO sc 18
Rnd 2. (sc 2,inc)*6 (18)
Rnd 3. sc 1, inc, (sc 2,inc)*7, sc 1 (24)
Rnd 4. BLO (sc 1, ch 2, slst in the first chain from hook)*32 (32)
Cut yarn, fasten off and weave in ends.
Grass base
Hold the mushroom base upside down. Place your hook in the exposed front loop of rnd 4 of the mushroom base with colour E and work a sc in each stitch around.
Fasten off invisibly and weave in ends.
Assembly
Using the yarn tail of the mushroom base, attach the head by sewing through the exposed front loops of rnd 3 of the head and the back loops of rnd 18 of the mushroom base.
Finishing touches
• Embroider the cheeks under the eye, about 2 stitches long.
• Using a few strands of colour C, embroider a few speckles on the mushroom cap, about 1 stitch long.
• Using a few strands of colour E and another complimentary shade, emborider some line on the base to create grass.
• Using the yarn tail of the inner cap, place the mushroom cap on the head (stuff lightly if needed) and secure with a few stitches in round 1 of the inner cap.
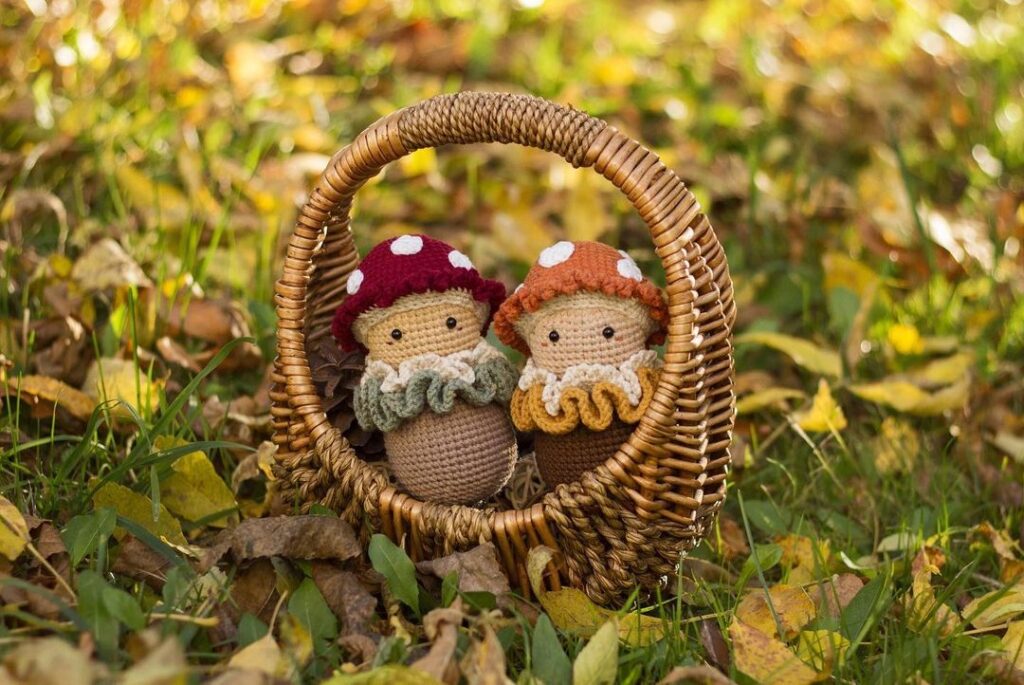
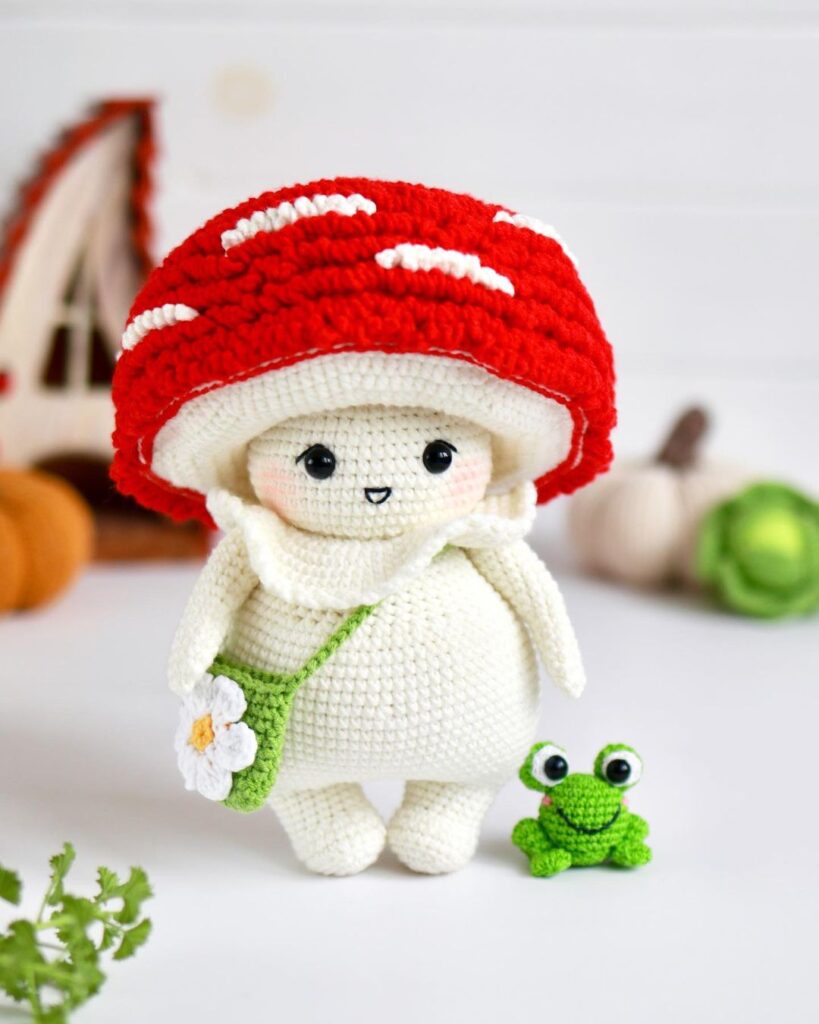
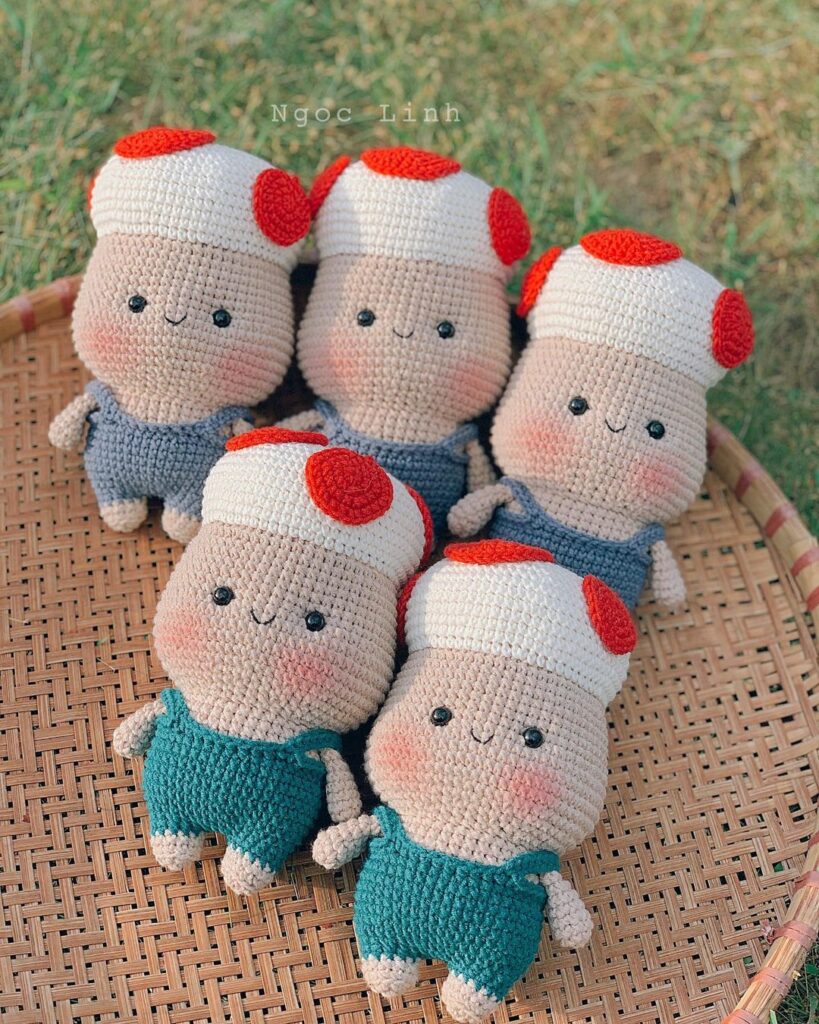
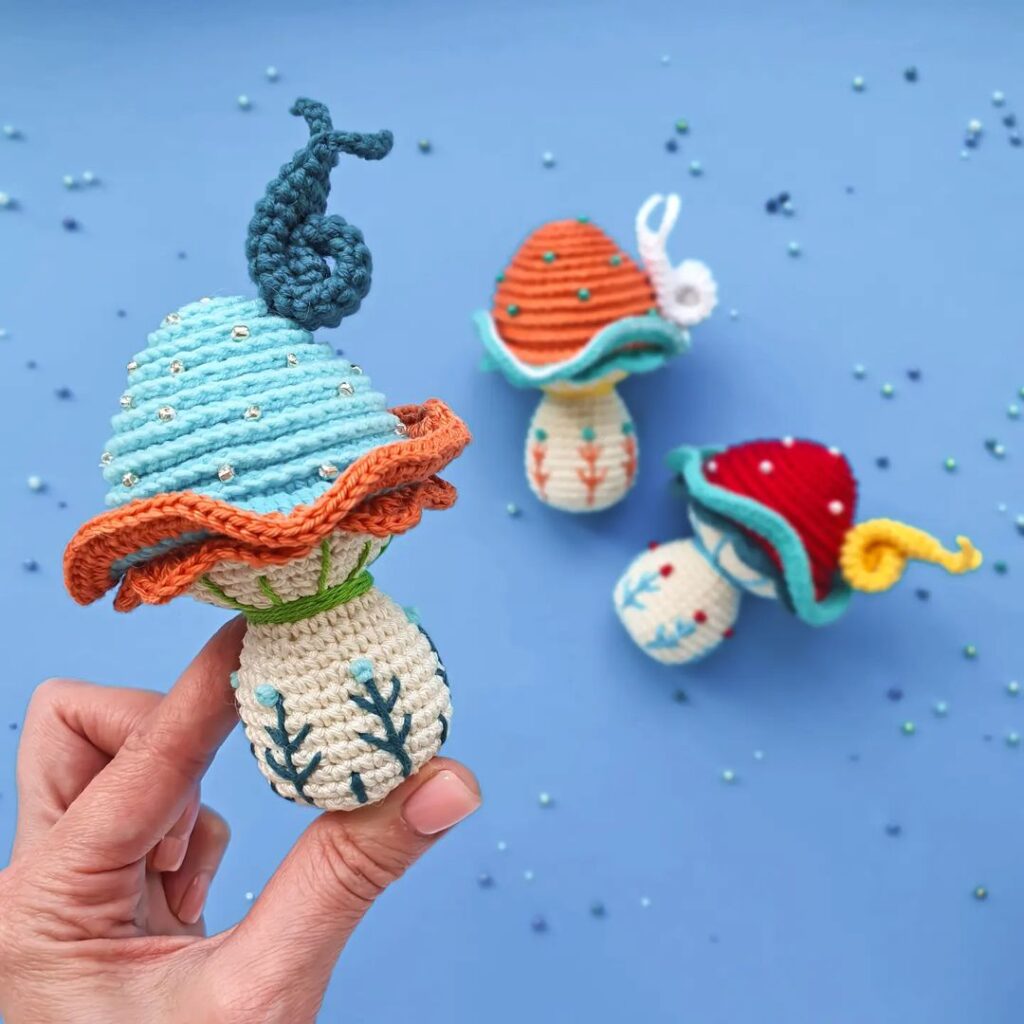
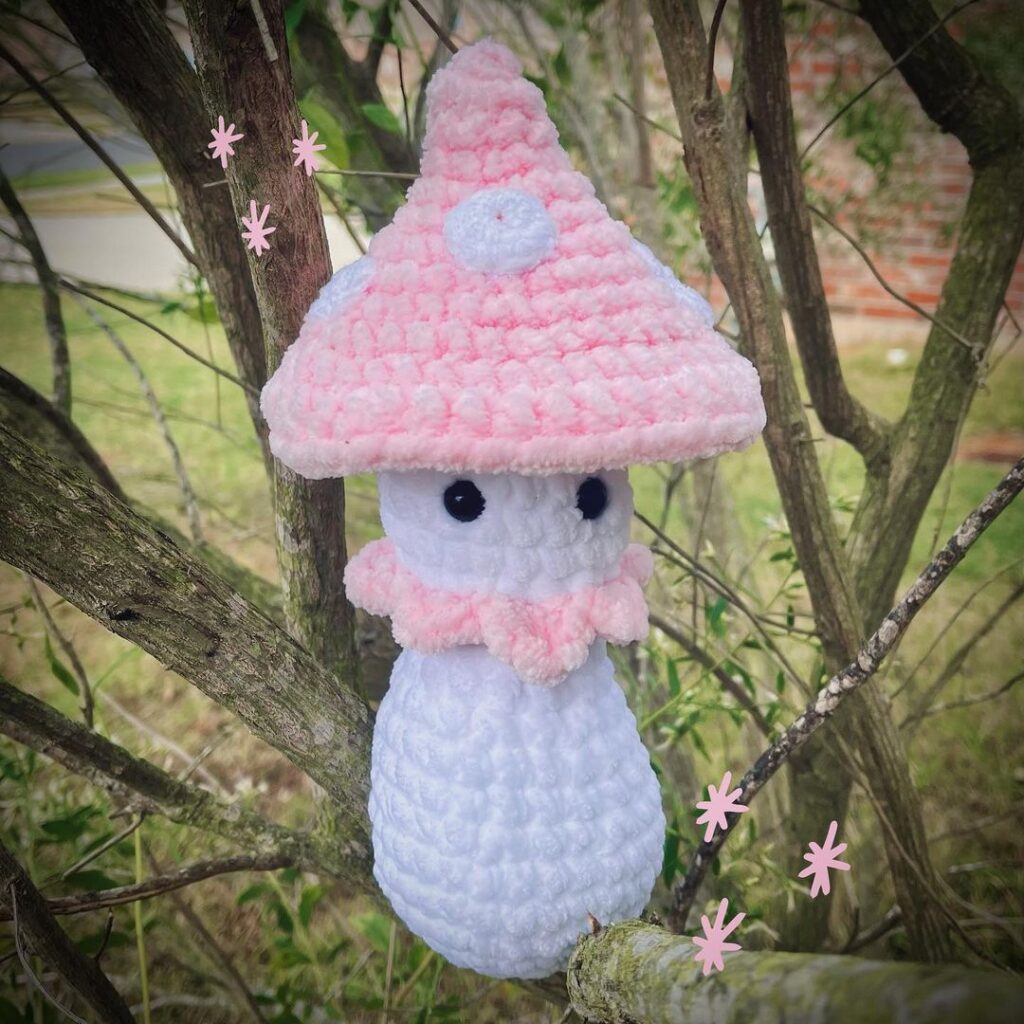
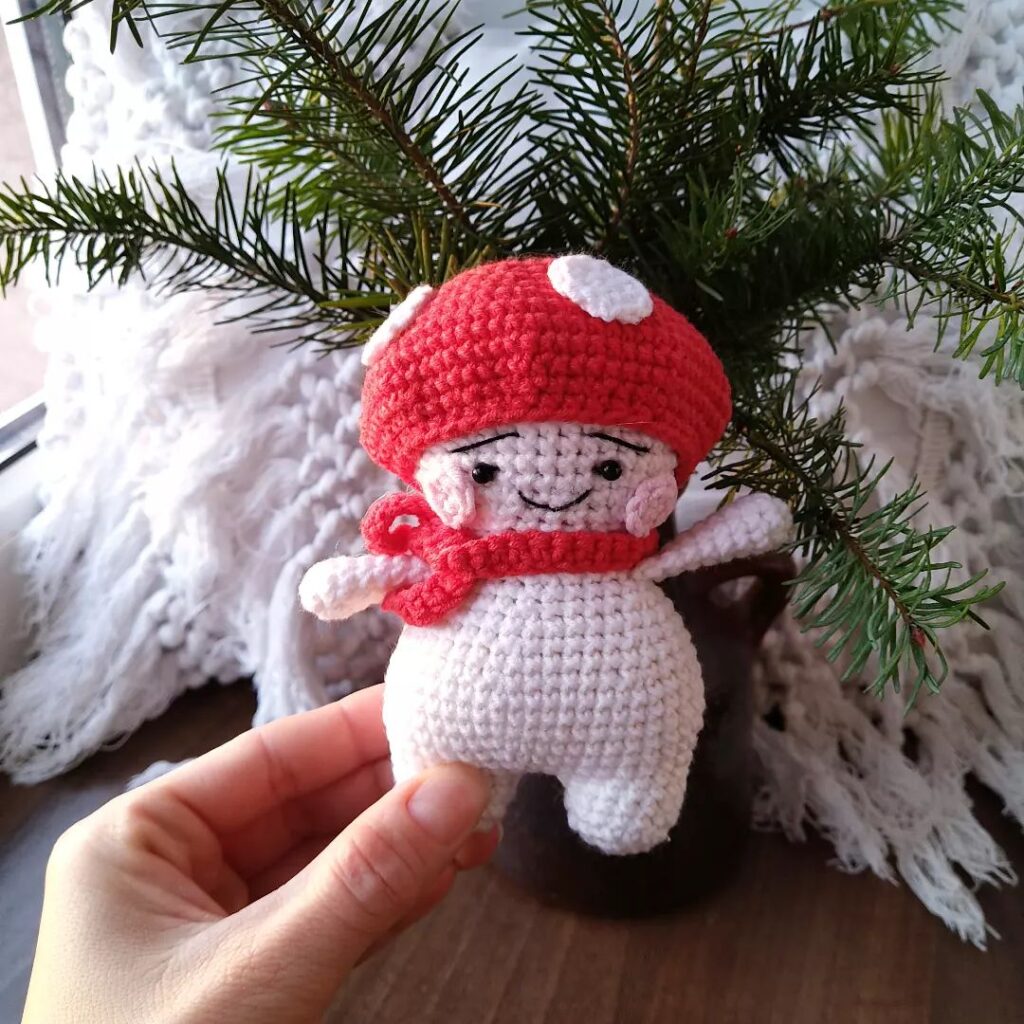
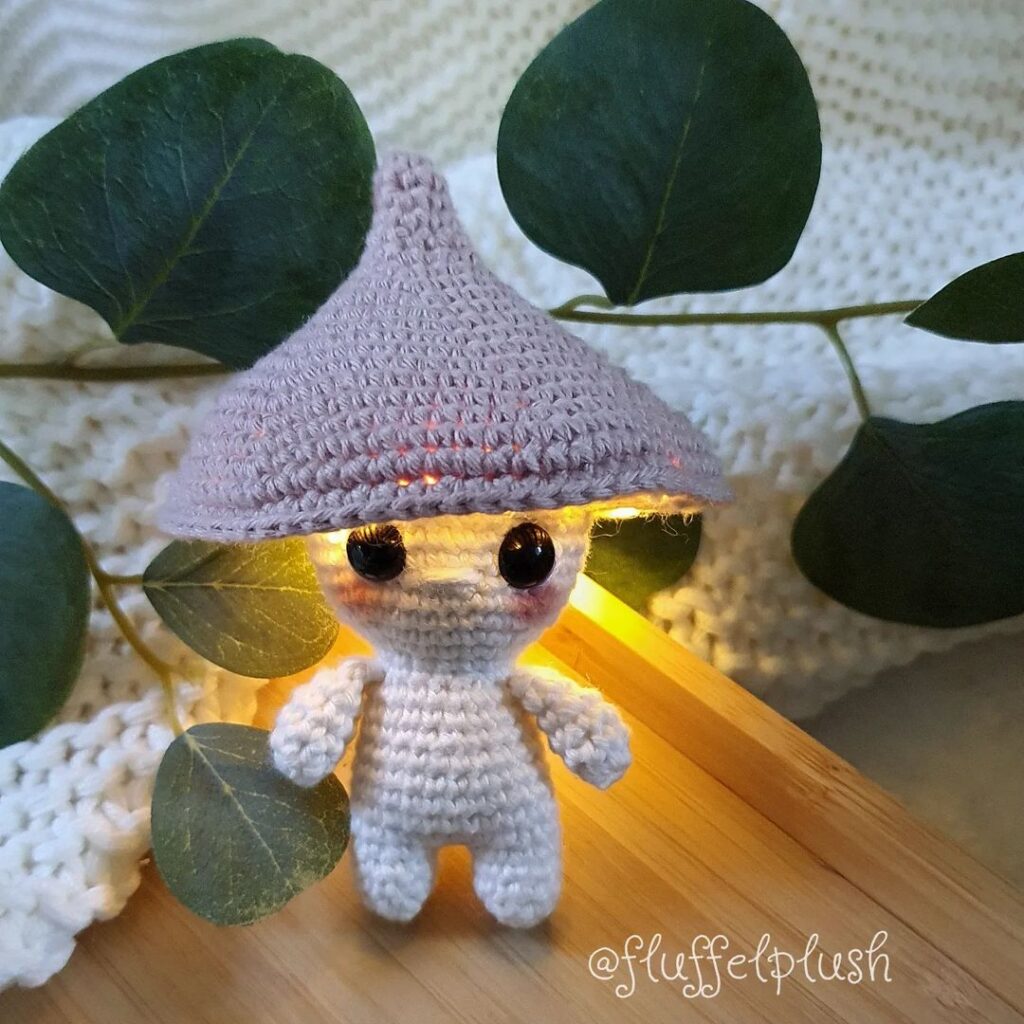
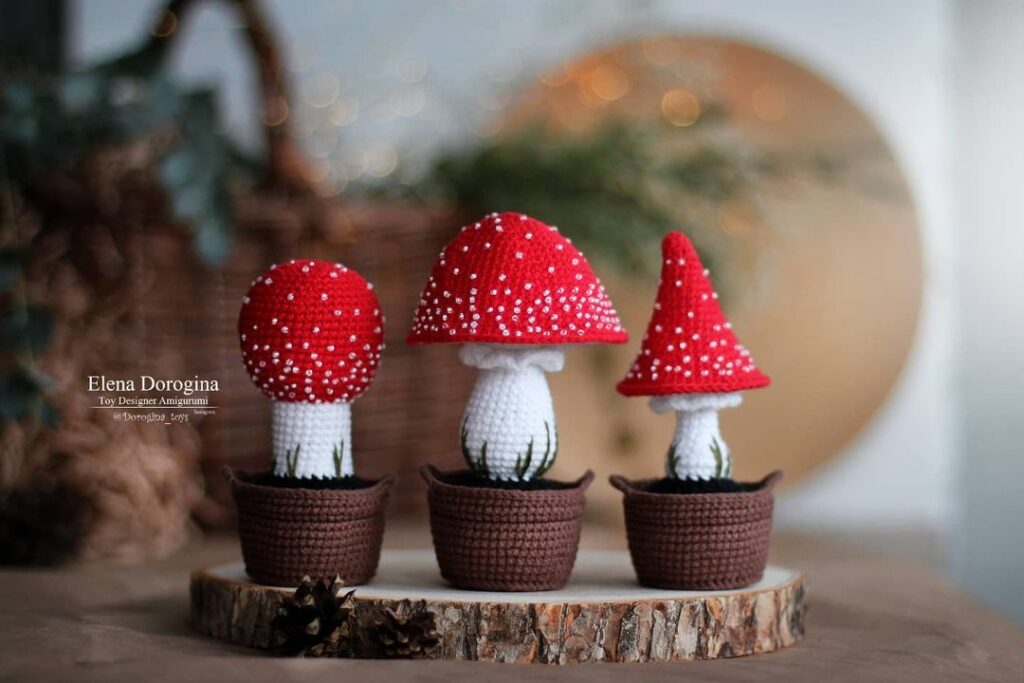
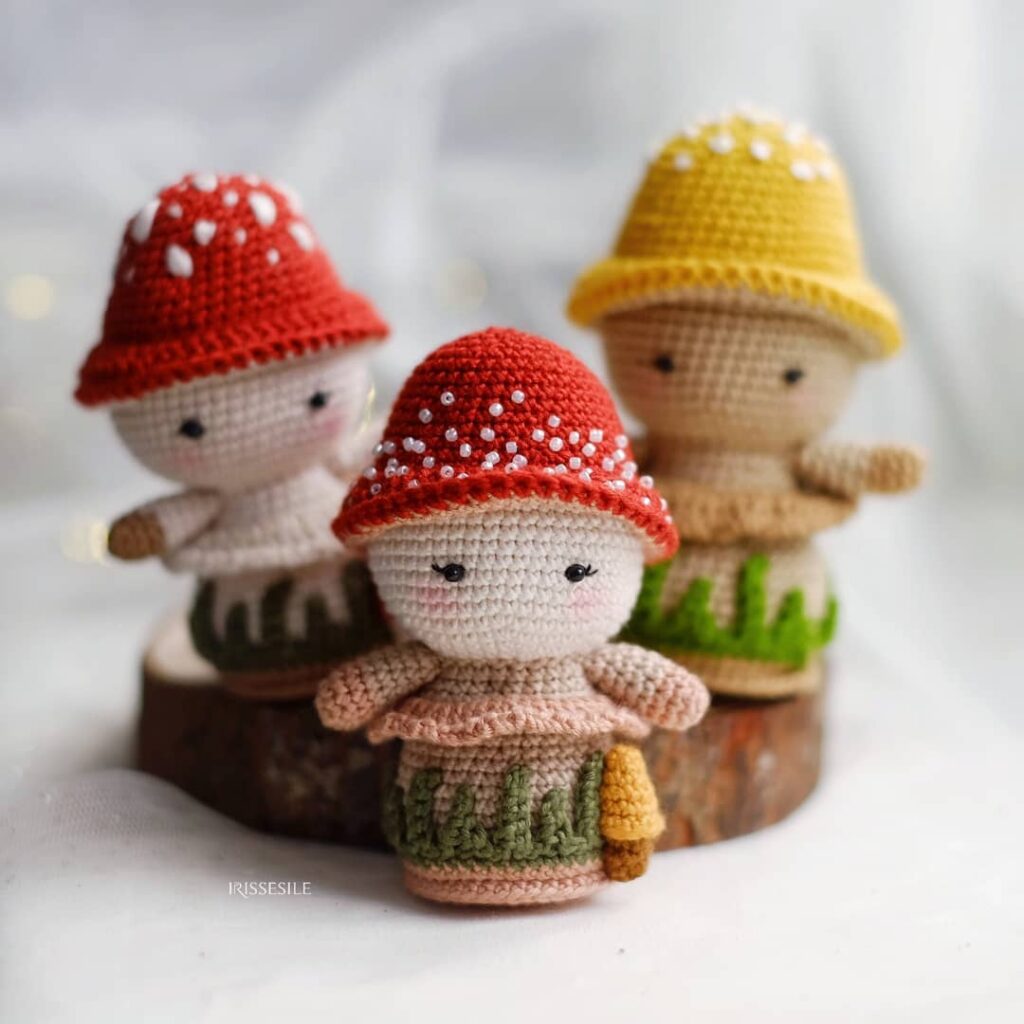
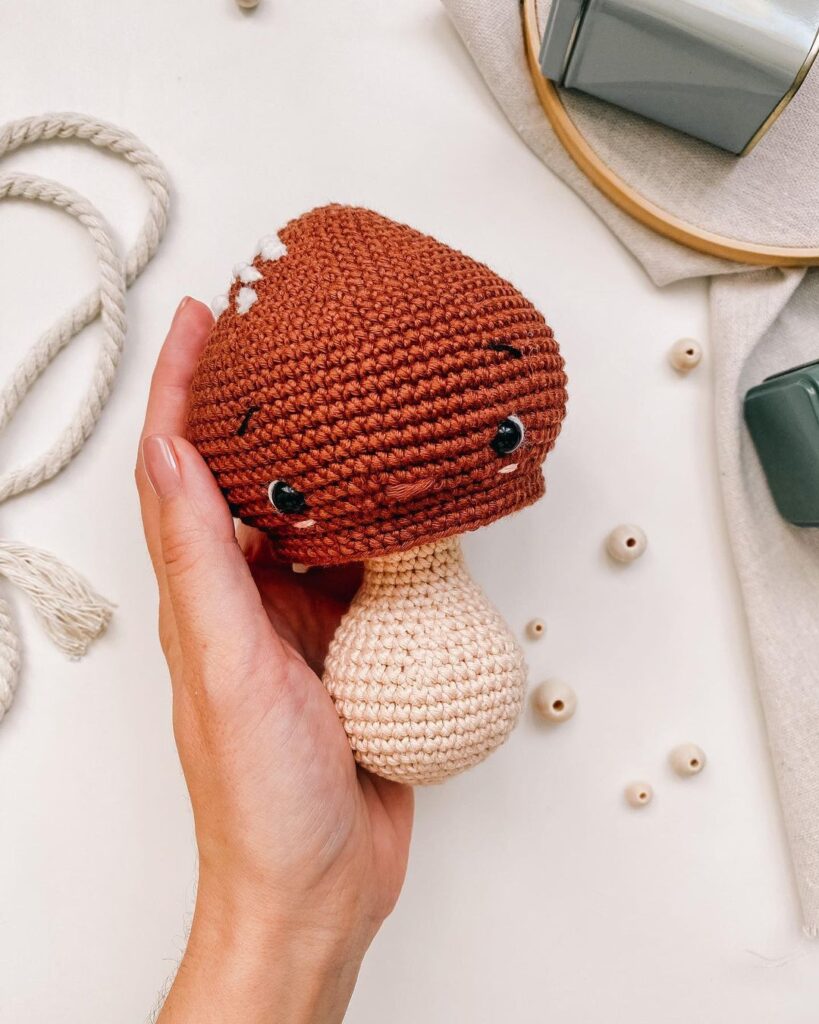
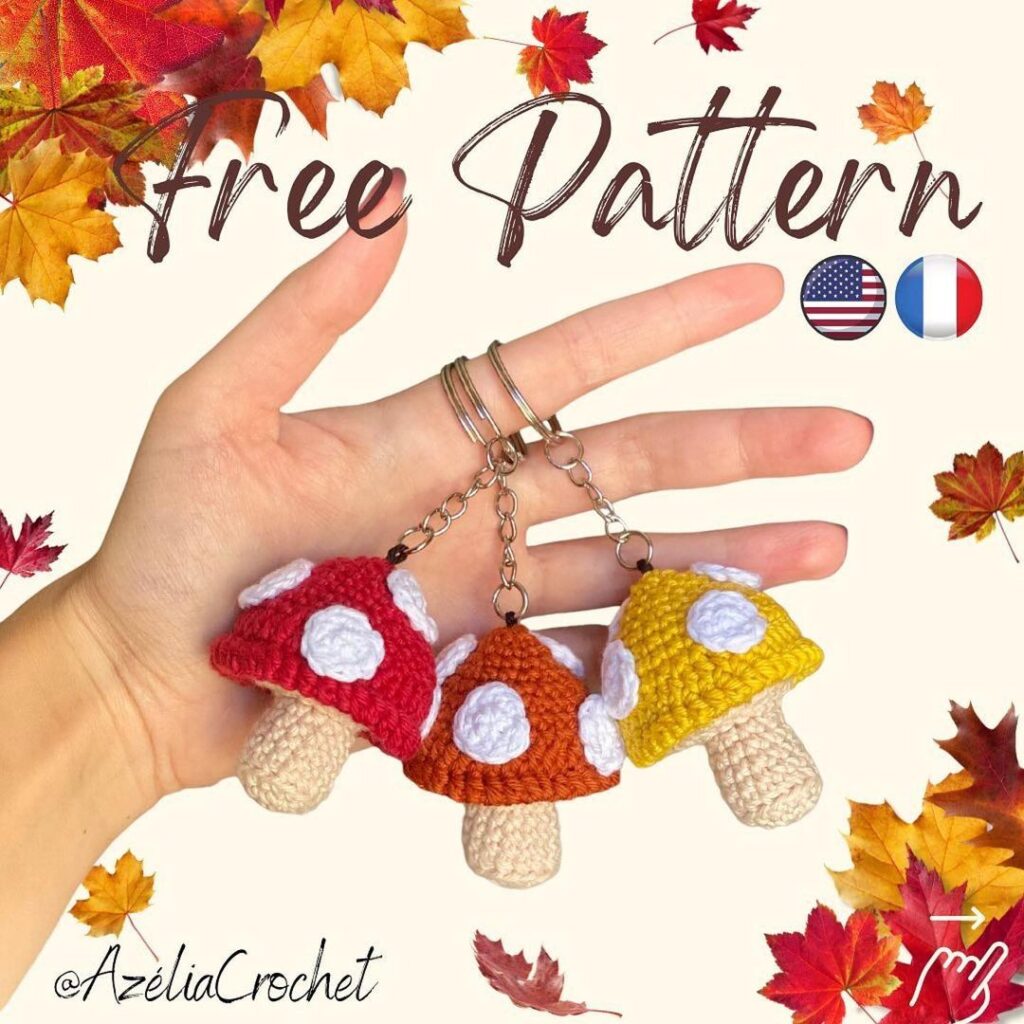
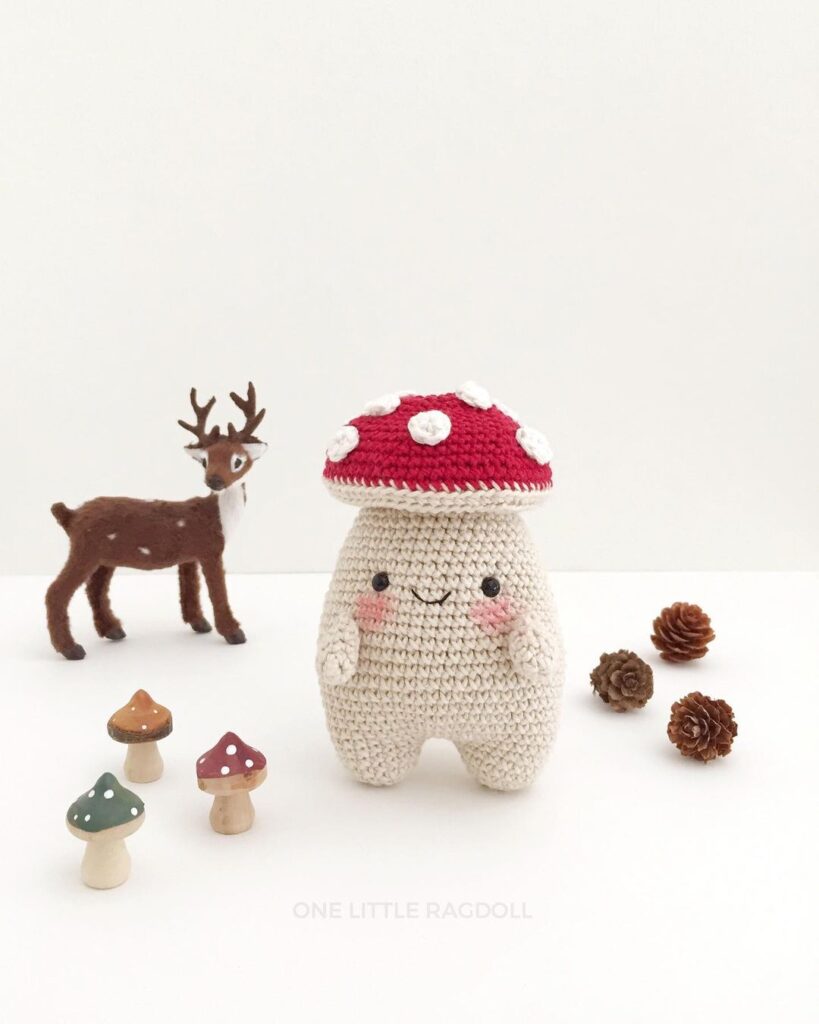
More Amigurumi Mushroom İdeas