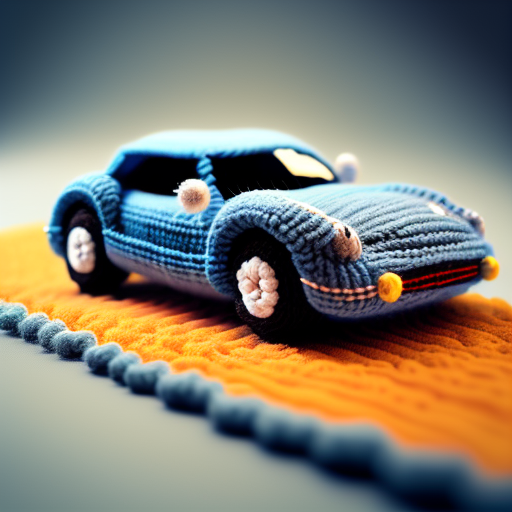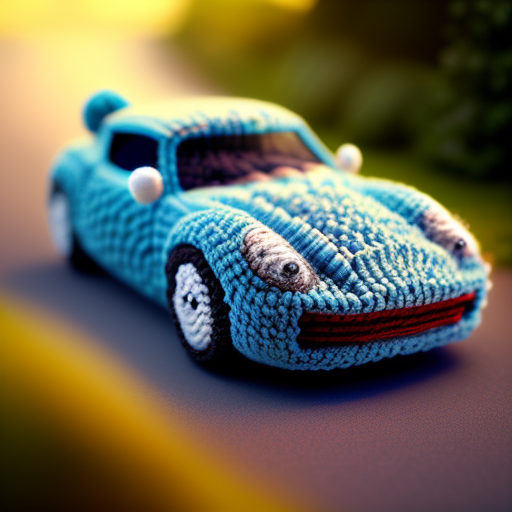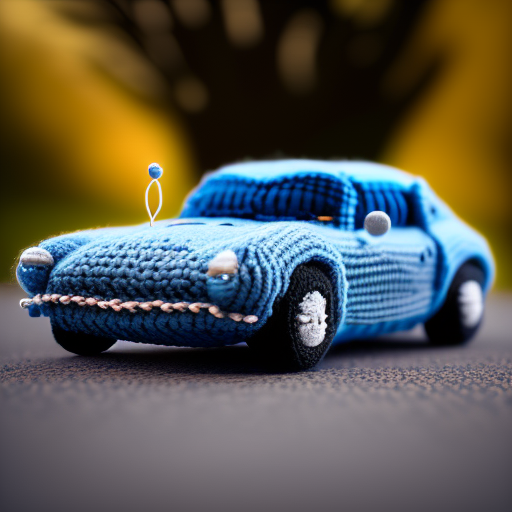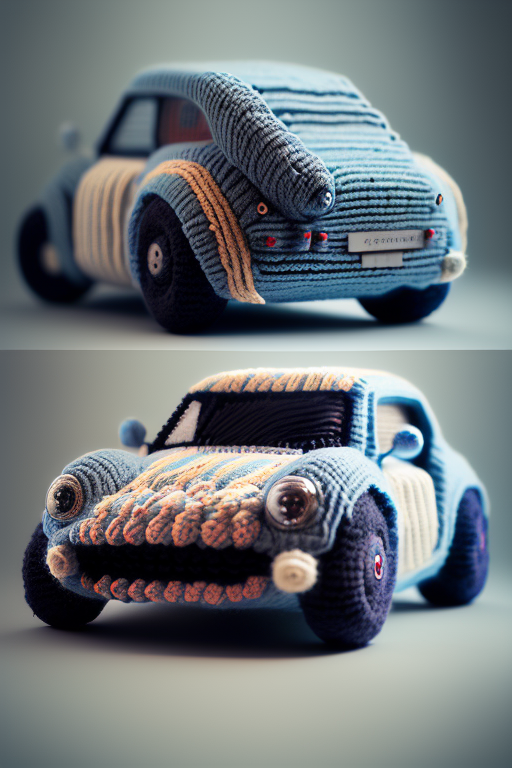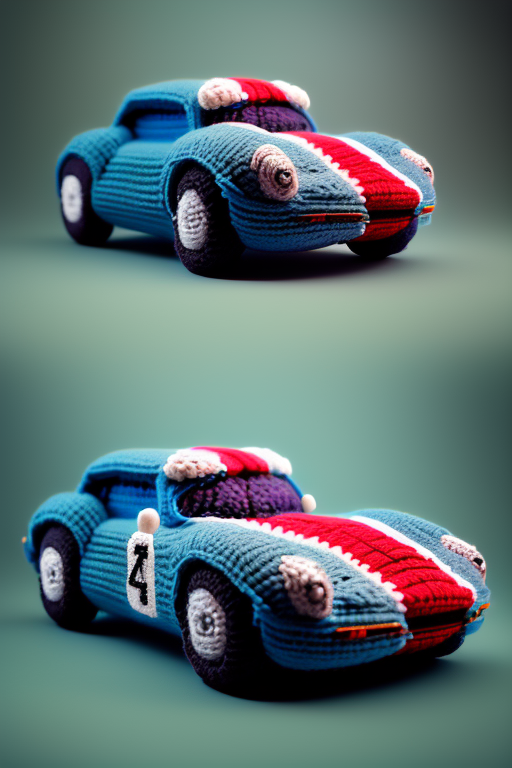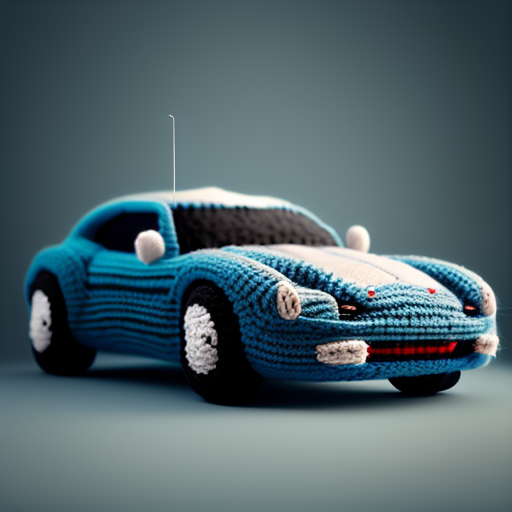
Cute Crochet Car Amigurumi Free Pattern
Hello dear Amigurumi Followers
Today we share one free amigurumi crochet pattern again for you. As you know we share new amigurumi free patterns every day. The main crochets are amigurumi gazelles, amigurumi bears, amigurumi pola, amigurumi pandas, amigurumi penguins, amigurumi giraffes, amigurumi llama, amigurumi pigs, amigurumi bunny, amigurumi clowns, amigurumi lambs, amigurumi bees, amigurumi unicorns, amigurumi dolls, amigurumi foxes, amigurumi penguins, amigurumi dinosaurs, amigurumi elephants, amigurumi hippos, amigurumi monkeys, amigurumi cats, amigurumi dogs and more …
Todays daily new amigurumi free crochet pattern is amigurumi car
I want to give you some informations about this pattern ;
If you enjoy making amigurumi, here I share this easy and free amigurumi pattern for you for free. Your kids will love these toys.
Materials:
hook 2.5mm
needle
sewing pins
scissors
fille
Abbreviations:
ch – chain
sc – single crochet
osc-reverse single crochet
hdc- half double crochet
* repeat
inc – increase
dec – decrease
Length is 10 inch
7 inch height
The body (body) of the machine
We knit the body from the bottom to the roof. We start from the base rectangle.
With a ruby-red thread, we collect a chain of 20 ch and knit sc 42 rows.
we cut, and continue to knit in a spiral, starting from the short side:
1p.-19sc, 3sc in next track, 41sc, 3sc in one, 40sc, 3sc in one (130)
2p.-sc behind the back wall (130)
3-18R.-sc (130)
Fasten. Cut the thread.
Hood
With a ruby-red thread, we collect a chain of 20 wp and knit 22 p. sc. thread not
we crop, and continue to knit sc, starting from the short side of the rectangle:
1p. -19sc, 3sc in 1p, 21sc, 3sc in 1.18sc, 3sc in 1p, 21sc, 2sc in 1p (90)
Fasten the thread. Cut.
Using sewing pins, place the hood in the hole in the body so that the base loops
bonnet adjacent to the front part of the body of the machine. We sew the side and front of the hood
with the body
Side and windshield
Knit in a spiral with a white thread around the remaining body hole:
1 pp. -78sc
2-16p.-sc (78)
Fasten and cut the thread.
Roof
Using a dark gray thread, we collect a chain of 20p and knit a 16p rectangle. tall.
We do not cut the thread, but bind the entire rectangle sc, starting from the long side:
1p.-19sc, 3sc in 1p, 15sc, 3sc in 1p, 18sc, 3 sc in 1p, 15sc, 2sc in 1p (78)
Without cutting the thread, we place the roof over the opening of the body so that the beginning of the
roof coincides with
with the front of the hole, fasten with pins and tie the parts together sc, stuffing
body, as needed.
Window frames (4 parts)
We knit directly from the edges of the roof with a ruby-red thread.
We knit strips into magic ring every corner of the roof 7sc wide and 12 rows long.
If the strips are connected correctly, then between the front and rear frames should be
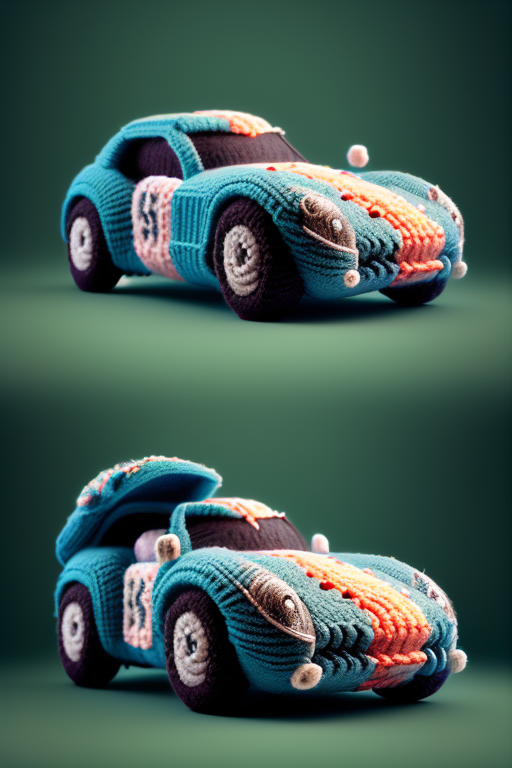
10sc.Sew frames to the body at the junction of the color change (see photo).
Front edge of the roof
In dark gray we knit 5 rows for 22 s. At the end of the 5th row we tie the whole roof
around sc, making double increases into the magic ring at each corner to maintain sharp corners.
Lattice (silver color)
knits from top to bottom. To avoid opening at the beginning of this part, we start knitting with
magic ring (MR)
1 pp. -6sc into magic ring (6)
2p.-inc * 6 times (12)
3p .- (1sc, inc) * 6 (18)
4p .- (2sc, inc) * 6 (24)
5p .- (3sc, inc) * 6 (30)
6 pp .- (4sc, inc) * 6 (36)
7p .- (5sc, inc) * 6 (42)
8p-sc (42)
9 pp .- (6sc, inc) * 6 (48)
10-21 R.-sc (48)
Join edges together with 24 sc
Sew the grate to the body so that all sides of the grate coincide with the front
body. Embroider 2 columns of 5 rows into magic ring each lying letter with a dark gray thread
“L”. The distance between the columns is 2-3sc, and 3 rows between each “L” (see photo)
Top grille valve (silver)
1 pp. -6sc into magic ring (6)
2p.-inc * 6 (12)
3p .- (sc, inc) * 6 (18)
4-6p.-sc (18)
7p .- (sc, dec) * 6 (12)
8p.-dec * 6 (6)
Stuff as you knit
Fasten the thread. Close the hole. Sew to the top of the grill.
Pupils (black, 2 parts)
1 pp. -6sc into magic ring (6)
2p .- (2sc in one loop) * 2, (2hdc in one loop) * 2, (2sc in one loop) * 2 (12)
Fasten the thread, cut. Sew on the windshield at a distance of 3sc from
friend. Embroider flare with white thread. Embroider eyebrows with black thread, sky blue embroider
details on the side and windshields
Tires (wheels) -5pcs
Knit from front to back. Start with a tan color:
1 pp. -6sc into magic ring (6)
2p.-inc * 6 (12)
3p .- (sc, inc) * 6 (18)
4p .- (2sc, inc) * 6 (24)
Change thread to black:
5p .- (3sc, inc) * 6 (30)
6 pp .- (4sc, inc) * 6 (36)
7p .- (5sc, inc) * 6 (42)
8p .- (6sc, inc) * 6 (48)
9p.-osc (48)
10-11 R.-sc (48)
12 R.-Osc (48)
13 pp .- (6sc, dec) * 6 (42)
14 p .- (5sc, dec) * 6 (36)
15 p .- (4sc, dec) * 6 (30)
16 pp .- (3sc, dec) * 6 (24)
17r .- (2sc, dec) * 6 (18)
18 pp .- (sc, dec) * 6 (12)
19 R.-dec * 6 (6)
Fasten the thread, cut it, sew the hole. Embroider on the tires with a tan thread
vertical lines from 4 to 7 rows and loops on top of 7 rows (see photo)
Sew wheels to the body of the machine. The front wheels are behind the grille, the rear ones are in the corner of the rear
body parts so that the center of the wheels is above the bottom of the body. bodywork.
Machine wing (2 parts)
Dark gray thread:
1 pp. -6sc into magic ring (6)
2p.-inc * 6 (12)
3R.-sc (12)
4p .- (5sc, inc) * 2 (14)
5-64R.-sc (14)
65r .- (5sc, dec) * 2 (12)
66R.-dec * 6 (6)
Fasten the thread, cut it off.
To make the wings flat, ask around with a dark gray thread at a distance of 1sc from
edges. (see photo) .Sew wings on both sides of the machine body at a distance of 2sc from wheels.
Headlight (2pcs)
It consists of two parts: the front part is white and the back is ruby red.
Front end (white thread):
1 pp. -6sc into magic ring (6)
2p.-inc * 6 (12)
3p.-white: (sc, inc) * 3, change the thread to sky blue and continue: (sc, inc) * 3 (18)
4p.-9sc white thread and 9sc sky blue (18)
Fasten, cut the thread.
Back (ruby red thread):
1 pp. -6sc into magic ring (6)
2p.-inc * 6 (12)
3p .- (sc, inc) * 6 (18)
4-7R.-sc (18)
Connect both parts with 2 rows of sc with ruby red thread.
knit. Sew the headlights to the front of the machine, embroider details sky blue thread
Horn
Dark gray:
1 pp. -5sc into magic ring (5)
2p.-inc * 5 (10)
3p .- (sc, inc) * 5 (15)
4R.-sc (15)
5p .- (sc, dec) * 5 (10)
6p .- (3sc, dec) * 2 (8)
Change color to tan:
7-10R.-sc (8)
11 R.-inc * 8 (16)
12-13 R.-sc (16)
Fasten, cut the thread. Fill with filler only until the 6th row and with a needle
close the hole at the level of the 6th row (so that the filler remains inside).
horn at half height of the front left side frame.
Bumper (2 parts)
Silver thread:
1 pp. -5sc into magic ring (5)
2p.-inc * 5 (10)
3-28R.-sc (10)
29R.-dec * 5 (5)
Fasten and cut the thread. Close the hole. Sew the bumpers to the front and rear.
car body, making stitches only at the ends of the bumper (see photo)
Mirror (2 parts)
The mirror consists of 3 parts: the front is white, the rear is silver and the mirror holder is silver.
The front of the mirror.
White thread:
1 pp. -6sc into magic ring (6)
2p.-inc * 6 (12)
3p.-white: (sc, inc) * 3, change to a sky-blue thread and continue: (sc, inc) * 3 (18)
4p.-9sc white, 9sc sky blue.
Fasten the thread, cut it off.
The back of the mirror.
silver thread:
1 pp. -6sc into magic ring (6)
2p.-inc * 6 (12)
3p .- (sc, inc) * 6 (18)
4R.-sc (18)
Connect the parts in 2 rows of silver sc. Stuff in the knitting process.
Mirror holder.
Silver thread:
1 pp. -6sc into magic ring (6)
2-7p.-sc (6)
Fasten, cut the thread. Fill in. Sew open hole to the center of the back.
mirrors. Attach both mirrors to the machine body between the front window frame and case
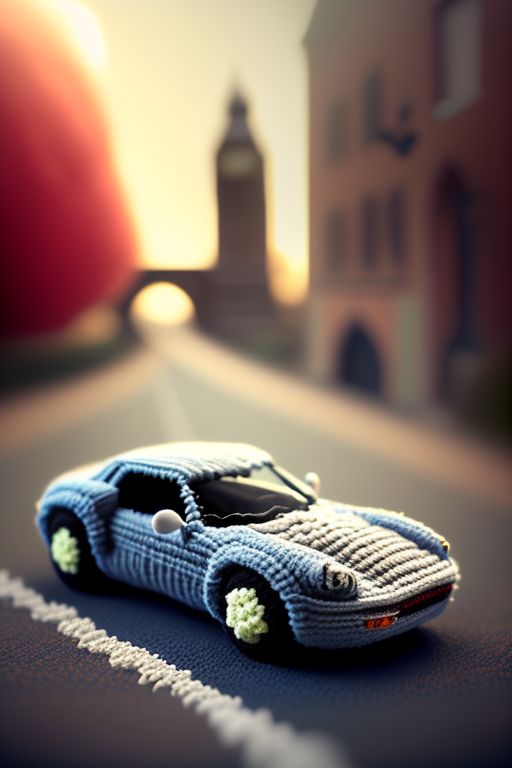
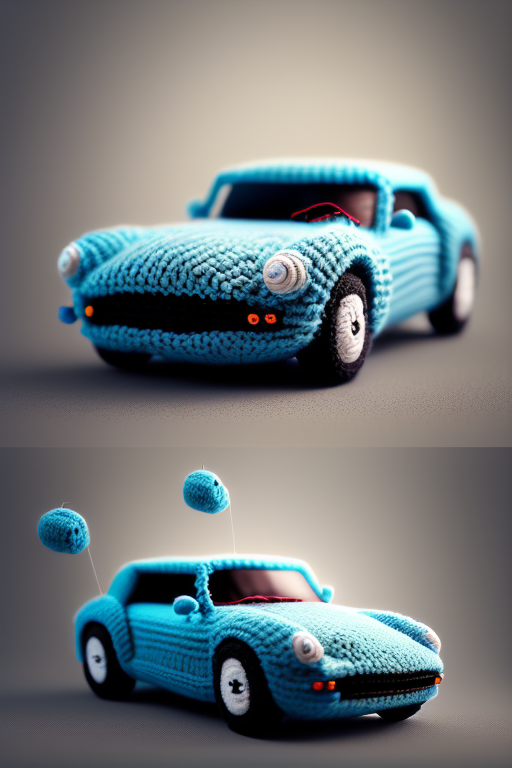
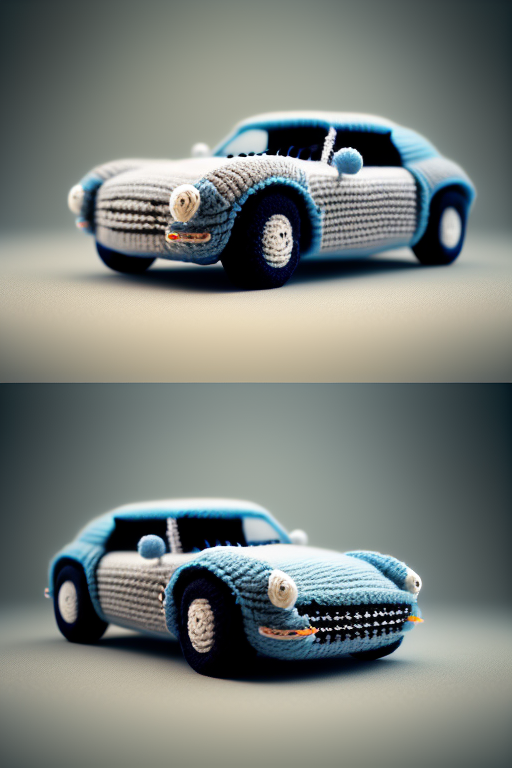
More Amigurumi Car İdeas