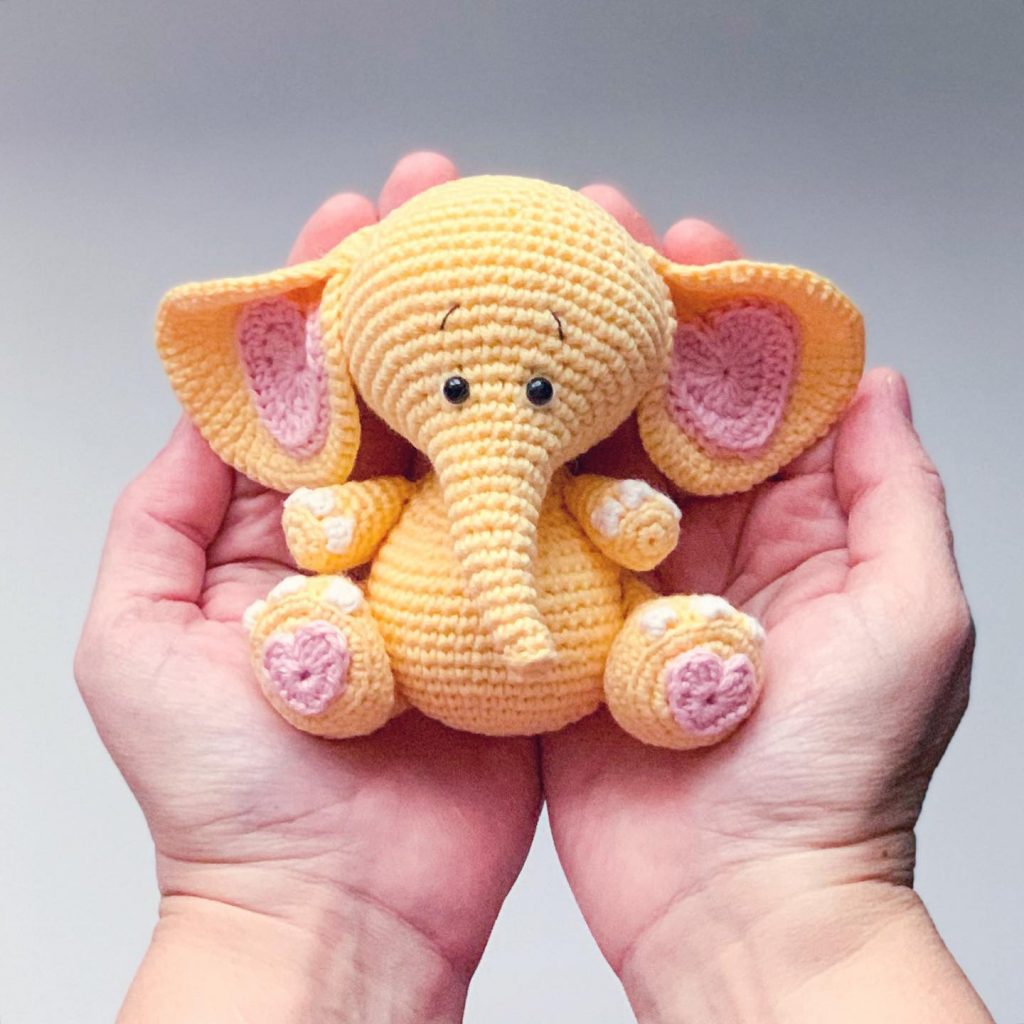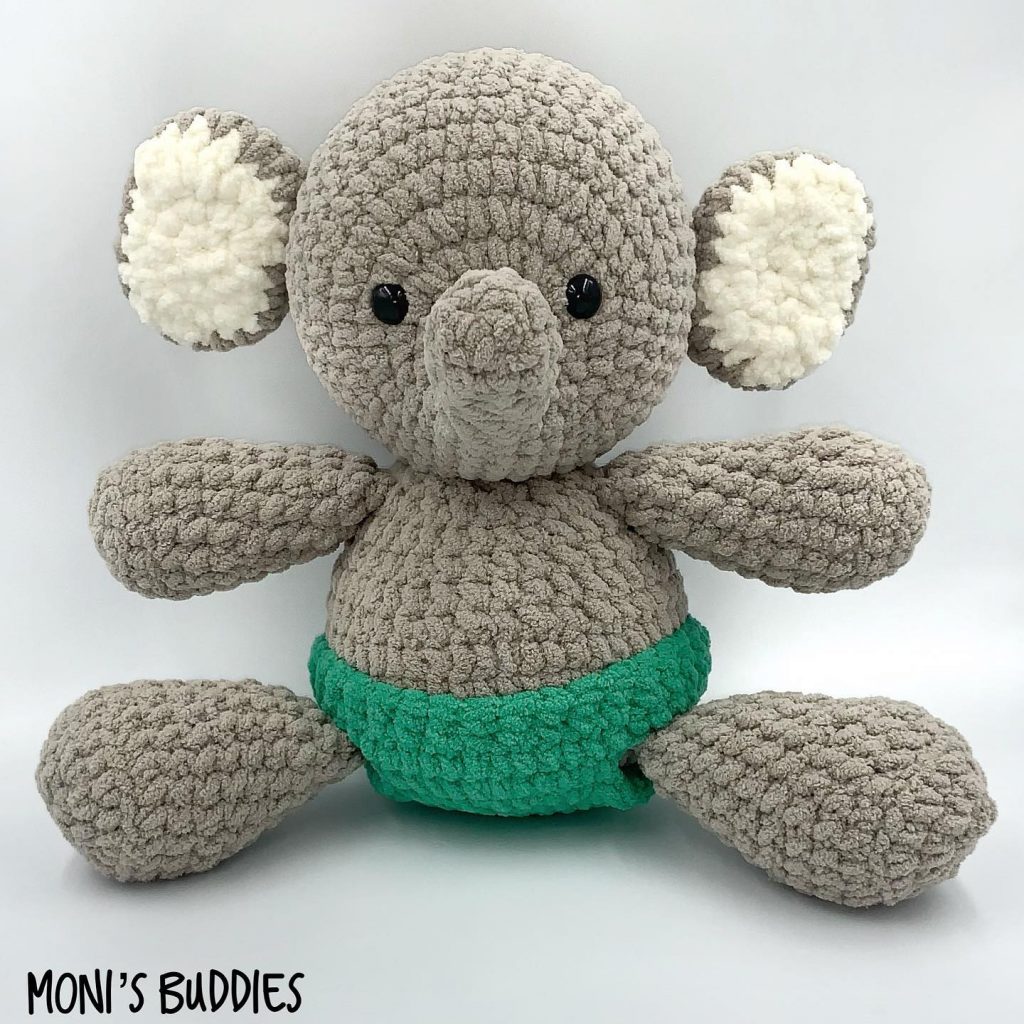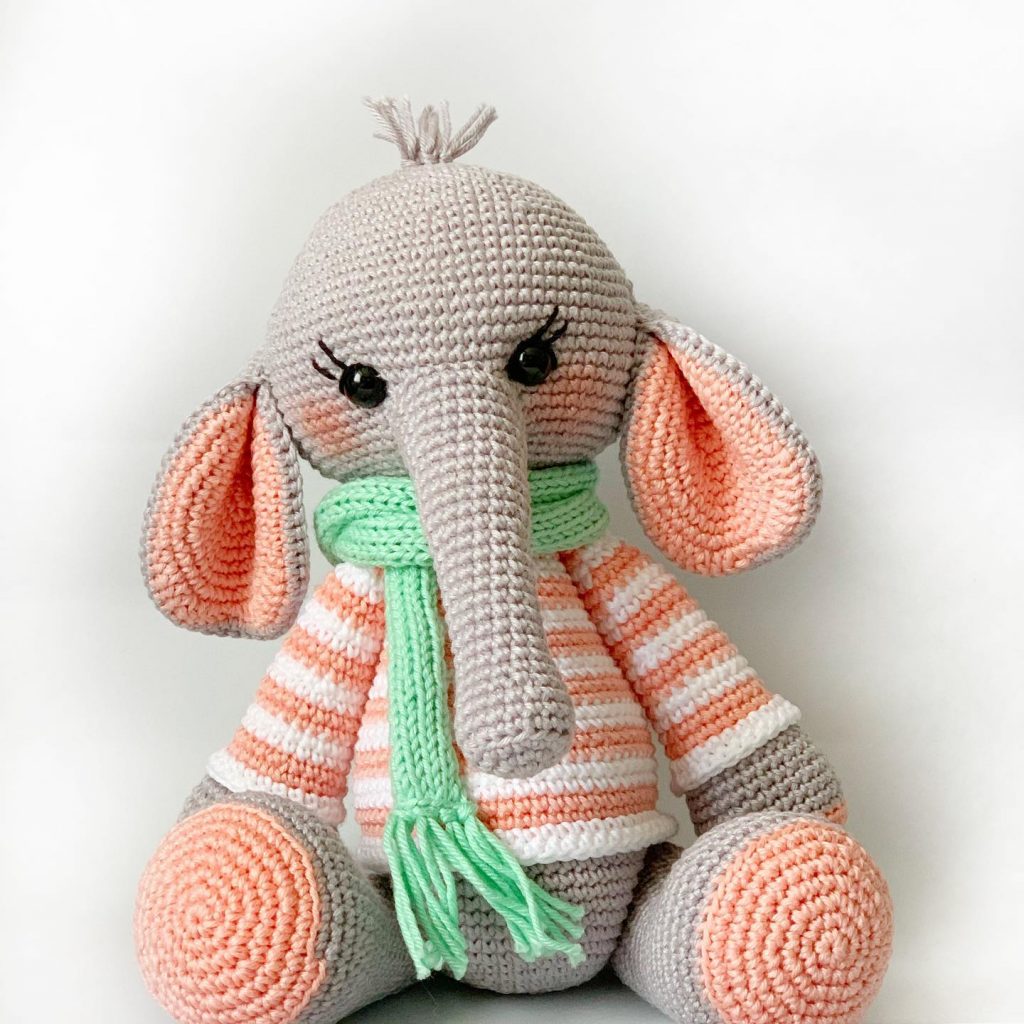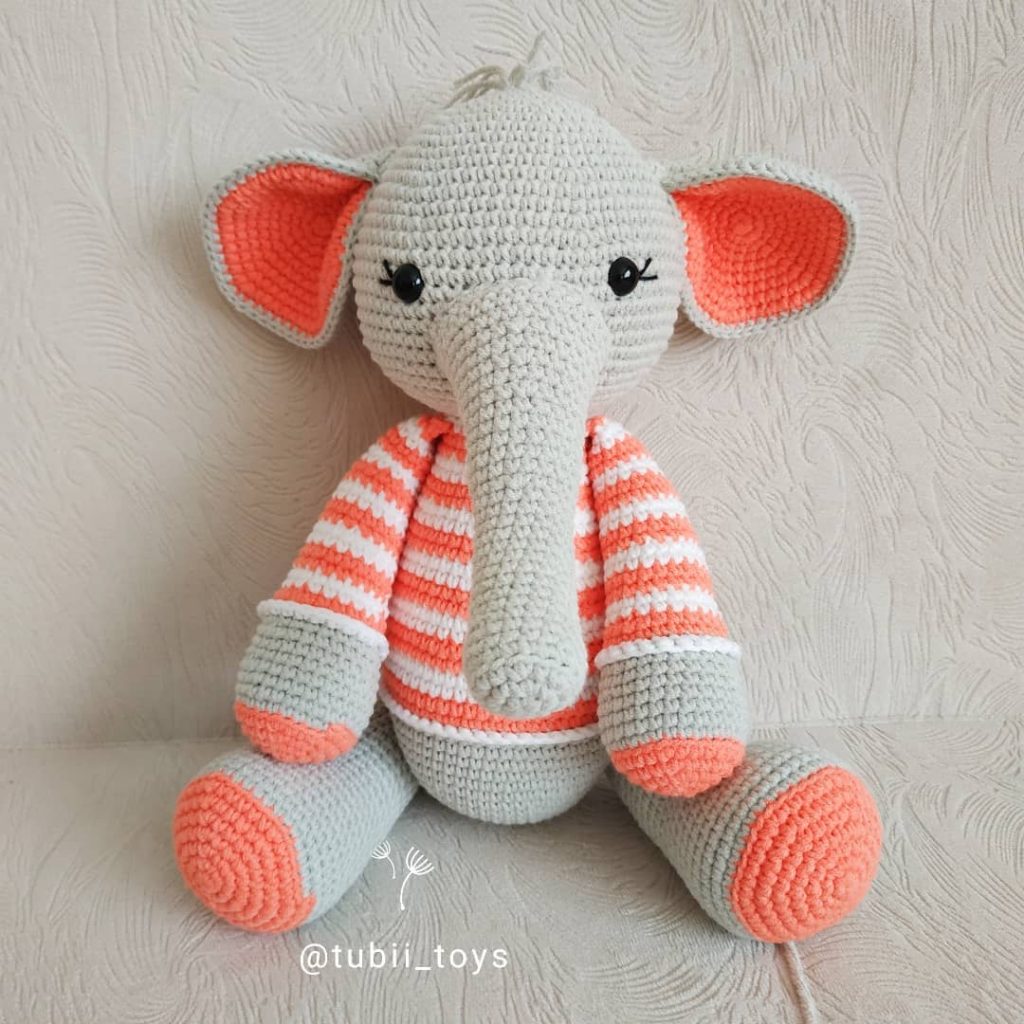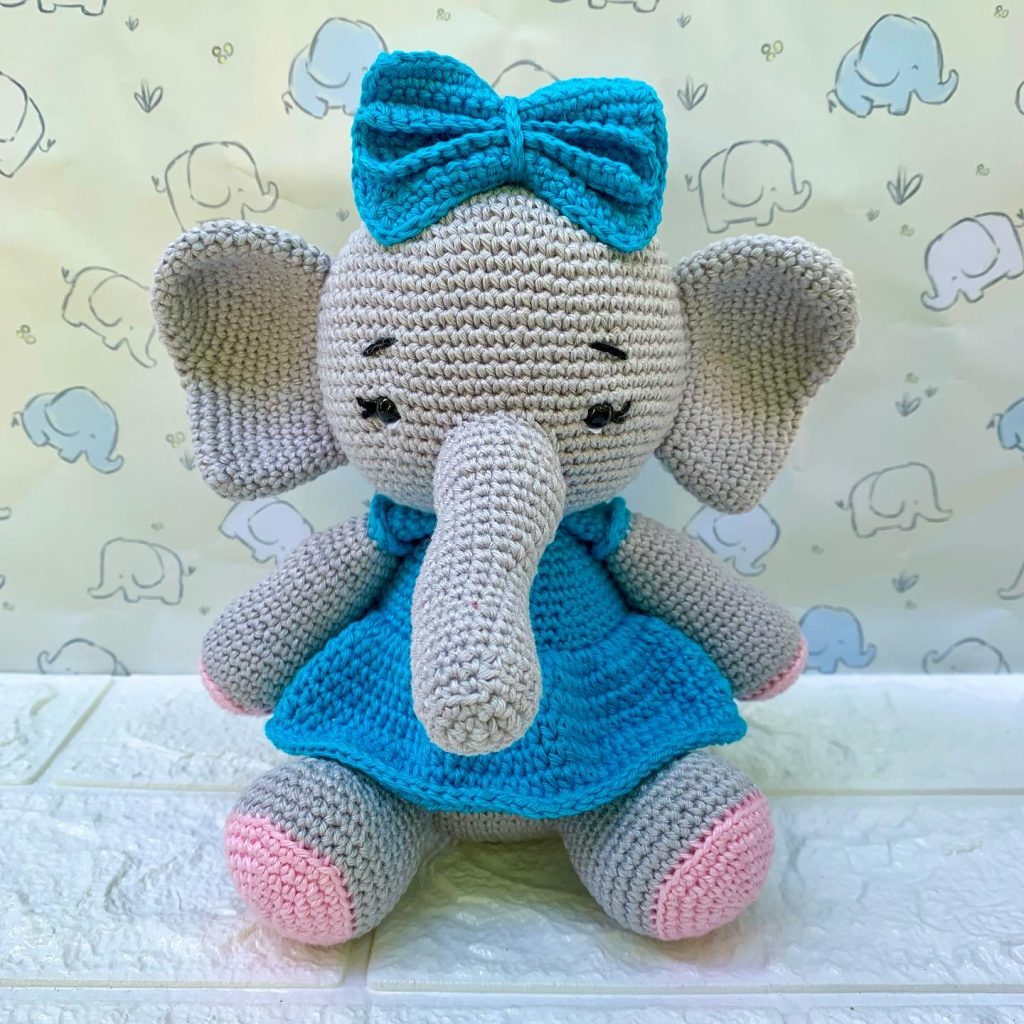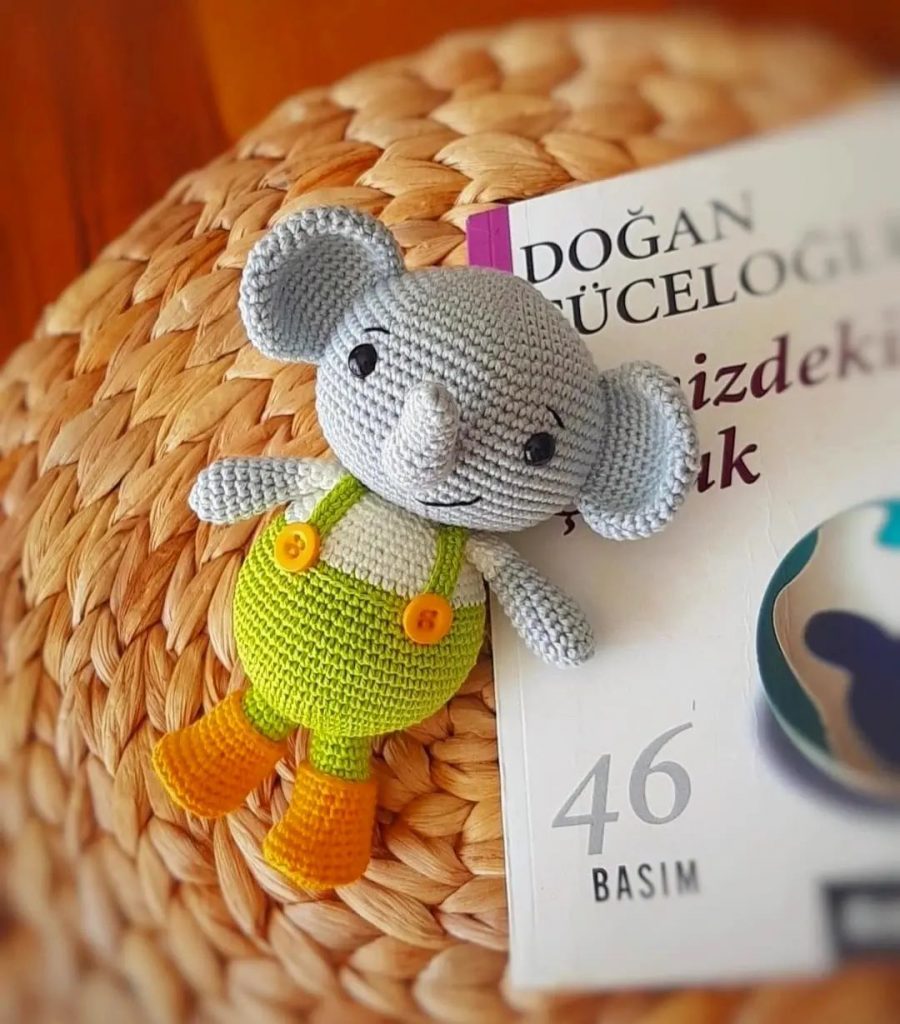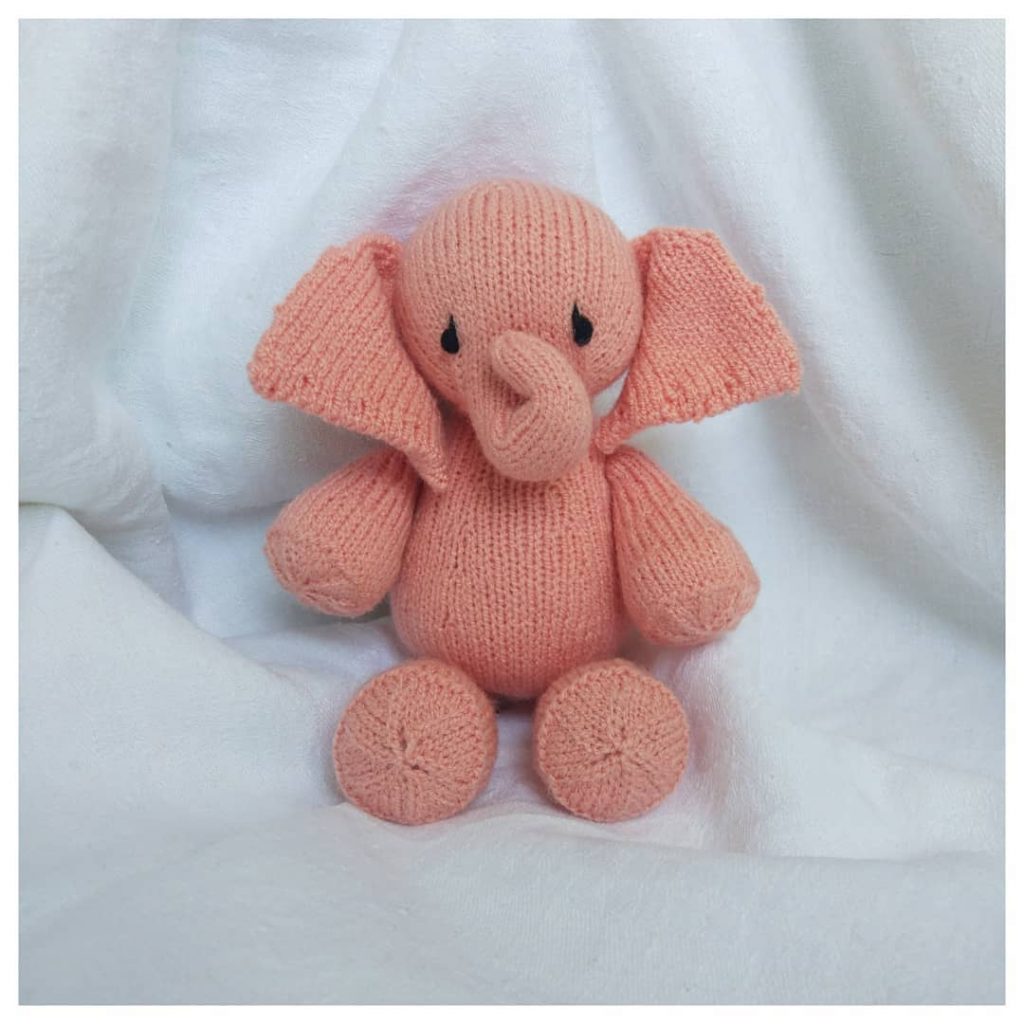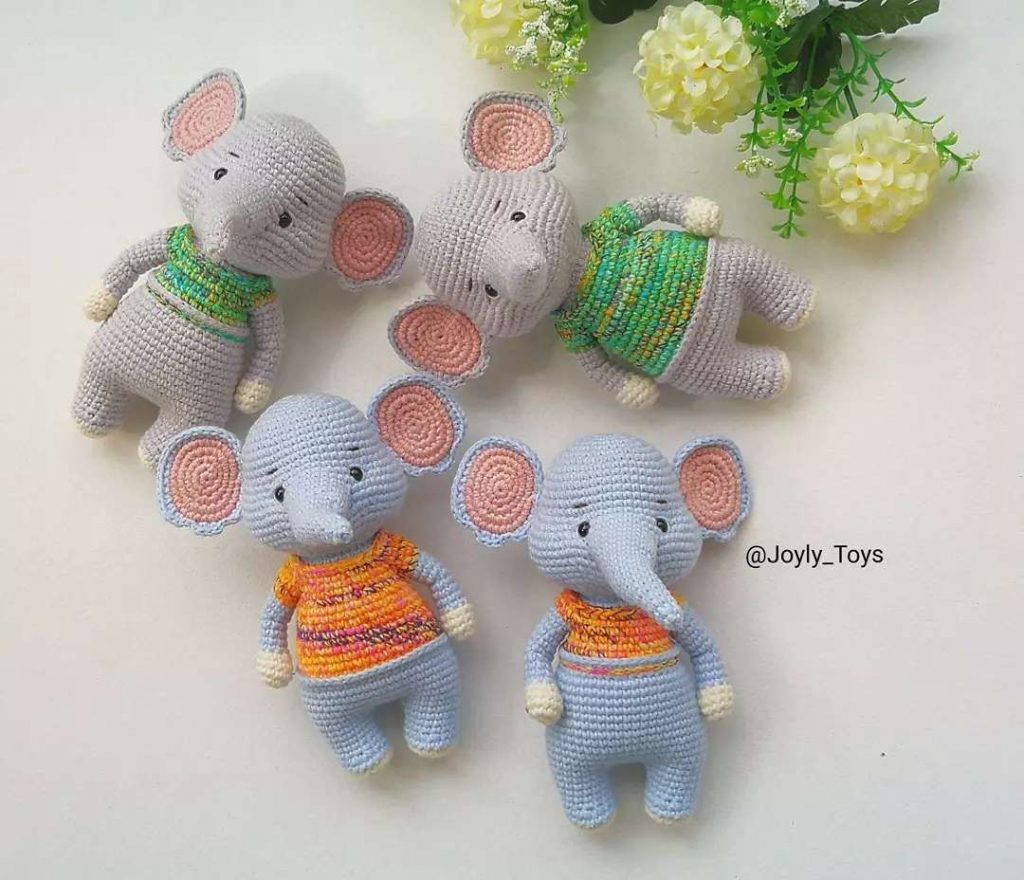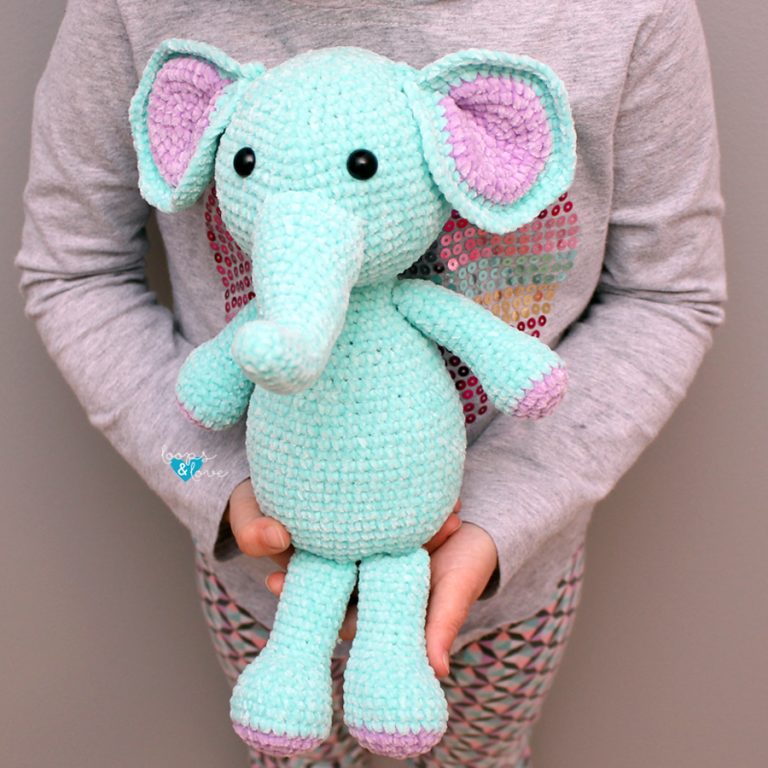
Elephant Amigurumi Free Crochet Pattern
Hello dear Amigurumi Followers
Today we share one free amigurumi crochet pattern again for you. As you know we share new amigurumi free patterns every day. The main crochets are amigurumi gazelles, amigurumi bears, amigurumi pola, amigurumi pandas, amigurumi penguins, amigurumi giraffes, amigurumi llama, amigurumi pigs, amigurumi bunny, amigurumi clowns, amigurumi lambs, amigurumi bees, amigurumi unicorns, amigurumi dolls, amigurumi foxes, amigurumi penguins, amigurumi dinosaurs, amigurumi elephants, amigurumi hippos, amigurumi monkeys, amigurumi cats, amigurumi dogs and more …
Todays daily new amigurumi free crochet pattern is amigurumi elephant
I want to give you some informations about this pattern ;
If you enjoy making amigurumi, here I share this easy and free amigurumi pattern for you for free. Your kids will love these toys.
Materials
– Worsted weight yarn (#4 weight) – You can use any worsted-weight yarn for this project. You will need approximately 200yd/182m in a main color and 20yd/18m in an accent color. I used Lion Brand Naptime yarn in Pale Aqua and Lilac colorways. This yarn is a super soft velvet/chenille yarn and makes a super soft and fuzzy crochet project with extra squish. This pattern also works well with a regular worsted-weight yarn too.
– 4 mm (or 3.5mm) crochet hook – The 4mm worked well for the fuzzy textured yarn I was using because I could not see the stitches if I went any smaller. If you crochet loosely, you may want to go down to a 3.5mm hook so the stitches are nice and tight, and the stuffing can’t be seen through the stitches. You can also choose your preferred hook size for amigurumi.
– Safety eyes – I used 12mm size (or you can embroider on your own eyes as an alternative)
– Stuffing – any fiber-based stuffing (such as PolyFil or Fiberfill).
– Yarn needle for sewing pieces together and weaving in ends. Bent yarn needles work the best for sewing amigurumi pieces together.
Abbreviations
Ch – chain
Sl St – slip stitch
SC – single crochet
INV DEC – invisible single crochet decrease – insert hook into front loop of next stitch, then insert your hook into the front loop of the following stitch (3 loops on hook). Yarn over and draw through 2 loops (2 loops on hook), yarn over and pull through 2 remaining loops on hook. There are many video tutorials of the invisible decrease on YouTube, if needed.
The Pattern
To make this elephant amigurumi, we will start by making all of the pieces (body, head, legs, arms, ears, trunk). Then you will find instructions later in the pattern on how to join the parts together to assemble your elephant amigurumi.
BODY
Stuff the body as you go. Make sure that the lower portion of the body is stuffed to your desired firmness before the opening is too narrow at the top of the body.
Round 1: In main color, magic circle, chain 1, make 6 SC into ring (6)
Round 2: 2 SC in each st around (12)
Round 3: 2 SC in first st, SC in next st, repeat around (18)
Round 4: 2 SC in first st, SC in next 2 sts, repeat around (24)
Round 5: 2 SC in first st, SC in next 3 sts, repeat around (30)
Round 6: 2 SC in first st, SC in next 4 sts, repeat around (36)
Round 7: 2 SC in first st, SC in next 5 sts, repeat around (42)
Round 8: 2 SC in first st, SC in next 6 sts, repeat around (48)
Rounds 9-20: SC in each stitch around (48)
Round 21: INV DEC, SC in next 6 sts, repeat around (42)
Round 22: SC in each stitch around (42)
Round 23: INV DEC, SC in next 5 sts, repeat around (36)
Rounds 24-25: SC in each stitch around (36)
Round 26: INV DEC, SC in next 4 sts, repeat around (30)
Rounds 27-28: SC in each stitch around (30)
Round 29: INV DEC, SC in next 3 sts, repeat around (24)
Rounds 30-31: SC in each stitch around (24)
Round 32: INV DEC, SC in next 2 sts, repeat around (18)
Rounds 33-34: SC in each stitch around (18)
This ends the body portion of the pattern. Do not fasten off. Continue to the instructions below for the rounds that will work up the head. Round count will start at 1 for working the head portion of the pattern.
HEAD
Stuff the top of body, neck area, and head as you go. If you work up about half of the head, it’s easier to push some stuffing down into the top of body and neck area at that point. Make sure you stuff the neck area enough to help prevent the head from wobbling. Remember to stuff firmly, but not so much that you see the stuffing through the stitches.
Round 1: 2 SC in first stitch, SC in next 2 sts, repeat around (24)
Round 2: 2 SC in first stitch, SC in next 3 sts, repeat around (30)
Round 3: 2 SC in first stitch, SC in next 4 sts, repeat around (36)
Round 4: 2 SC in first stitch, SC in next 5 sts, repeat around (42)
Round 5: 2 SC in first stitch, SC in next 6 sts, repeat around (48)
Round 6: 2 SC in first stitch, SC in next 7 sts, repeat around (54)
Round 7: 2 SC in first stitch, SC in next 8 sts, repeat around (60)
Rounds 8-15: SC in each stitch around (60),
Round 16: INV DEC, SC in next 8, repeat around (54)
*Insert safety eyes between rounds 14 and 15, about 10 stitches apart in the middle of the face.
Round 17: INV DEC, SC in next 7, repeat around (48)
Round 18: INV DEC, SC in next 6, repeat around (42)
Round 19: INV DEC, SC in next 5, repeat around (36)
Round 20: INV DEC, SC in next 4, repeat around (30)
Round 21: INV DEC, SC in next 3, repeat around (24)
Round 22: INV DEC, SC in next 2, repeat around (18)
*Make sure the head is well-stuffed before the opening gets too small.
Round 23: INV DEC, SC in next stitch, repeat around (12)
Round 24: INV DEC around (6)
Fasten off and cut yarn. Use your yarn needle to sew the top of the head closed. Weave in ends. Set head and body aside until you are ready to assemble the elephant later after all pieces have been worked up.
LEGS (Make 2)
*Stuff the legs as you go. Firmly stuff the foot and lower leg, then gently stuff the rest of the way up the leg.
Round 1: In accent color, magic circle, chain 1, make 6 SC into ring (6)
Round 2: 2 SC in each st around (12)
Round 3: 2 SC in first st, SC in next st, repeat around (18)
Round 4: 2 SC in first st, SC in next 2 sts, repeat around (24)
Change to main color
Rounds 5-9: SC in each stitch around (24)
Round 10: SC in first 8 sts, INV DEC four times (in the next 8 sts), SC in last 8 sts (20)
Round 11: SC in first 6 sts, INV DEC four times (in the next 8 sts), SC in last 6 sts (16)
Round 12: SC in first 6 sts, INV DEC two times (in the next 4 sts), SC in last 6 sts (14)
Rounds 13-22: SC in each stitch around (14)
Fasten off, leaving a long tail. Make sure you are finished stuffing the legs before you sew the tops closed. To sew the top of each leg closed, turn the leg so the front of the foot is facing you. Flatten the top of the leg so the stitches are on lined up on top of each other. Use your yarn needle to sew back and forth through the stitches closing up the top of the leg. Then set the legs aside until assembling your elephant amigurumi later.
ARMS (Make 2)
*Stuff the arms as you go. Firmly stuff the bottom of the arms, but gently stuff the rest of the way up. The more you stuff the arms, the farther the arms will sit from the body when you sew them on.
Round 1: In accent color, magic circle, chain 1, make 6 SC into ring (6)
Round 2: 2 SC in each st around (12)
Round 3: 2 SC in first st, SC in next st, repeat around. (18)
Rounds 4-7: SC in each stitch around (18)
Round 8: INV DEC, SC in next stitch, repeat around (12)
Rounds 9-20: SC in each stitch around (12)
Fasten off, leaving a long tail. Use your yarn needle to sew the top of each arm closed. Set aside until assembling your elephant amigurumi later.
EARS (Make 2)
Round 1: In accent color, magic circle, chain 1, make 6 SC into ring (6)
Round 2: 2 SC in each st around (12)
Round 3: 2 SC in first st, SC in next st, repeat around (18)
Round 4: 2 SC in first st, SC in next 2 sts, repeat around (24)
Round 5: 2 SC in first st, SC in next 3 sts, repeat around (30)
Round 6: 2 SC in first st, SC in next 4 sts, repeat around (36)
Fasten off. You can weave in the yarn tail now, or crochet over it in the next step to secure it. This circle will be the inner ear part. Next, using the main color, repeat rounds 1-6. Do not fasten off on the second circle.
Next, place the first circle in the accent color on top of the second circle in the main color and line up the stitches. Pass your hook through a stitch on the top circle and grab the loop of yarn on the back circle and pull it through to the front. Chain 1 and follow rounds 7-9 below, making sure to work through both layers. (See photos below).
Round 7: 2 SC in first st, SC in next 5 sts, repeat around (42)
Round 8: 2 SC in first st, SC in next 6 sts, repeat around (48)
Round 9: 2 SC in first st, SC in next 7 sts, repeat around (54)
Fasten off. Leave a long tail to sew the ear onto the elephant’s head. Repeat rounds 1-9 again for the second ear.
Next, add some shape to the ears by pinching a fold in the top of each ear and using your yarn needle and yarn tail to sew the fold together about a quarter to a third of the way into the ear. When you are done, set them aside to sew onto your elephant amigurumi later.
TRUNK
Round 1: In main color, magic circle, chain 1, make 6 SC into ring (6)
Round 2: 2 SC in first st, SC in next st, repeat around. (9)
Rounds 3-6: SC in each stitch around (9)
Round 7: 2 SC in first st, SC in next 8 sts (10)
Round 8: SC in each stitch around (10)
Round 9: 2 SC in first st, SC in next 9 sts. (11)
Round 10: SC in each stitch around (11)
Round 11: 2 SC in first st, SC in next 10 sts. (12)
Rounds 12-14: SC in each stitch around (12)
Round 15: 2 SC in first st, SC in next 11 sts (13)
Round 16: 2 SC in first st, SC in next 12 sts (14)
Round 17: 2 SC in first st, SC in next 13 sts (15)
Round 18: 2 SC in first st, SC in next 14 sts (16)
Round 19: 2 SC in first st, SC in next 15 sts. (17)
Round 20: 2 SC in first st, SC in next 16 sts (18)
Round 21: 2 SC in first st, SC in next 17 sts (19)
Round 22: 2 SC in first st, SC in next 18 sts (20)
Fasten off, leave a long tail for sewing.
Make sure the trunk is stuffed well enough. The trunk should have a little bit of a natural curl in it due to how the increases were worked.
Next, we will add some stitches to give the trunk a little more of an upwards curve at the end. Using your yarn needle, run the yarn tail under a few of the stitches on the top of the trunk. When you pull the yarn tighter, it’ll raise the end of the trunk creating more of a curve upwards. Now you can run your needle back underneath stitches nearby and then travel back up again to strengthen the curve you created. When you are happy with the curve in the trunk, secure it by weaving in the yarn tail.
Now that we have finished making all of the pieces of your elephant amigurumi, follow the steps below to join them all together!
Elephant Amigurumi – Assembly Instructions
– Attaching the legs: Line up where you want the legs to be on the body. I lined them up more towards the front of the body so that the elephant can sit without falling over. Note that depending on where the legs are, your elephant might need to lean against something to sit. Attach the legs to the body by sewing through each stitch at the top of each leg and passing through a stitch on the body. When you are finished, the legs should be able to hang straight or fold up for sitting. Weave in ends and cut yarn.
– Attaching the arms: Line up the arms on the body at around the second round below the head, leaving a small gap between the arms and head as a neck space. Sew in and out of each stitch at the top of each arm and passing through a stitch on the body. When the arms are secure, weave in ends and cut yarn tails. If you’d like the arms to curve towards the front of the body, you can sew them on at a bit of an angle too.
– Attaching the ears: Line up each ear on the elephant’s head. The top of the ear should roughly line up with the 4th or 5th round from the top of the head. To have the ears stand out and the inner ear part facing forward, you’ll be sewing in and out of the folded part at the back of the ear. When ears are secure, weave in ends and cut yarn.
– Attaching the trunk: Double check that the trunk is stuffed all the way to the top before you start sewing. Position the trunk in the center of the elephant’s face. The top of the trunk should line up roughly at the bottom of the eyes. Make sure the curved part of the trunk is pointing upwards and centered. Pass your yarn needle up and down through each stitch around the outside of the trunk, passing through a stitch on the head each time. When you’ve worked your way around the whole trunk, weave in ends and cut yarn.
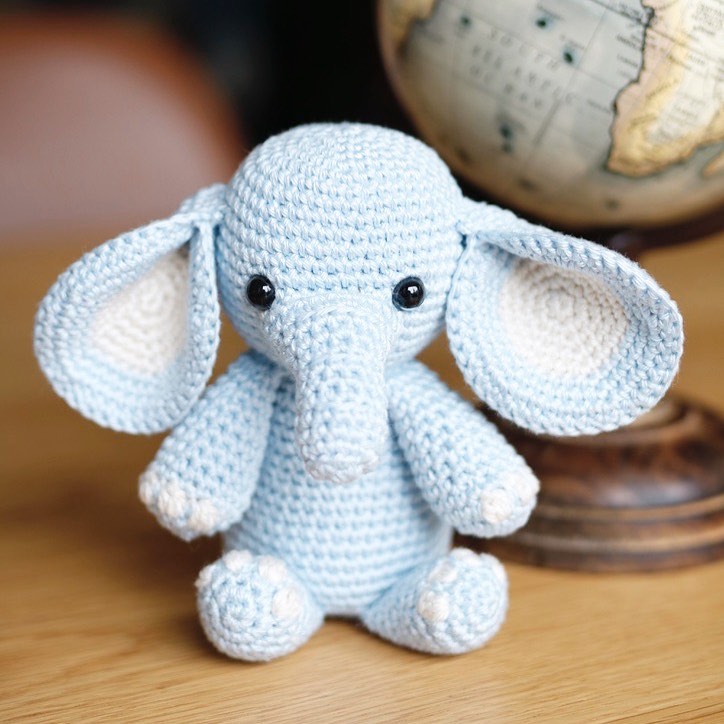
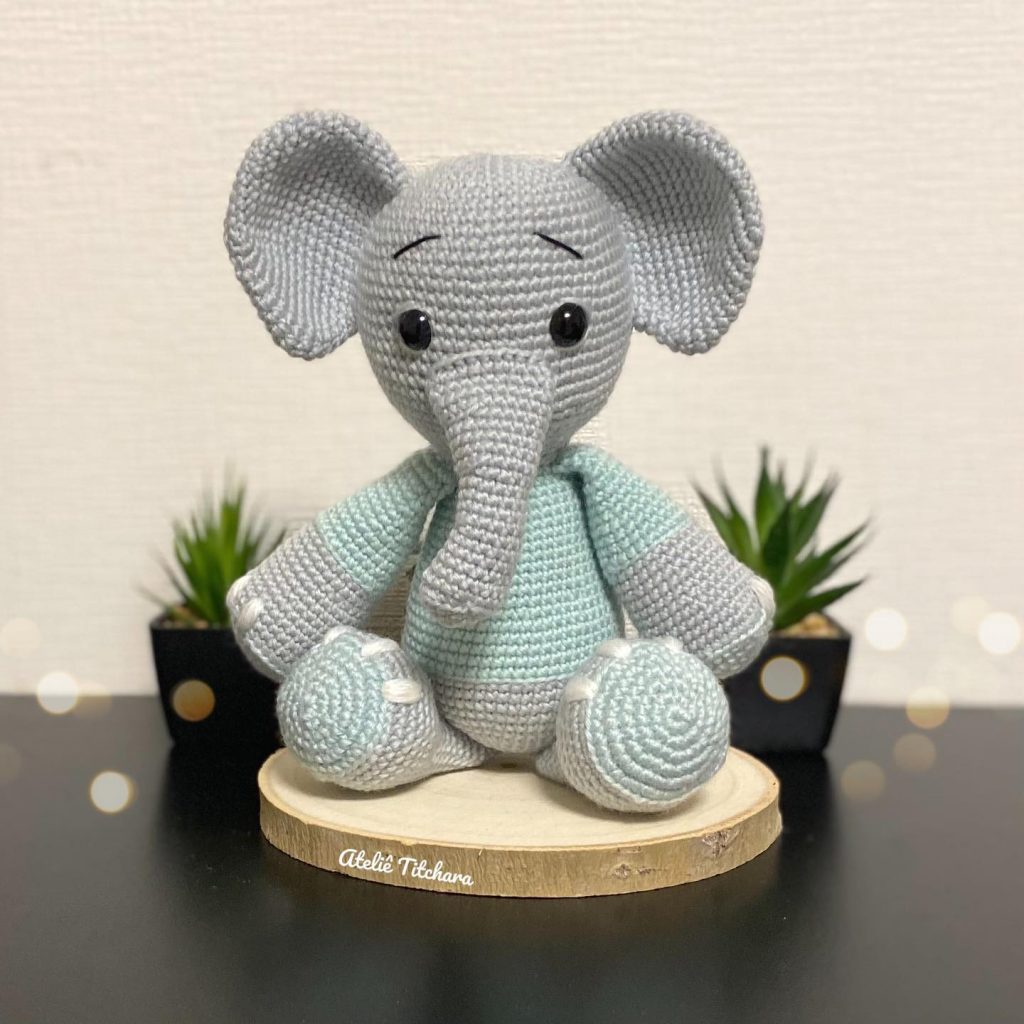
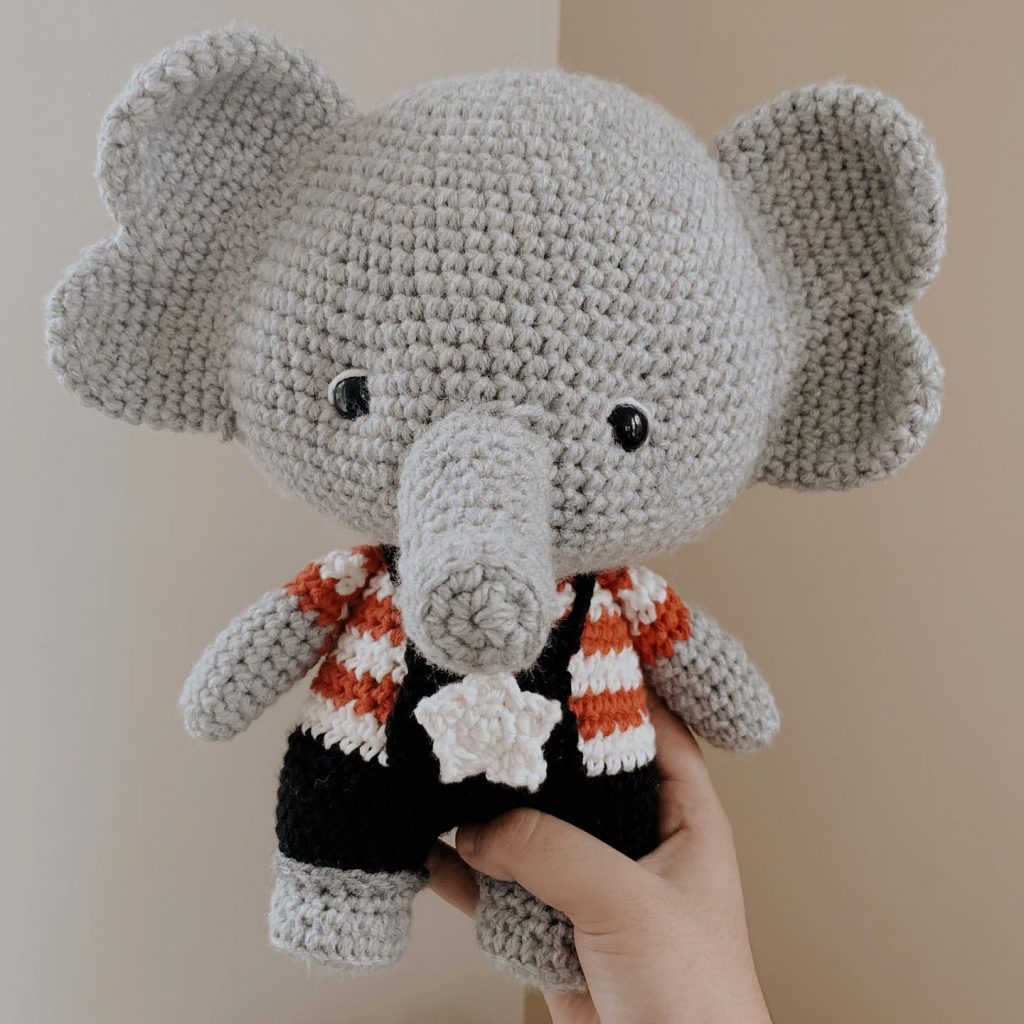
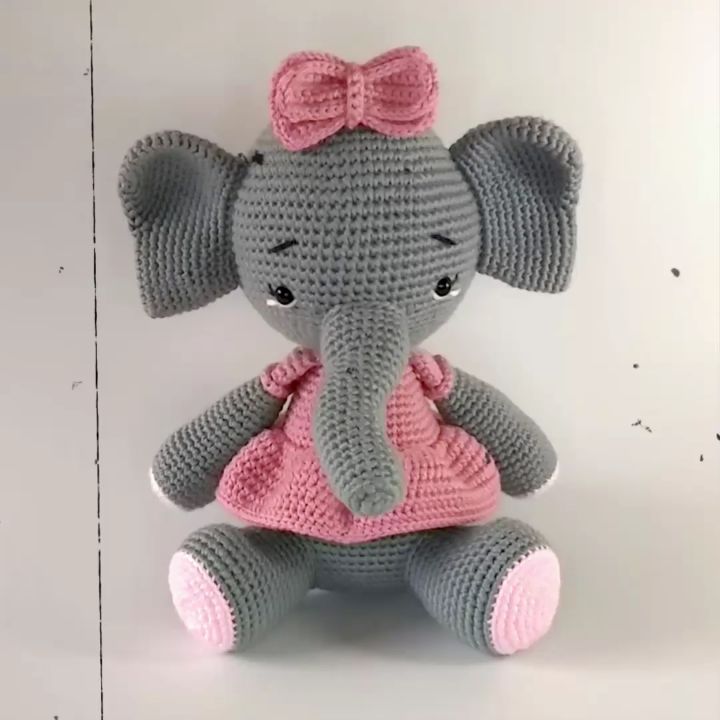
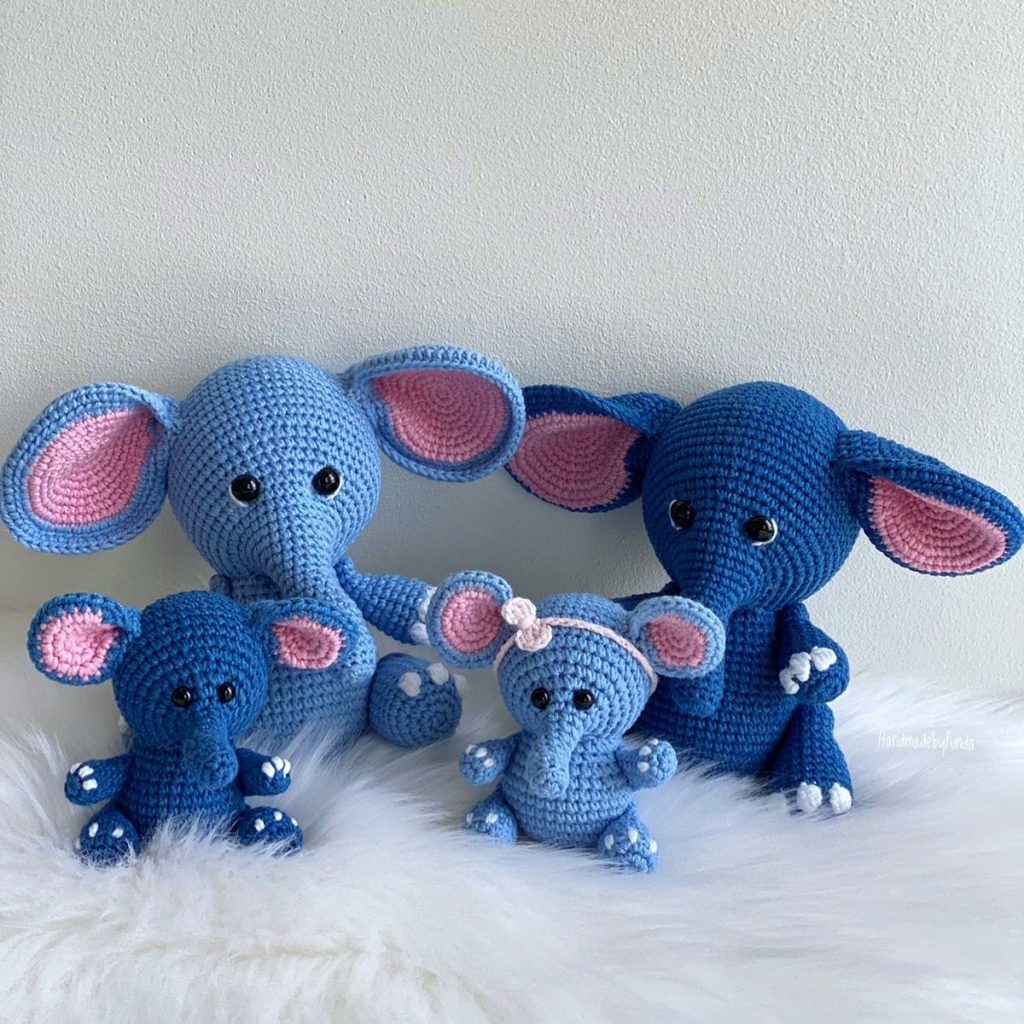
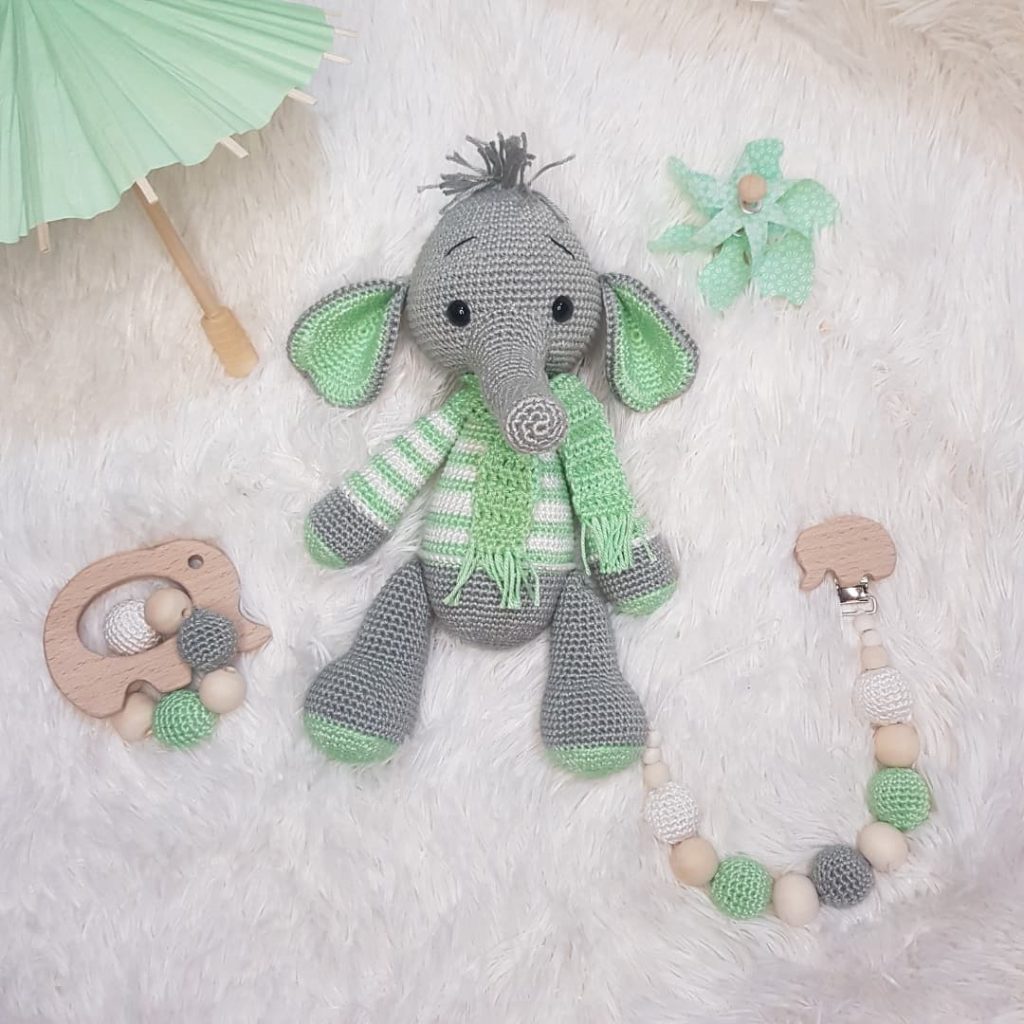
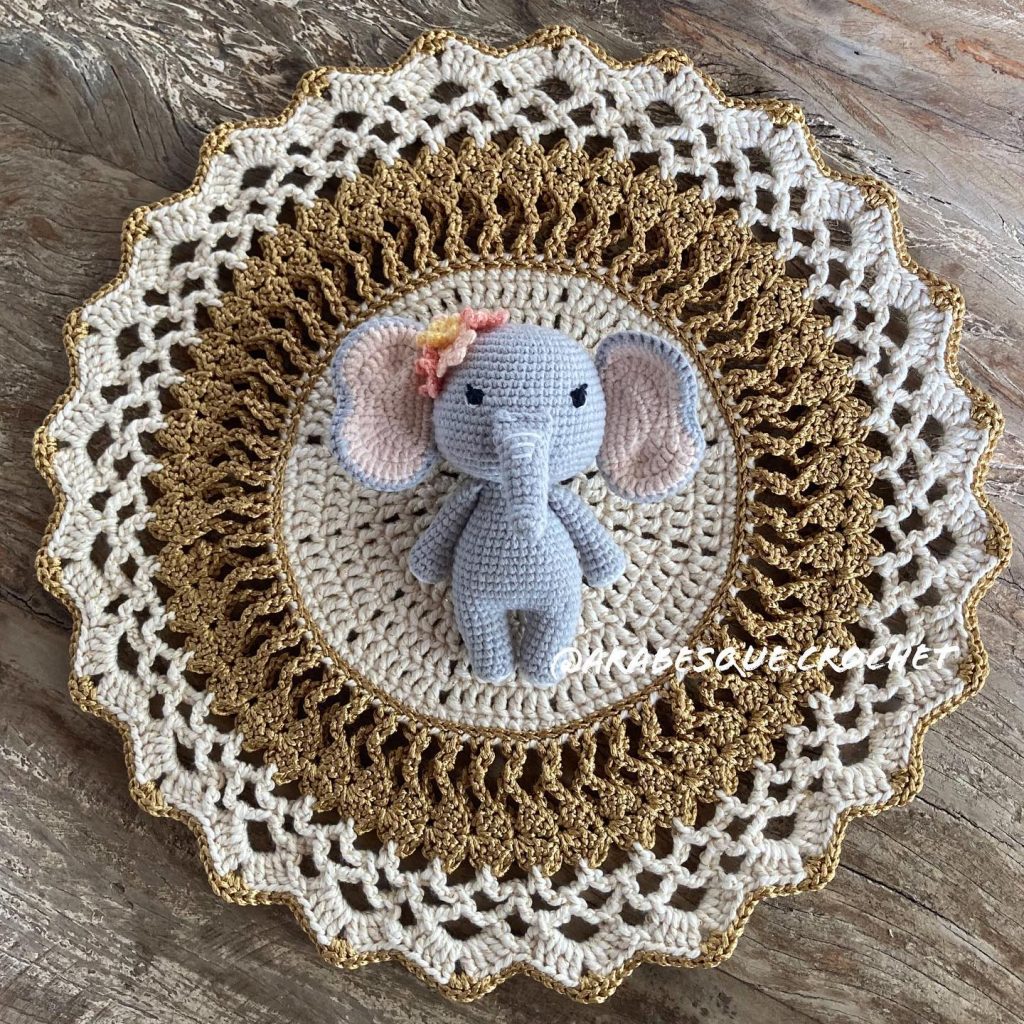
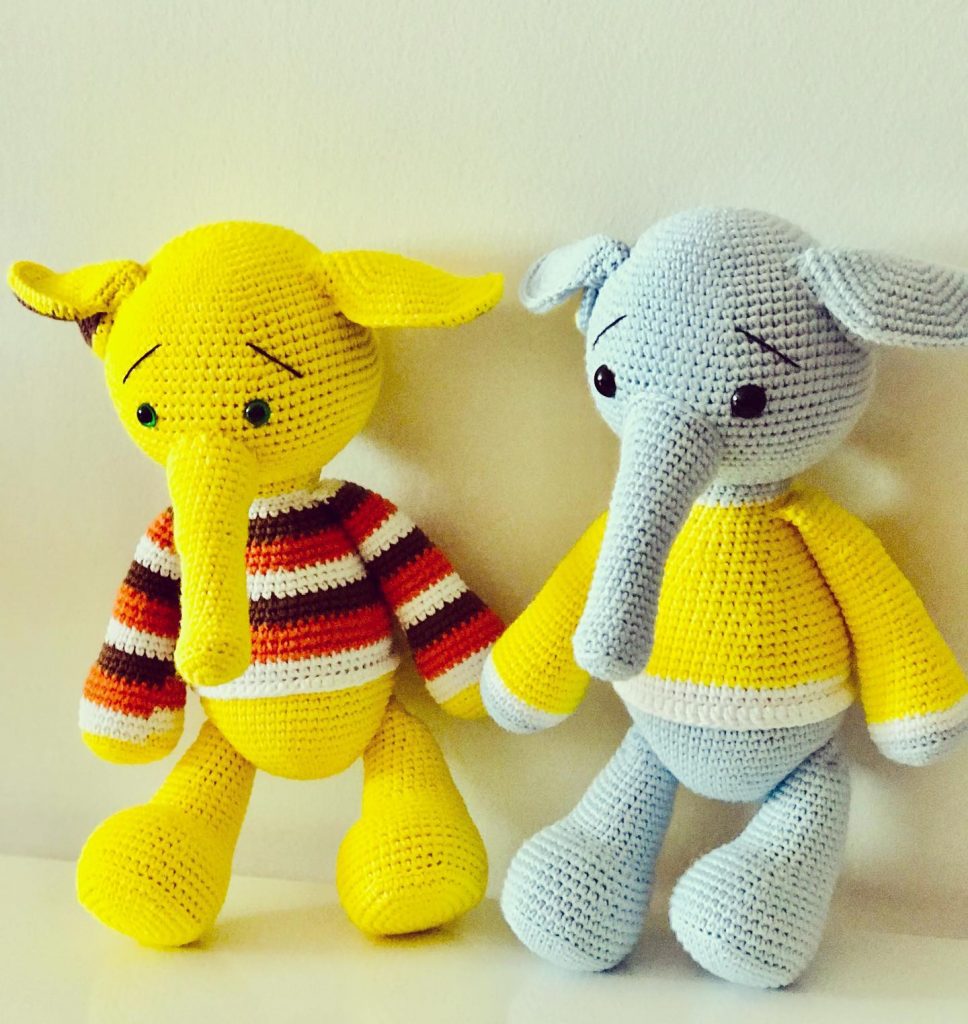
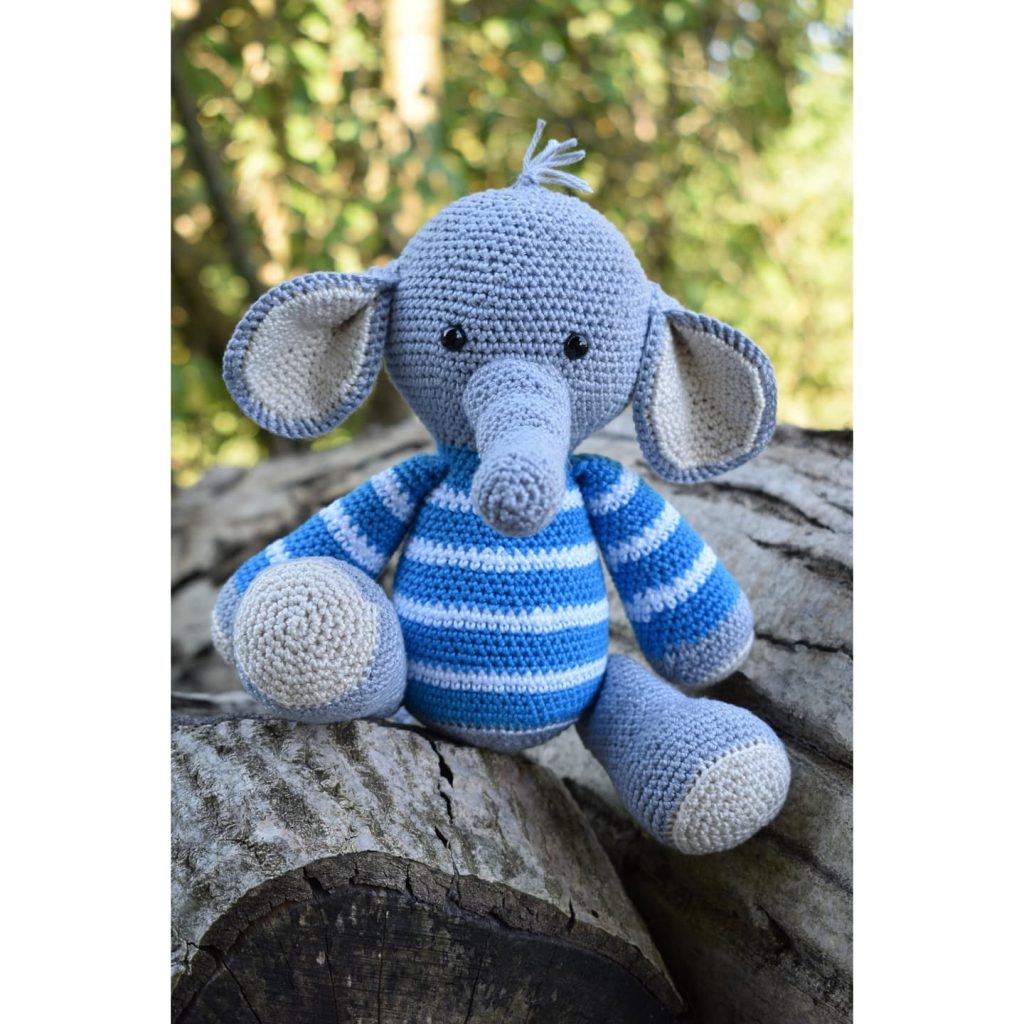
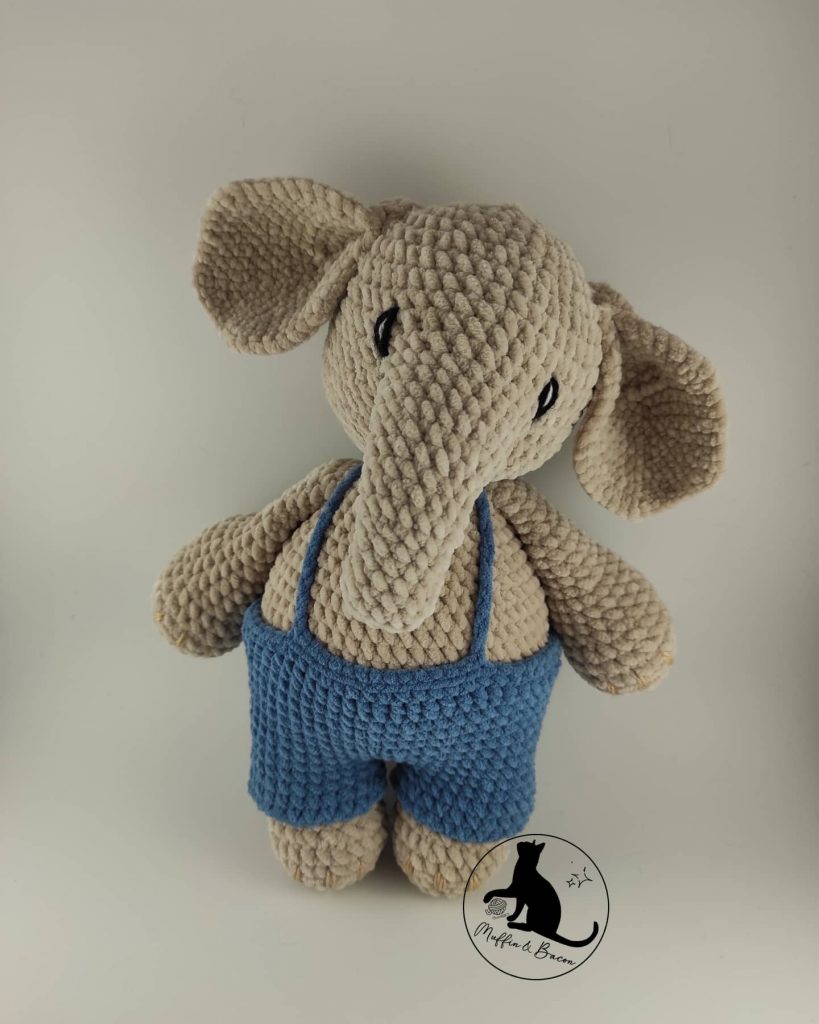
More Amigurumi Elephant İdeas