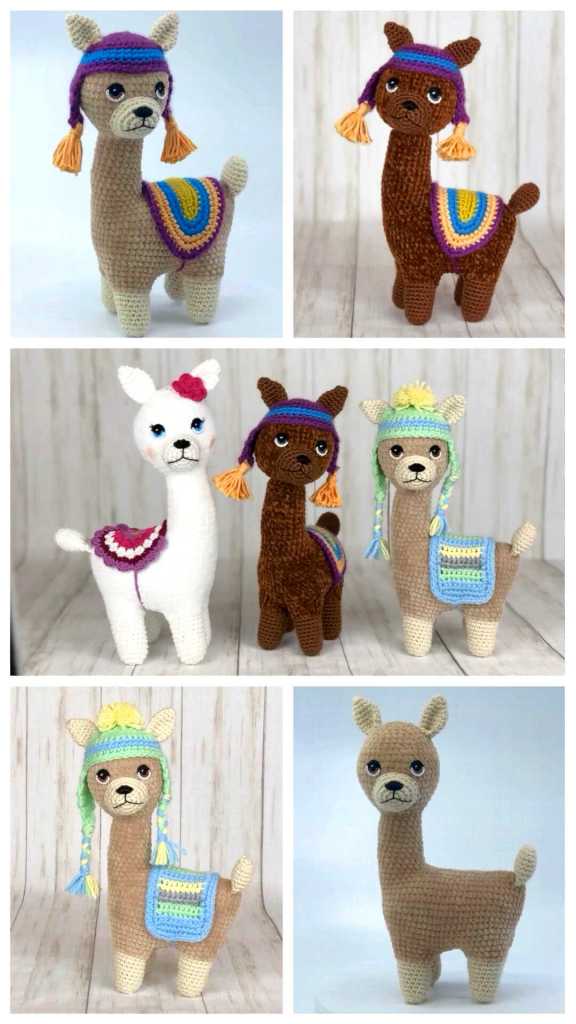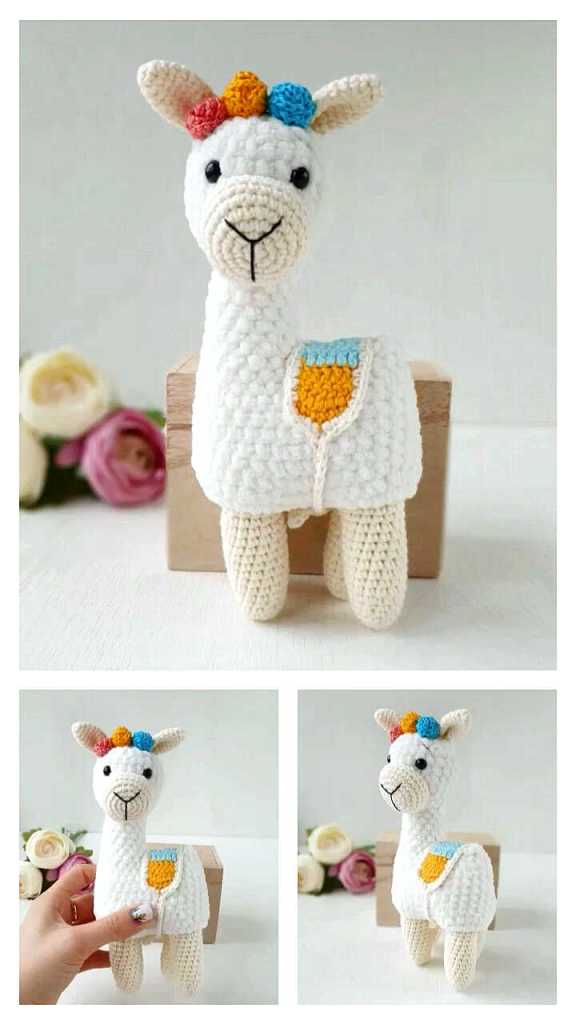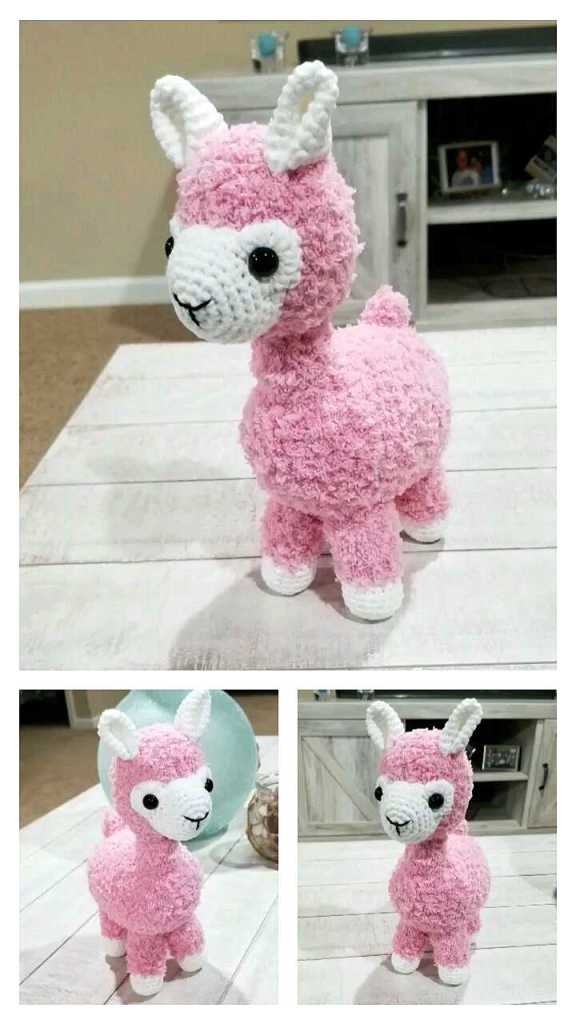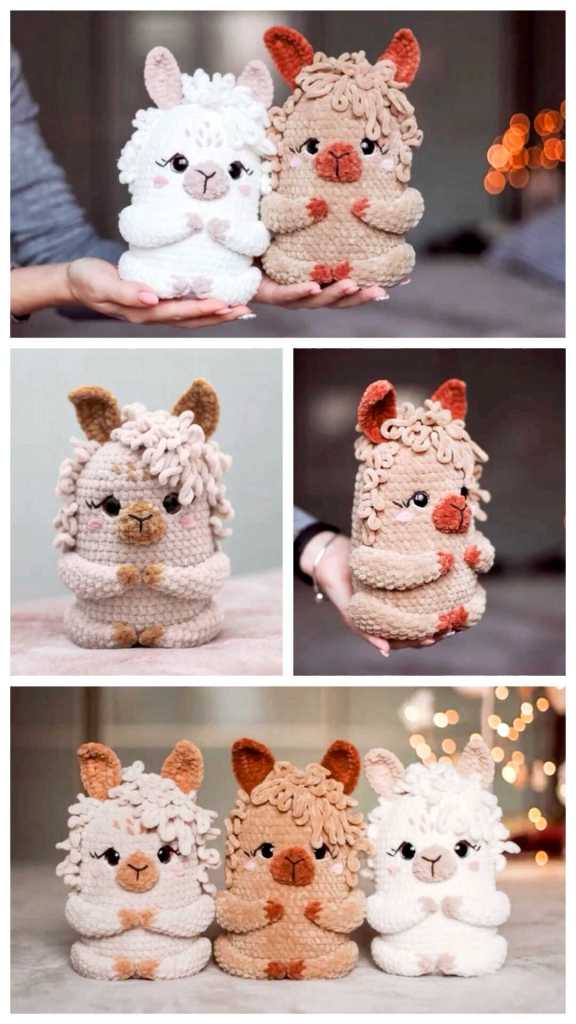
Llama Amigurumi Free Crochet Pattern
Hello dear Amigurumi Followers
Today we share one free amigurumi crochet pattern again for you. As you know we share new amigurumi free patterns every day. The main crochets are amigurumi gazelles, amigurumi bears, amigurumi pola, amigurumi pandas, amigurumi penguins, amigurumi giraffes, amigurumi llama, amigurumi pigs, amigurumi bunny, amigurumi clowns, amigurumi lambs, amigurumi bees, amigurumi unicorns, amigurumi dolls, amigurumi foxes, amigurumi penguins, amigurumi dinosaurs, amigurumi elephants, amigurumi hippos, amigurumi monkeys, amigurumi cats, amigurumi dogs and more …
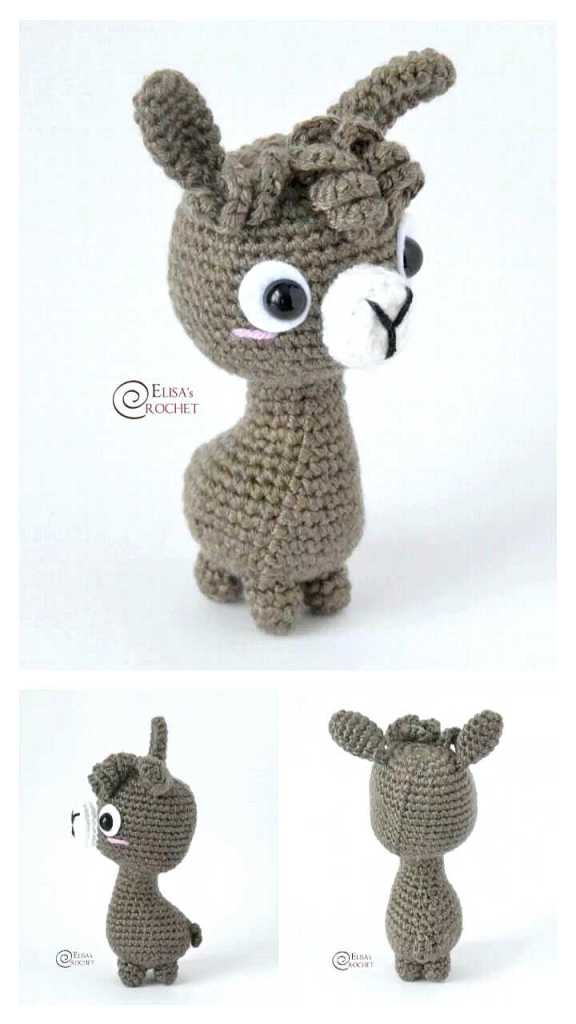
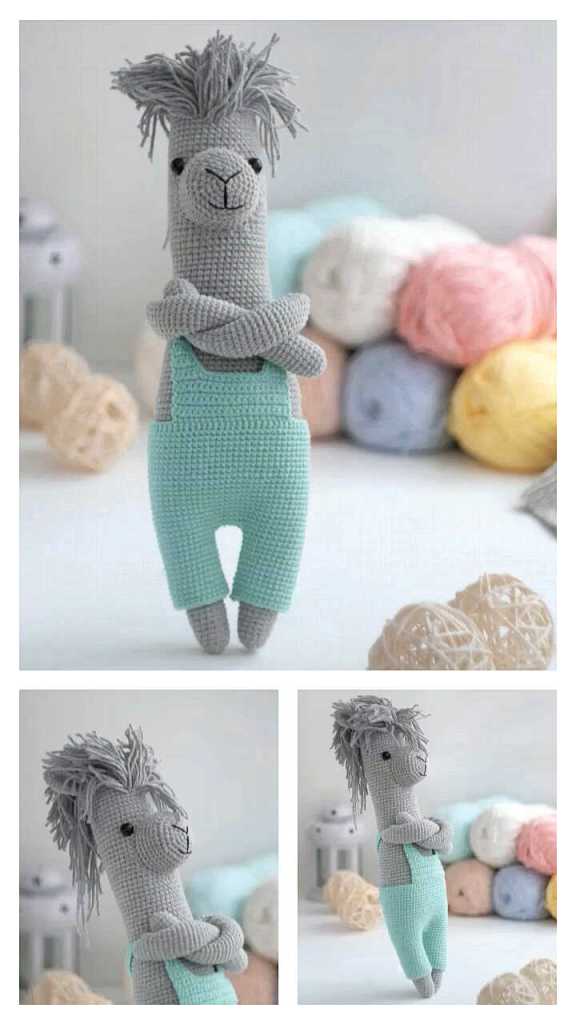
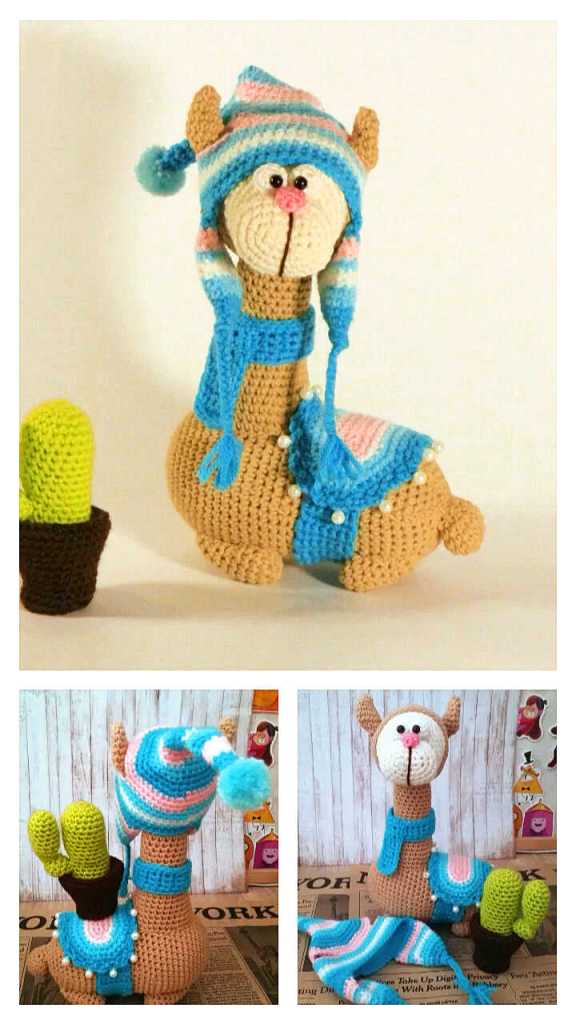
Todays daily new amigurumi free crochet pattern is Amigurumi llama
I want to give you some informations about this pattern ;
If you enjoy making amigurumi, here I share this easy and free amigurumi pattern for you for free. Your kids will love these toys.
Materials
Worsted weight (#4) yarn in llama color and two rug colors (R1) and (R2)
G/4.0mm
Scrap bulky yarn for eyes and nose
Stuffing
Yarn needle or tapestry needle
Scissors
Wooden dowel to assist with stuffing
Stitches Used
Ch = chain
Sc = single crochet
Sc dec = single crochet decrease
Slp st = slip stitch
Head
Ch 3
- 2 sc in 2nd ch from hook, 4 sc in last ch, turn your work so you’re working along the bottom of the ch, 2 sc in same sc as first 2 sc (8)
- 2 sc in each sc around (16)
3-5. Sc in each sc around (16)
- Sc in 1st 6 sc, *2 sc in next sc, sc in next sc* rep *-* 3x, sc in last 4 sc (19)
- Sc in 1st 3 sc, *2 sc in next sc, sc in next 2 sc* rep *-* 5x, sc in last sc (24)
- Sc in 1st 3 sc, *2 sc in next sc, sc in next 2 sc* rep *-* 7x (31)
9-14. Sc in each sc around (31)
- *Sc dec, sc in next 3 sc* rep *-* 6x, sc in last sc (25)
- *sc dec, sc in next 2 sc* rep *-* 6x, sc in last sc (19)
STUFF The Head Firmly
- *sc dec, sc in next sc* rep *-* 6x, sc in last sc (13)
- Sc dec around
FO and use tail end to close up any remaining hole, weave in end.
Neck
Starting with a long tail for assembly, ch 21, join with a slip st to form a ring, be careful not to twist stitches
- Sc in each sc around (20)
- *Sc dec, sc in next 8 sc* rep *-* 2x (18)
- Sc in each sc around (18)
- Sc dec, sc in next 7 sc, 2 sc in next sc, sc in last 8 sc (18)
- Sc in each sc around (18)
- Sc in 1st 7 sc, *2 sc in next sc, sc in next 3 sc* rep *-* 2x, sc in last 3 sc (20)
- Sc in each sc around (20)
- Sc in 1st 8 sc, *2 sc in next sc, sc in next 4 sc* rep *-* 2x, sc in last 2 sc (22)
- Sc in each sc around (22)
- Sc in 1st 9 sc, *2 sc in next sc, sc in next 4 sc* rep *-* 2x, sc in last 3 sc (24)
11-12. Sc in each sc around (24)
- *2 sc in 1st sc, sc in next 3 sc* rep *-* around (30)
- Sc in each sc around (30)
FO leaving a long tail for assembly. Sew the chain edge of the neck onto the bottom of the head between rounds 8 – 16 of the head. The tallest point (where the chain was joined to form a ring) of the neck should be right at the back of the head when you sew it on, and the oval formed by the first round of the head should be more or less vertical. It helps me to pin the neck in place before sewing so I can make adjustments before committing.
Ears (make 2)
Ch 2 or magic loop
- 4 sc in 2nd ch from hook / loop (4)
- *2 sc in 1st sc, sc in next sc* rep *-* around (6)
- *2 sc in 1st sc, sc in next 2 sc* rep *-* around (8)
- Sc in each sc around (8)
- *2 sc in 1st sc, sc in next 3 sc* rep *-* around (10)
- *2 sc in 1st sc, sc in next 4 sc* rep *-* around (12)
7-8. Sc in each sc around (12)
- *sc dec, sc in next 2 sc* rep *-* around (9)
FO leaving a long tail for assembly. Flatten the ears, you’ll be sewing through both layers at once. Using the FO ends, sew the ears at about round 14-15 on either side of the head. I sewed the ears on so they laid more flat or relaxed to the head, but you can sew them so they’re perked up as well. Weave in the ends.
Body
Ch 3
- 2 sc in 2nd ch from hook, 4 sc in last ch, turning your work so you’re working along the bottom of the ch, 2 sc in same sc as first 2 sc (8)
- 2 sc in each sc around (16)
- *2 sc in 1st sc, sc in next sc* rep *-* around (24)
- *2 sc in 1st sc, sc in next 2 sc* rep *-* around (32)
- *2 sc in 1st sc, sc in next 3 sc* rep *-* around (40)
6-14. Sc in each sc around (40)
- Sc in 1st 16 sc, *2 sc in next sc, sc in next 4 sc* rep *-* 3x, sc in last 9 sc (43)
16-24. Sc in each sc around (43)
- *sc dec, sc in next 6 sc* rep *-* 5x, sc dec, sc in last 2 sc (37)
- Sc in 1st 3 sc, *sc dec, sc in next 5 sc* rep *-* 4x, sc dec, sc in last 4 sc (32)
- *sc dec, sc in next 4 sc* rep *-* 5x, sc dec (26)
- Sc in 1st 3 sc, *sc dec, sc in next 3 sc* rep *-* 4x, sc dec, sc in last sc (21)
STUFF the llama body firmly
- Sc in 1st sc, *sc dec, sc in next 2 sc* rep *-* around (16)
- *sc dec, sc in next sc* rep *-* 5x, sc in last sc (11)
STUFF again if needed
- Sc dec around
FO, use end to close up any remaining hole, weave in ends.
Using 3 sewing pins, mark where the increases from round 15 are. Use these as your centering marks.
Stuff the neck up by the head and sew the bottom of the neck to the llama body. I sew the neck on to span across rounds 4-14 of the body. It helps me to pin the neck in place before sewing so I can make adjustments before committing, to prevent a turned or crooked head posture. Before you finish sewing the neck to the body, make sure it’s stuffed all the way, not just up by the head. Weave in the ends.
Legs (tucked / laying down)
Front Legs (make 2)
Ch 3
- 2 sc in 2nd ch from hook, 4 sc in last ch, turning your work so you’re working along the bottom of the ch, 2 sc in same sc as first 2 sc (8)
- *2 sc in 1st sc, sc in next sc* rep *-* around (12)
- *2 sc in 1st sc, sc in next 2 sc* rep *-* around (16)
- Sc in 1st 7 sc, *2 sc in next sc, sc in next sc* rep *-* 3x, sc in last 3 sc (19)
- Sc in 1st 15 sc
FO leaving the last 4 sc unworked. Leave a long tail for assembly.
Pin both front “legs” onto the front of the body so that when you set the llama on a level surface, the legs touch the surface and stabilize the body. The oval created by round 1 of the legs should be relatively horizontal. Before you finish sewing the legs in place, make sure to stuff them firmly.
Back Legs (make 2)
Ch 3
- 2 sc in 2nd ch from hook, 4 sc in last ch, turning your work so you’re working along the bottom of the ch, 2 sc in same sc as first 2 sc (8)
- *2 sc in 1st sc, sc in next sc* rep *-* around (12)
- *2 sc in 1st sc, sc in next 2 sc* rep *-* around (16)
- Sc in 1st 7 sc, *2 sc in next sc, sc in next sc* rep *-* 3x
FO, leaving the last 3 sc unworked. Leave a long tail for assembly.
Pin both back “legs” onto the back of the body (just past round 16) so that when you set the llama on a level surface, the back legs touch the surface. The oval created by round 1 of the legs should be relatively horizontal. Before you finish sewing the legs in place, make sure to stuff them firmly.
Tail
Ch 2 or magic loop
- 6 sc in 2nd ch from hook / loop (6)
- *2 sc in 1st sc, sc in next sc* rep *-* around (9)
- *2 sc in 1st sc, sc in next 2 sc* rep *-* around (12)
4-6. Sc in each sc around (12)
- *sc dec, sc in next 2 sc* rep *-* around (9)
FO, leaving a long tail for assembly.
Flatten the tail and sew through both layers at once. Sew the tail to the middle back end of the llama body. You may also need to tack the middle of the bottom of the tail to the body so it doesn’t lift. Weave in the ends.
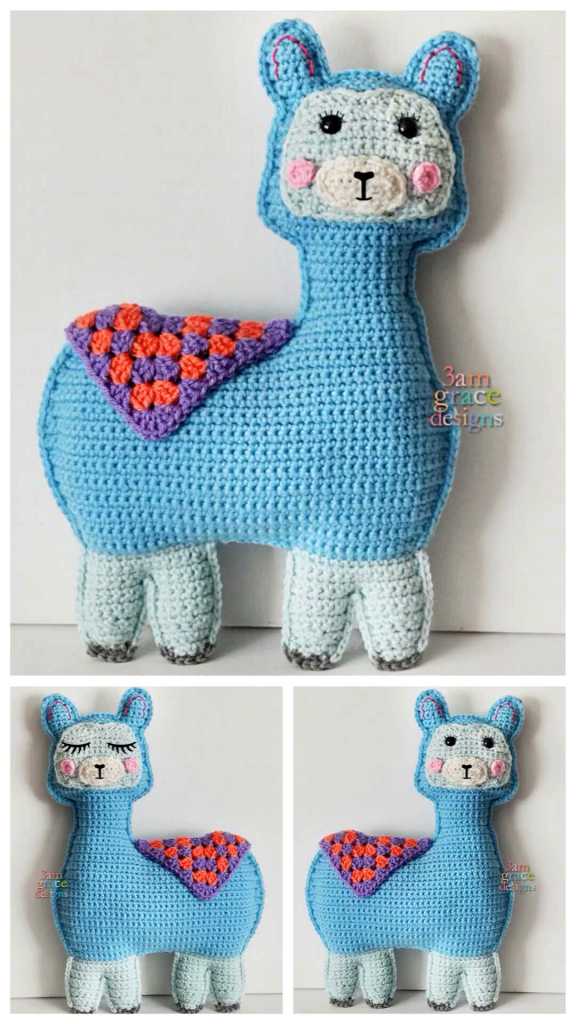
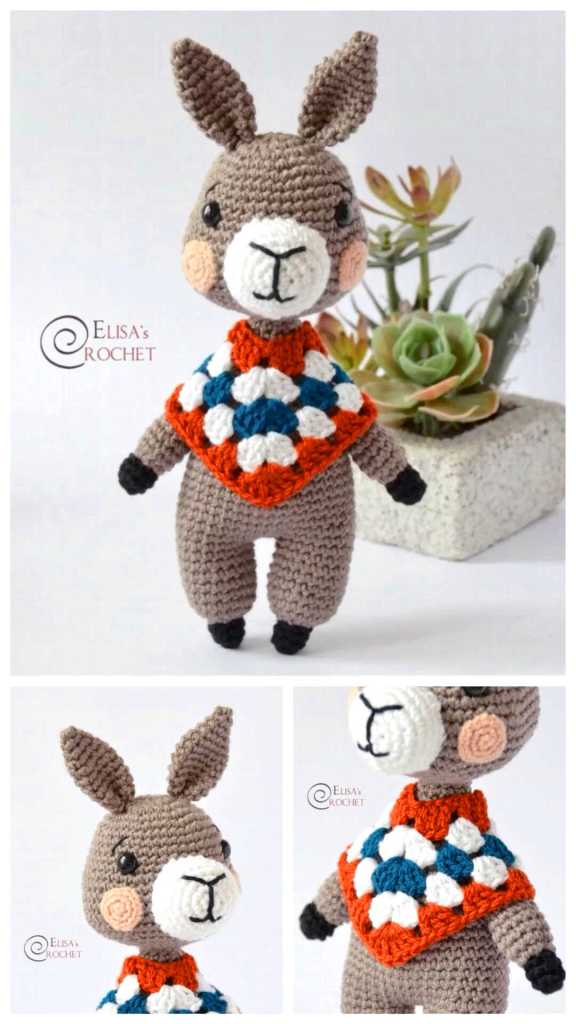
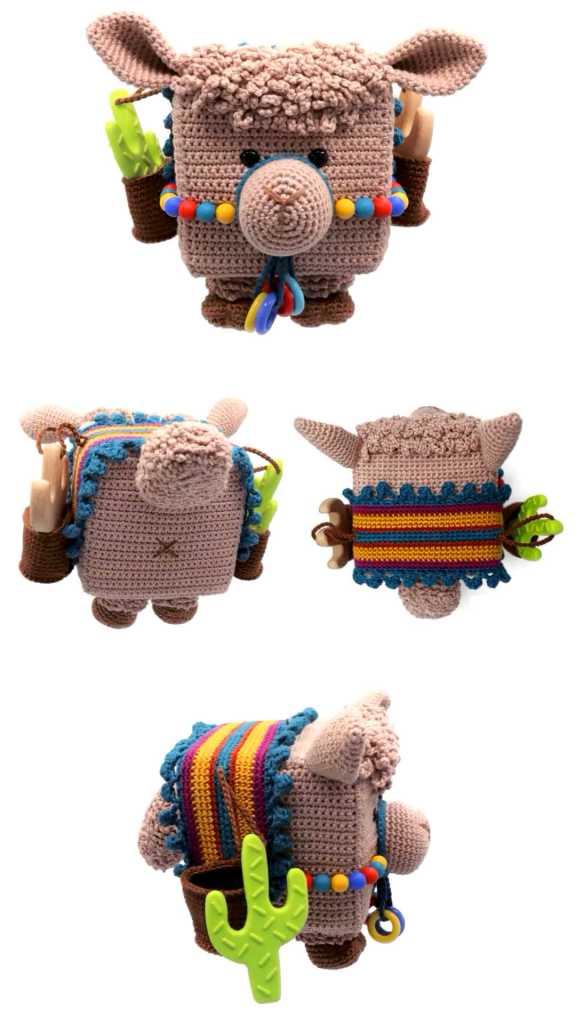
Rug
With R1, ch 5
- 2 sc in 2nd ch from hook, sc in next 2 ch, 3 sc in last ch, turning your work so you’re working along the bottom side of the chain, sc in next 2 ch, sc in same ch as first 2 ch (10)
Change color to R2
- *3 sc in next sc, sc in next sc, 2 sc in next sc, sc in next 2 sc* rep *-* 2x (16)
- *2 sc in 1st sc, sc in next 2 sc* rep *-* 5x, sc in last sc (21)
Change color back to R1
- *2 sc in 1st sc, sc in next 2 sc* rep *-* around (28)
- *2 sc in 1st sc, sc in next 3 sc* rep *-* around (35)
Change color back to R2
- *ch 1, slp st in next st* rep *-* around (to create a decorative edge)
FO and use the end to tack the rug to the llama’s back. I only tacked it down in four places, you don’t have to sew it down, you just want to keep it in place. Weave in the ends.
Final Touches
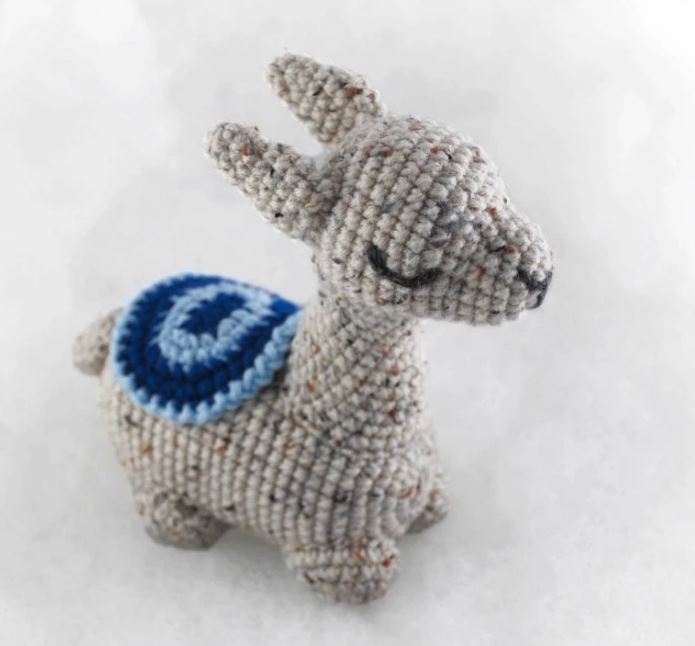
Using your scrap bulky yarn, embroider closed eyes and a nose to the head and muzzle of the llama. Weave in the ends.
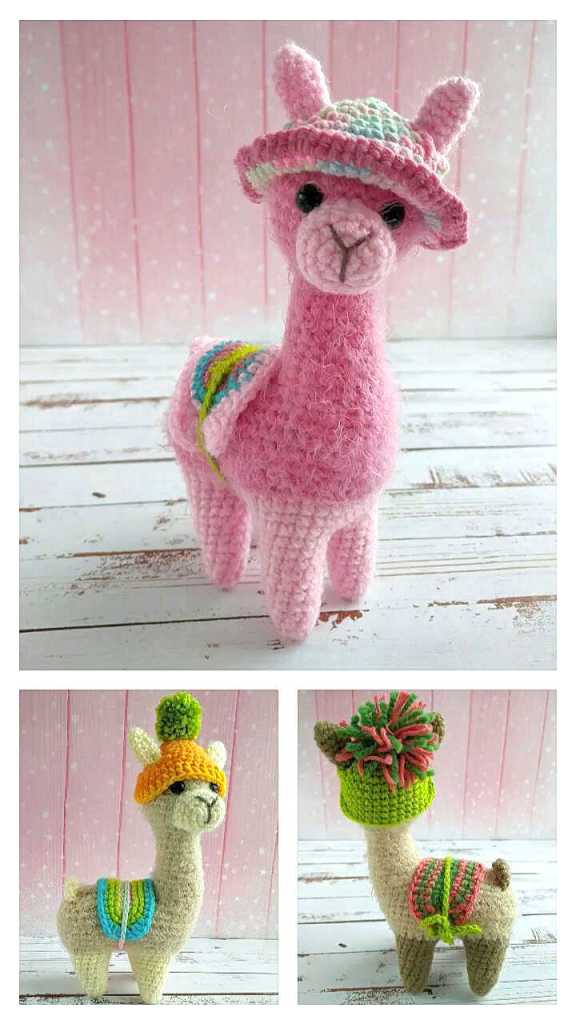
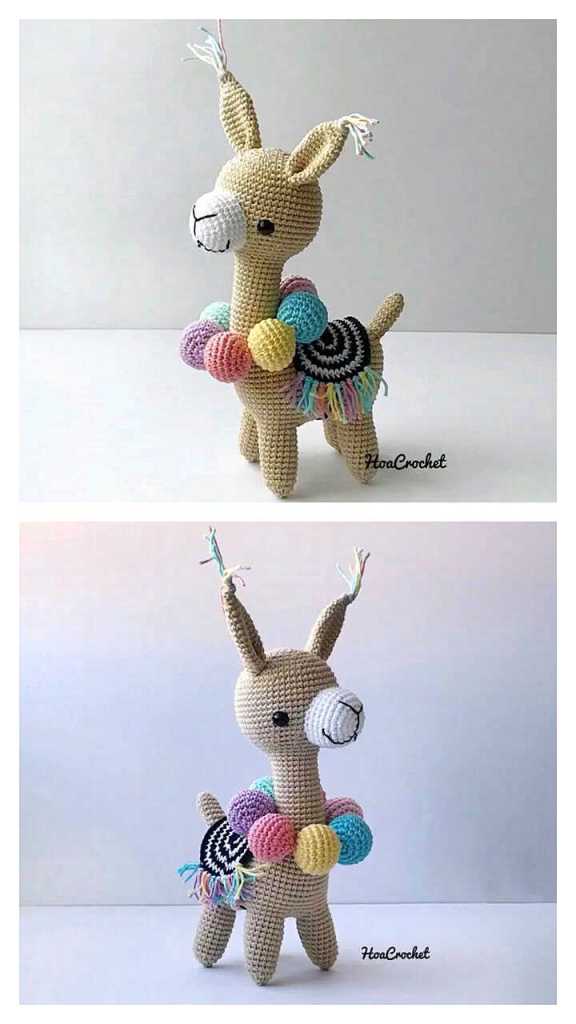
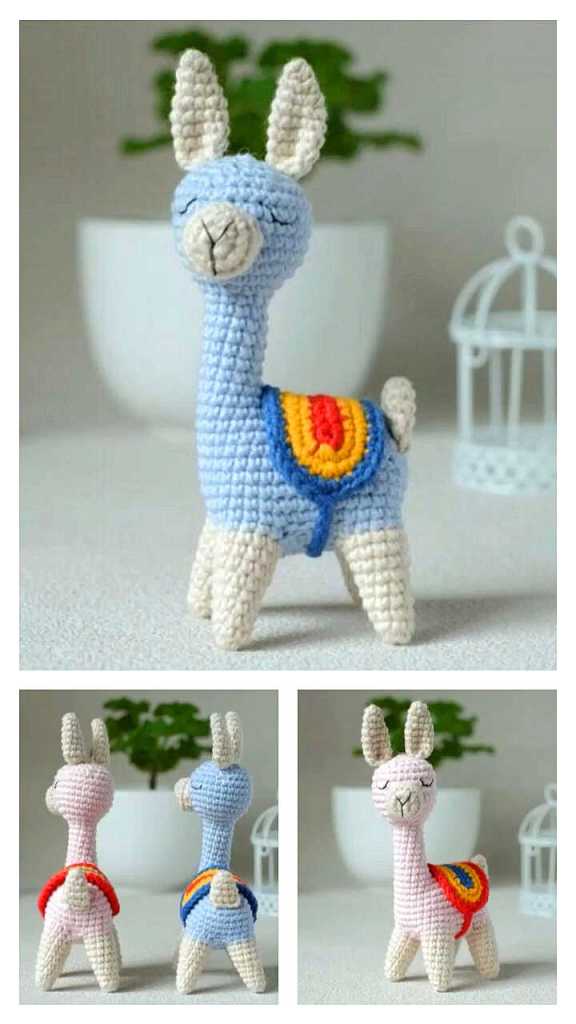
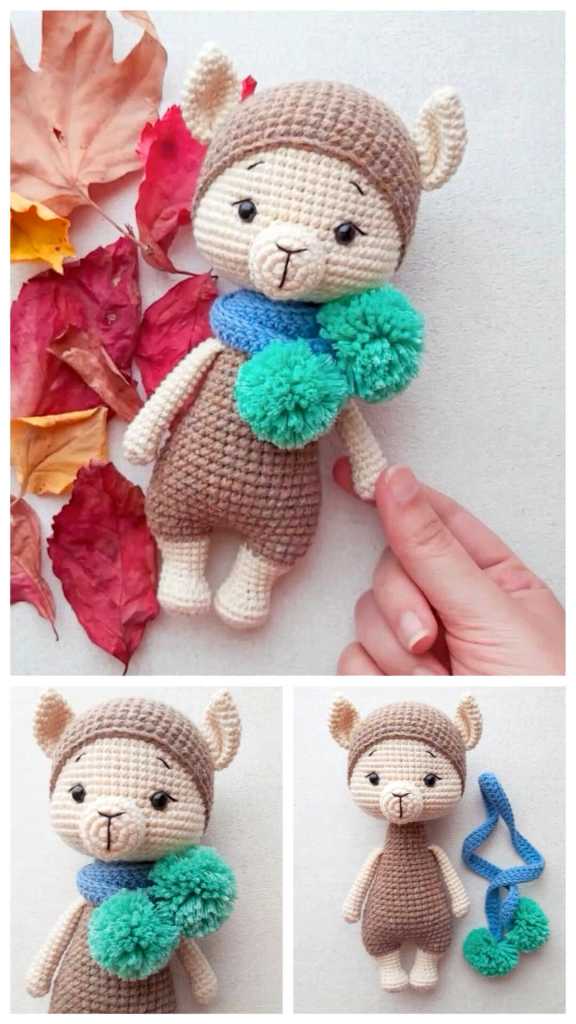
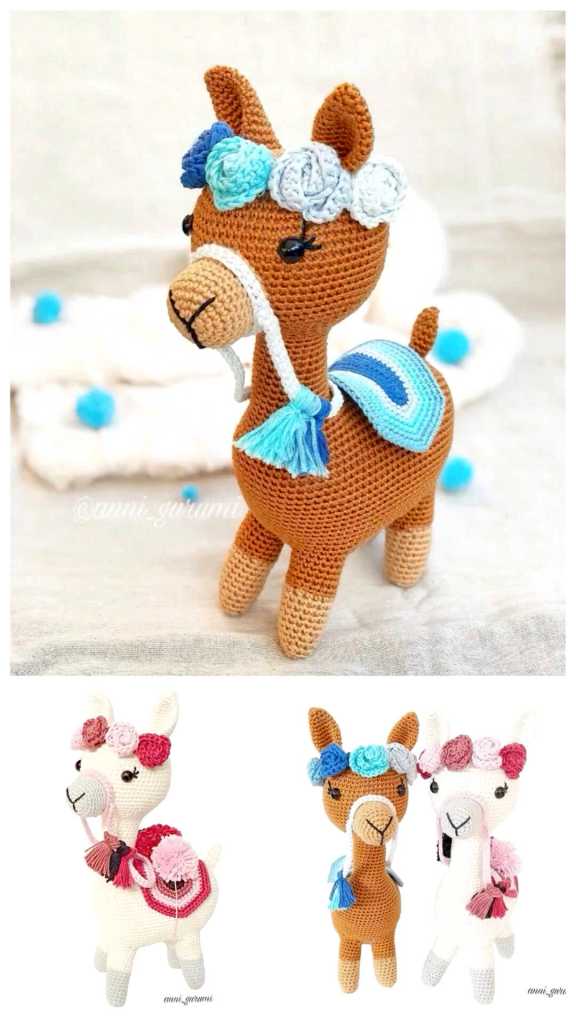
More Amigurumi Llama İdeas