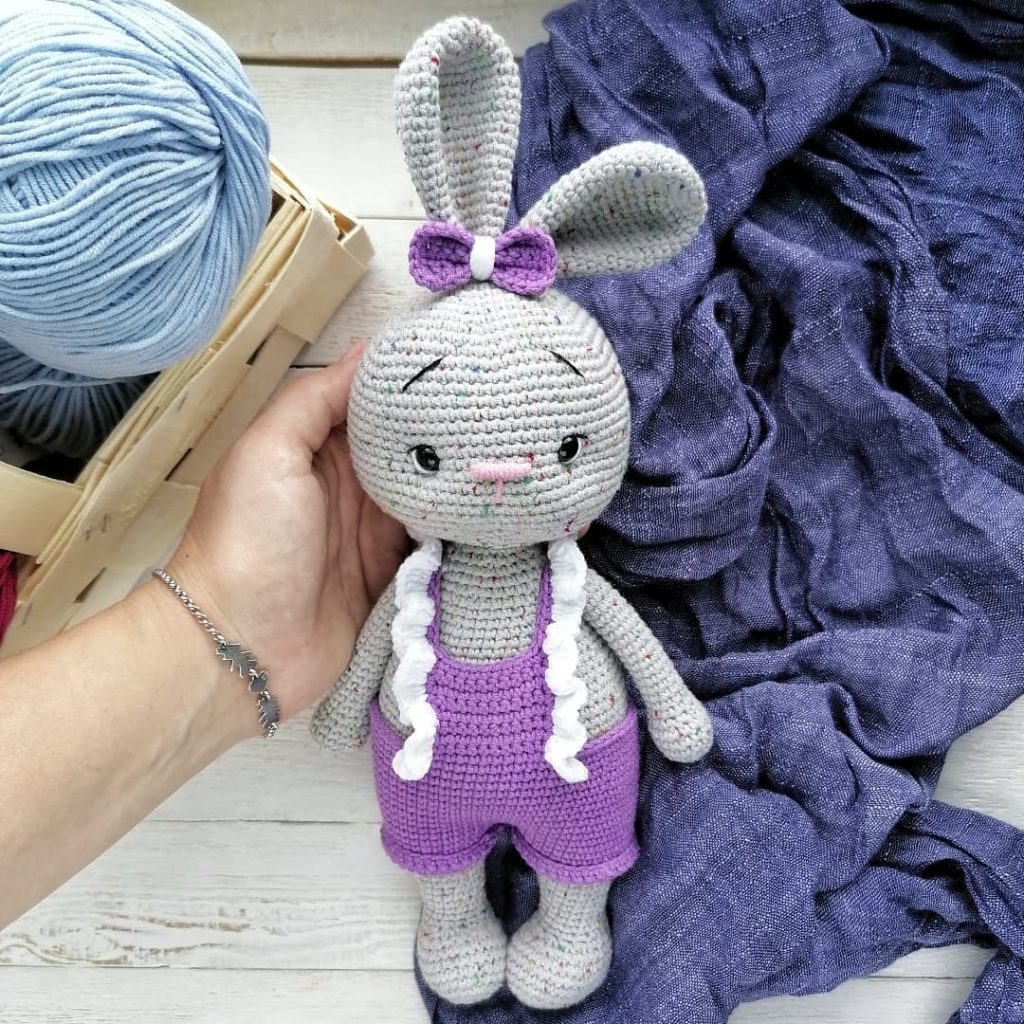
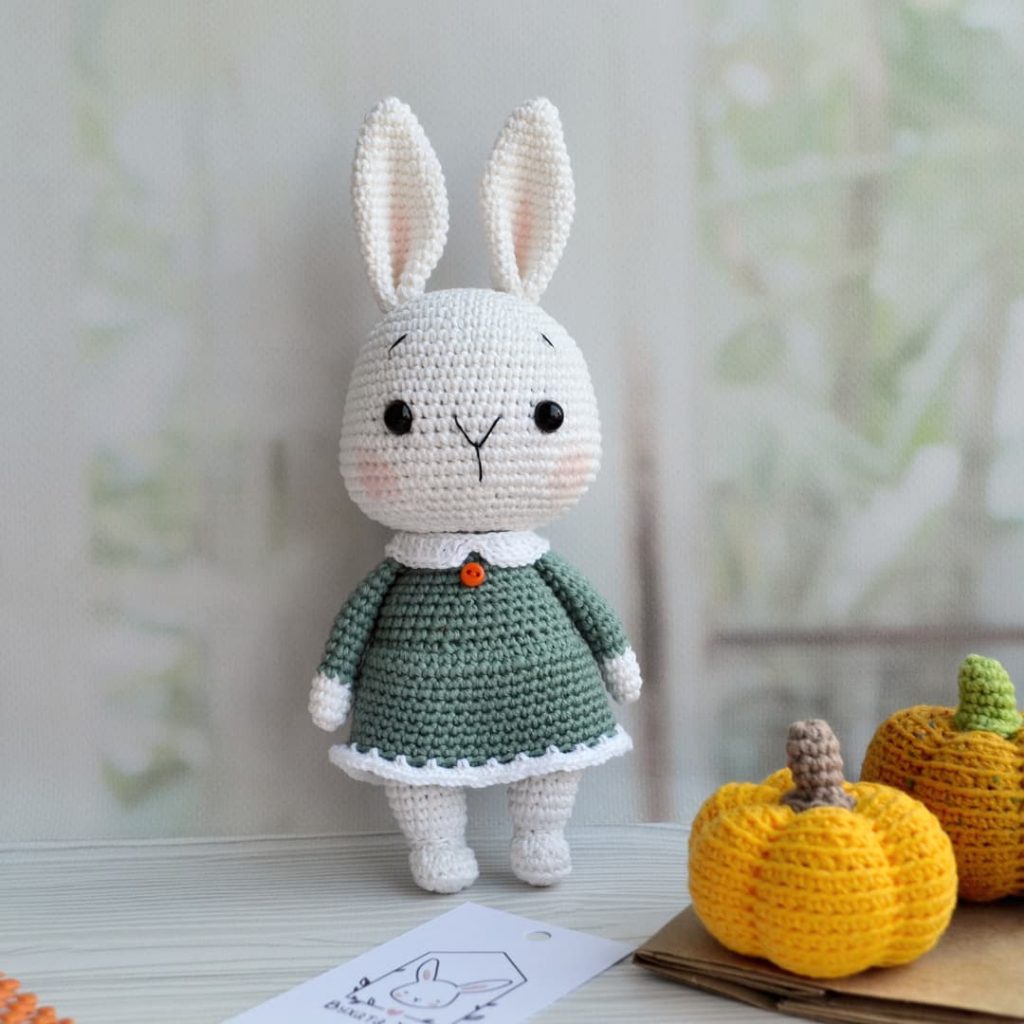
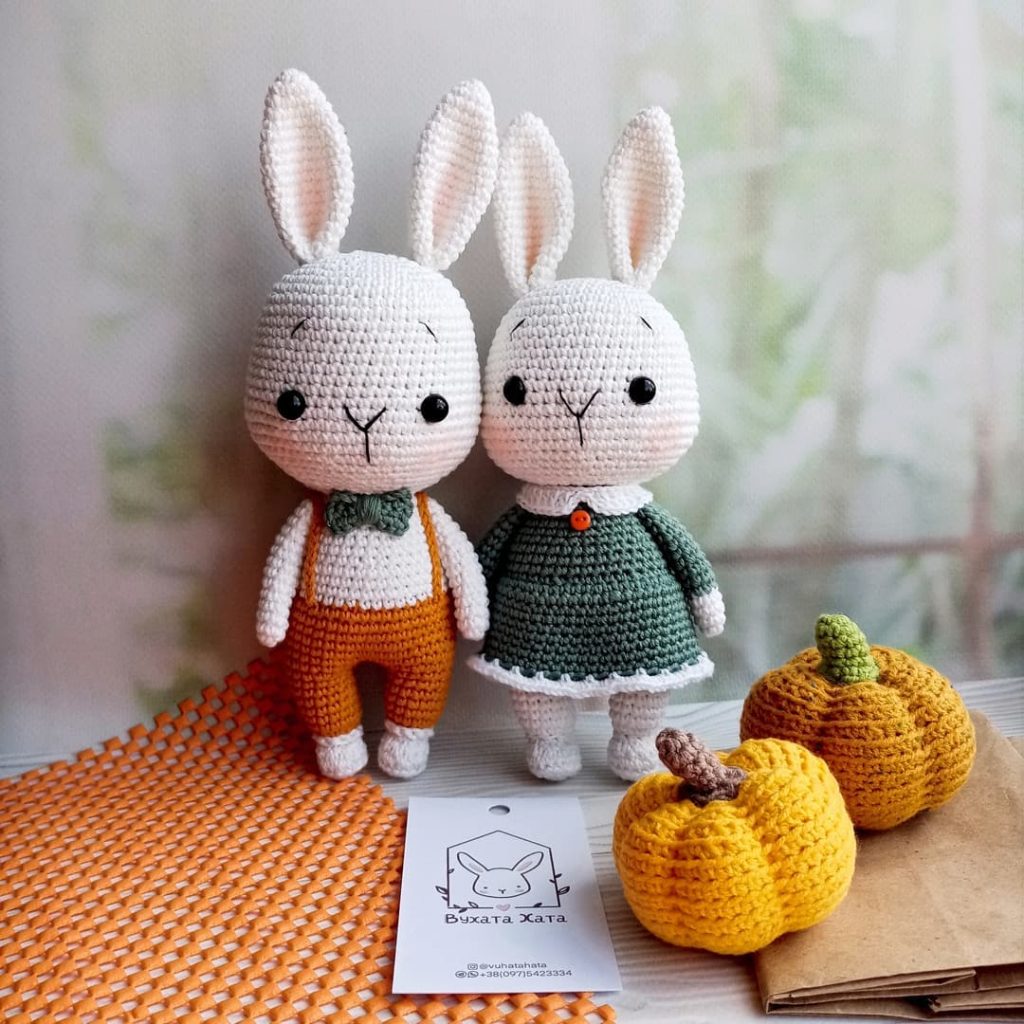
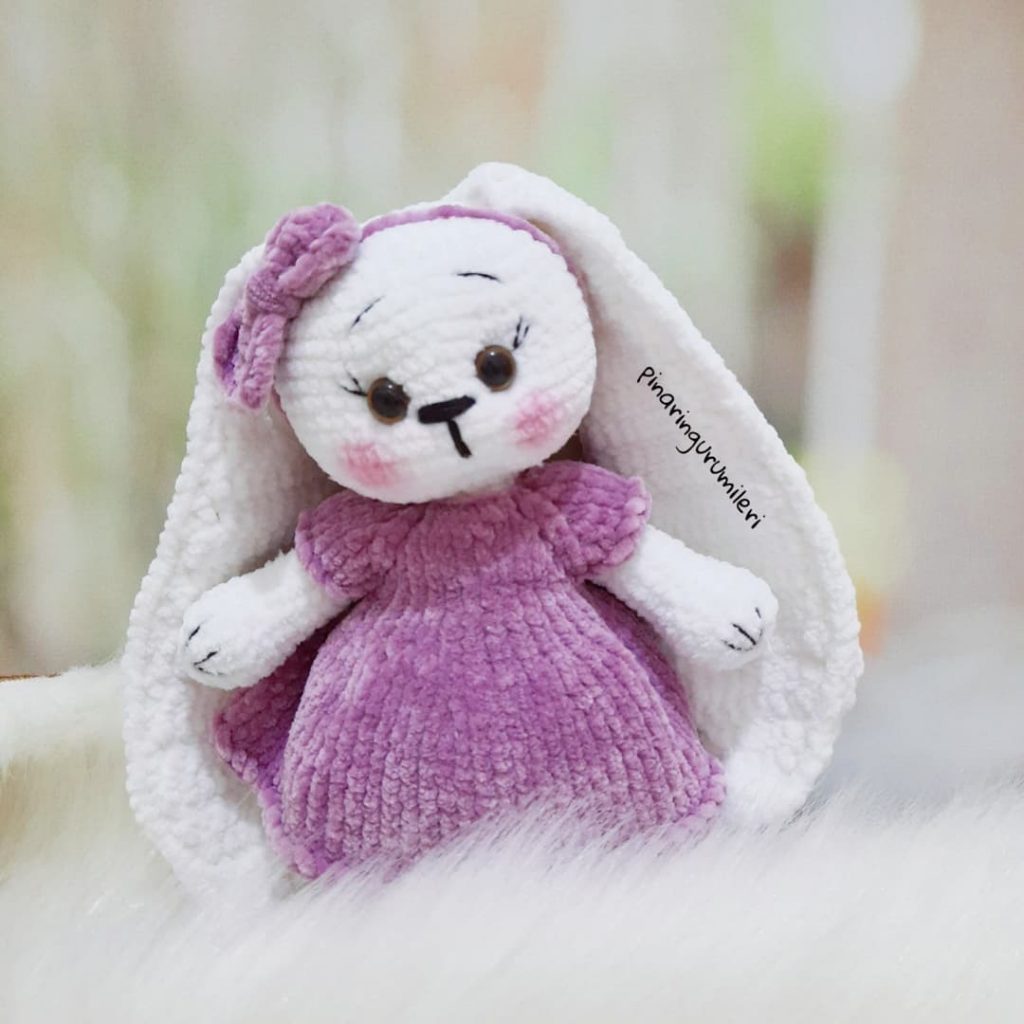
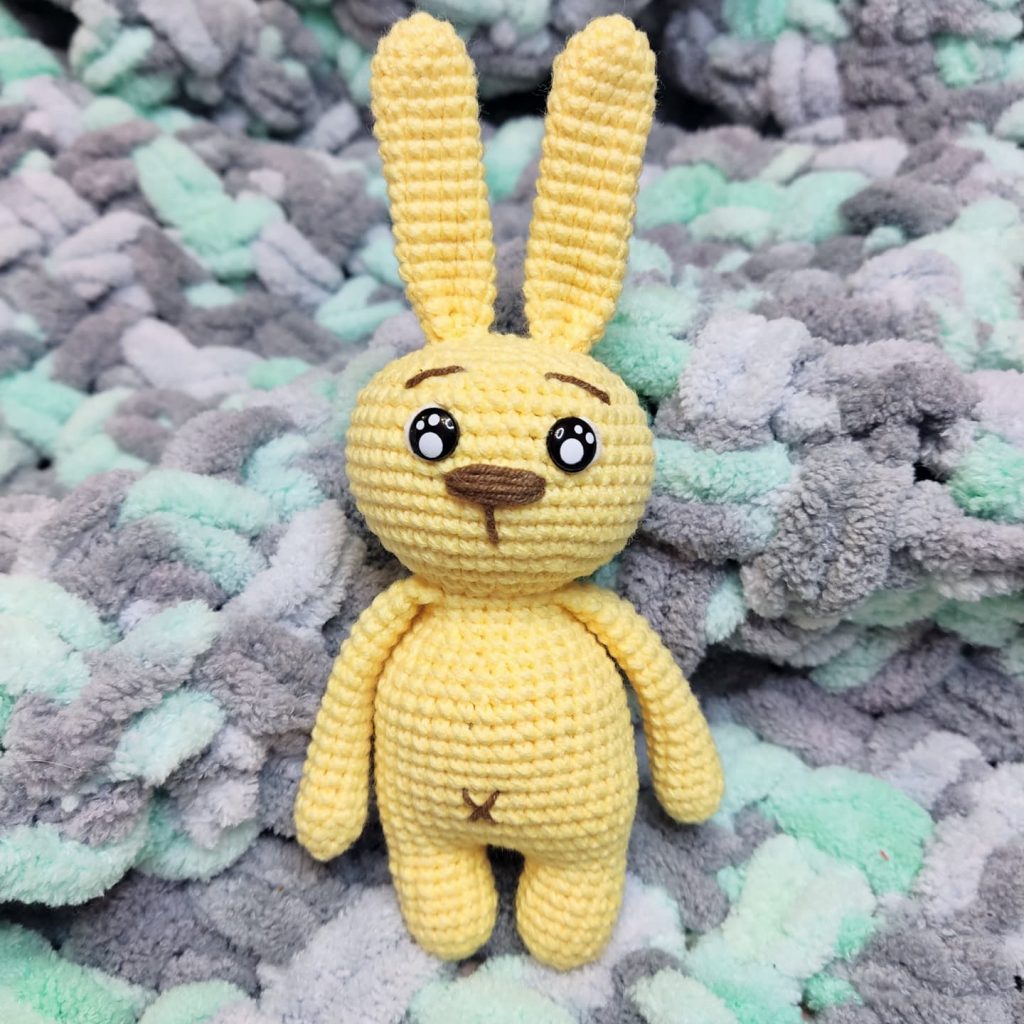
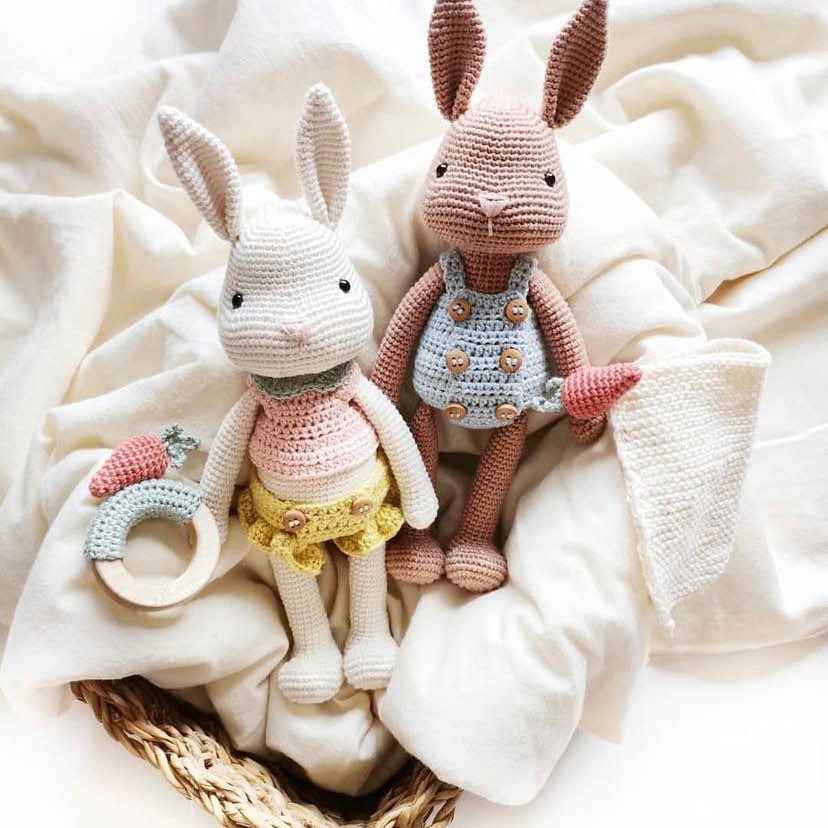
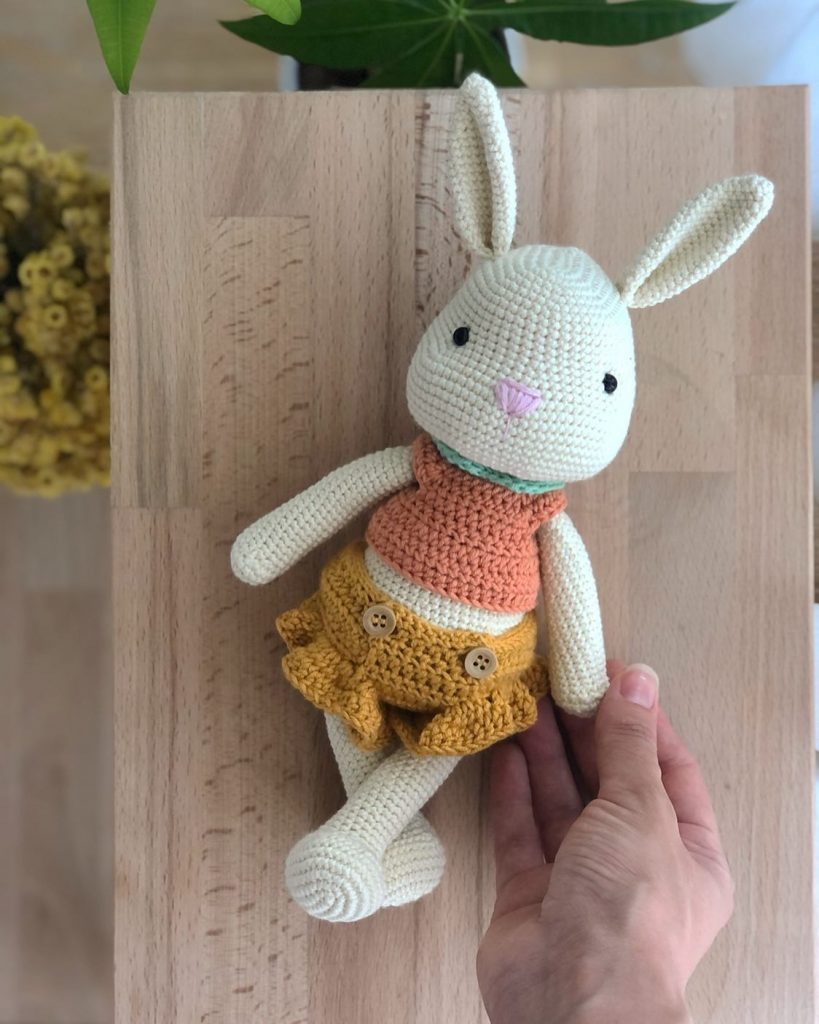
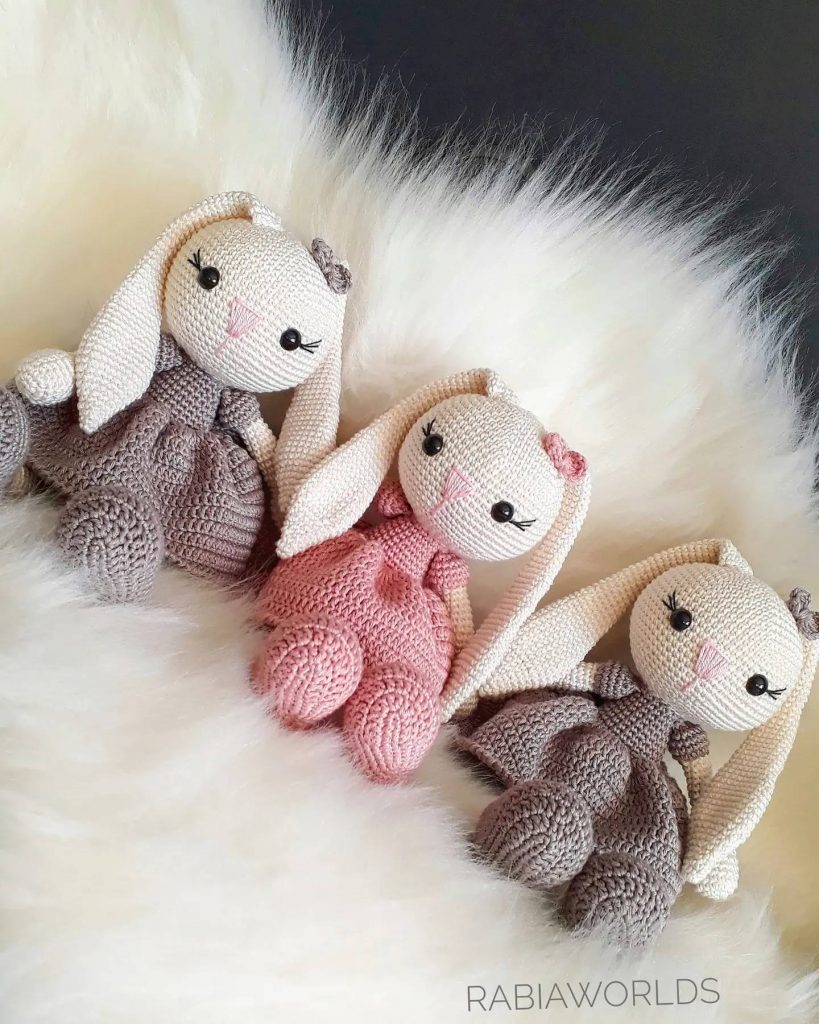
Mini Bunny Amigurumi Free Pattern
Hello dear Amigurumi Followers
Today we share one free amigurumi crochet pattern again for you. As you know we share new amigurumi free patterns every day. The main crochets are amigurumi gazelles, amigurumi bears, amigurumi pola, amigurumi pandas, amigurumi penguins, amigurumi giraffes, amigurumi llama, amigurumi pigs, amigurumi bunny, amigurumi clowns, amigurumi lambs, amigurumi bees, amigurumi unicorns, amigurumi dolls, amigurumi foxes, amigurumi penguins, amigurumi dinosaurs, amigurumi elephants, amigurumi hippos, amigurumi monkeys, amigurumi cats, amigurumi dogs and more …
Todays daily new amigurumi free crochet pattern is amigurumi bunny
I want to give you some informations about this pattern ;
If you enjoy making amigurumi, here I share this easy and free amigurumi pattern for you for free. Your kids will love these toys.
Materials
- Worsted weight yarn – I used a mixture of Red Heart Soft and Caron Simply Soft. You will need a main bunny color (I used off white, but grey, brown or other colors would look cute too), and then one or two accent colors for the shoes, skirt, shirt, pants, bow (depending on if you’re making a girl or boy bunny). I also used a light pink (or light grey or the boy) for the nose/mouth, but you can use any color you’d like.
- Safety eyes – I used 9mm size safety eyes. If you’d like the option of crocheting the eyes rather than using safety eyes, here’s a great tutorial!
- Crochet hook – I used a 3.5mm crochet hook. If you prefer to use a different size for amigurumi projects, feel free to use it! You just might end up with a slightly larger or smaller bunny. I always use (and love) my Clover Amour hooks!
- Black crochet or embroidery thread – for stitching on the eyelashes (optional)
- Stuffing – Any fiber stuffing will work for stuffing your mini bunny amigurumi
- Yarn needle – bent yarn needles work great for sewing amigurumi pieces together!
Abbreviations
Ch – chain
Sl St – slip stitch
SC – single crochet
HDC – half double crochet
DC – double crochet
INV DEC – invisible single crochet decrease – insert hook into front loop of next stitch, then insert your hook into the front loop of the following stitch (3 loops on hook). Yarn over and draw through 2 loops (2 loops on hook), yarn over and pull through 2 remaining loops on hook.
LEGS (GIRL BUNNY) (make 2)
*Stuff the legs as you go. Make sure that you firmly stuff the legs and body sections, but not so firmly that you can see the stuffing through the stitches.
Round 1: In accent color, magic circle, chain 1, 6 SC into ring. (6)
Round 2: 2 SC in each stitch around. (12)
Rounds 3-4: SC in each stitch around (12)
Change to main bunny color (see notes on working color changes above)
Rounds 5-9: SC in each stitch around (12)
Add one extra SC stitches to the first leg and then fasten off and cut yarn (leaving a tail). This extra stitch should help keep your color change in between the legs and less visible. Follow the instructions above again to work up the second leg.
When you finish working up the second leg, do not fasten off. Instead, add one extra SC stitch to the second leg (just like you did on the first leg) and then continue to the body instructions below to join the legs and work up the body.
LEGS (BOY BUNNY) (make 2)
*Stuff the legs as you go. Make sure that you firmly stuff the legs and body sections, but not so firmly that you can see the stuffing through the stitches.
Round 1: In main bunny color, magic circle, chain 1, 6 SC into ring. (6)
Round 2: 2 SC in each stitch around. (12)
Rounds 3-4: SC in each stitch around (12)
Change to accent color for the pants (see notes on working color changes above)
Rounds 5-9: SC in each stitch around (12)
Add one extra SC stitches to the first leg and then fasten off and cut yarn (leaving a tail). This extra stitch should help keep your color change in between the legs and less visible. Follow the instructions above again to work up the second leg.
When you finish working up the second leg, do not fasten off. Instead, add one extra SC stitch to the second leg (just like you did on the first leg) and then continue to the body instructions below to join the legs and work up the body.
BODY – GIRL OR BOY BUNNY
Stuff the legs about ¾ of the way up (leaving space at the top of the leg so that when you start working the body, the stuffing isn’t getting caught in your stitches).
Round 1: Joining the legs: On the second leg, chain 2, and then join the legs with a SC in the next stitch on the first leg (after where you fastened off). Continue to SC in each stitch around the first leg. When you are around to the chain stitches, SC in each of the 2 chains and then continue to SC in each of the stitches on the second. Lastly, SC in each of the 2 chain stitches again (this will be on the other side of the chain). You’ll have made a total of 28 SC stitches this round. This is the end of round 1 of the body and you’ll start round 2 from here (use a stitch marker to keep track of where your rounds start and end, if needed). See the photo below if you need help with joining the legs, or check out the video tutorial link below!
Note – When joining the legs, if you are having trouble working the SC stitches into both sides of the chain 2, I find it helpful to keep my chain flat and insert my hook into each of the chain stitches from the bottom of the chain. This helps make sure that I am crocheting in one side of the chain in the first part of the round, and then crocheting in the other side of the chain in the last part of the round, without twisting the chain.
**If you’re making a girl bunny, continue rounds 2-16 below. If you’re making a boy bunny, scroll down to the boy instructions to continue working up the body.
Body continued: Girl Bunny
Rounds 2-3: SC in each stitch around (28)
Change to accent color
Rounds 4-5: SC in each stitch around (28)
Round 6: Work this round in the back loops only. BLO SC in each stitch around (28)
Round 7: SC in each stitch around. (28)
Change to second accent color (if you’re using two colors)
Round 8: SC in each stitch around. (28)
Round 9: INV DEC, SC in next 5 stitches, repeat around. (24)
*Reminder to continue stuffing the body as you go, making sure you add enough stuffing to the legs/body before you get to the head.
Rounds 10-12: SC in each stitch around (24)
Round 13: INV DEC, SC in next 2 stitches, repeat around (18)
Round 14: SC in each stitch around (18)
Round 15: INV DEC, SC in next stitch, repeat around (12)
Round 16: SC in each stitch around (12)
Change color to main bunny color.
Next, you’ll continue to the instructions below to start working up the head.
Body continued: Boy Bunny
Rounds 2-7: SC in each stitch around (28)
Change to second accent color for shirt.
Round 8: SC in each stitch around. (28)
Round 9: INV DEC, SC in next 5 stitches, repeat around. (24)
*Reminder to continue stuffing the body as you go, making sure you add enough stuffing to the legs/body before you get to the head.
Rounds 10-12: SC in each stitch around (24)
Round 13: INV DEC, SC in next 2 stitches, repeat around (18)
Round 14: SC in each stitch around (18)
Round 15: INV DEC, SC in next stitch, repeat around (12)
Round 16: SC in each stitch around (12)
Change color to main bunny color.
Next, you’ll continue to the instructions below to start working up the head.
HEAD
*Start stuffing the neck and head area after you have added the eyes and sewn on the facial features. This is so the stuffing isn’t in the way when you are adding these features on. After the facial features are finished, continue stuffing as you go until you get to the top of the head.
Round 1: 2 SC in first stitch, SC in next, repeat around (18)
Round 2: 2 SC in first stitch, SC in next 2, repeat around (24)
Round 3: 2 SC in first stitch, SC in next 3, repeat around (30)
Round 4: 2 SC in first stitch, SC in next 4, repeat around (36)
Rounds 5-12: SC in each stitch around (36)
*Insert safety eyes between rounds 9 and 10, about 7 stitches apart. If you’d like your bunny to have eyelashes, first place your safety eyes where you’d like them to be, but don’t secure them yet. Next, remove the eyes and use your yarn needle to stitch on the eyelashes. This will create a hole to help you see where you want the eyelashes to go. Then insert the eyes again and secure the back. Below, I’ve included a photo to help with this step.
It’s also easier to stitch on the nose and mouth at this point. Place the nose one or two rows down from the bottom of the eyes. I used my yarn needle to pass the pink yarn (or grey for the boy) around the 4 stitches in the middle between the eyes. I passed the yarn through the same stitches 3-4 times, but you can do it as many times as you like depending on how big of a nose you’d like. When you are happy with the nose, continue using your yarn and needle to make a larger stitch straight down 2-3 rows from the middle of the nose. Then make a diagonal stitch on each side to create the mouth. Use the photo below to help you with making the nose and mouth.
Round 13: INV DEC, SC in next 4 stitches, repeat around (30)
Round 14: INV DEC, SC in next 3 stitches, repeat around (24)
Round 15: INV DEC, SC in next 2 stitches, repeat around (18)
Round 16: INV DEC, SC in next stitch, repeat around (12)
*Make sure you have added enough stuffing to the head by this point.
Round 17: INV DEC around (6)
Fasten off and sew top of head closed. Weave in ends and then cut your yarn.
SKIRT (for GIRL BUNNY)
I found it easier to attach the skirt before attaching the arms. This is so you can get into the stitches with your crochet hook without the arms being in the way.
The skirt is worked in joined rounds, not continuous rounds like the rest of the pattern. This means you will join the last stitch to the first with a slip stitch, chain 2 and then continue with the next round.
Round 1: Make a slip knot with your accent color. With the legs facing you, and the head facing away, join the slip knot through one of the front loop stitches on the back of round 5 of the body. You will be able to see the front loops because they are where you made the round of back loop stitches. Chain 2, HDC in same stitch and in each stitch around. Join to top of first HDC with a Sl St. Chain 2. (28)
Round 2: 2 HDC in each stitch around. Join, ch 2. (56)
Round 3: 2 HDC in each stitch around. Join to first stitch. (112) Fasten off, weave in ends and cut yarn.
EARS (make 2)
Round 1: In main bunny color, magic circle,
chain 1, 6 SC into ring. (6)
Round 2: 2 SC first stitch, SC in next stitch, repeat around (9)
Round 3: 2 SC first stitch, SC in next 2 stitches, repeat around (12)
Rounds 4-9: SC in each stitch around (12)
Fasten off leaving a long tail for sewing. Fold ear in half lengthwise and sew together the stitches at the bottom creating a folded bunny ear look. Leave the tail out to sew the ear onto the bunny’s head.
Sew ears onto bunny’s head. I lined the ear up in the 3rd or 4th round from the top of the head. Sew in and out of each stitch on the ear, passing in and out of the head each time. Weave in ends, cut yarn ends.
ARMS– make 2
*Lightly stuff the bottom half of the arms, or if you’d prefer, leave them unstuffed.
Round 1: In main bunny color, magic circle, ch 1, 6 SC into ring (6)
Round 2: 2 SC in first stitch, SC in next, repeat around (9)
Round 3: SC in each stitch around (9)
Change to second accent color. This will be the same color that you used for the top of the body.
Rounds 4-12: SC in each stitch around (9)
Fasten off, leaving a long tail.
Sew the top of each arm closed by passing your yarn needle through each stitch at the top of the arm. Make sure you are working through both layers of stitches.
Sew the arms onto the sides of the body, lined up in the first round at the top of the body. This will be where your last round of the accent color is before the head starts. To keep the color changes less noticeable on the arms, try to line up the color change side of the arms between the inner arm and the body. Weave in ends, cut yarn.
BOW or BOWTIE
*For the girl, the bow can go on her head right in front of an ear. For the boy, the bow makes a super cute bow tie!
To make the bow, follow the instructions below. I also have a photo and video tutorial on my blog for making the bows, you can find it HERE. Note that the only difference is that the bow on my blog starts with a chain 3 and treble crochet stitches whereas the one in this pattern is made in the same way with only a chain 2 and double crochet stitches.
Bow Instructions: Magic circle, chain 2. Work 3 double crochet stitches into the ring, chain 2 and make a slip stitch to the center of the ring. Chain 2 again, make 3 double crochet stitches into the ring again, chain 2, slip stitch to center ring again. Pull the magic circle tight. Wrap the yarn ends around the middle of the bow a few times. I wrapped one of the yarn tails around one way and then went the opposite way with the other yarn tail. Use your yarn tails to make a knot at the back of the bow. Weave one of the yarn tails in and cut yarn. The other tail will be used to sew the bow onto the bunny’s head.
That’s it! You’re finished! I hope that you have enjoyed making this cute Mini Bunny Amigurumi!
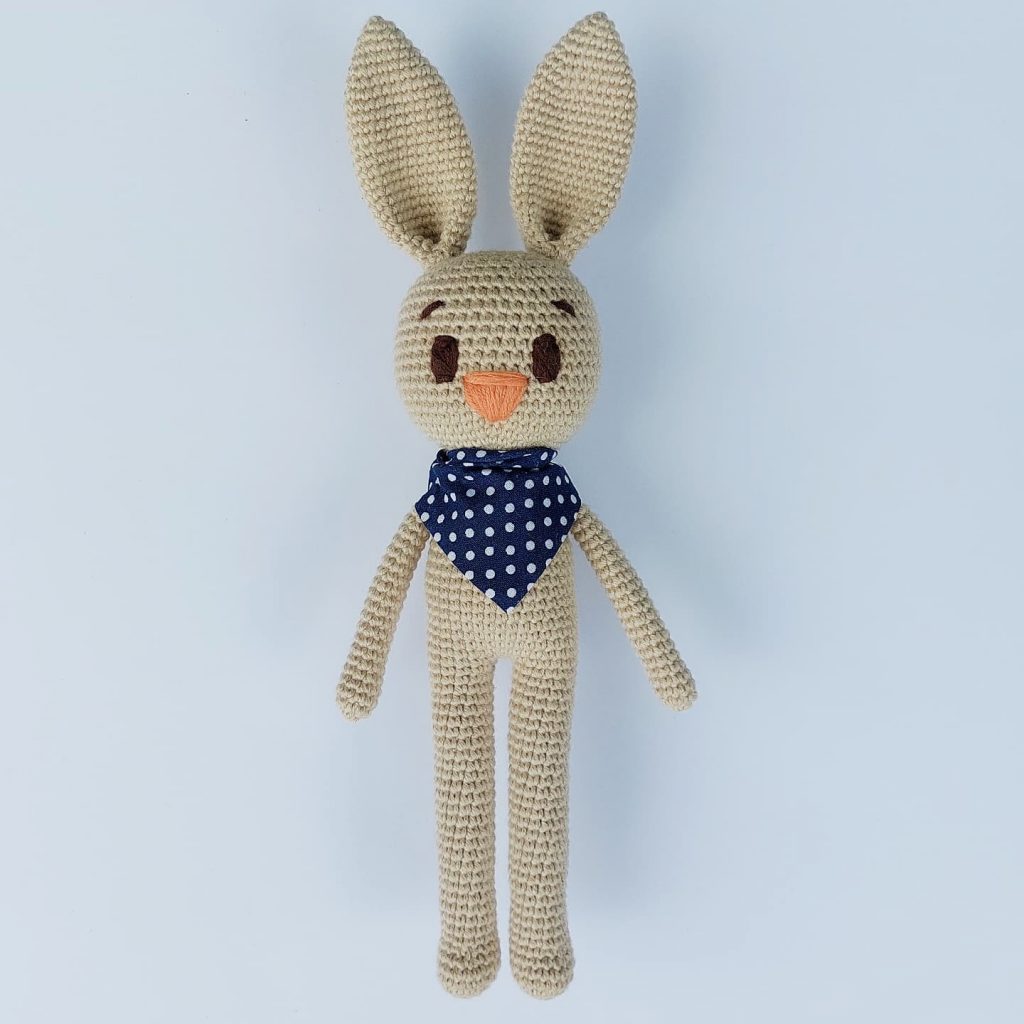
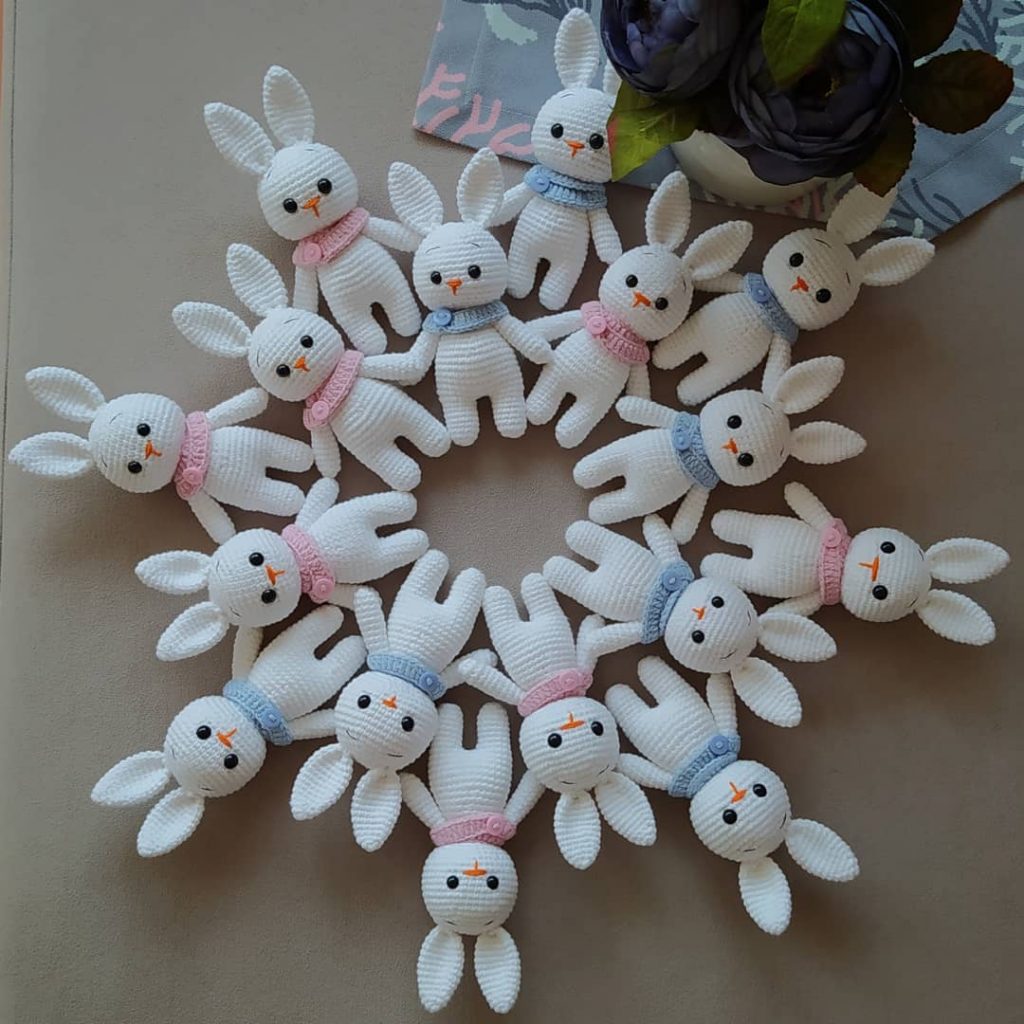
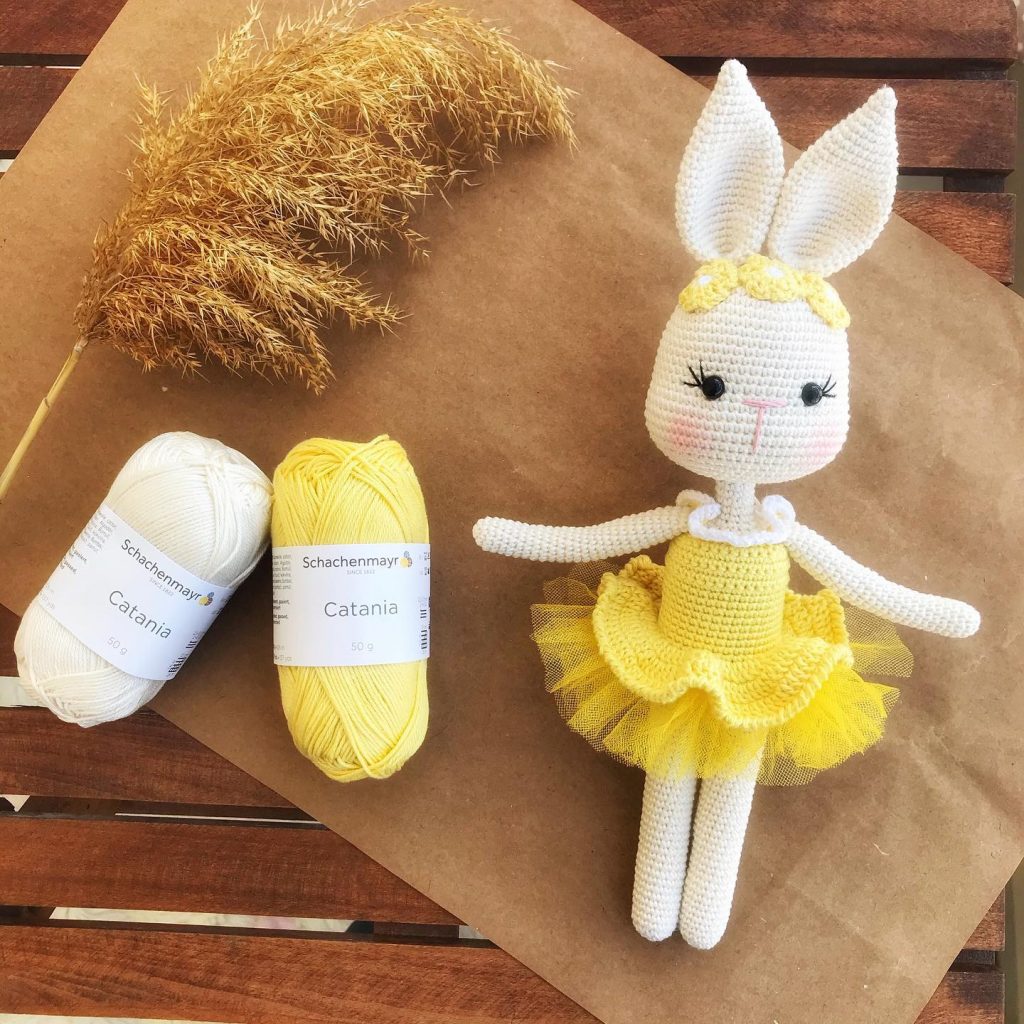
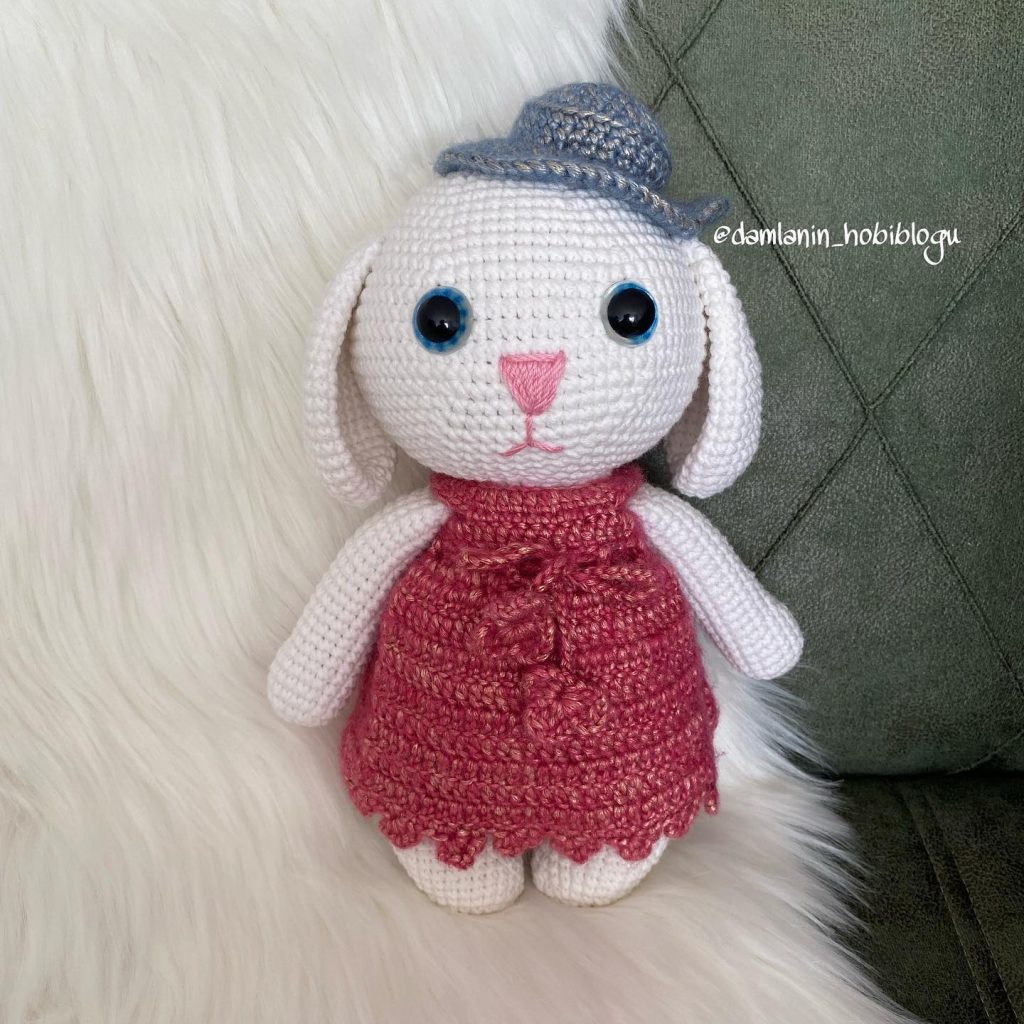
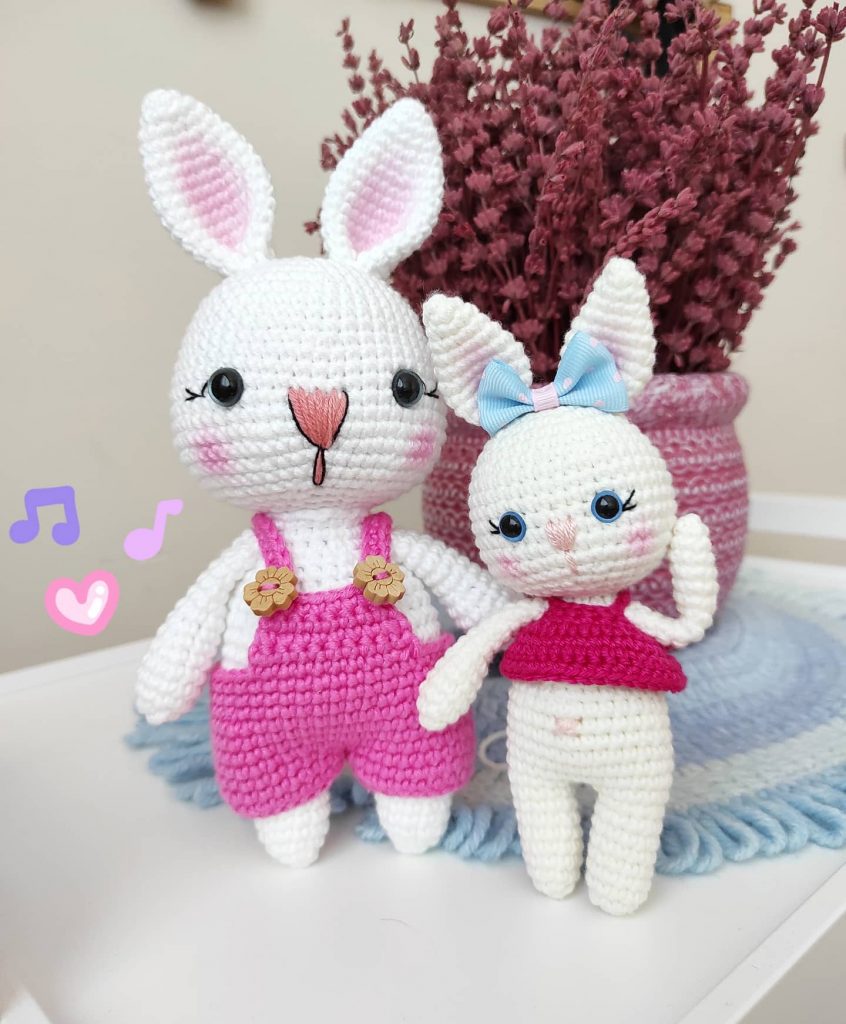
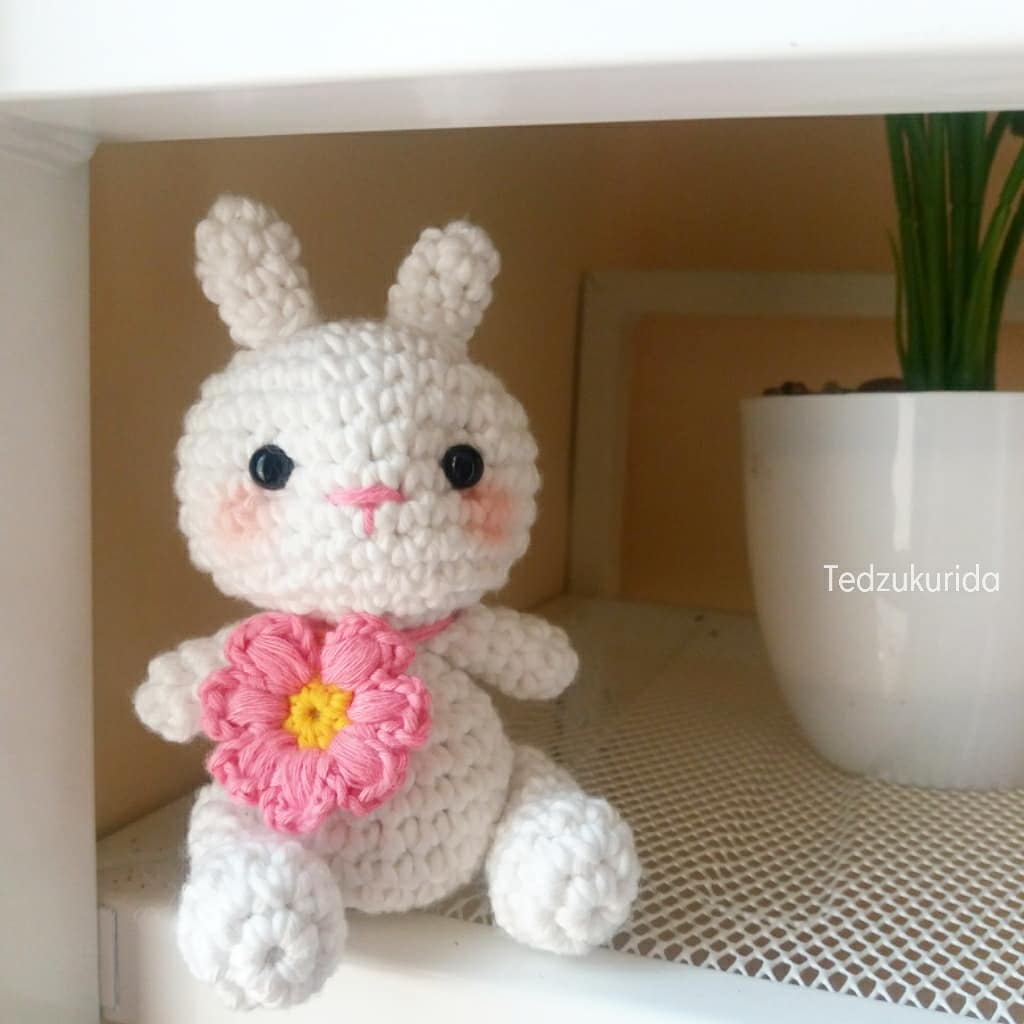
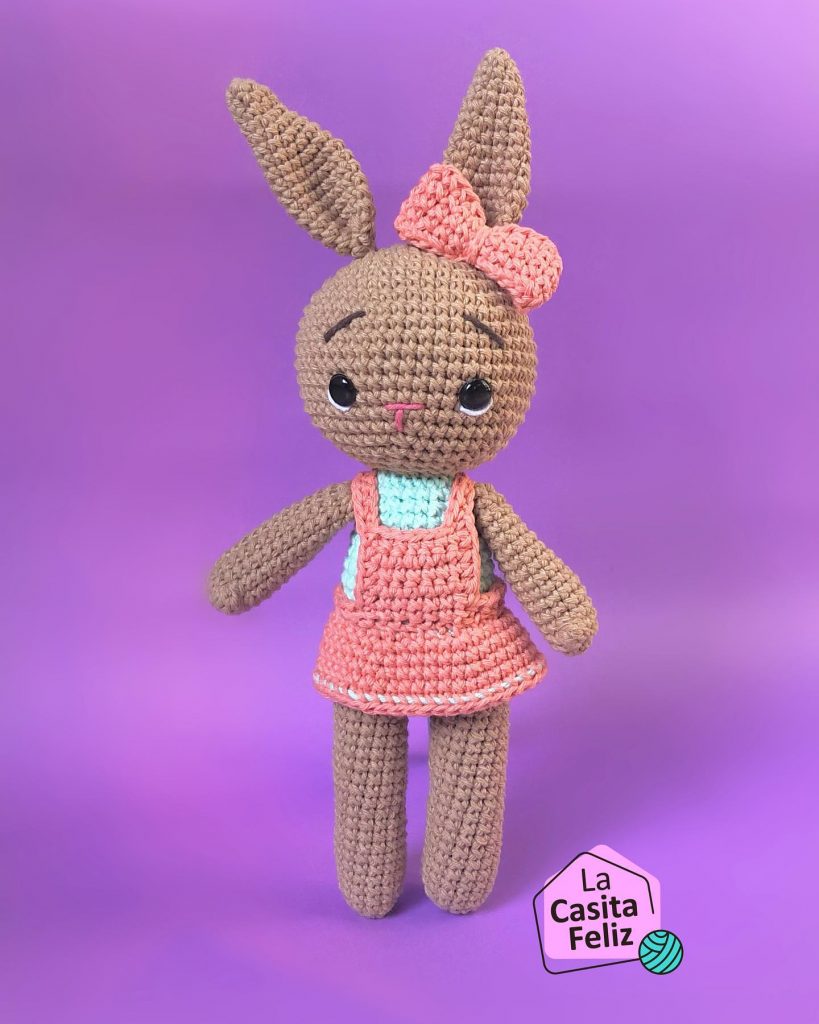
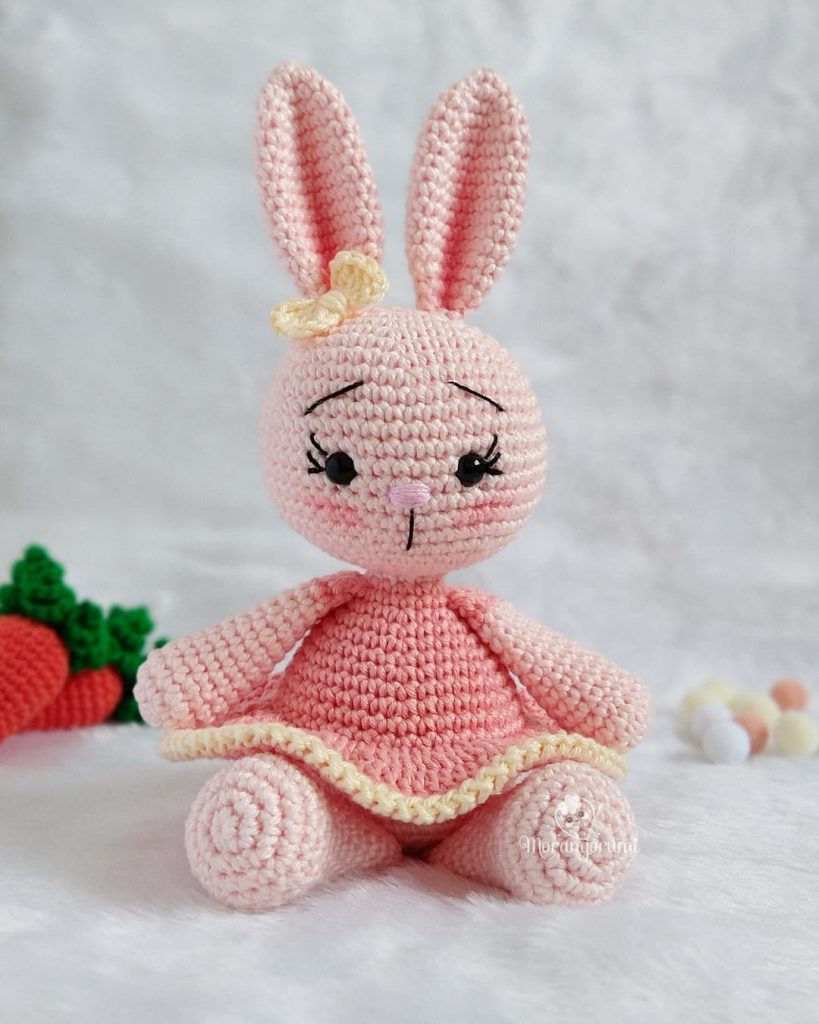
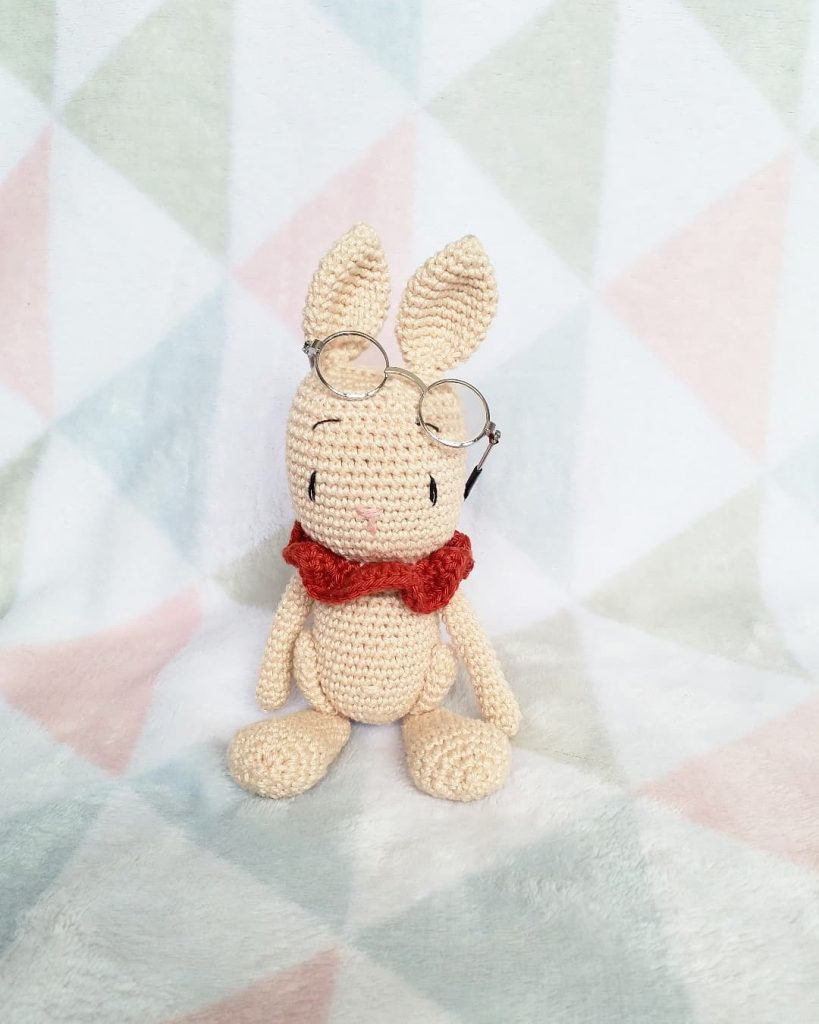
More Amigurumi Bunny İdeas