Raccoon Amigurumi Free Pattern
Hello dear Amigurumi Followers
Today we share one free amigurumi crochet pattern again for you. As you know we share new amigurumi free patterns every day. The main crochets are amigurumi gazelles, amigurumi bears, amigurumi pola, amigurumi pandas, amigurumi penguins, amigurumi giraffes, amigurumi llama, amigurumi pigs, amigurumi bunny, amigurumi clowns, amigurumi lambs, amigurumi bees, amigurumi unicorns, amigurumi dolls, amigurumi foxes, amigurumi penguins, amigurumi dinosaurs, amigurumi elephants, amigurumi hippos, amigurumi monkeys, amigurumi cats, amigurumi dogs and more …
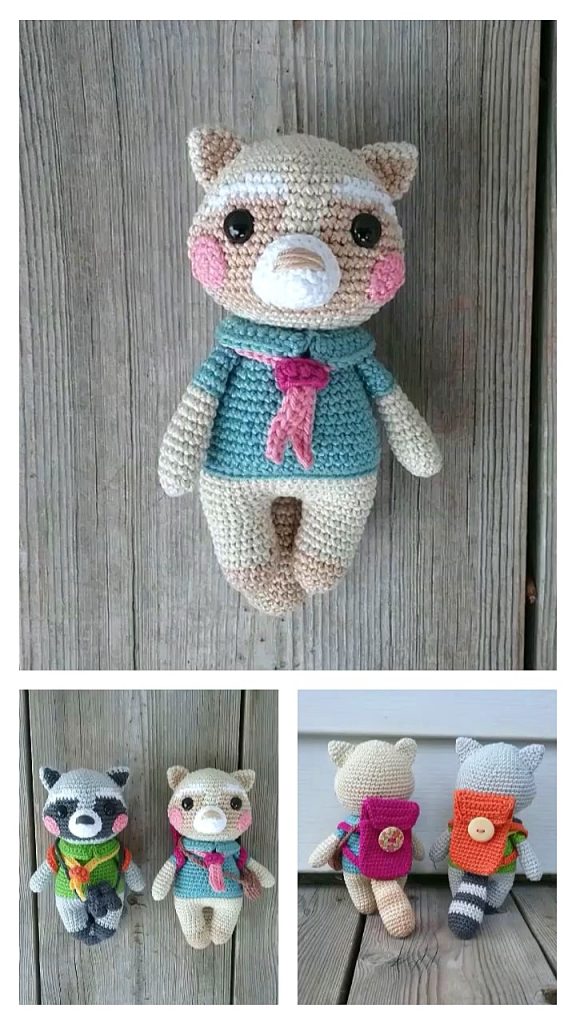
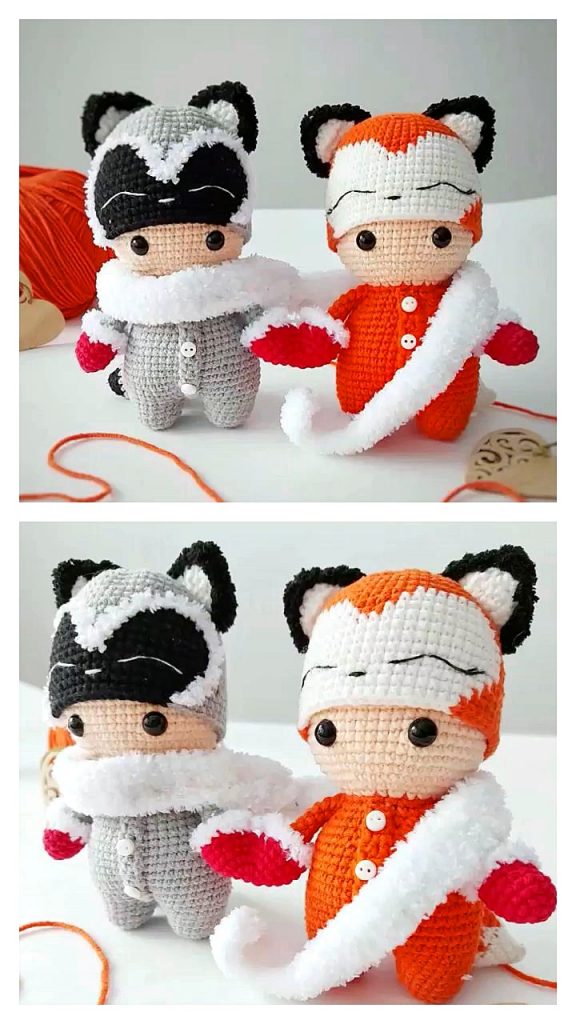
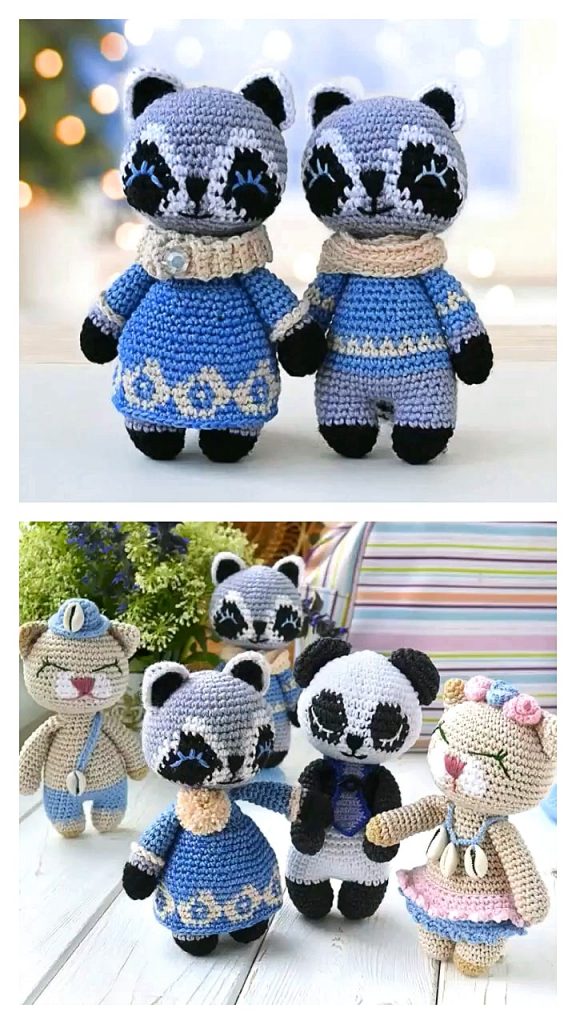
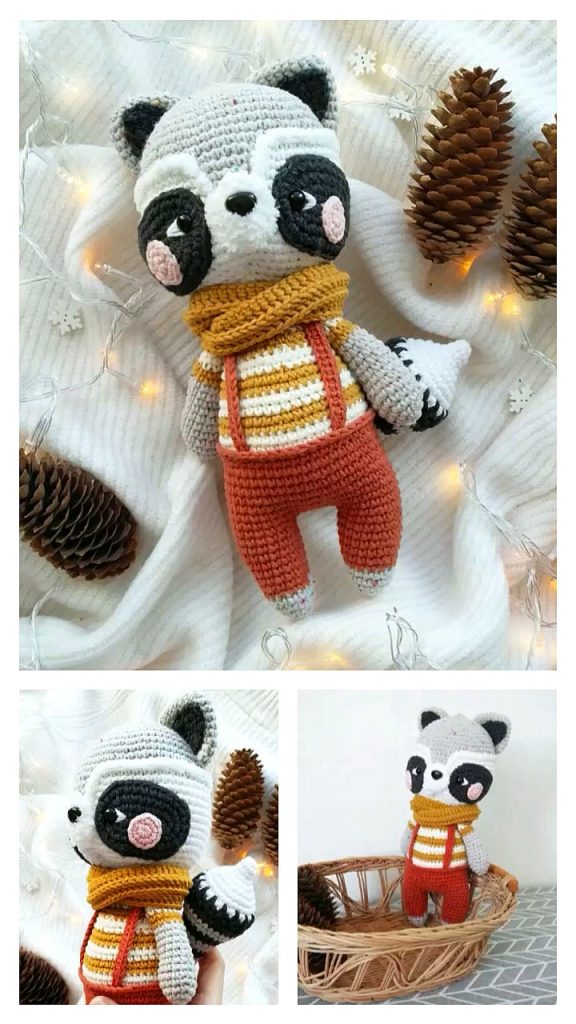
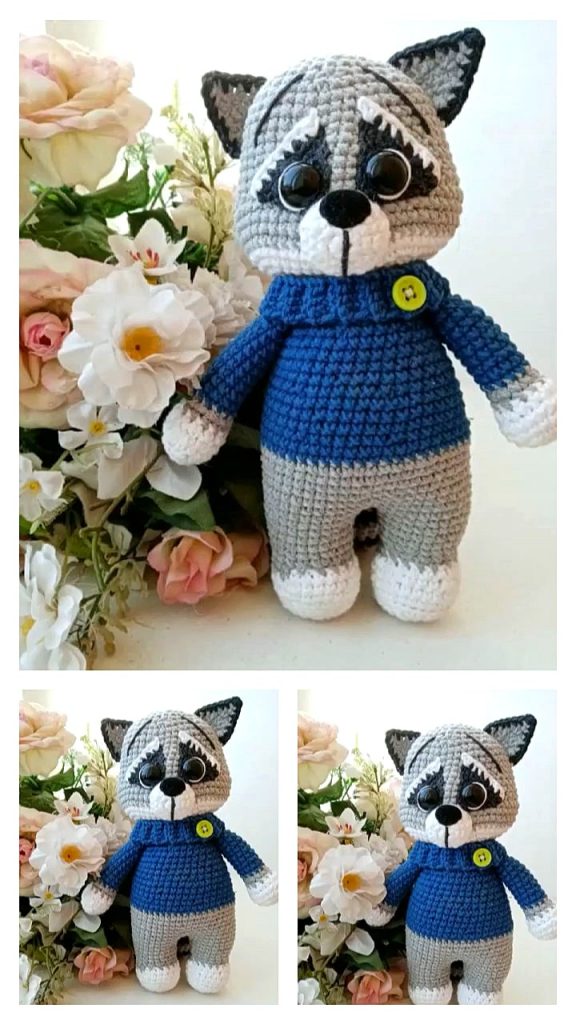
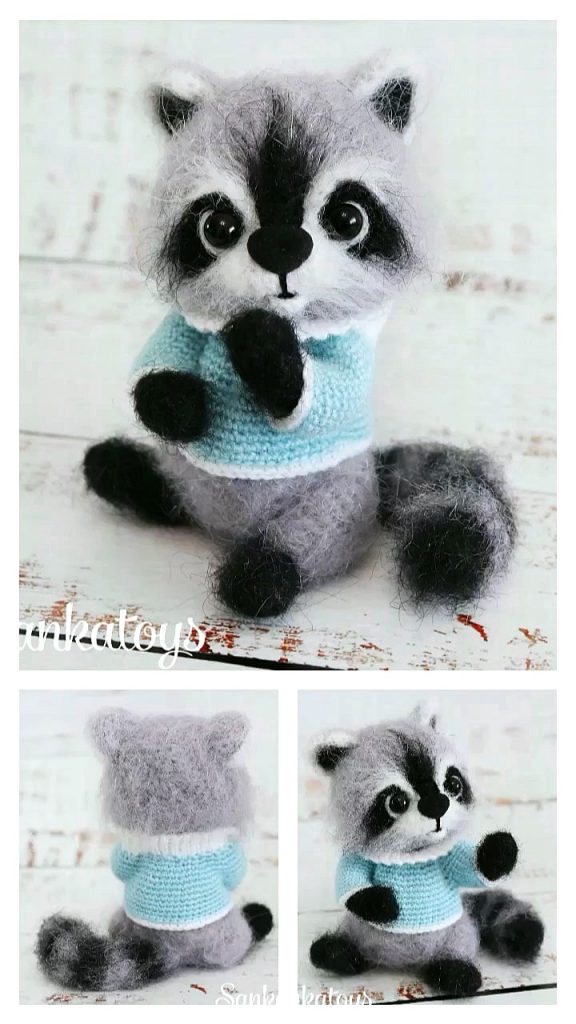
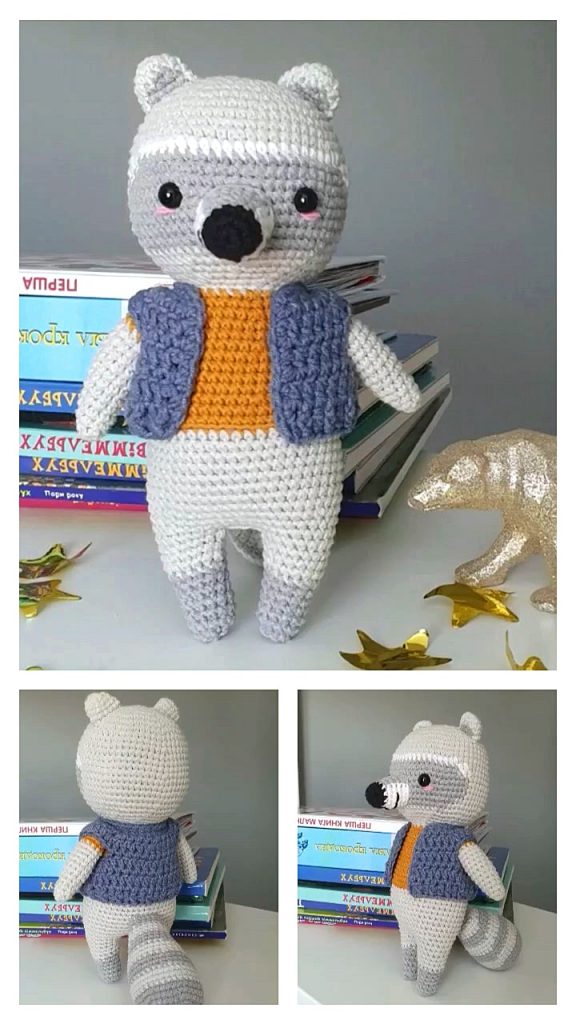
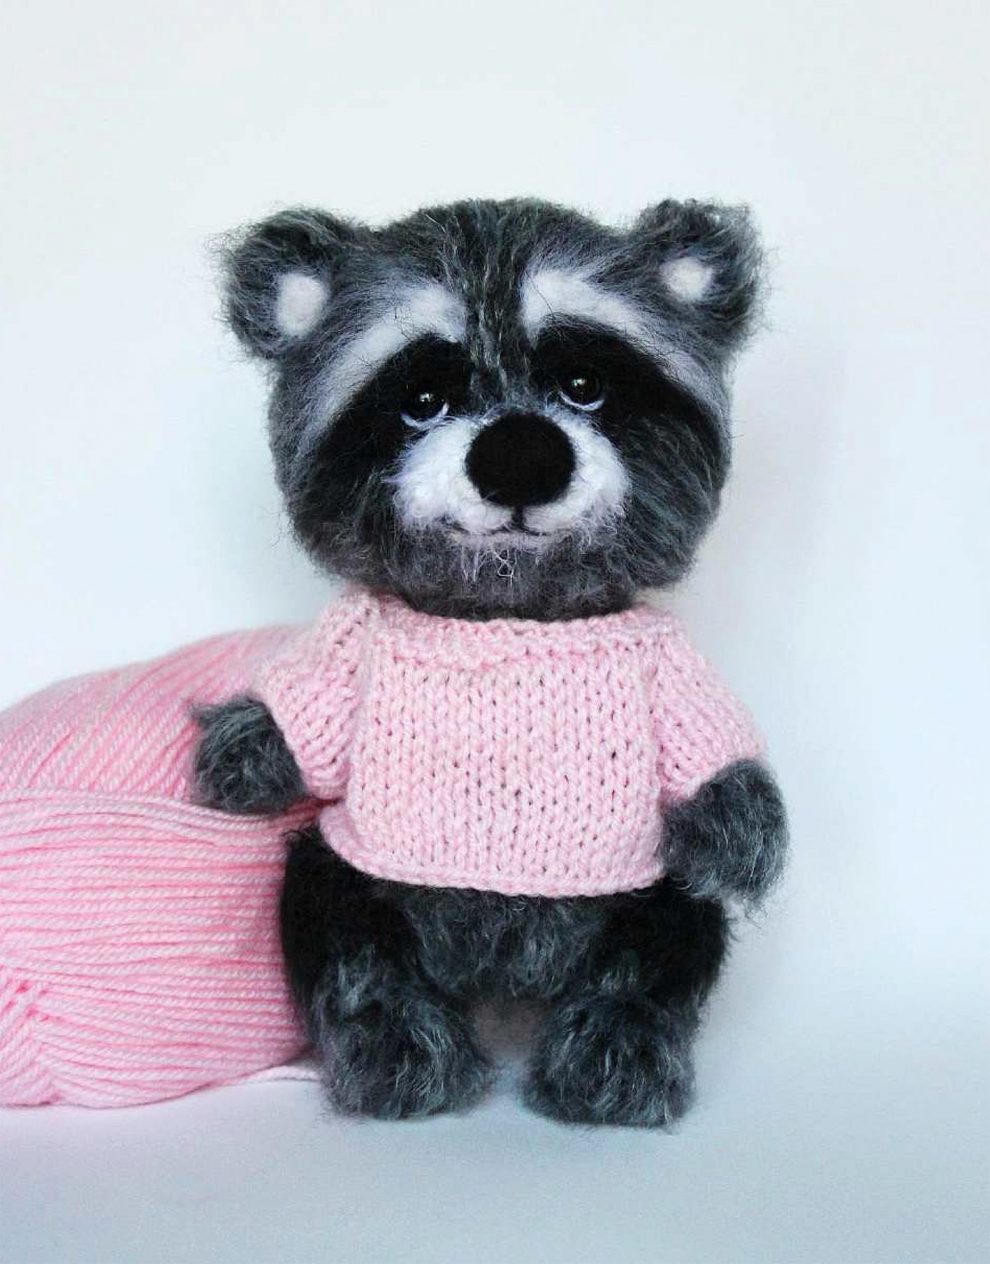
Todays daily new amigurumi free crochet pattern is amigurumi raccoon
I want to give you some informations about this pattern ;
If you enjoy making amigurumi, here I share this easy and free amigurumi pattern for you for free. Your kids will love these toys.
Materials
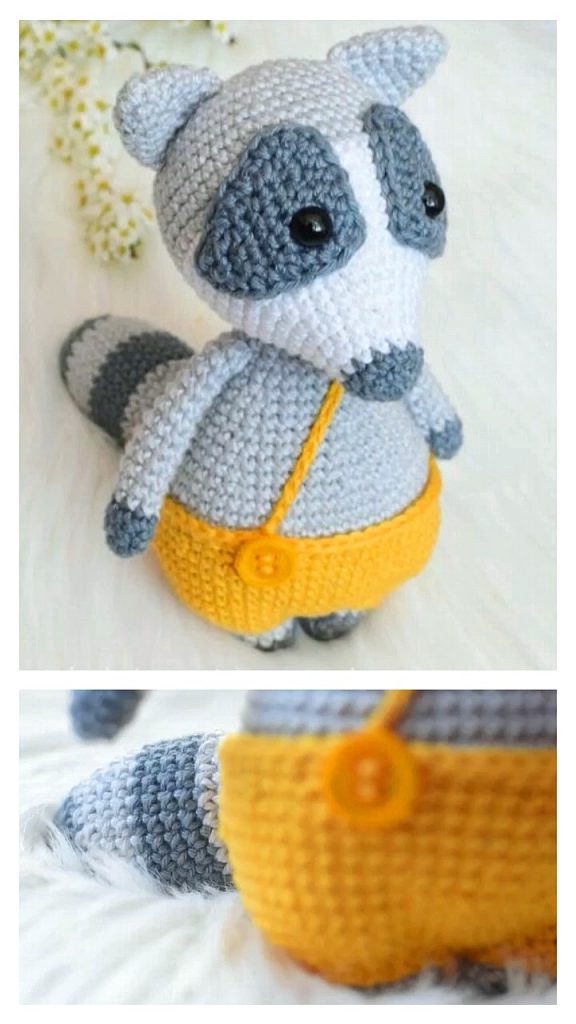
• Yarn Lotus Grass Stretch (Camtex). I have a gray color with white fluffy thread + white + black
• Yarn Children’s novelty (pehorka) for those who want to knit a sweater
• Of course, filler. I use holofiber
• Felting wool: black and white
• Eyes (I had half beads, diameter about 7mm)
• Knitting needles number 2 (I do not know if I correctly named them or not, but according to the 2 mm ruler)
• Hook 3.5 or number 4
• Slicker
• A good mood is a must!
Abbreviations
sc – single crochet
Magic ring – amigurumi ring
inc – increase, 2 sc from one loop
dec – decrease (knit two loops together)
ch – air loop
(number) – the number of loops in a row
We can proceed) we knit in a spiral
Head
(gray color)
1 row: 6 sc in Magic ring (6)
2 row: inc * 6 (12)
3rd row: (1sc, inc) * 6 (18)
4th row: (2sc, inc) * 6 (24)
5 row: (3sc, inc) * 6 (30)
6 row: (4sc, inc) * 6 (36)
7 row: (5sc, inc) * 6 (42)
8 row-14 row: we knit without increase (42)
15 row: (5sc, dec) * 6 (36)
16 row: (4sc, dec) * 6 (36)
17 row: (3sc, dec) * 6 (36)
18 row: (2sc, dec) * 6 (36)
19 row: (1sc, dec) * 6 (36)
20 row: 6 dec, finish knitting.
Body
(gray color)
1 row: 6 sc in Magic ring (6)
2 row: inc * 6 (12)
3rd row: (1sc, inc) * 6 (18)
4th row: (2sc, inc) * 6 (24)
5 row: (3sc, inc) * 6 (30)
6 row: (4sc, inc) * 6 (36)
7th-11th row: no increase (36)
12 row: 10sc, dec * 6, 13sc (30)
13 row: (3sc, dec) * 6 (24)
12 row-14 row: no decrease (24)
15 row: (2sc, dec) * 6 (18)
16 row: (1sc, dec) * 6 (12)
17 row: dec * 6 (6)
18 row: finish knitting
Muzzle
(in white)
1st row: We collect 5 ch, in the second loop from the hook we knit sc, then in the next 2 more.
Now in the last loop of the chain we knit 3 sc, then 2sc, inc. (10)
2 row: (3inc, 2sc) * 2 (16)
3 row-4 row: no increase (16), finish knitting, leave the thread for sewing
Ears (2pcs)
1st row: 6sc in Magic ring (6)
2 row: (1sc, inc) * 3 (9)
3rd row: (2sc, inc) * 3 (12)
4th row: no increase (12). Finish knitting, leave thread for sewing
Arms (2 pcs)
1 row: 6 sc in Magic ring (6)
2 row: (1sc, inc) * 3 (9)
3rd row-6th row: 9 sc (9)
7 row: 7sc, dec (8)
8 row: 6 sc, dec (7)
9 row: 5 sc, dec (6)
10 row-11 row: 6 sc (6)
Close, leave thread for sewing
Leg (2 pcs)
We type 5ch, start with the second loop from the hook:
1st row: inc, 2 sc, 3 sc in 1, last, loop chain. On the other side of the chain: 3 sc (10)
2 row-3 row: 10 sc (11)
4 row: 5 sc, 3dec (8)
5 row: 8 sc (8)
6 row: 5sc, 2inc, 1sc (10)
7 row: 7sc, 2inc, 1sc (12)
8 row: change the thread to black, 9sc, 2inc, 1sc (14)
9 row-10 row: 14 sc
11 row: decrease before closing, cut the thread and hide the tip
Congratulations! The easiest we made)) now proceed to the design:
1) To begin with, we comb all the details with a puncher
2) We take the head, sew the muzzle to it, look at the position in the photo. With pins pin the ears, then insert the third pin in the place where the middle abalone We leave this pin, we take out the ear itself.
As a result, we get this:
3) Now we make a tightening for the ears: we enter the corner from the bottom of the head, where we finished knitting.
The tip of the thread remains “hanging out”. Then we remove the needle in any eye, for example in the right where is the pin. We retreat from it 2 sc to the side and go back down, exactly at that the same place where the loop was first inserted. Now we have two ponytails of thread: which started and finished. we tie them, we get a tightening. Do a few knots, then cut the thread. Similarly for the second eyelet. Here are the sewn ears we got)
4) Now we make out the eyes. First you need to glue or attach them in a way, which fits your eye)
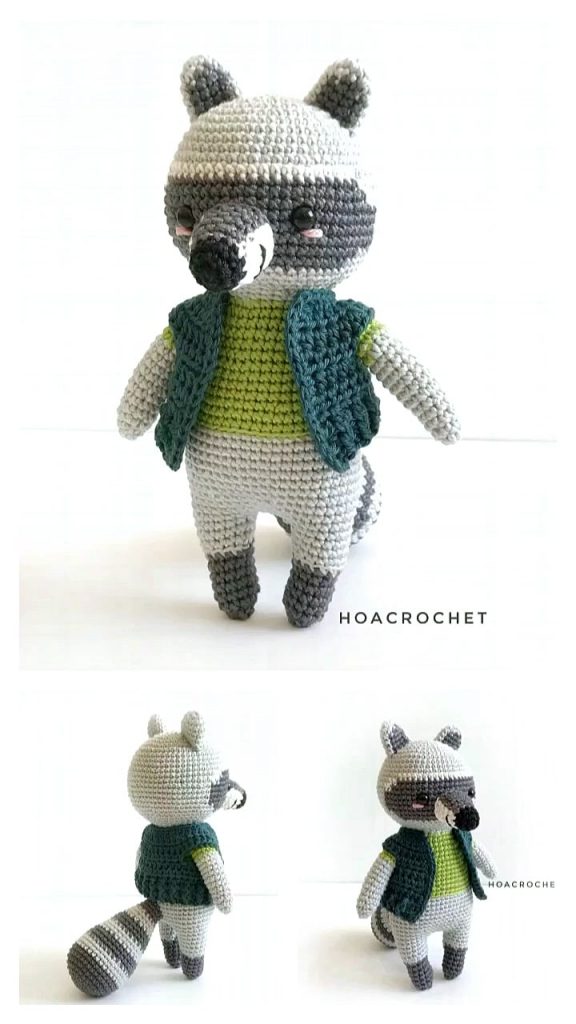
5) We begin to wallow. First we make such triangles with black wool (or not triangles), and on top we roll white stripes. In general, we focus on the photo:
6) then we finish the nose and mouth. Pull white the inside of the ears
7) Then we make a white thread under the eyes.
8) Comb the transition between black and white (CAREFULLY !!!) and collect the toy completely. I sewed the legs with a thread fastener.
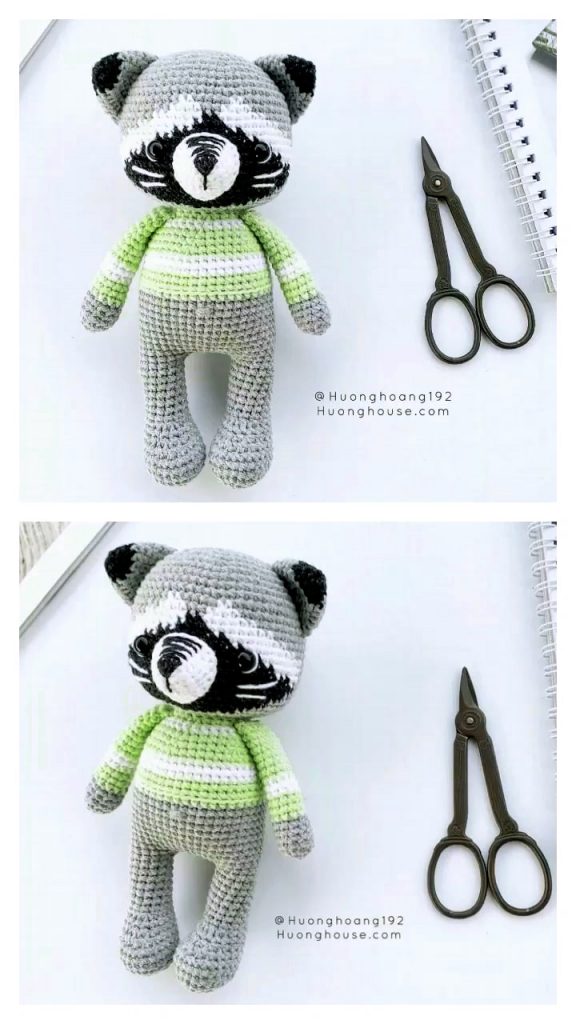
You can knit a sweater at will
We take the knitting needles, we collect 48 loops. We knit two rows of garter stitch.
We knit the sleeves:
raglan = yarn, 1 front, yarn
1st row: 1 edge loop removed, 9 facial, raglan, 5 facial, raglan, 14 facial, raglan, 5 facial, raglan, 9 facial + purl marginal.
2 row: we knit all the loops wrong
3rd row: 11 facial, raglan, 7 facial, raglan, 16 facial, raglan, 7 facial, raglan, 11 facial
4th row: wrong side
5th row: 12 facial, raglan, 9 facial, raglan, 18 facial, raglan, 9 facial, raglan, 12 facial
6th row: wrong side
7 row: 13 facial, 9 facial we remove with a pin, 20 facial knit, 9 facial remove the pin, 13 facial wires we call.
8 row: purl all the loops that remained unmet
9 row, etc. to the length you need: we knit with the front surface
Then close the loop.
We return to the mittens, remove the loops on the knitting needle, knit with the front stitch the number of rows necessary for your “size”, then close the loops. With the second similar.
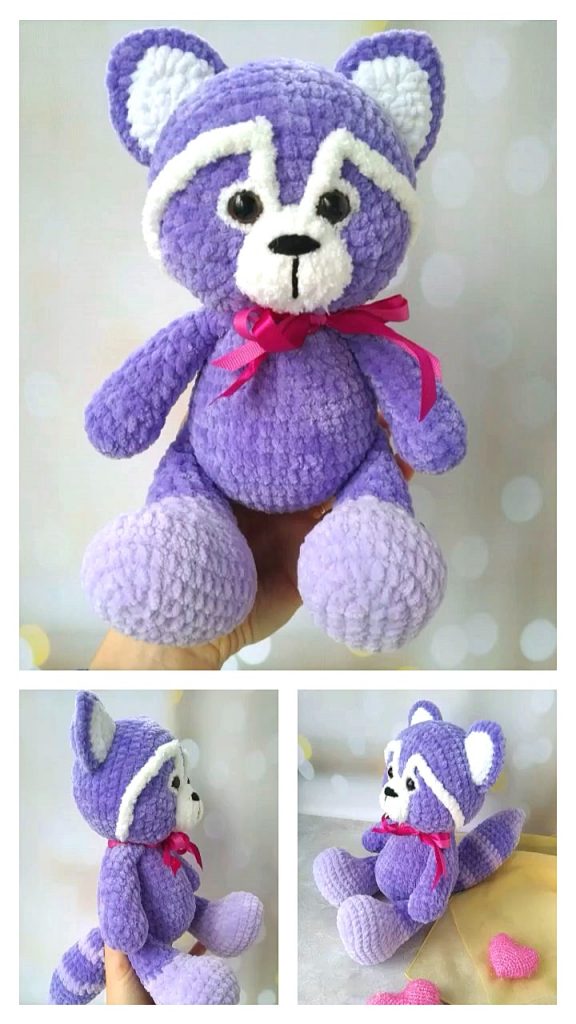
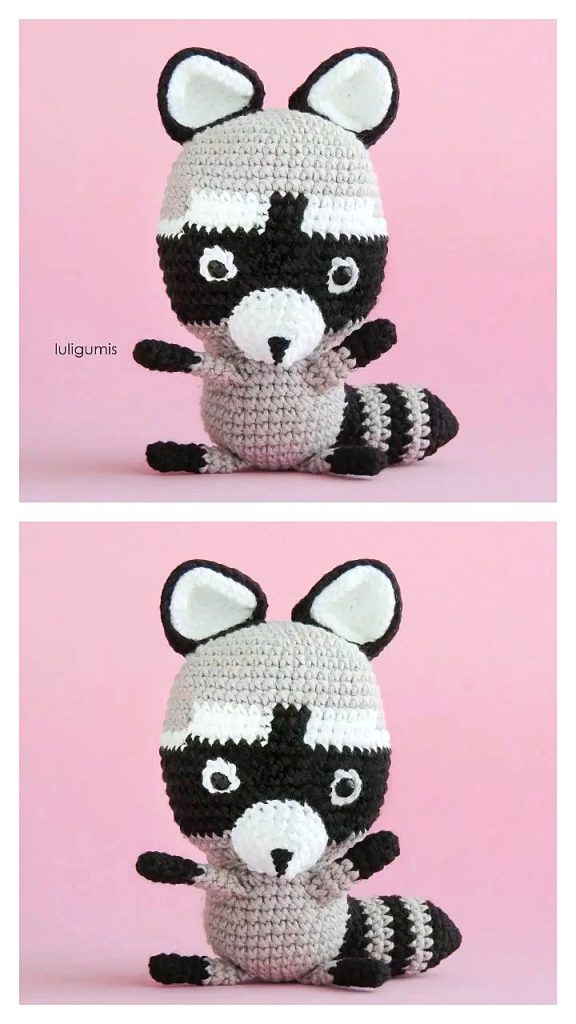
That’s what we got in the end !! In the process of preparing MK another raccoon but a different color, and I did not find the first color.
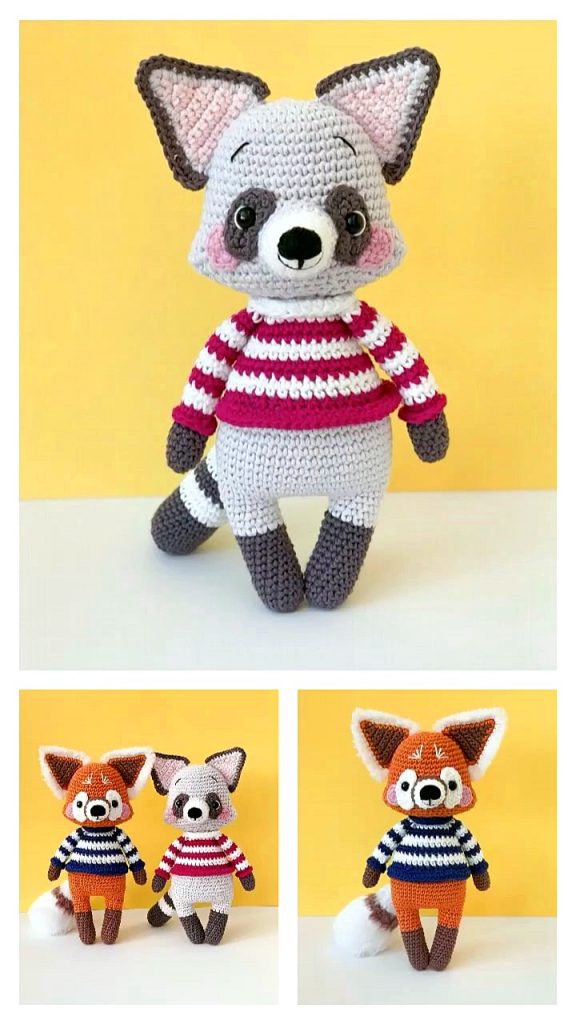
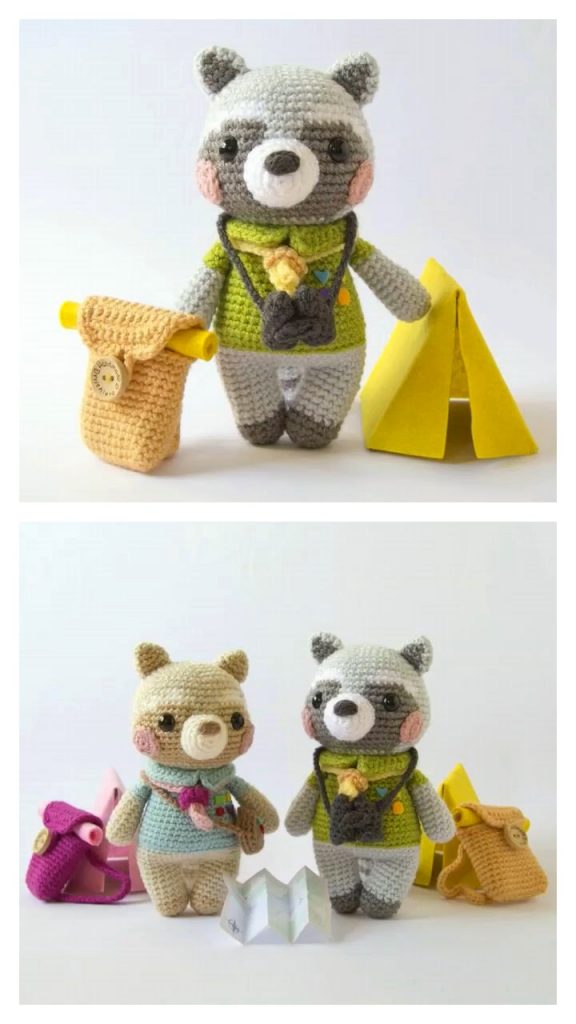
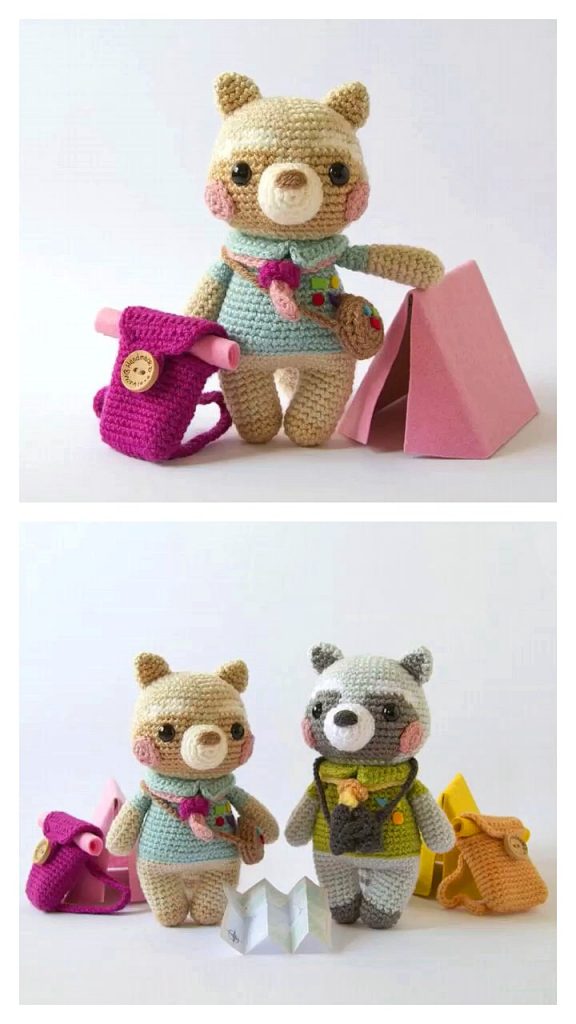
More Amigurumi Raccoon İdeas