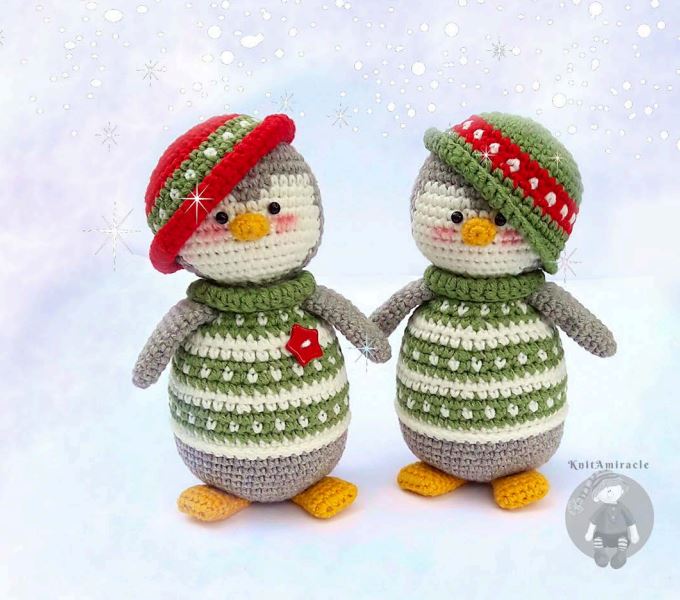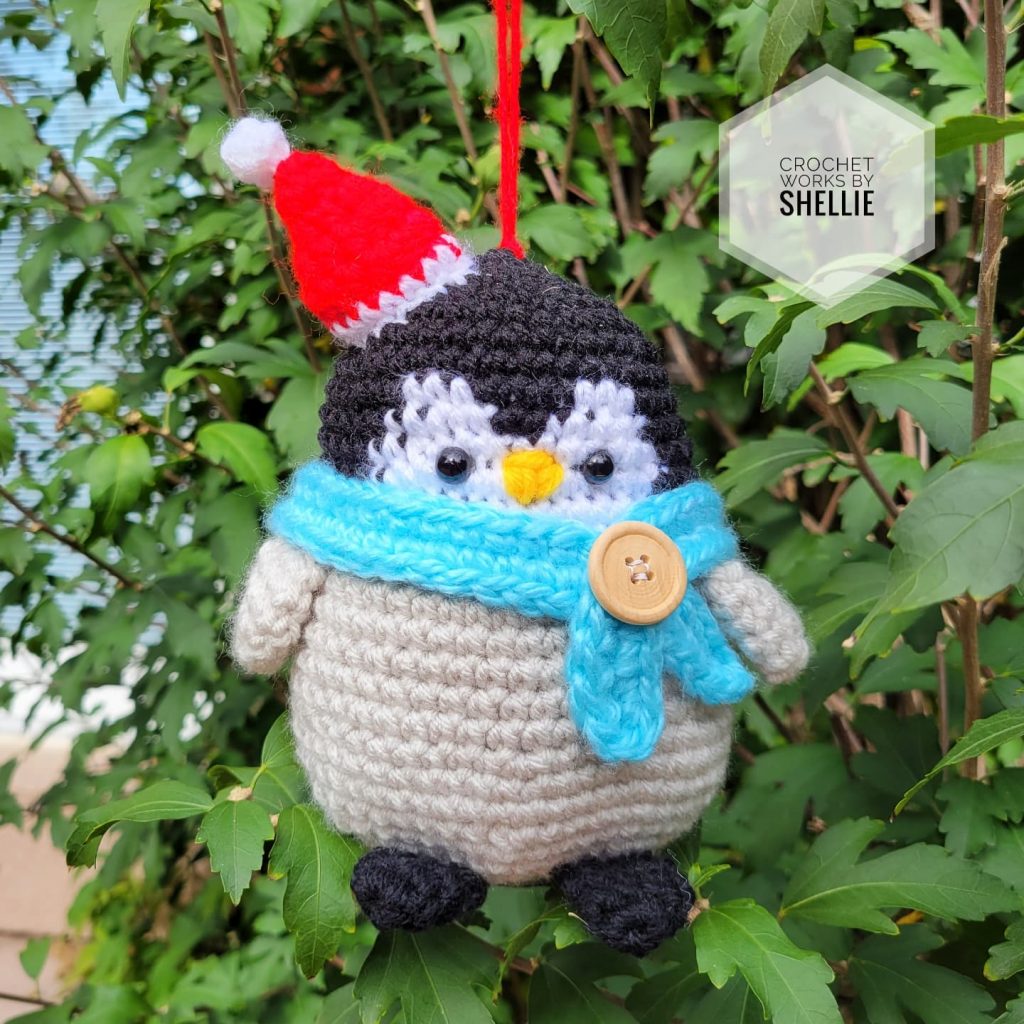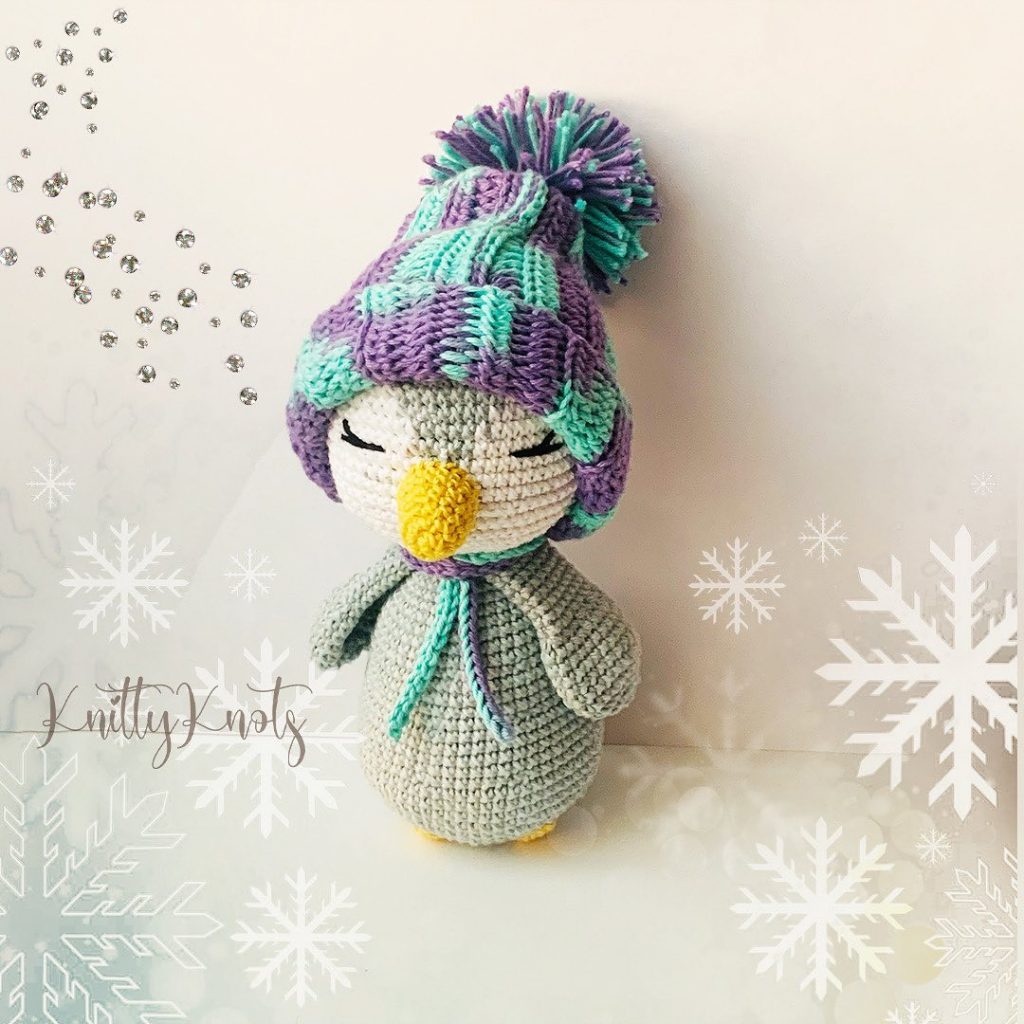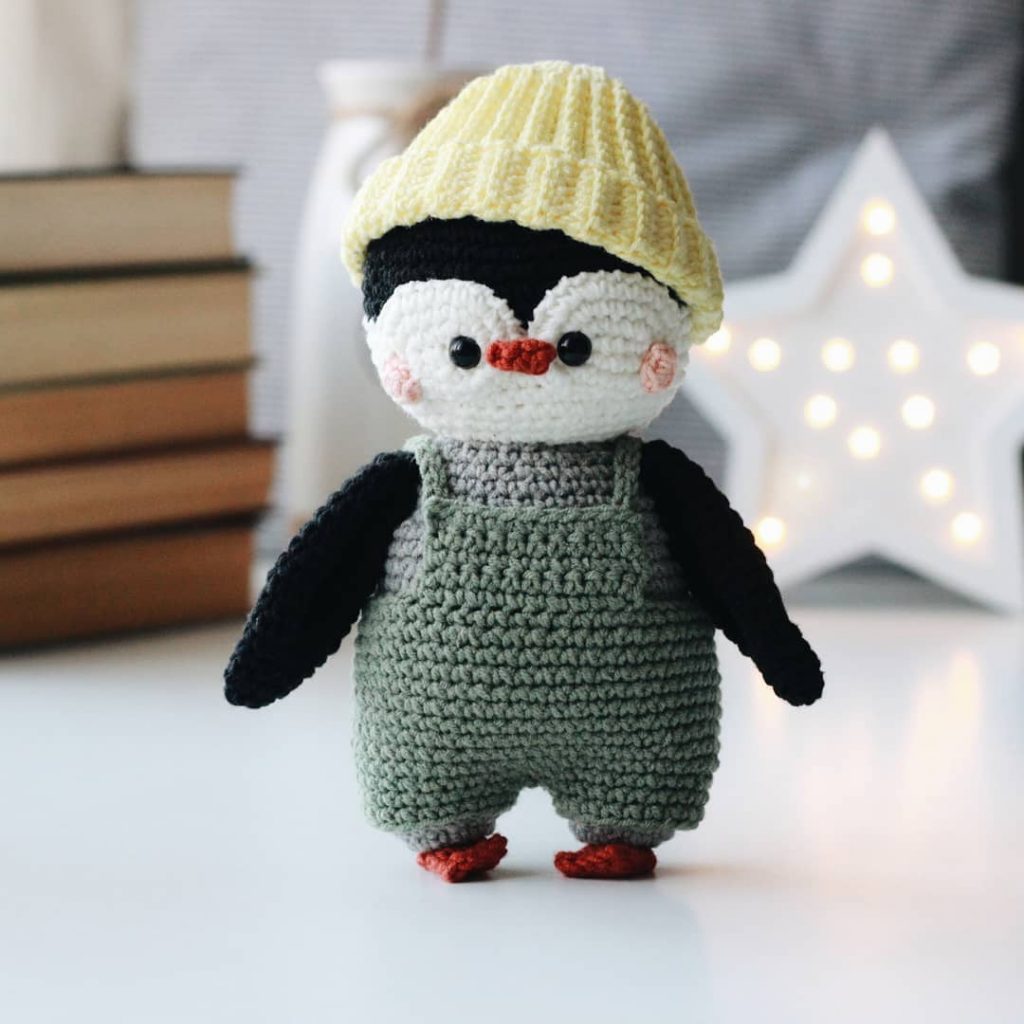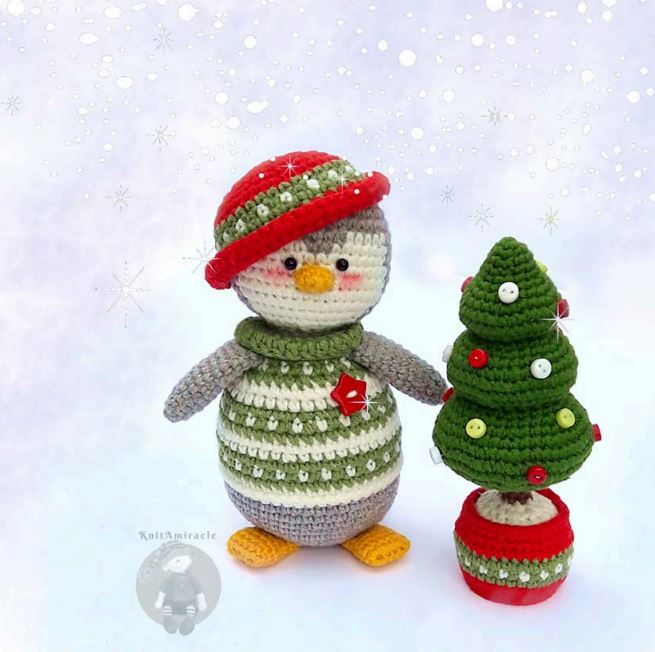
Amigurumi Christmas Penguin Free Pattern
Hello dear Amigurumi Followers
Today we share one free amigurumi crochet pattern again for you. As you know we share new amigurumi free patterns every day. The main crochets are amigurumi gazelles, amigurumi bears, amigurumi pola, amigurumi pandas, amigurumi penguins, amigurumi giraffes, amigurumi llama, amigurumi pigs, amigurumi bunny, amigurumi clowns, amigurumi lambs, amigurumi bees, amigurumi unicorns, amigurumi dolls, amigurumi foxes, amigurumi penguins, amigurumi dinosaurs, amigurumi elephants, amigurumi hippos, amigurumi monkeys, amigurumi cats, amigurumi dogs and more …
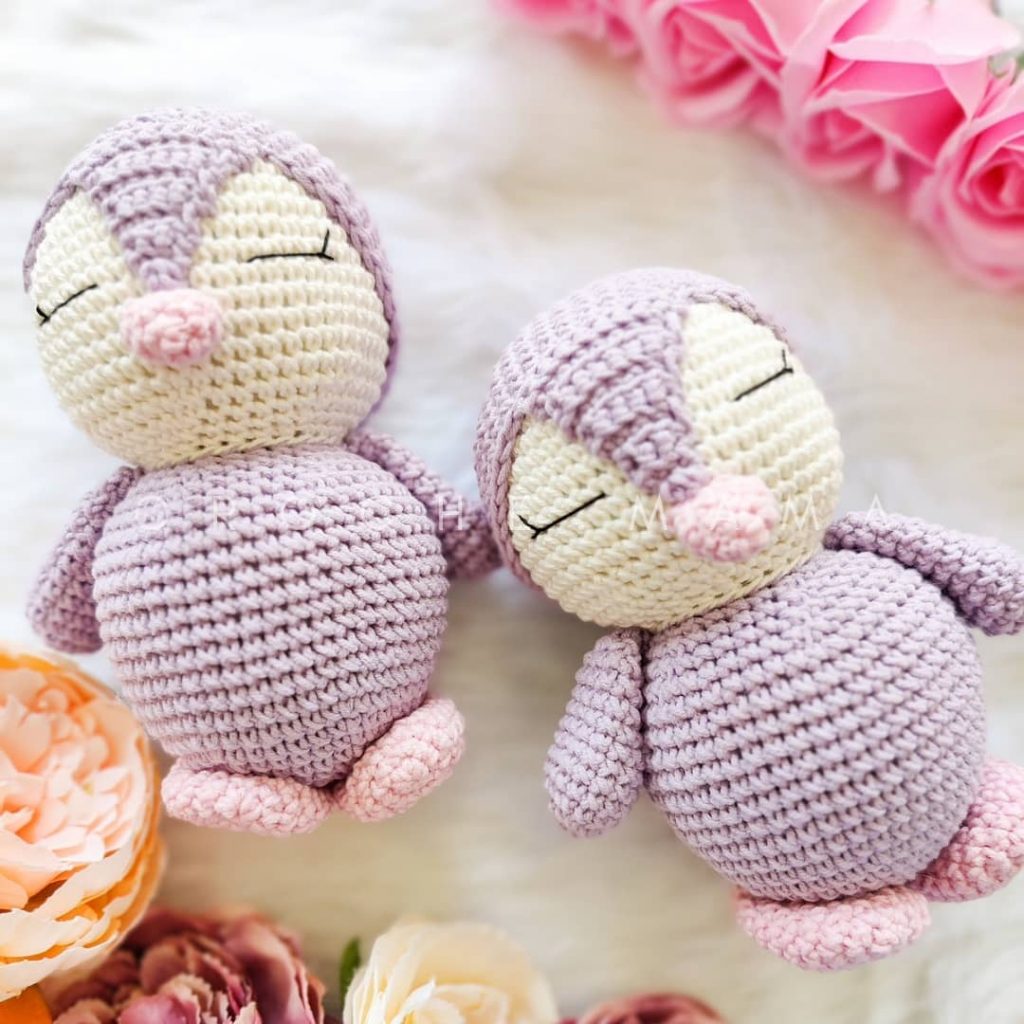
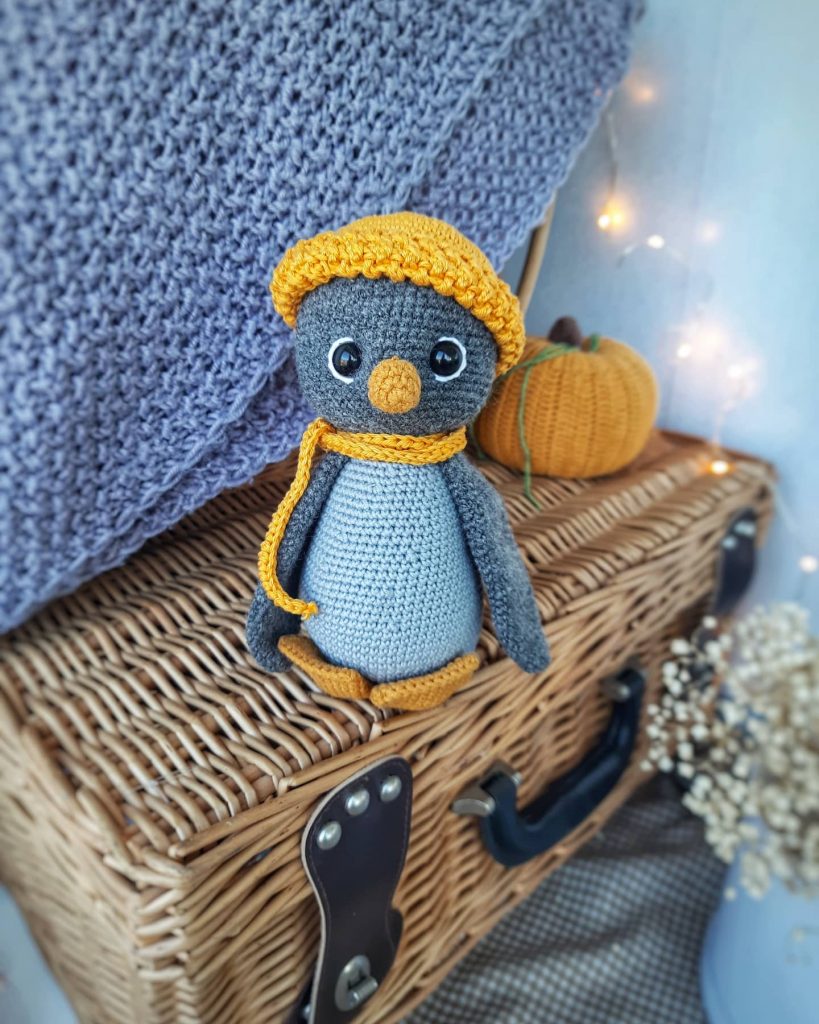
Todays daily new amigurumi free crochet pattern is amigurumi penguin
I want to give you some informations about this pattern ;
If you enjoy making amigurumi, here I share this easy and free amigurumi pattern for you for free. Your kids will love these toys.
Materials
- Yarn Alize Cotton Gold, cotton (55%), acrylic (45%), 330 m – 100 g. Weight: Sport (5 ply)
-Color light gray (21). Used for the head, body and wings of the Penguin.
You will need approximately 10g of the yarn.
-Color green (485). Used for the stripes on sweater and hat. You will need approximately
3g of the yarn.
-Color dark green (35) Used for Christmas tree.
-Color bright red (56). Used for the hat and the pot for the fur tree. You will need
approximately 3g of the yarn.
-Color off white (62). Used for the cheeks and the stripes on sweater, hat and the pot for the
tree. You will need approximately 3g of the yarn.
-Color yellow (83). Used for the legs and beak. You will need rather small quantity
of the yarn.
-Color brown (493). Used for the tree trunk. You will need rather small quantity. - Pair of eyes for toys or two halfbeads Ø 4 mm.
- Small colored buttons for the decoration of the Christmas tree.
- Crochet hook: 2 mm (B/1- US, 14- UK), 2,5 mm (C/2 – US, 12 – UK).
- A piece of carton or dense plastic to make the bottom of the Christmas tree pot sturdy and
steady. - A piece of copper wire 16 cm (3 1/2 inch) long for the trunk of the Christmas tree.
- Chopstick (or any other wooden stick with a blunt end) – for the stuffing of the toy.
- Washable polyester filling for the stuffing of the toy.
- Yarn needle – a long needle for assembling of the toy.
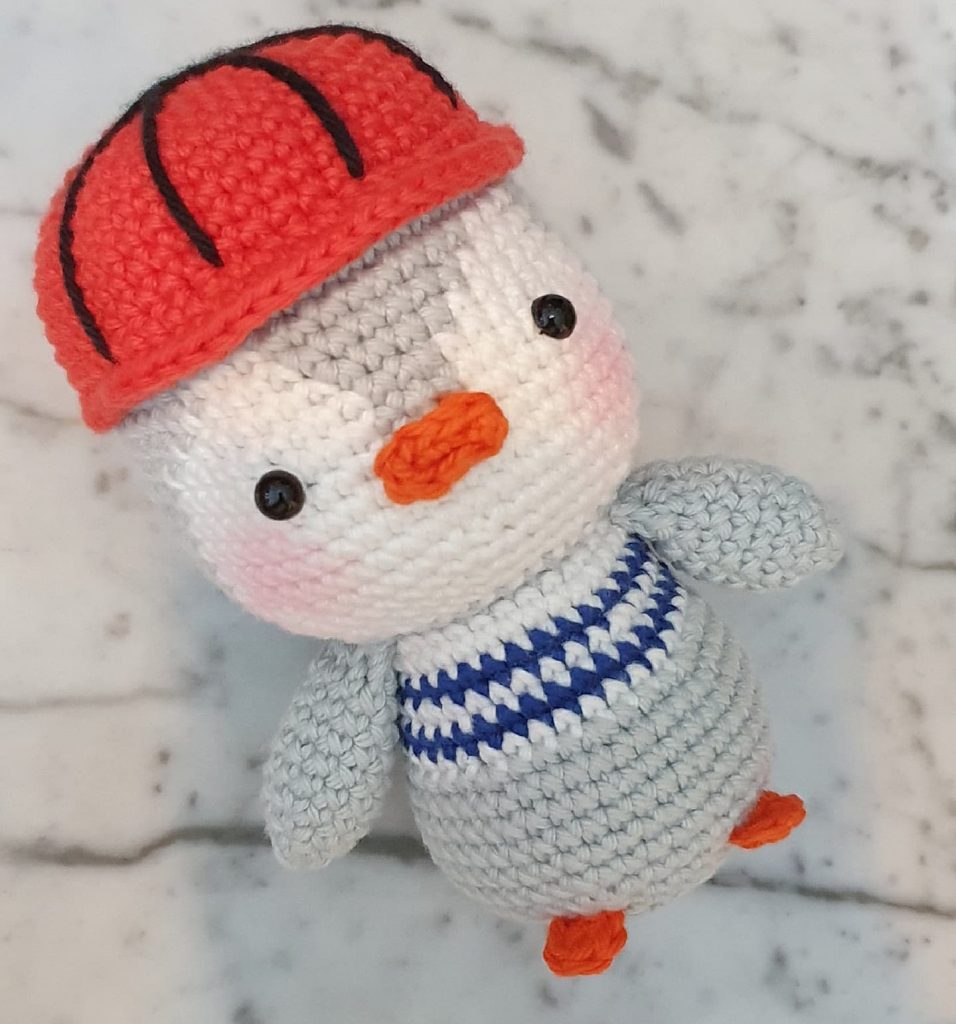
If you use the materials as advised above the final size of the penguin is going to be 14 cm
(5 1/2″) without the hat. The height of the Christmas tree is 12 сm (5″).
Abbreviations
R- row
MR – Magic ring;
St/Sts – stitch/stitches
ch – chain stitch;
sl st – slip stitch;
sc – single crochet;
dc – double crochet;
dec- decreasing (2 sc/dc together);
inc – increasing (2 sc/dc in 1 st);
fpsc- the front post single crochet.
Body (1piece)
Use a 2 mm crochet hook and light gray colored yarn.
You are to add the filling as you go crocheting.
R 1: 6 sc in MR (6)
R 2: 6 inc (12)
R 3: (1 sc, 1 inc) 6 times (18)
R 4: 1 sc, 1 inc, (2 sc, 1 inc) 5 times, 1 sc (24)
R 5: (3 sc, 1 inc) 6 times (30)
R 6: 30 sc (30)
R 7: 2 sc, 1 inc, (4 sc, 1 inc) 5 times, 2 sc (36)
R 8: (5 sc, 1 inc) 6 times (42)
R 9: 3 sc, 1 inc, (6 sc, 1 inc) 5 times, 3 sc (48)
R 10-14: 1 sc in each stitch around (48)
Cut off the light gray colored yarn. Attach off white colored yarn.
R 15: 1 sc in each stitch around (48)
16th row is crocheted into the back loop of the stitch
R 16: 1 sc in each stitch around (48)
Do not cut off the off white yarn. Attach the green yarn and continue crocheting.
R 17: 1 sc in each stitch around (48)
18th row crochet alternating 1 sc with green yarn and 1 sc of off white yarn.
R 18: (1 sc green yarn, 1 sc off white yarn) repeat till the end of the row (48)
R 19: 48 sc of green yarn (48)
Change to off white colored yarn
R 20: 7 sc, 1 dec, (14 sc, 1 dec) 2 times, 7 sc (45)
R 21: 1 sc in each stitch around (45)
Change to green colored yarn
R 22: (13 sc, 1 dec) 3 times (42)
23rd row crochet alternating 1 sc with green yarn and 1 sc with off white yarn.
R 23: (1 sc green yarn, 1 sc off white yarn) repeat till the end of the row (42)
24th row s to be crocheted with the green yarn
R 24: 6 sc, 1 dec, (12 sc, 1 dec) 2 times, 6 sc (39)
Change to off white colored yarn
R 25: 1 sc in each stitch around (39)
R 26: (11 sc, 1 dec) 3 times (36)
Change to green colored yarn
R 27: 5 sc, 1 dec, (10 sc, 1 dec) 2 times, 5 sc (33)
28th row crochet alternating 1 sc with the green yarn and 1 sc with the off white yarn.
R 28: (9 sc, 1 dec) 3 times (30)
Cut off the off white colored yarn.
Continue crocheting with the green colored yarn.
R 29: (3 sc, 1 dec) 6 times (24)
R 30: 1 sc, 1 dec, (2 sc, 1 dec) 5 times, 1 sc (18)
Cut off the green colored yarn.
Attach light gray colored yarn.
R 31: 1 sc in each stitch around into the back loop of the stitch (18)
Cut and fasten off.
Turn the detail bottom up and attach the off white yarn in the center of the back into the front
loop of the crochets of the 15th row.
Then crochet sl st in each st around.
Cut off and fix the yarn
Let’s crochet the collar for the sweater.
Use a 2 mm crochet hook and green colored yarn.
Turn the body with its back facing you and turn it upside down. Attach the yarn to the front
loops of the center stitches of the 30th row and insert the hook from the bottom up (in the
direction from neck to the legs.
Note: The 2 ch at the beginning of each row and sl st to join do not count as the first double
crochet now and throughout.
Crochet the first dc of each round into the base of the 2 ch.
R 1: 2 ch, (1 dc, 1 inc) repeat to the end, sl st to the 1st dc of the round to join (27)
R 2: 2 ch, 1 dc in each stitch around, sl st to the 1st dc of the round to join. (27)
Fix and cut off the yarn.
Head (1piece)
Use a 2 mm crochet hook and light gray colored yarn.
R 1: 6 sc in MR (6)
R 2: 6 inc (12)
R 3: (1 sc, 1 inc) 6 times (18)
R 4: 1 sc, 1 inc, (2 sc, 1 inc) 5 times, 1 sc (24)
R 5: (3 sc, 1 inc) 6 times (30)
R 6: 2 sc, 1 inc, (4 sc, 1 inc) 5 times, 2 sc (36)
R 7: 36 sc (36)
R 8: (5 sc, 1 inc) 6 times (42)
R 9: 42 sc (42)
We are beginning to crochet the face from the next row on.
Note: when the pattern indicates color change it is important to remember that the change is
always to start from the previous stitch (the last two loops of the previous stitch on the hook are
to be crocheted with the new color.
I leave the yarn that is not in use behind the detail. Whet its time comes I take it again and
move it over the internal part of the detail just before the moment of the color change. To avoid
holes in the detail that could appear when changing colors you could arrange the yarn not in
use on the wrong/internal side of the detail and fix it with 2-3 sc so that the yarn not in use at
this moment remains in place and does not get loops.
Pay attention that the yarn not in use at this moment should remain rather loose. Otherwise
when you start inserting the filling into the head it might make the face scrunched.
R 10: light gray: 14 sc, off white: 5 sc, light gray: 4 sc, off white: 5 sc, light gray: 14 sc (42)
R 11: light gray: 13 sc, off white: 7 sc, light gray: 2 sc, off white: 7 sc, light gray: 13 sc (42)
R 12: light gray: 13 sc, off white: 16 sc, light gray: 13 sc (42)
R 13: light gray: 12 sc, off white: 18 sc, light gray: 12 sc (42)
R 14: light gray: 12 sc, off white: 1 dec, 15 sc, 1 inc, light gray: 12 sc (42)
R 15: light gray: 12 sc, off white: 18 sc, light gray: 12 sc (42)
R 16: light gray: 13 sc, off white: 16 sc, light gray: 13 sc (42)
R 17: light gray: (1 dec, 5 sc) 2 times, off white: 1 dec, 10 sc, 1 dec,
light gray: (5 sc, 1 dec,) 2 times (36)
R 18: light gray: 1 sc, 1 dec, 2 sc, 1 dec, 1 sc, 1 dec, 2 sc, off white: 1 dec, (3 sc,
1 dec) 2 times, light gray: 2 sc, 1 dec, 1 sc, 1 dec, 2 sc, 1 dec, 1 sc (27)
R 19: light gray: (1 sc, 1 dec) 3 times, off white: (1 sc, 1 dec) 3 times, light gray: (1 sc, 1 dec)
3 times (18)
Cut off the off white yarn and continue crocheting only with the light grey yarn.
R 20: 18 sc (18)
Cut off the yarn leaving a long tail for sewing.
Stuff the head tightly. Pay attention that it is well stuffed and the stuffing is well distributed.
Wings (2 pieces)
Use a 2 mm crochet hook and light gray colored yarn.
R 1: 6 sc in MR (6)
R 2: (1 sc, 1 inc) 3 times (9)
R 3: 9 sc (9)
R 4: 1 sc, 1 inc, (2 sc, 1 inc) 2 times, 1 sc (12)
R 5: 1 sc in each stitch around (12)
R 6: (3 sc, 1 inc) 3 times (15)
R 7-11: 1 sc in each stitch around (15)
R 12: (3 sc, 1 dec) 3 times (12)
R 13: 1 sc in each stitch around, sl st of the round to join
Cut off the yarn leaving a long tail for sewing.
Beak (1 piece)
Use a 2 mm crochet hook and yellow colored yarn.
R 1: 6 sc in MR (6)
R 2: (1 sc, 1 inc) 3 times, sl st of the round to join (9)
Fix and cut off the yarn.
Feet (2 pieces)
Use a 2 mm crochet hook and yellow colored yarn.
Ch 6 and work starting from the 2 nd st from the hook
around the foundation chain:
R 1: 1 inc, 3 sc, 3 sc in one st, 3 sc, 1 inc (13)
R 2-4: 1 sc in each stitch around (13)
R 5: 1 dec, 4 sc, 1 dec, 5 sc (11)
R 6-8: 1 sc in each stitch around (11)
Cut off the yarn leaving a long tail for sewing.
Add some small quantity of stuffing into the front part of the feet, the heel must remain flat.
Close the opening at the heel with the help of the yarn and needle.
Assembling of the toy
Pull down the collar of the sweater as far as possible so you can well see the last row of the body to which we are going to attach the head, fix the collar with the sewing pins. Pay attention that the markers of the beginning of the row of the head and that of the body remain in the center of the back. Fix the head onto the body with the help of yarn and needle and attach it sewing in the round.
To attach the head sew together the 18 crochets of the last rows of the head and body. In the process add stuffing to the neck if needed.
Pull the collar up and attach the wings to the 29th row of the body with the help of the sewing pins. Attach the wings sewing in the round taking the stitches of the wing and body in turns. First attach the upper part of the wing and then raise the wing and attach the lower part to the 28th row of the body.
Steam iron through a damp cloth the wings at the seam level to the body so that they do not
stick out.
Pin on the beak at 13th and 14th row level. It should be fitted over the two rows max. To sew the beak on please use sewing thread so that the seams do not appear coarse. The eyes are to be sewn or glued on between the 12th and 13th rows at 4 sc distance.
Pin on the penguin feet as shown in the photo. Use sewing thread of similar color to attach the feet.
Begin attaching the feet at the lateral part then go to the heel an finish at the other side of the foot. Pull the foot back as shown in the photo and attach it to the front part of the body.
Put some blusher on the penguin’s cheeks.
That is all as for the penguin. Now we can do something about a fashionable hat!
The Hat
Begin with the red colored yarn. Use 2,5 mm hook.
To make an even seam ch 1 (at the beginning of the row), sl st to join does not count as a stitch
now and throughout. Crochet the first sc of each round into the base of the ch.
R 1: 6 sc in MR, sl st to the 1st sc of the round to join (6)
R 2: 1 ch, 6 inc, sl st to the 1st sc of the round to join (12)
R 3: 1 ch, (1 sc,1 inc) 6 times, sl st to the 1st sc of the round to join (18)
R 4: 1 ch, 1 sc, 1 inc, (2 sc,1 inc) 5 times, 1 sc, sl st to the 1st sc of the round to join (24)
R 5: 1 ch, (3 sc,1 inc) 6 times, sl st to the 1st sc of the round to join (30)
R 6: 1 ch, 2 sc, 1 inc, (4 sc,1 inc) 5 times, 2 sc, sl st to the 1st sc of the round to join (36)
R 7: 1 ch, 1 sc in each stitch around, sl st to the 1st sc of the round to join (36)
Do not cut off the red yarn. Attach the green yarn and continue crocheting
R 8: 1 ch, 1 sc in each stitch around, sl st to the 1st sc of the round to join (36)
9th row crochet alternating 1 sc with green yarn and 1 sc off white yarn.
R 9: 1 ch, (1 sc of green yarn, 1 sc off white yarn) repeat till the end of the row.
Cut off the off-white yarn. Continue crocheting with the green colored yarn.
R 10: 1 ch, 1 sc in each stitch around, sl st to the 1st sc of the round to join (36)
Cut off the green yarn. Continue crocheting with the red yarn.
R 11: 1 ch, 1 sc in each stitch around, sl st to the 1st sc of the round to join (36)
Crochet 12th row into the front loop only.
R 12: 1 ch, 1 sc in each stitch around, sl st to the 1st sc of the round to join (36)
R 13: 1 ch, 3 sc, 1 inc, (6 sc,1 inc) 5 times, 3 sc, sl st to the 1st sc of the round to join (42)
R 14: 1 ch, (7 sc,1 inc) 6 times, sl st to the 1st sc of the round to join (48)
Cut off and fix the yarn.
Christmas tree
Use 2 mm hook and dark green colored yarn.
R 1: 6 sc in MR (6)
R 2: (1sc, 1 inc) 3 times (9)
R 3: (2 sc, 1 inc) 3 times (12)
R 4: 12 sc (12)
R 5: (3 sc, 1 inc) 3 times (15)
R 6: 2 sc, 1 inc, (4 sc, 1 inc) 2 times, 2 sc (18)
R 7: (2 sc, 1 inc) 6 times (24)
R 8: (3 sc, 1 inc) 6 times (30)
R 9: 2 sc, 1 inc, (4 sc, 1 inc) 5 times, 2 sc (36)
R 10: 1 sc in each stitch around (36)
R 11: 18 dec (18)
R 12: 18 fpsc (18)
Crochet 13th row into the front
loop only.
R 13: (2 sc, 1 inc) 6 times (24)
R 14: (3 sc, 1 inc) 6 times (30)
Start stuffing the tree. To make
the filling stay in place and stop
it from going down the body of
the tree we will insert two pins
as shown in the photo.
R 15: 2 sc, 1 inc, (4 sc, 1 inc) 5 times, 2 sc (36)
R 16: (5 sc, 1 inc) 6 times (42)
R 17: 3 sc, 1 inc, (6 sc, 1 inc) 5 times, 3 sc (48)
R 18: 48 sc (48)
R 19: 24 dec (24)
R 20: 24 fpsc (24)
Crochet 21th row into the front loop only.
R 21: (3 sc, 1 inc) 6 times (30)
R 22: 2 sc, 1 inc, (4 sc, 1 inc) 5 times, 2 sc (36)
R 23: (5 sc, 1 inc) 6 times (42)
R 24: 3 sc, 1 inc, (6 sc, 1 inc) 5 times, 3 sc (48)
R 25: (7 sc, 1 inc) 6 times (54)
R 26: 4 sc, 1 inc, (8 sc, 1 inc) 5 times, 4 sc (60)
R 27: (9 sc, 1 inc) 6 times (66)
R 28: 33 dec (33)
R 29: (9 sc, 1 dec) 3 times (30)
R 30: (3 sc, 1 dec) 6 times (24)
R 31: 1 sc, 1 dec, (2 sc, 1 dec) 5 times, 1 sc (18)
R 32: (1 sc, 1 dec) 6 times (12)
Continue stuffing the tree distributing the filling laterally.
R 33: 6 dec (6)
Cut off the yarn, pull the opening closed fix the yarn and hide the tails inside the detail.
I decorated my tree with small colored buttons and you can decorate yours as you prefer –
buttons, ribbons, bows, etc.
The pot for the Tree
Use the 2 mm crochet hook and red colored yarn.
R 1: 6 sc in MR 6)
R 2: 6 inc (12)
R 3: (1 sc, 1 inc) 6 times (18)
R 4: 1 sc, (2 sc, 1 inc) 5 times, 1 sc (24)
R 5: (3 sc, 1 inc) 6 times (30)
Crochet 6th row into the back loop only.
R 6: 30 sc (30)
Take two pieces of thick carton and draw the bottom of the pot on them. Cut out two
same round pieces. The crocheted bottom of the pot should be well stretched on the round
carton piece.
In the center of one of the round cartons make a tiny hole – we will insert the wire there.
Take two pieces of wire approximately 8 cm (3″) each and bend it as shown in the photos
below. Insert the two pieces of the wire into the hole in the carton piece and position it as
shown below. Then twist the upper longer parts of the fire up to the middle of their length (as in
the photo). Then attach the other carton piece to the bottom of the “construction” with the help
of the glue gun so that the bended ends of the wire at the bottom remain closed, well-fixed and
hidden.
Put the construction aside and go on crocheting.
R 7: (9 sc, 1 inc) 3 times (33)
Do not cut off the red yarn. Attach the green yarn and continue crocheting.
R 8: 5 sc, 1 inc, (10 sc, 1 inc) 2 times, 5 sc (36)
9th row crochet alternating 1 sc with green yarn and 1 sc off white yarn.
R 9: (1 sc of the green yarn, 1 sc of the off white yarn) repeat till the end of the row (36)
Cut off the off white yarn. Continue crocheting with the green yarn.
R 10: 1 sc in each stitch around (36)
Cut off the green yarn. Continue crocheting with the red yarn.
R 11: 1 sc in each stitch around (36)
R 12: (4 sc, 1 dec) 6 times (30)
Cut off the red yarn. Attach the off white yarn and continue crocheting.
Crochet 13th row into the back loop only.
R 13: (3 sc, 1 dec) 6 times (24)
Insert the construction with the wire and
go on crocheting with the wire
construction inside.
Start putting the filling inside the pot
watching out that the carton and wire
construction stay in place tightly on the
bottom and that the pot is stable. The
visible ends of the wire should stick out in
the middle.
R 14: 1 sc, 1 dec, (2 sc, 1 dec) 5 times, 1 sc (18)
R 15: (1 sc, 1 dec) 6 times (12)
R 16: (1 sc, 1 dec) 4 times (8)
Cut off the off white yarn. Attach the brown
yarn and continue crocheting.
R 17-20: 1 sc in each stitch around (8)
Cut off the yarn leaving a long tail for sewing.
Attach the red yarn to the front loop of a stitch of the 12th row. Insert the hook from the bottom
upwards.
Then crochet sc in each st around. Finish off the row with sl st.
Cut off and fix the yarn.
Take the pot bottom up and attach the red yarn to the front loop of a stitch of the 5th row. Insert
the hook into the loop from the bottom. Then crochet sl st in each st around. Finish off the row
with sl st.
Cut off and fix the yarn.
Insert the ends of the wire 3-4 cm (1,2 – 1,6 “)
high into the bottom of the tree. Do not insert
them into one hole, make 1-2 stitch distance
between them. Attach the trunk of the tree to
the tree itself taking the stitches of the trunk
and of the tree in turns.
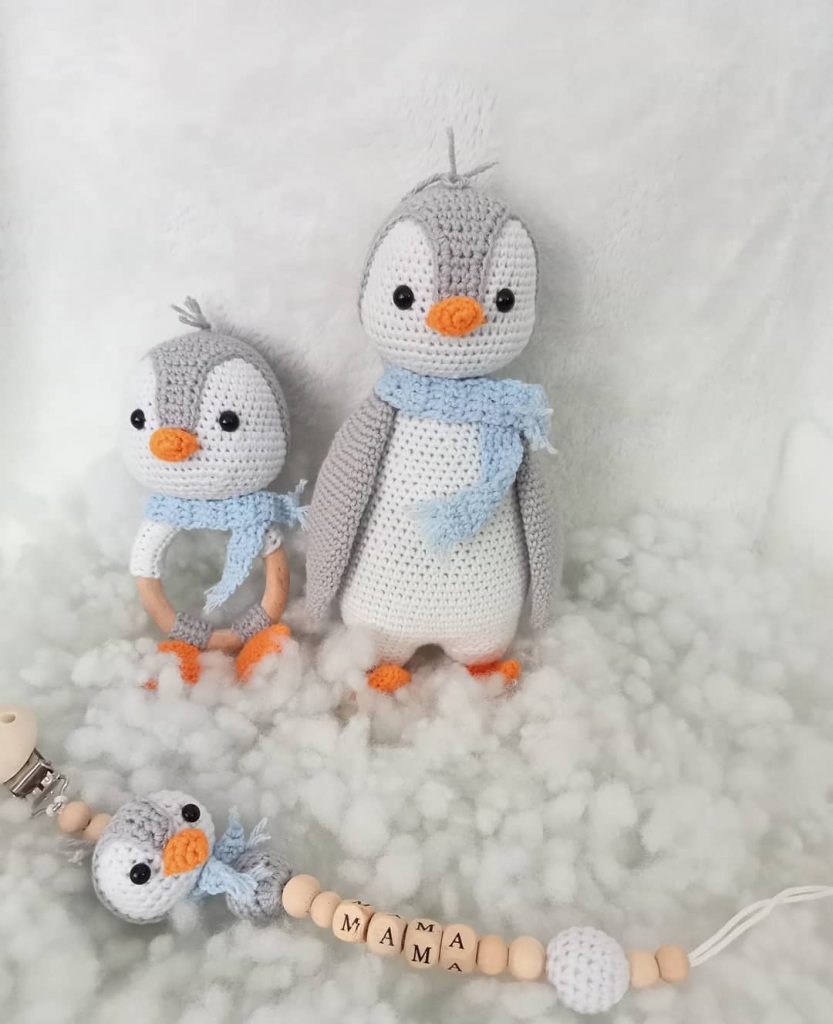
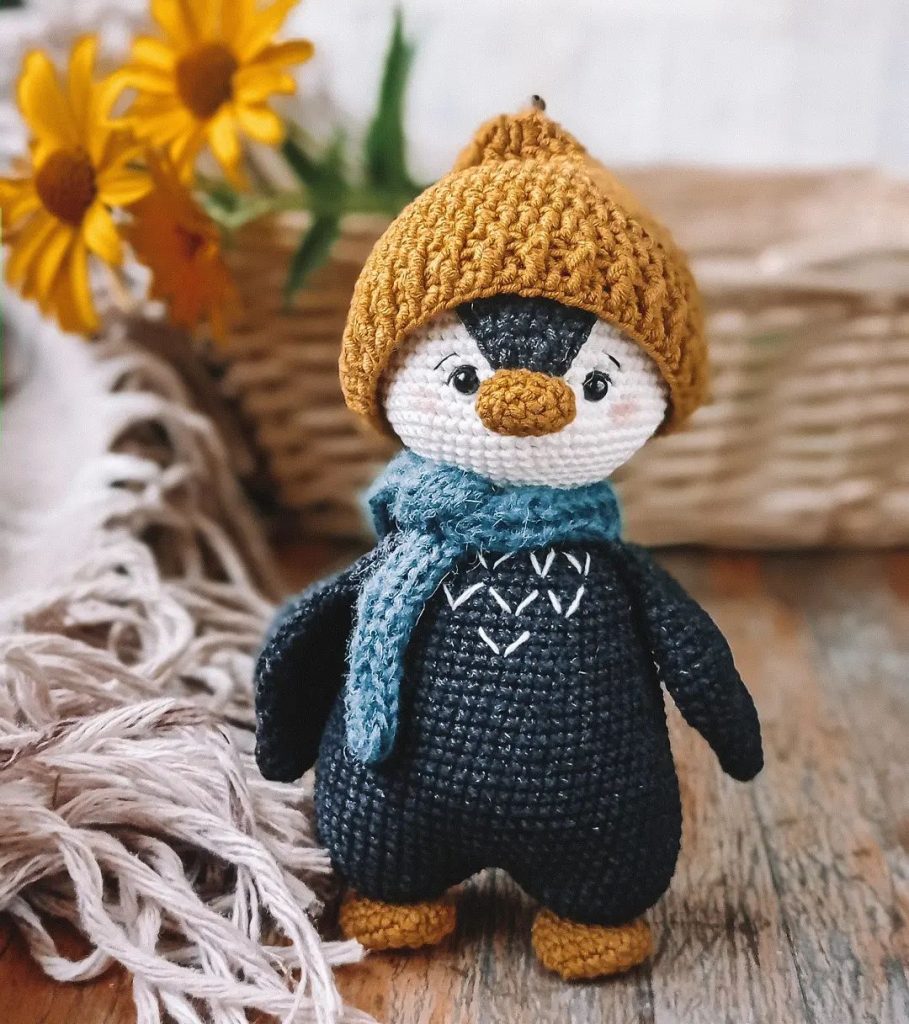
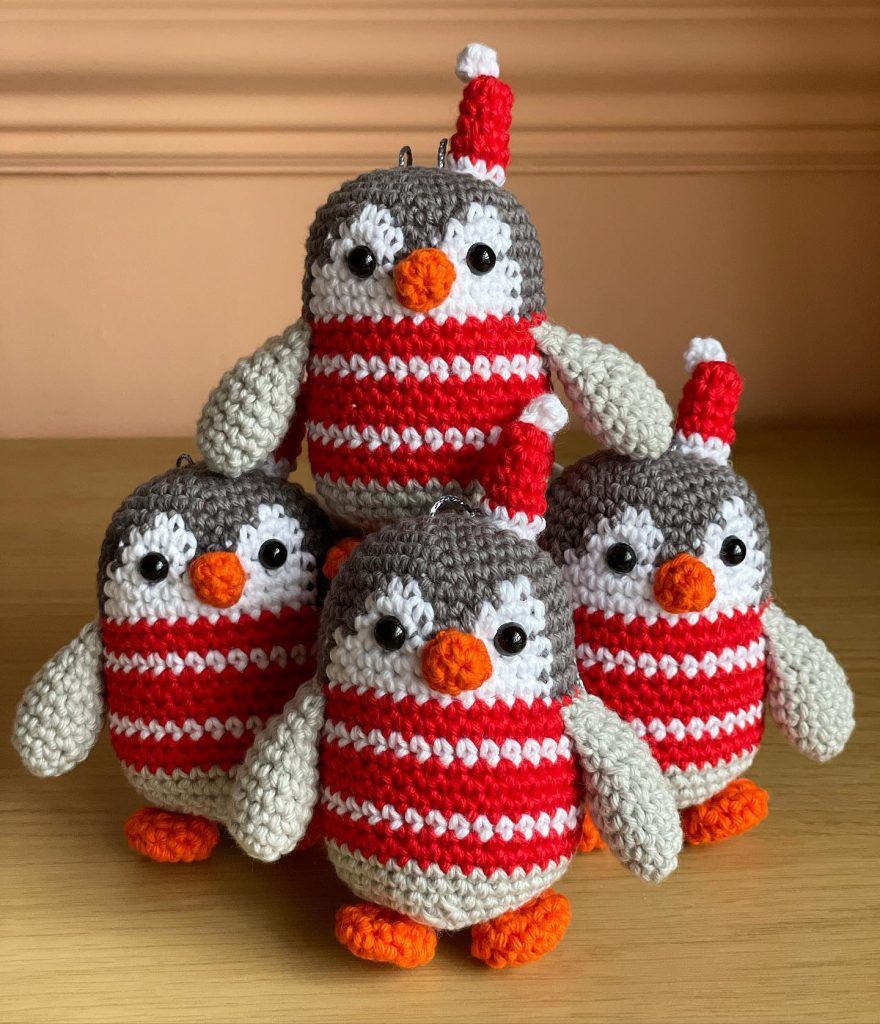
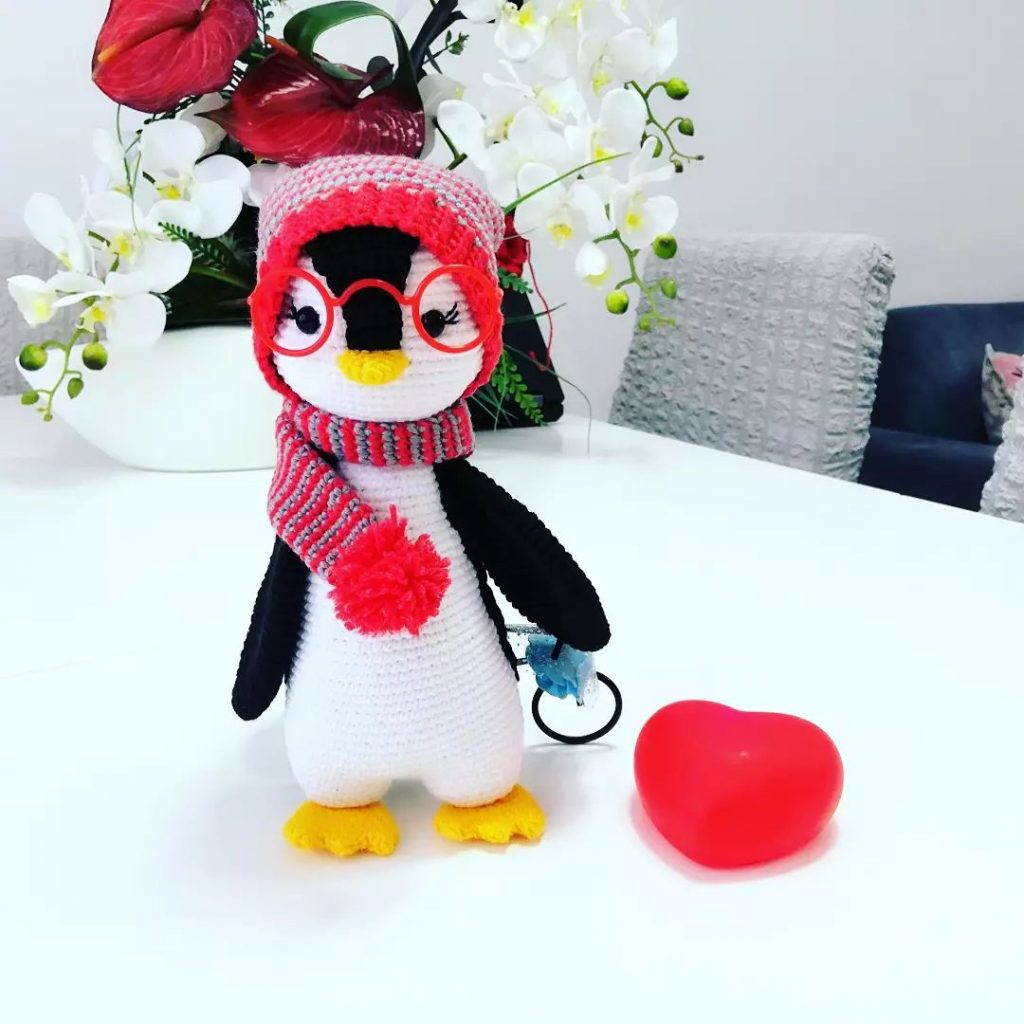
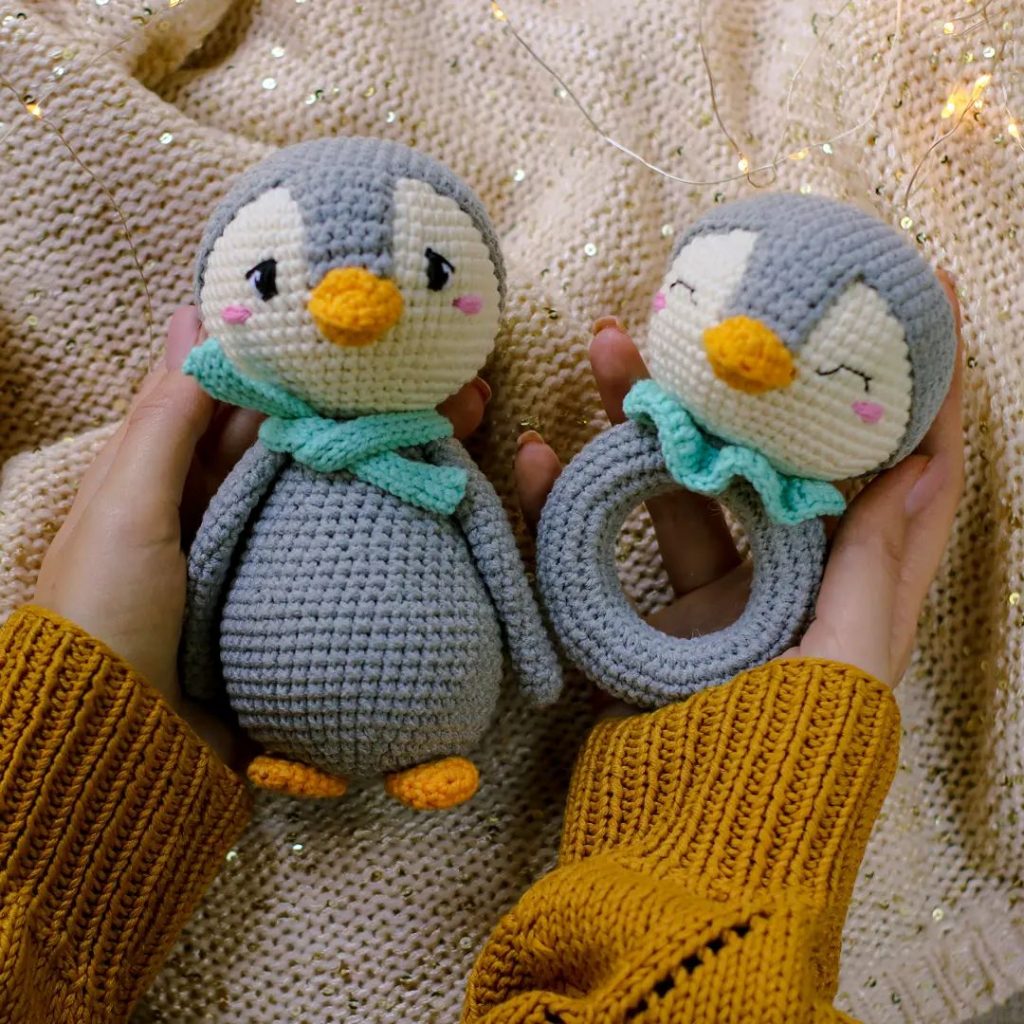
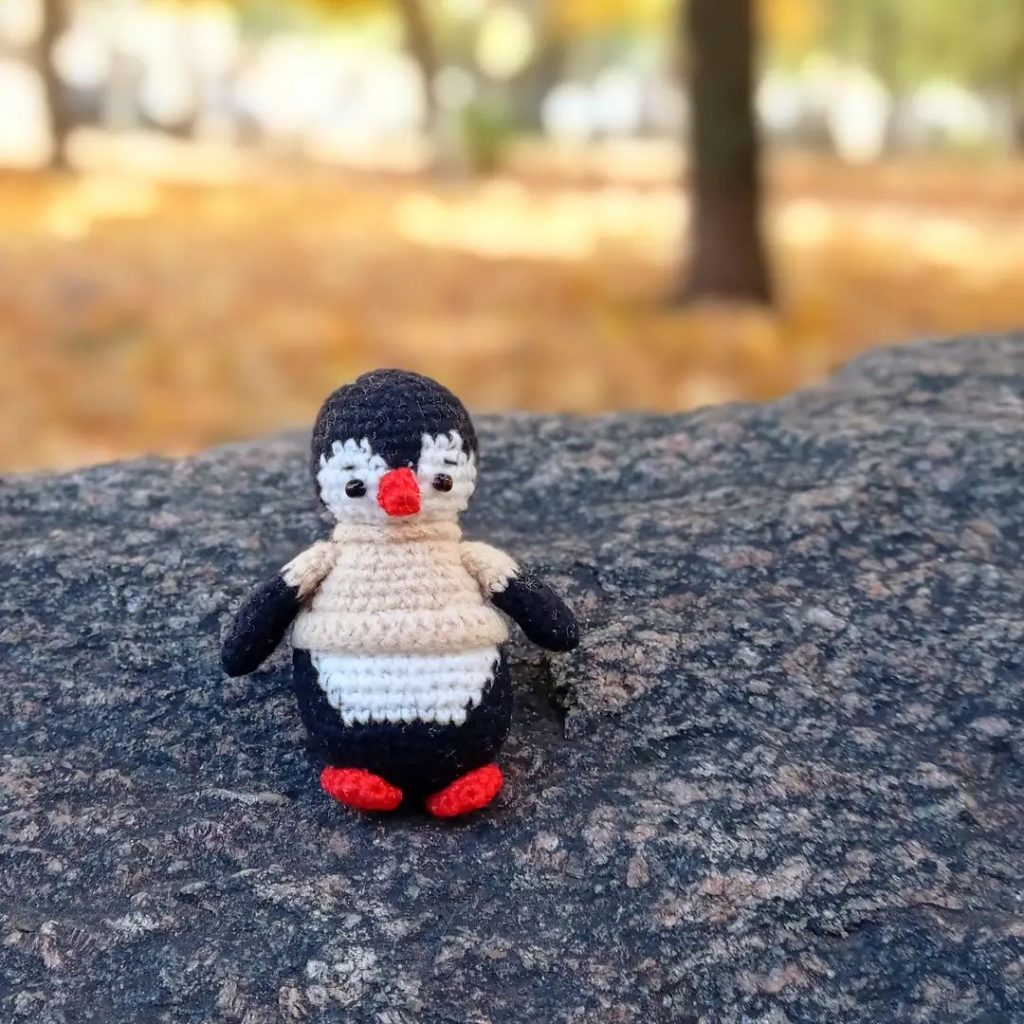
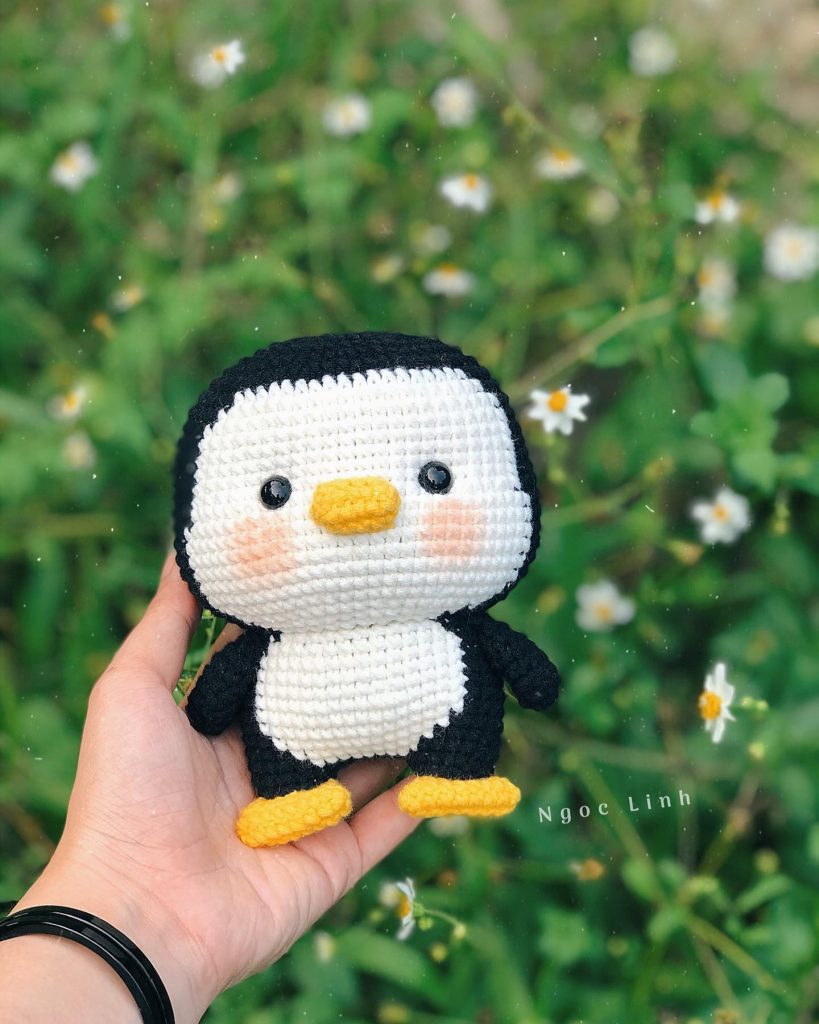
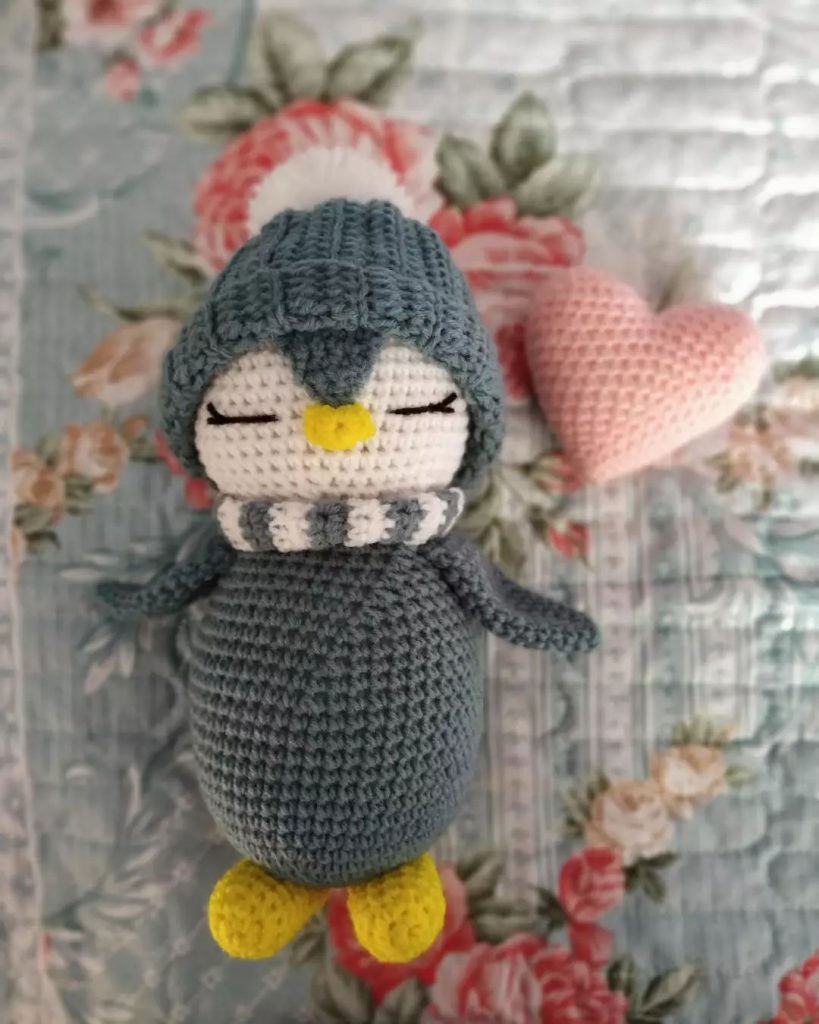
More Amigurumi Penguin İdeas