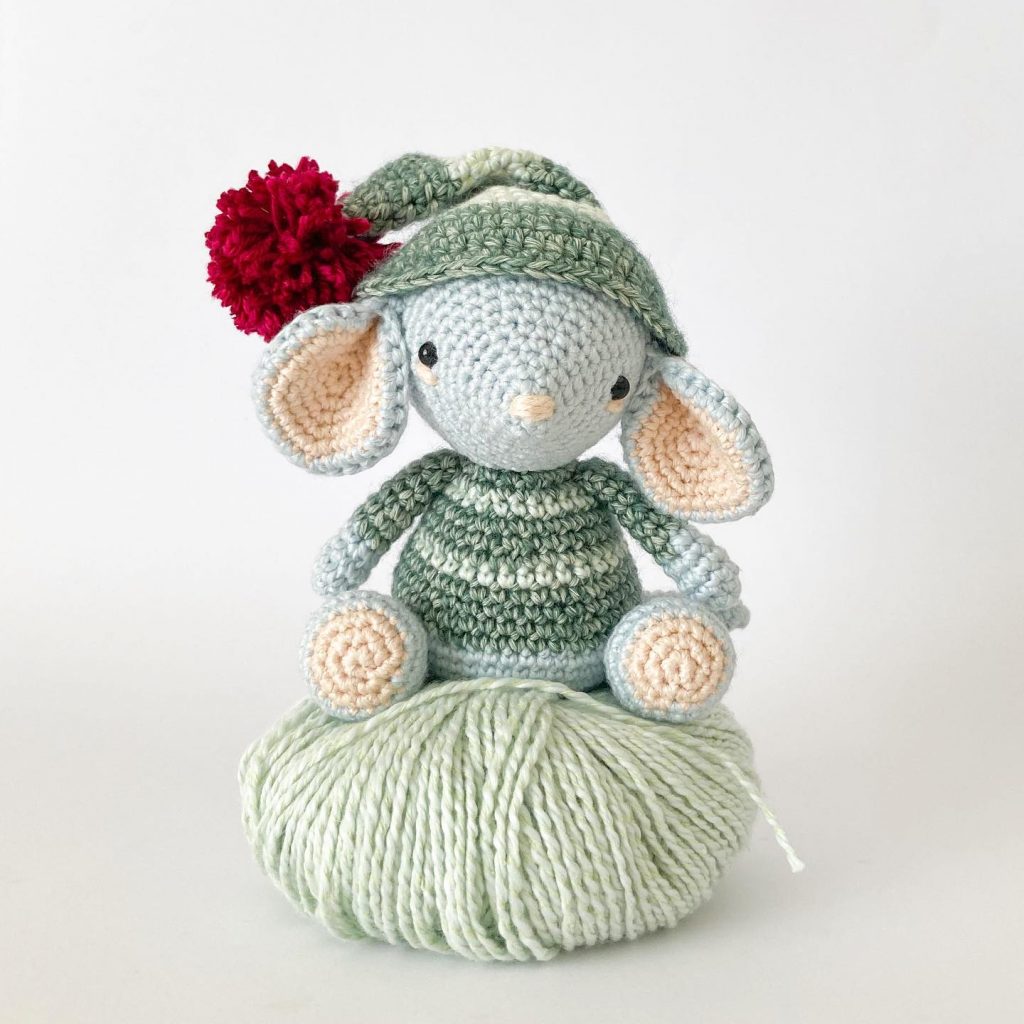
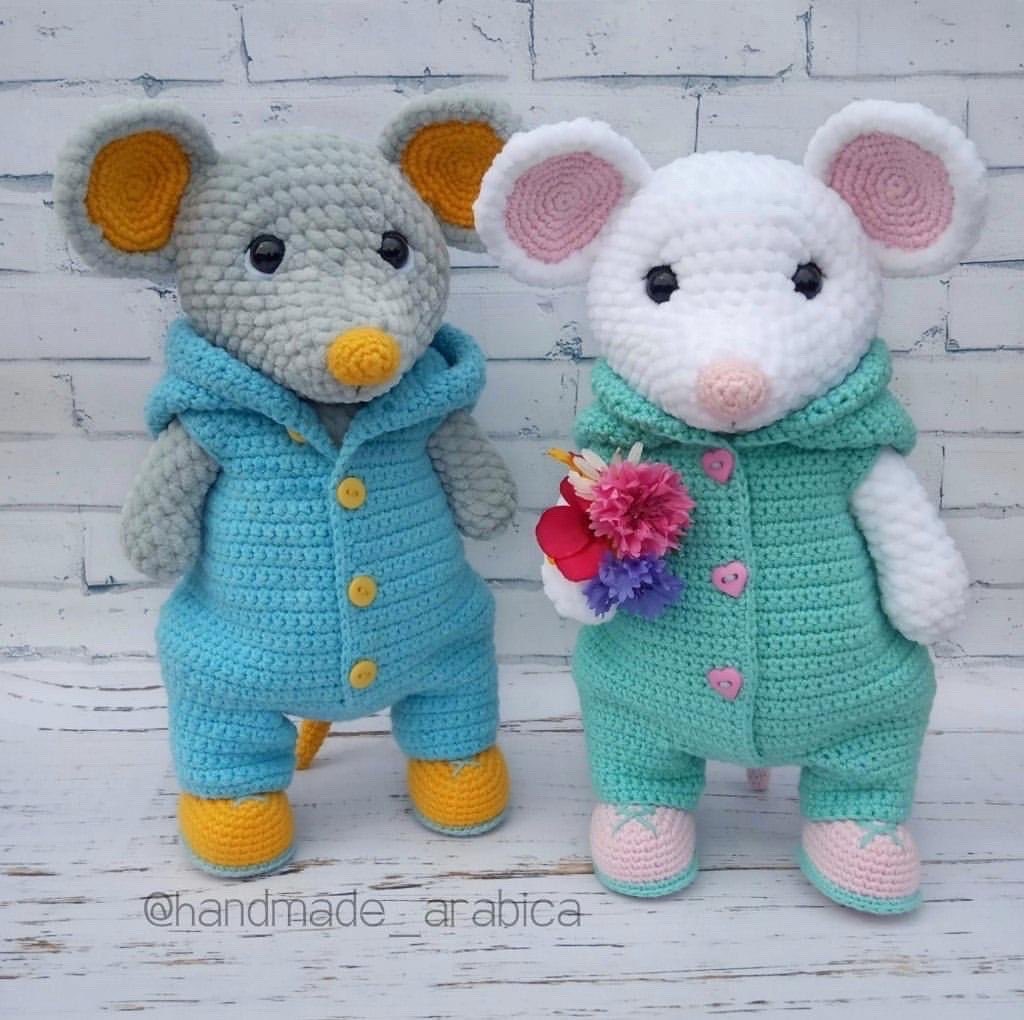
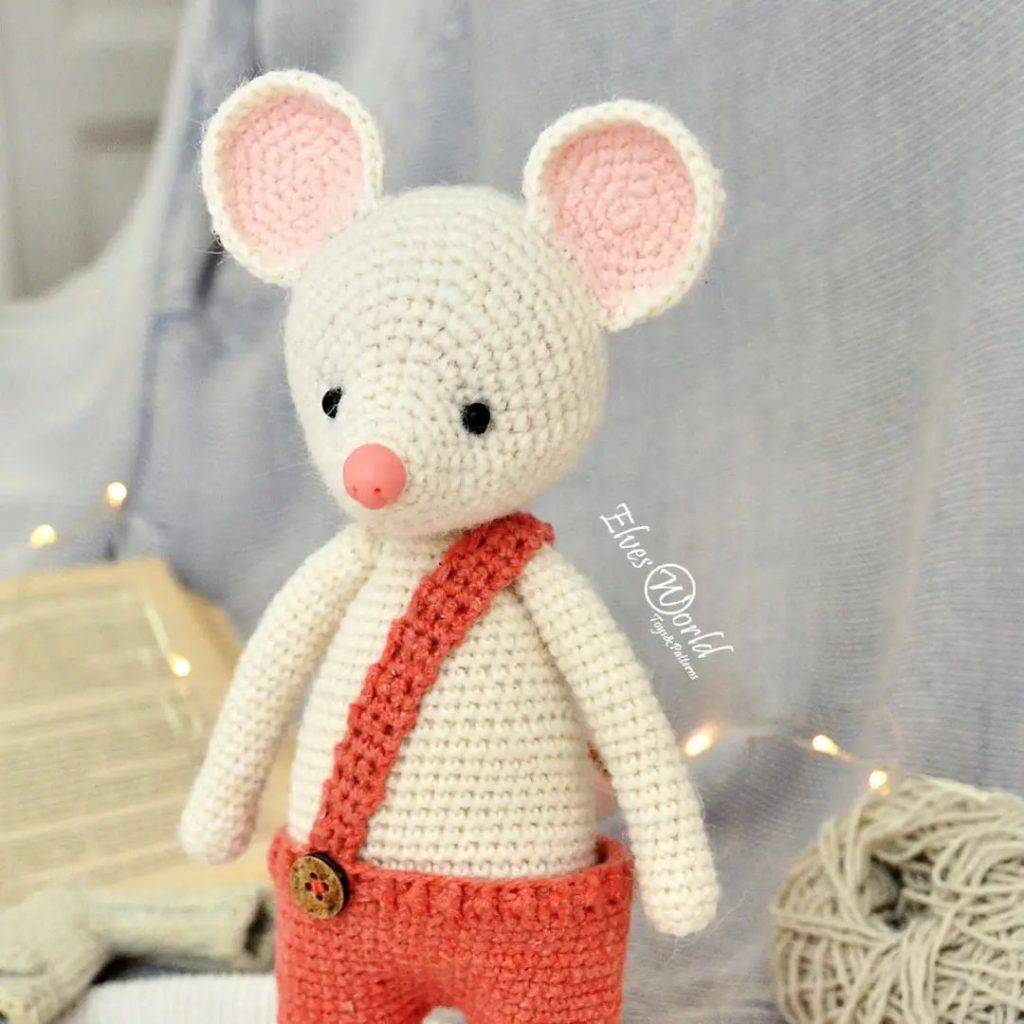
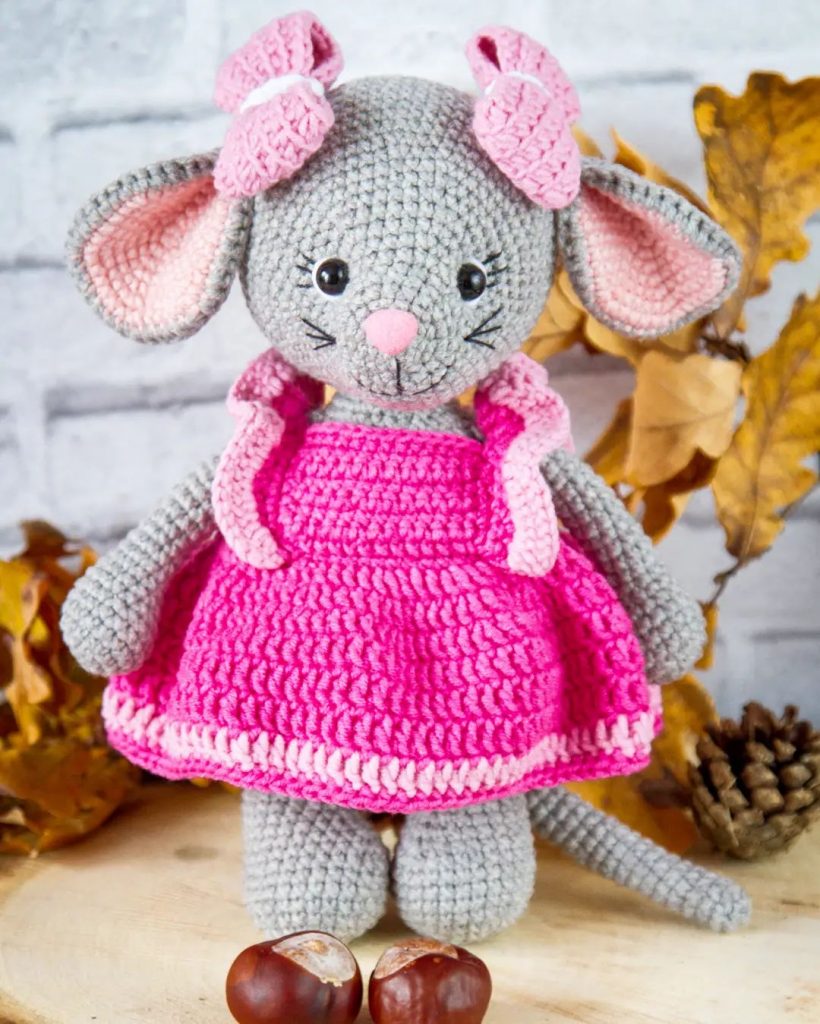
Amigurumi Cute Mouse Free Crochet Pattern
Hello dear Amigurumi Followers
Today we share one free amigurumi crochet pattern again for you. As you know we share new amigurumi free patterns every day. The main crochets are amigurumi gazelles, amigurumi bears, amigurumi pola, amigurumi pandas, amigurumi penguins, amigurumi giraffes, amigurumi llama, amigurumi pigs, amigurumi bunny, amigurumi clowns, amigurumi lambs, amigurumi bees, amigurumi unicorns, amigurumi dolls, amigurumi foxes, amigurumi penguins, amigurumi dinosaurs, amigurumi elephants, amigurumi hippos, amigurumi monkeys, amigurumi cats, amigurumi dogs and more …
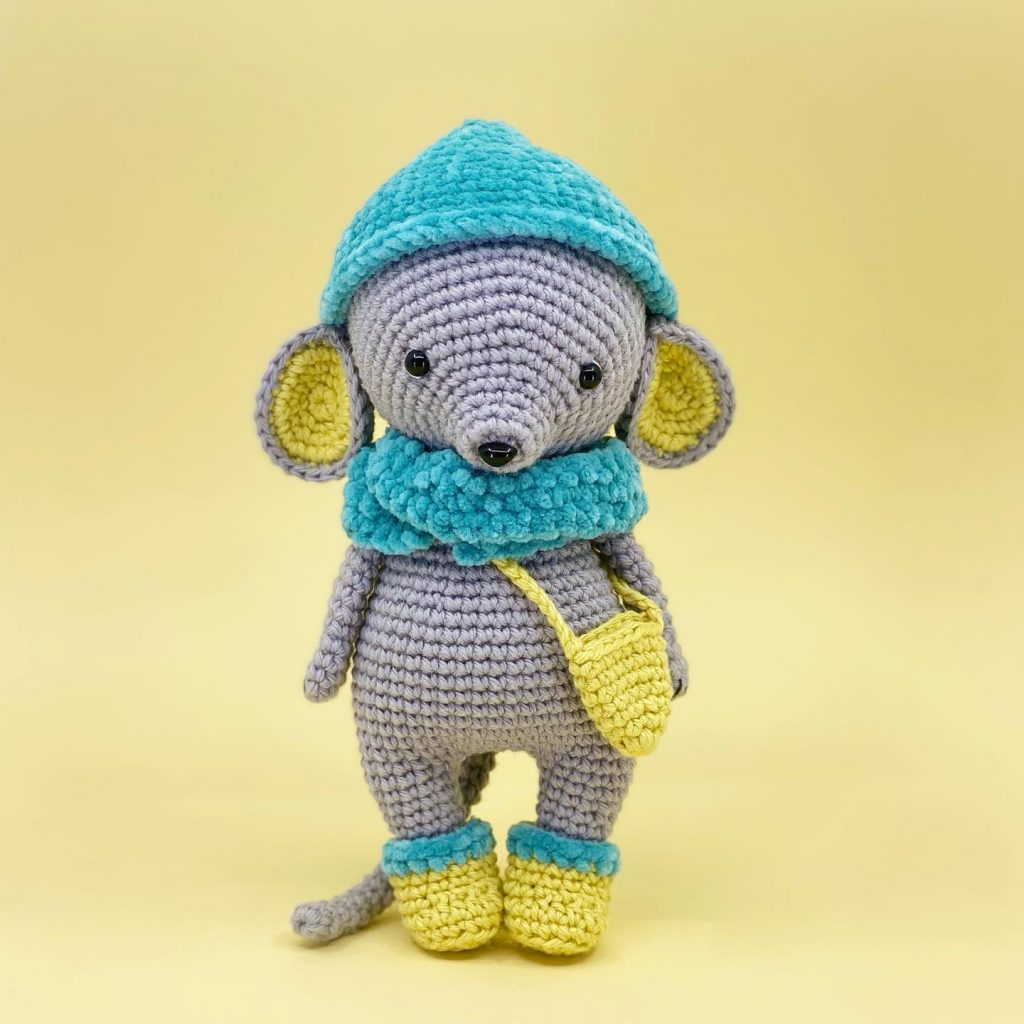
Todays daily new amigurumi free crochet pattern is amigurumi mouse
I want to give you some informations about this pattern ;
If you enjoy making amigurumi, here I share this easy and free amigurumi pattern for you for free. Your kids will love these toys.
Materials
Yarn: Worsted Weight #4, approximately 100g of main color, 50-75g of accent colors
Color A: Cream, Color B: Mint, Color C: Purple, Color D: Light Green, Color E: Pink, Color F:
Yellow
Hook Size: D Hook or 3.25 mm
12 mm specialty safety eyes
Scissors, sewing needle, stitch marker, fiberfill stuffing
Black embroidery thread, Rhinestones, blush(optional)
Abbreviations
mr= magic ring- crochet single crochet stitches in to the
adjustable loop
ch= chain stitch
sc= single crochet stitch
sl= slip stitch
dc= double crochet stitch
inc= increase- make two single crochet stitches in the same stitch
dec=decrease- crochet two stitches together using the decrease method
(4 sc, inc) x 6= repeat the pattern between parentheses 6 times
BLO= back loops only
F/O= Fasten off
Notes
• Do not join rounds unless stated, work in a continuous spiral
• Use a stitch marker to mark the beginning of each round
• All stitches are worked in both loops unless stated otherwise in the pattern
Head
Crocheted from front of nose to back of head
With Color A:
Rnd 1. Make 6 sc into a magic ring= 6
Rnd 2. (sc, inc) x 3= 9
Rnd 3. sc in each st around
Rnd 4. (2 sc, inc) x 3= 12
Rnd 5. sc in each st around
Rnd 6. 2 sc, inc x 6, 4 sc= 18
Rnd 7-8. sc in each st around
Rnd 9. 2 sc, (sc, inc) x 6, 4 sc= 24
Rnd 10. sc in each st around
Stuff the head as you work
Rnd 11. 2 sc, (2 sc, inc) x 6, 4 sc= 30
Rnd 12. sc in each st around
Rnd 13. 2 sc, (3 sc, inc) x 6, 4 sc= 36
Rnd 14. 2 sc, (4 sc, inc) x 6, 4 sc= 42
Rnd 15. 2 sc, (5 sc, inc) x 6, 4 sc= 48
Rnd 16. 2 sc, (6 sc, inc) x 6, 4 sc= 54
Rnd 17-21. sc in each st around
Place eyes between rounds 12 and 13, leaving 9 holes between them. 1st eye is placed after the
2nd increase. Count 9 holes after the first eye and place the 2nd eye. If you want the sunken
eye look, do not place the backs of the eyes on until row 26.
TIP! You may have to adjust the eye placement depending on yarn and hook size you use.
Rnd 22. (7 sc, dec) x 6= 48
Rnd 23. (6 sc, dec) x 6= 42
Rnd 24. (5 sc, dec) x 6= 36
Rnd 25. (4 sc, dec) x 6= 30
Rnd 26. (3 sc, dec) x 6= 24
Now for the eyes. Stuff the head well. Cut a long piece of yarn and remove the eyes. Place the
needle in the hole where the first eye was and thread the needle into a hole next to the eye
hole. Go back and forth between each eye hole repeating the process from the first eye. Pull
slightly on the yarn after going through each hole. Do this about 3 times on each side until you
reach the look you want. Follow the pictures for help. There is also a youtube video I have for
extra help on this process.
To place the backs of the eyes you will need to remove most of the stuffing to place the
washers on the eyes then re stuff it.
Rnd 27. (2 sc, dec) x 6= 18
Rnd 28. (sc, dec) x 6= 12
Rnd 29. dec x 6= 6
F/O and sew the hole closed
Legs and Body:
Legs(Make 2):
Starting with Color E:
Rnd 1. (sc, 2 dc) x 2 into a magic ring= 6
Rnd 2. Increase in each st around= 12
Rnd 3. (sc, inc) x 6= 18
Change to Color A:
Rnd 4. (2 sc, inc) x 6= 24
Rnd 5-6. sc in each st around
Rnd 7. Dec x 4, 16 sc= 20
Rnd 8. Dec x 4, 12 sc= 16
Rnd 9. (2 sc, dec) x 4= 12
Rnd 10. (4 sc, dec) x 2= 10
Rnd 11-12. sc in each st around
Rnd 13. (inc, 4 sc) x 2= 12
Rnd 14. sc in each st around
Rnd 15. (2 sc, inc) x 4= 16
Rnd 16. (3 sc, inc) x 4= 20
Rnd 17. Work only 10 sc in this round(leave the rest of the stitches unworked)
Do not F/O 2nd leg! Continue with connecting the 2nd leg to the first leg.
Follow pictures below for help.
Ch 4
Rnd 18. Connect the 2nd leg to the first leg with a sc, sc in the next 19 sc, work 4 sc in the back of
the chain 4, sc in the next 20 sc of the 2nd leg, work 4 sc in the front of the chain 4= 48
Rnd 19-24. sc in each st around
Stuff the legs and body as you work
Change to Color B:
Rnd 25. (6 sc, dec) x 6= 42
Rnd 26. BLO sc in each st around
Rnd 27. (5 sc, dec) x 6= 36
Rnd 29-31. sc in each st around
Rnd 32. (4 sc, dec) x 6= 30
Rnd 33-34. sc in each st around
Rnd 35. (3 sc, dec) x 6= 24
Rnd 36. sc in each st around
Change to Color A:
Rnd 37. (6 sc, dec) x 3= 21
Rnd 38. (5 sc, dec) x 3= 18
Rnd 39. (4 sc, dec) x 3= 15
Rnd 40. sc in each st around
F/O and leave a long tail for sewing
Skirt
Starting with Color B:
Find a stitch in the middle of the back of the body, Attach yarn with a sl st to round 26 of the body. Follow pictures below for help.
Rnd 1. Ch 1, sc in each st around, sl st to 1st sc to join= 42
Rnd 2. Ch 2, (6 hdc, hdc-inc) x 6, sl st to 1st hdc to join= 48
Rnd 3. Ch 2, (7 hdc, hdc-inc) x 6, sl st to 1st hdc to join= 54
Rnd 4-6. Ch 2, hdc in each st around, sl st to 1st hdc to join
Rnd 7. Ch 2, (8 hdc, hdc-inc) x 6, sl st to 1st hdc to join= 60
Rnd 8. Ch 2, (9 hdc, hdc-inc) x 6, sl st to 1st hdc to join= 66
Rnd 9-11. Ch 2, hdc in each st around, sl st to 1st hdc to join
Change to Color E:
Rnd 12. Ch 1, sc in each st around, sl st to 1st sc to join
Rnd 13. Ch 3(counts as 1st dc), In the same stitch:
Work 6 dc, sl st in the next 3 stitches,
7 dc in the next st, sl st in the next 3 st, repeat from *
to * around the bottom of the skirt
Join to the top of the ch 3 and F/O
Tail(optional)
Starting with Color A:
Do not stuff the tail
Rnd 1. Make 4 sc into a magic ring= 4
Rnd 2. Sc in each st around
Rnd 3. (sc, inc) x 2= 6
Rnd 4-21. Sc in each st around
F/O and leave a long tail for sewing
Arms(Make 2)
With Color A:
Rnd 1. Make 6 sc into a magic ring= 6
Rnd 2. (sc, inc) x 3= 9
Rnd 3. (2 sc, inc) x 3= 12
Rnd 4. sc in each st around
Rnd 5. Dec, 10 sc= 11
Rnd 6. Dec, 9 sc= 10
Rnd 7. Dec, 8 sc= 9
Stop stuffing 8-15. sc in each st around
Rnd 16. 3 sc, Fold arm in half and sc closed
F/O and leave a long tail for sewing
Crown
With Color F:
Ch 12
Sl st to 1st chain to make a ring
Rnd 1-2. sc in each st around
Rnd 3. sc, ch 3, sl st in 2nd chain from hook, sc in next chain, sc in next st,
Repeat from * to * around, you will have 6 crown points.
F/O and leave a long tail for sewing
Waistband: Sleeves
With Color C:
Ch 48
F/O and leave a long tail for sewing
Sleeves
With Color D:
Ch 37
F 1. Sl st in the 2nd chain from the hook, 2 sl st, 2 sc, 2 hdc, 4 dc,
2 hdc, 2 sc, 6 sl st, 2 sc,
2 hdc, 4 dc, 2 hdc, 2 sc, 3 sl st
F/O and leave a long tail for sewing
Ears(Make 2 in Color A, 2 in Color E):
Starting with Color E:
Rnd 1. Make 6 sc into a magic ring= 6
Rnd 2. Increase in each st around= 12
Rnd 3. (sc, inc) x 6= 18
Do not F/O Color A ears!
Place the back sides of each ear facing each other. You are going to start connecting the ears.
With Color A yarn:
Rnd 4. (2 sc, inc) x 6= 24
Count 4 stitches over, mark that stitch with a stitch marker, pinch the ears at the bottom, sc 2
stitches closed. F/O and leave a long tail for sewing
Assembly
Head and Body:
Rnd 1. Take a very long strand of pink yarn, thread your needle with it. Insert the needle into
the magic ring and bring the needle to a stitch on top of the nose between rounds 2
and 3. Bring the needle back down to the magic ring to start embroidering the nose.
Pull the yarn to tighten it up and repeat about 12 more times. Weave in the yarn tails.
Rnd 2. Pin the head to the body for extra support.
Rnd 3. Sew the head to the body, you may need to add more stuffing as you sew.
Arms
Rnd 1. Pin the arms approximately between rounds 36 and 37, on the side of the body.
Rnd 2. Sew the arms onto the body.
Sleeves
Rnd 1. Pin the sleeves onto the body. Wrap the sleeve around the top over the arms. Pin in
the back and the front.
Rnd 2. Sew the sleeves onto the body on the front, back and sides. Weave in the tails.
Ears
Rnd 1. Pin the ears onto the top of the head approximately between rounds 20 and 21.
Rnd 2. Sew the ears onto the head.
Tail
Rnd 1. If you want the tail, Pin the tail onto the back of the body approximately between
rounds 12 and 13 underneath the skirt. I did not want a tail on my girl mouse so I have
no pictures for that.
Rnd 2. Sew the tail onto the body.
Embellishments
Rnd 1. Pin the purple waistband around the body. Sew the band onto the body.
Rnd 2. If you want the rhinestones, place one on the front of the sleeves with glue or get
self adhesive rhinestones. I chose to place one on since this was for my daughter that is
7 years old. I would not recommend for children under 3 years of age.
Rnd 3. Cut a long strand of black embroidery thread. Thread your needle and embroider 3
lines next to each eye for eyelashes.
Rnd 4. Add some blush to the cheeks with actual blush if you want.
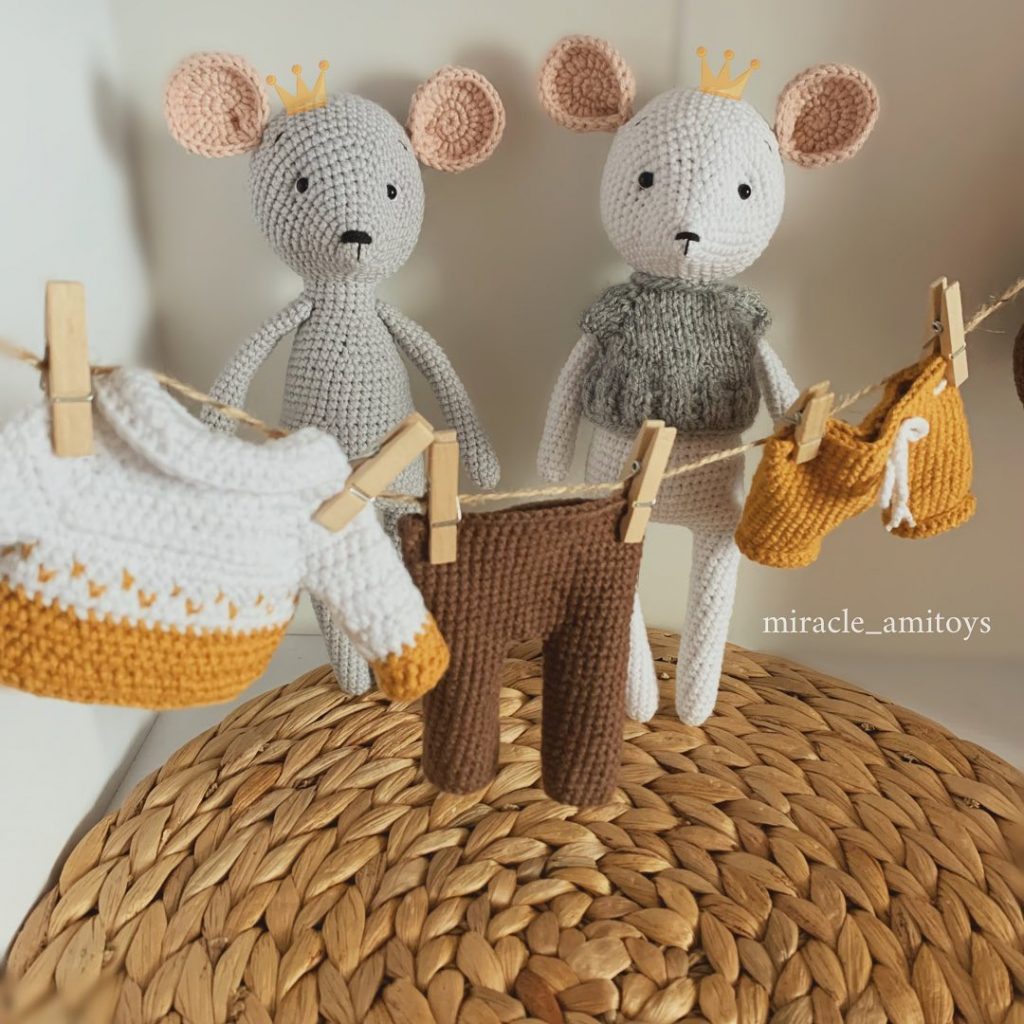
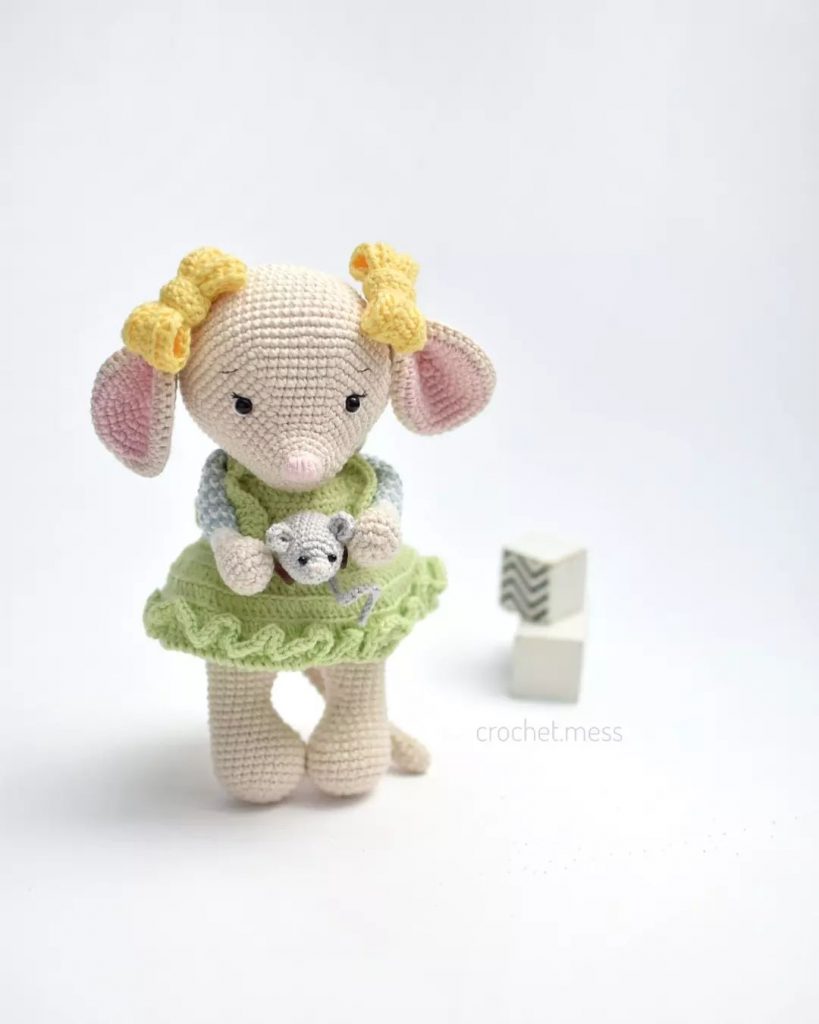
More Amigurumi Mouse İdeas