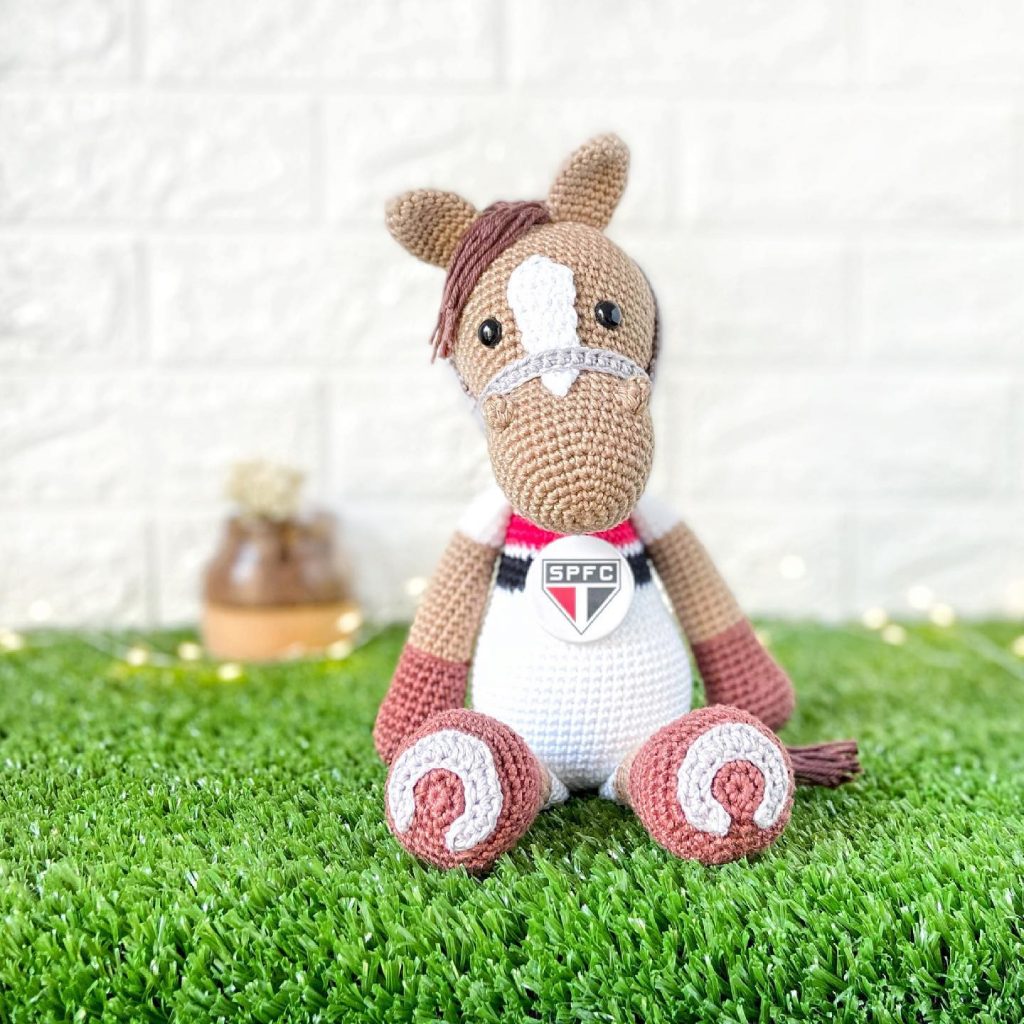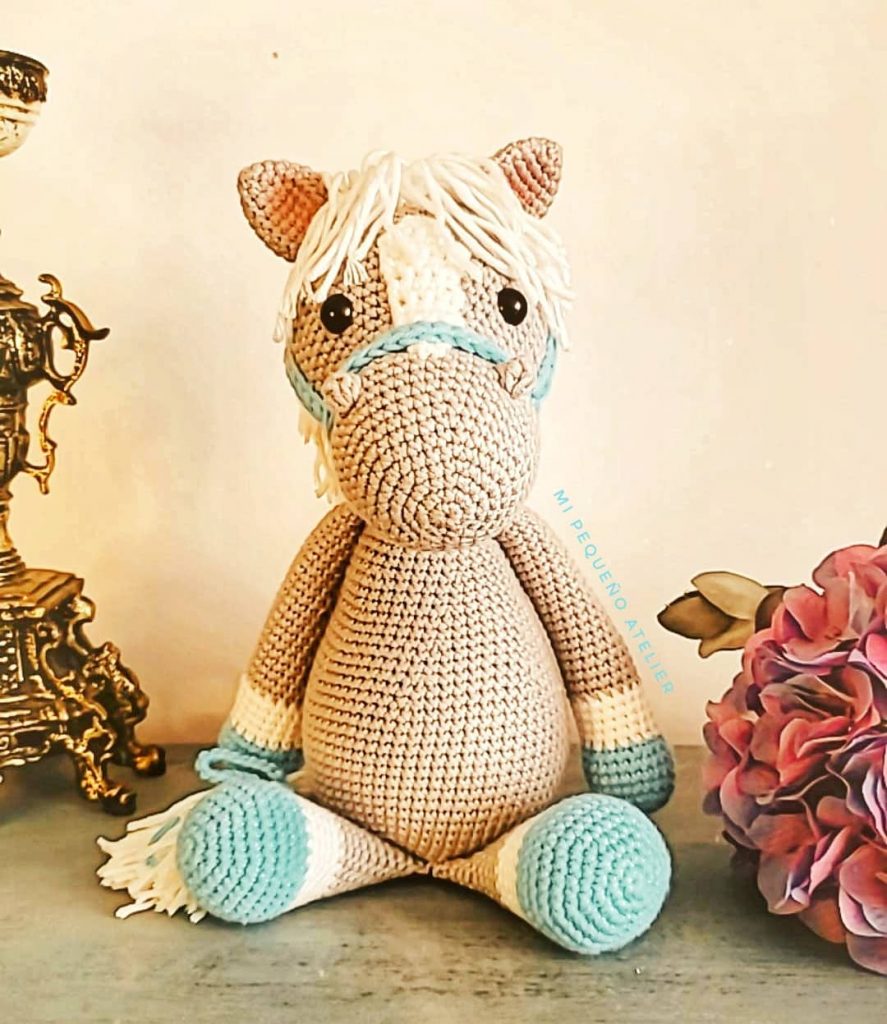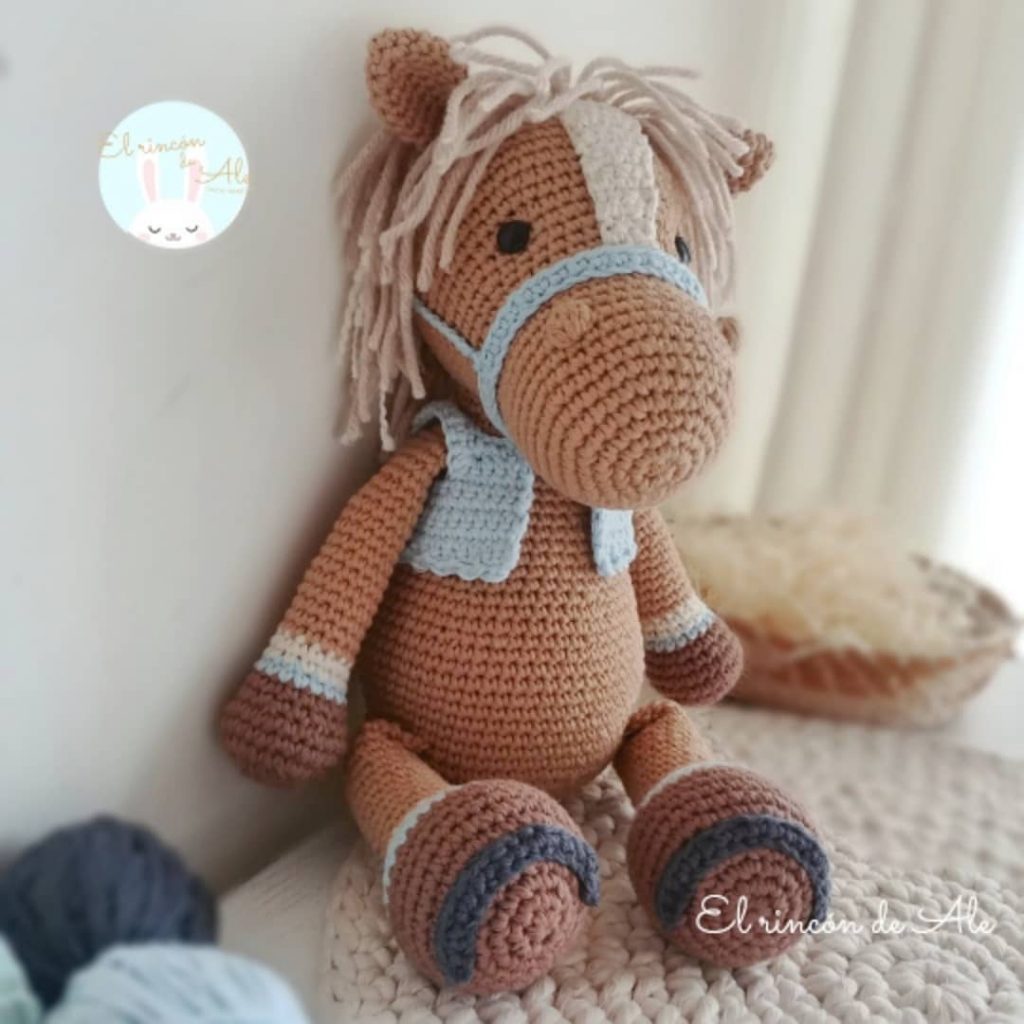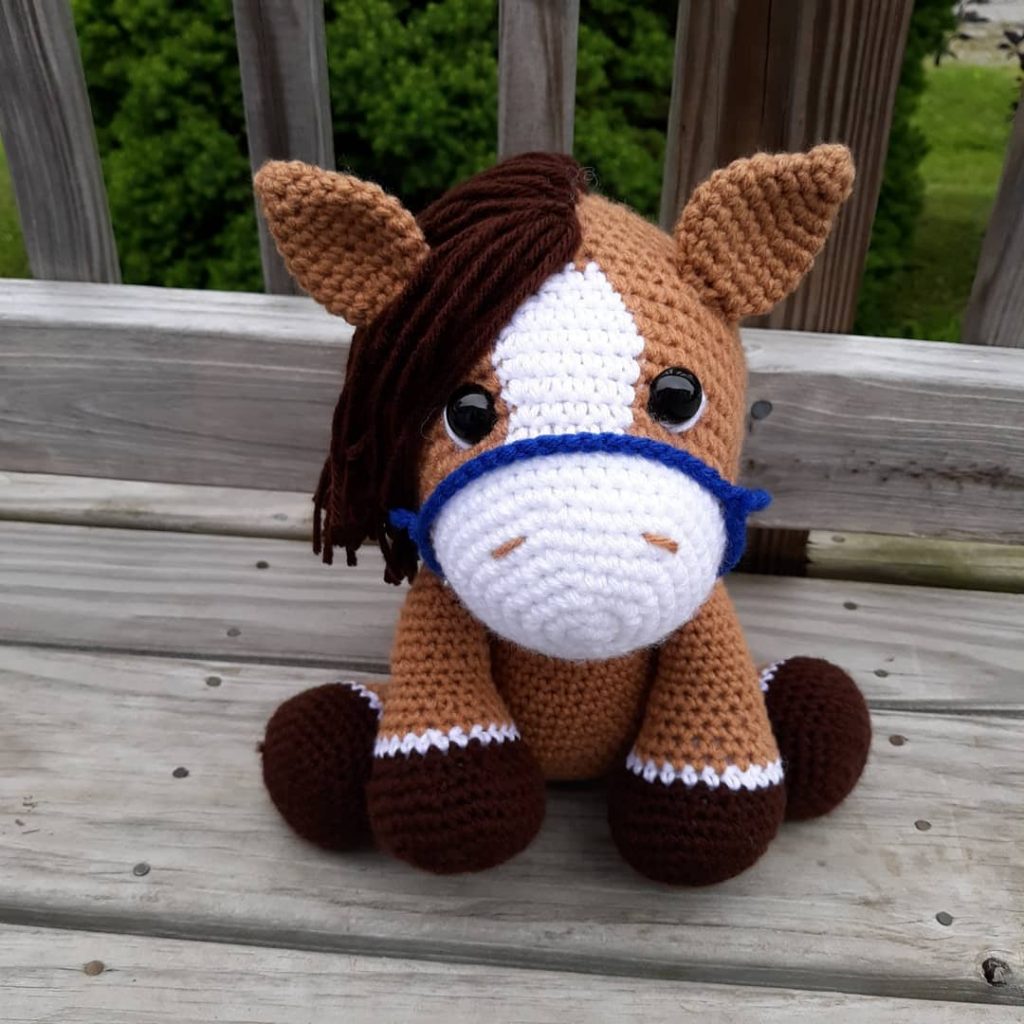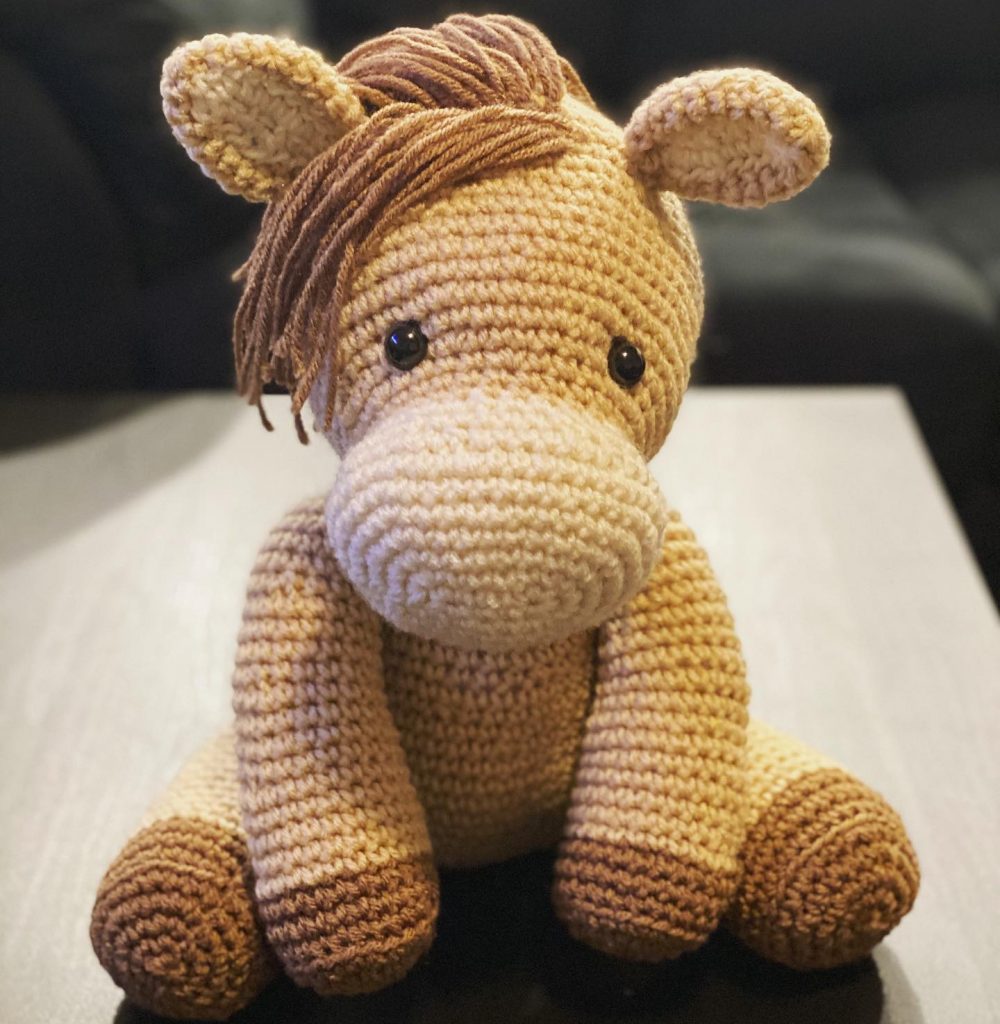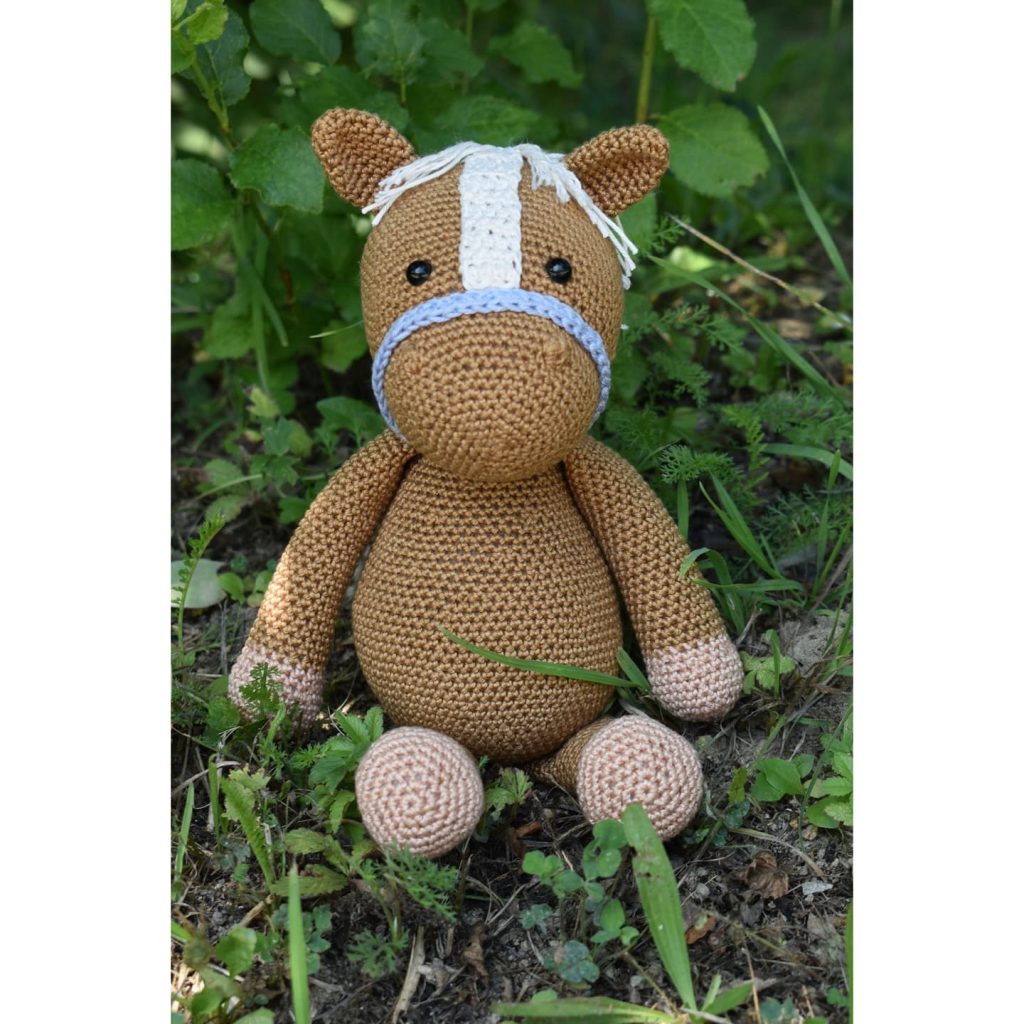
Amigurumi Cute Horse Free Pattern
Hello dear Amigurumi Followers
Today we share one free amigurumi crochet pattern again for you. As you know we share new amigurumi free patterns every day. The main crochets are amigurumi gazelles, amigurumi bears, amigurumi pola, amigurumi pandas, amigurumi penguins, amigurumi giraffes, amigurumi llama, amigurumi pigs, amigurumi bunny, amigurumi clowns, amigurumi lambs, amigurumi bees, amigurumi unicorns, amigurumi dolls, amigurumi foxes, amigurumi penguins, amigurumi dinosaurs, amigurumi elephants, amigurumi hippos, amigurumi monkeys, amigurumi cats, amigurumi dogs and more …
Todays daily new amigurumi free crochet pattern is amigurumi horse
I want to give you some informations about this pattern ;
If you enjoy making amigurumi, here I share this easy and free amigurumi pattern for you for free. Your kids will love these toys.
Materials
- Crochet Hook, Size E/4 (3.5 mm)
- Stitch Marker(s)
- Scissors
- Stuffing
- Tapestry needle
- Pins
- Safety eyes, 10 mm (optional)
- Chopstick, dowel, or something similar to help with stuffing small parts
- Embroidery Floss, white (optional)
- Embroidery Needle (optional)
- Red Heart Super Saver (worsted 4-Medium, 100% acrylic, 364 yds/333 m, 7 oz/198 g):
- Brown Horse: Color (A) Coffee, used approx. 70 yds, Color (B) Warm Brown, used approx. 24 yds, Color (C) Soft White, used approx. 13 yds, Color (D) Black, used approx. 1 yd (optional, for eyes)
- Yarnspirations Caron One Pound (worsted 4-Medium, 100% acrylic, Approx 812 yds/742 m, 16 oz/453.6 g):
- Grey Horse: Color (A) Medium Grey Mix, used approx. 70 yds, Color (B) Dark Grey Mix, used approx. 13 yds, Color (C) Off White, used approx. 24 yds, Color (D) Black, used approx. 1 yd (optional, for eyes)
Gauge
Using hook size E/4 (3.5 mm) the first 6 rounds of the body measure 2-1/8 to 2.25 inches in diameter depending on yarn used (Caron One Pound is slightly larger).
Finished Measurements
Using hook size E/4 (3.5 mm) the horse measures approximately 6 inches in the sitting position to the tip of the ear.
Design Notes
- The pattern is written using US crochet terminology.
- The pattern is written in rounds, it will be helpful to place a stitch marker at the beginning stitch of the round and move it up at the start of each additional round.
- At the end of each round, the number of stitches for completion is noted in parentheses.
- Further design notes will be provided throughout the pattern to help aid in construction.
- Caution! If using safety eyes take into consideration who will be using the item. The use of safety eyes is not recommended for children under the age of three or for those prone to putting things in their mouth as they may cause a choking hazard. Crocheted or hand embroidered eyes are a great alternative!
Abbreviations/Stitches Used
- bo -bobble (described below under special stitches)
- ch – Chain
- Rnd(s) – Round(s)
- sc – Single crochet
- sc2tog – Single crochet 2 stitches together (invisible decrease)
- sl st – Slip stitch
- st(s) – Stitch(s)
- [ ] / ( )– Work instructions between brackets as many times as directed
- magic circle/adjustable ring
Special Stitches
Bobble (bo): A 3dc bobble is used in the pattern. Essentially it’s 3 half-finished double crochets all in the same stitch that are joined at the end as one stitch, or a shortened version of a regular bobble stitch. Create the 3dc bobble as follows:
With the original single loop on the hook from the previous stitch,
- Yarn over, insert hook into the next stitch,
- Yarn over and pull up a loop (three loops on the hook),
- Yarn over and pull through two of the loops,
- Stop here! (two loops on your hook).
Now repeat steps 1-4, two more times, inserting the hook into the same stitch. Remember that each time the sequence is repeated there should be one more loop on the hook.
Now, yarn over and pull through all four of the loops on the hook. This closes the bobble stitch. Bobble made!
>Design Note: When making bobbles some patterns say to make a chain after the bobble has been made to secure them even more. This is NOT done in this pattern, simply make the next stitch as directed in the pattern.
Head
The head is worked from the front to the back.
Using Color (A)
- Rnd 1: 6sc in adjustable (magic) circle. (6sts)
- Rnd 1 alternative: If preferred, ch2 and then 6sc in 2nd chain from hook. (6sts)
- Rnd 2: 2sc in each st around. (12sts)
- Rnd 3: [Sc in the next st, 2sc in next st] 6 times. (18sts)
- Rnd 4: Sc in each st around. (18sts)
- Rnd 5: [Sc in the next 2sts, 2sc in the next st] 6 times. (24sts)
- Rnd 6: Sc in each st around. (24sts)
- Rnd 7: Sc in the next 8sts, bo, sc in the next 6sts, bo, sc in the next 8sts. (24sts)
- Rnds 8-9: Sc in each st around. (24sts for 2 Rnds)
- Rnd 10: [Sc in the next 2sts, sc2tog] 6 times. (18sts)
- Rnd 11: Sc in each st around. (18sts)
- Rnd 12: [Sc in the next 2sts, 2sc in the next st] 6 times. (24sts)
- Rnd 13: [Sc in the next 3sts, 2sc in the next st] 6 times. (30sts)
- Rnds 14-17: Sc in each st around. (30sts for 4 Rnds)
If using safety eyes remember to insert them before stuffing and closing the head! Suggested placement is between Rnds 12 and 13, inside the two bo sts, approximately 3sts apart.
Firmly stuff and shape the head and continue to do so as the pattern progresses.
- Rnd 18: [Sc in the next 3sts, sc2tog] 6 times. (24sts)
- Rnd 19: Sc in each st around. (24sts)
- Rnd 20: [Sc in the next 2sts, sc2tog] 6 times. (18sts)
- Rnd 21: Sc in each st around. (18sts)
- Rnd 22: [Sc in the next st, sc2tog] 6 times. (12sts)
- Rnd 23: [Sc in the next st, sc2tog] 4 times. (8sts)
- Sl st to the first st and fasten off leaving a long tail to close up the hole. Close the hole with a tapestry needle stitching only through the front loops until the hole pulls nicely closed, secure and weave in the end.
Body
The body is worked from the base up towards the neck.
Using Color (A)
- Rnd 1: 6sc in adjustable (magic) circle. (6sts)
- Rnd 1 alternative: If preferred, ch2 and then 6sc in 2nd chain from hook. (6sts)
- Rnd 2: 2sc in each st around. (12sts)
- Rnd 3: [Sc in the next st, 2sc in next st] 6 times. (18sts)
- Rnd 4: [Sc in the next 2sts, 2sc in the next st] 6 times. (24sts)
- Rnd 5: [Sc in the next 3sts, 2sc in the next st] 6 times. (30sts)
- Rnd 6: [Sc in the next 4sts, 2sc in the next st] 6 times. (36sts)
- Rnds 7-12: Sc in each st around. (36sts for 6 Rnds)
- Rnd 13: [Sc in the next 4sts, sc2tog] 6 times. (30sts)
- Rnd 14: Sc in each st around. (30sts)
- Rnd 15: [Sc in the next 3sts, sc2tog] 6 times. (24sts)
- Rnds 16-17: Sc in each st around. (24sts for 2 Rnds)
Firmly stuff and shape the body and continue to do so as the pattern progresses.
- Rnd 18: [Sc in the next 2sts, sc2tog] 6 times. (18sts)
- Rnds 19-21: Sc in each st around. (18sts for 3 Rnds)
- Sl st to the first st and fasten off leaving a long tail to attach the body to the head.
Arms
Make 2
Using Color (B)
- Rnd 1: 6sc in adjustable (magic) circle. (6sts)
- Rnd 1 alternative: If preferred, ch2 and then 6sc in 2nd chain from hook. (6sts)
- Rnd 2: 2sc in each st around. (12sts)
- Rnds 3-4: Sc in each st around. (12sts for 2 Rnds)
Switch to Color (C)
- Rnd 5: Sc in each st around. (12sts)
- Rnd 6: [Sc in the next st, sc2tog] 4 times. (8sts)
Firmly stuff and shape the arm and continue to do so as the pattern progresses. Do not stuff the top few rows so the arm can lie flatter against the body when attached.
Switch to Color (A)
- Rnds 7-18: Sc in each st around. (8sts for 12 Rnds)
- Rnd 19: Flatten the top edges together, lining up the stitches, sl st together. (4sts)
- Fasten off leaving a long tail for attaching the arm to the body.
Legs
Make 2
Using Color (B)
- Rnd 1: 6sc in adjustable (magic) circle. (6sts)
- Rnd 1 alternative: If preferred, ch2 and then 6sc in 2nd chain from hook. (6sts)
- Rnd 2: 2sc in each st around. (12sts)
- Rnd 3: [Sc in the next st, 2sc in next st] 6 times. (18sts)
- Rnds 4-5: Sc in each st around. (18sts for 2 Rnds)
Switch to Color (C)
- Rnd 6: Sc in each st around. (18sts)
- Rnd 7: [Sc in the next 4sts, sc2tog] 3 times. (15sts)
Switch to Color (A)
- Rnds 8-9: Sc in each st around. (15sts for 2 Rnds)
- Rnd 10: [Sc in the next 5sts, sc2tog] 2 times, sc in the last st. (13sts)
Firmly stuff and shape the leg and continue to do so as the pattern progresses.
- Rnds 11-14: Sc in each st around. (13sts for 4 Rnds)
- Sl st to the first st and fasten off leaving a long tail for sewing the leg to the body.
Eyes
Make 2, if not using safety eyes
Using Color (D)
Cut a piece of yarn about 25 inches (64 cm) long. Looking at the individual strands pull the pieces apart so that there are two strands in each section. Use each of the sections to make an eye.
>Design Tip: Keeping all four strands together will make a larger eye. Using a thinner yarn would also work for a smaller eye.
- Rnd 1: 5sc in adjustable (magic) circle. (5sts)
- Rnd 1 alternative: If preferred, ch2 and then 5sc in 2nd chain from hook. (5sts)
- Sl st to the first st. Fasten off. Tie in the beginning tail and leave the end tail for attaching the eye to the head.
>Design Option: Stitch a small white accent in the black portion of the eye using white embroidery floss or yarn.
Ears
Make 2
Using Color (A)
- Rnd 1: 4sc in adjustable (magic) circle. (4sts)
- Rnd 1 alternative: If preferred, ch2 and then 4sc in 2nd chain from hook. (4sts)
- Rnd 2: [Sc in the next st, 2sc in next st] 2 times. (6sts)
- Rnd 3: [Sc in the next 2sts, 2sc in next st] 2 times. (8sts)
- Rnd 4: Sc in each st around. (8sts)
- Rnd 5: [Sc in the next 3sts, 2sc in next st] 2 times. (10sts)
>Design Note: Push the starting tail up into the ear, but otherwise, don’t stuff the ears.
- Rnd 6: Flatten the top edges together, lining up the stitches, sl st together. (5sts)
- Fasten off leaving a long tail for attaching the ear to the head.
Assembly
Pin all the pieces together to determine the desired placement for the entire piece and then stitch them securely into place. Remember to add any additional stuffing needed before closing up the holes on the pieces requiring stuffing.
General placement and stitching suggestions:
- Place the head on the body with the front of the body at about Rnd 12 of the head and the back at about Rnd 17.
- Place the ears on the top of the head over about Rnds 18-19 with about 3-4sts between them.
- Place the legs in the front of the body, in a sitting position, over about Rnds 6-11.
- Place the arms on either side of the body about one round down from the head and neck join, either slanted forward or down to the sides.
- >Design Note: The top few rounds of the arm were left unstuffed to help them lie flatter against the body. Another option is to tack them down to the body with a few stitches in the desired position.
- Once the desired placement is achieved stitch all the pieces in place.
Mane and Tail
>Design Tip: To more quickly and evenly cut the mane and tail pieces cut a rectangular piece of cardboard (cereal or cracker box) to half the height of the finished length (3 inches) by any comfortable length. Starting and ending the wraps at the bottom of the cardboard, wrap the yarn around the 3-inch length of the cardboard as many times as desired (one full wrap is one strand). Cut across the bottom edge of the wraps to release them from the cardboard.
- Cut approximately 74 strands of yarn about 6 inches long for the mane and tail (in Color (B) for the Brown Horse and Color (C) for the Grey Horse, or the desired color). (56 for the mane and 18 for the tail)
- The tail is looped holding two strands together, three loops wide by three loops tall centered at Rnds 7-9 of the body.
- The mane pieces are looped one at a time (unless a fuller mane is desired, then loop two at a time but more loops will be needed) starting one row in front of the ears. Loop four across and end the loops at about the neck.
- Trim mane and tail loops as desired.
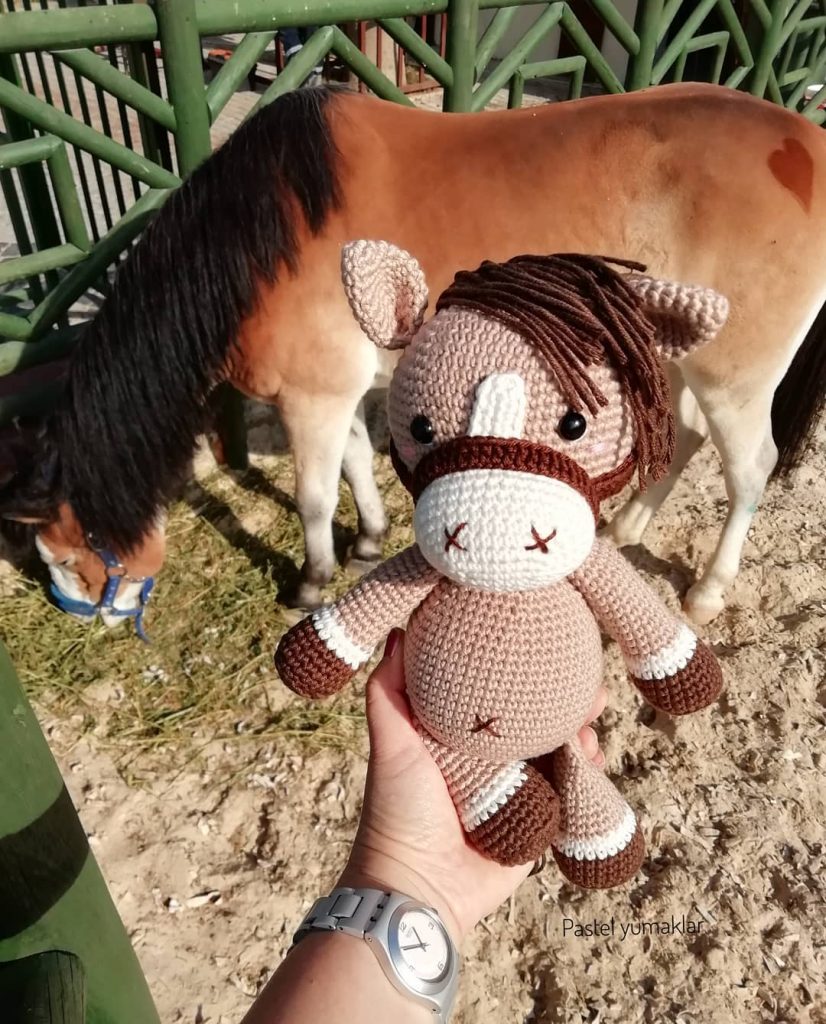
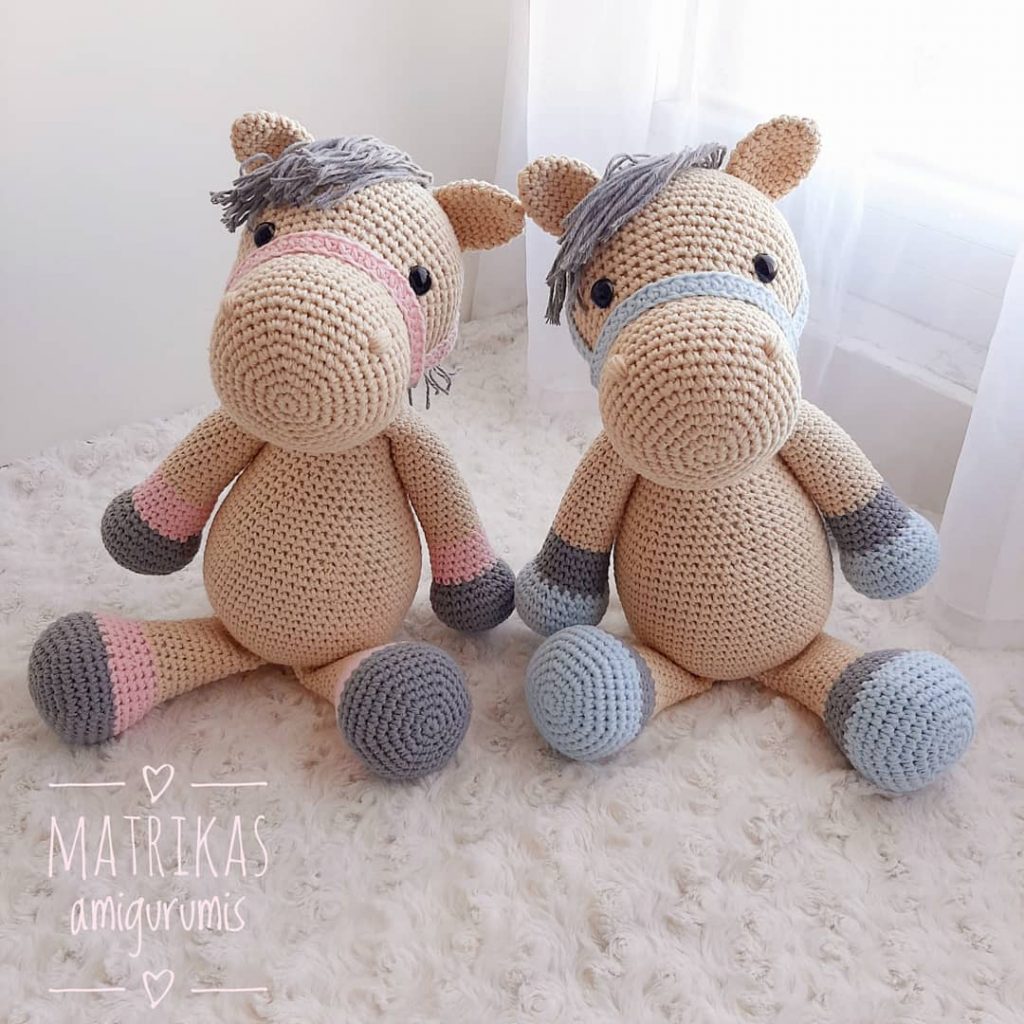
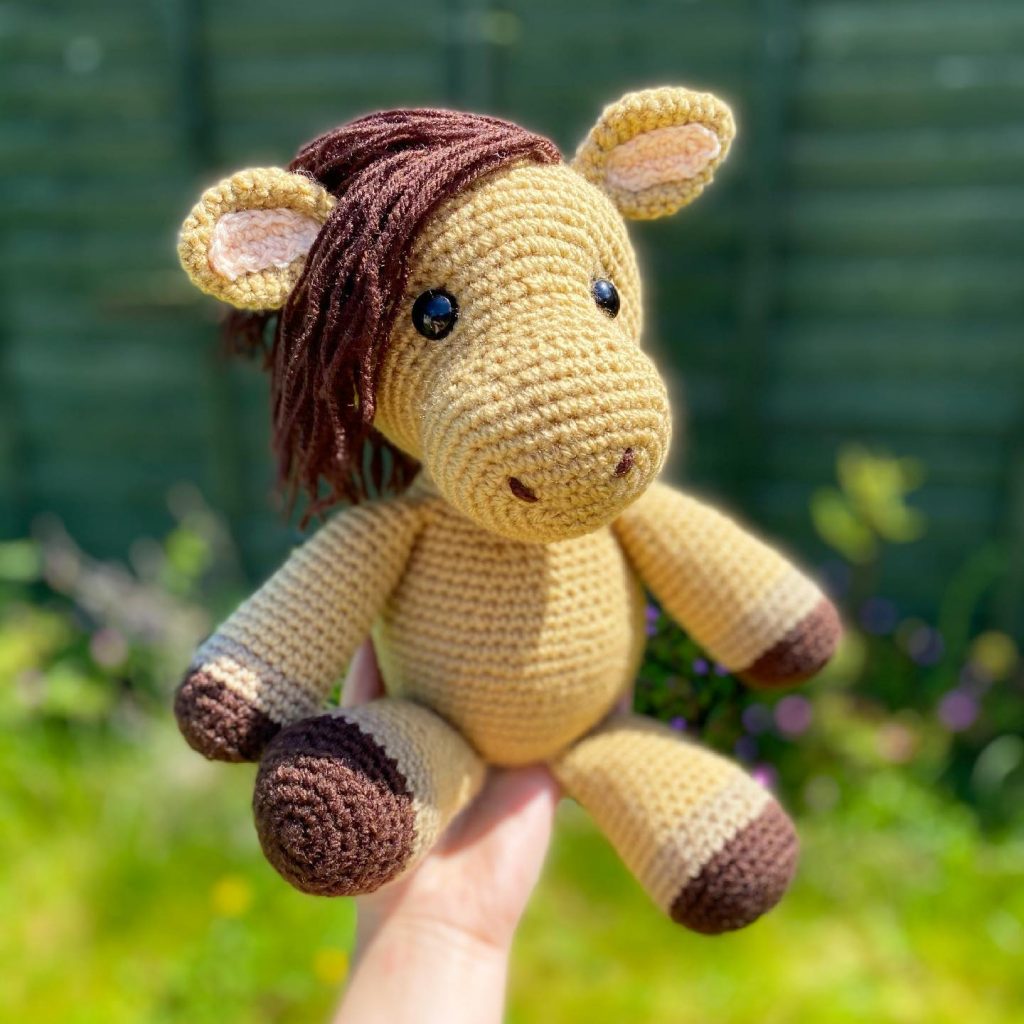
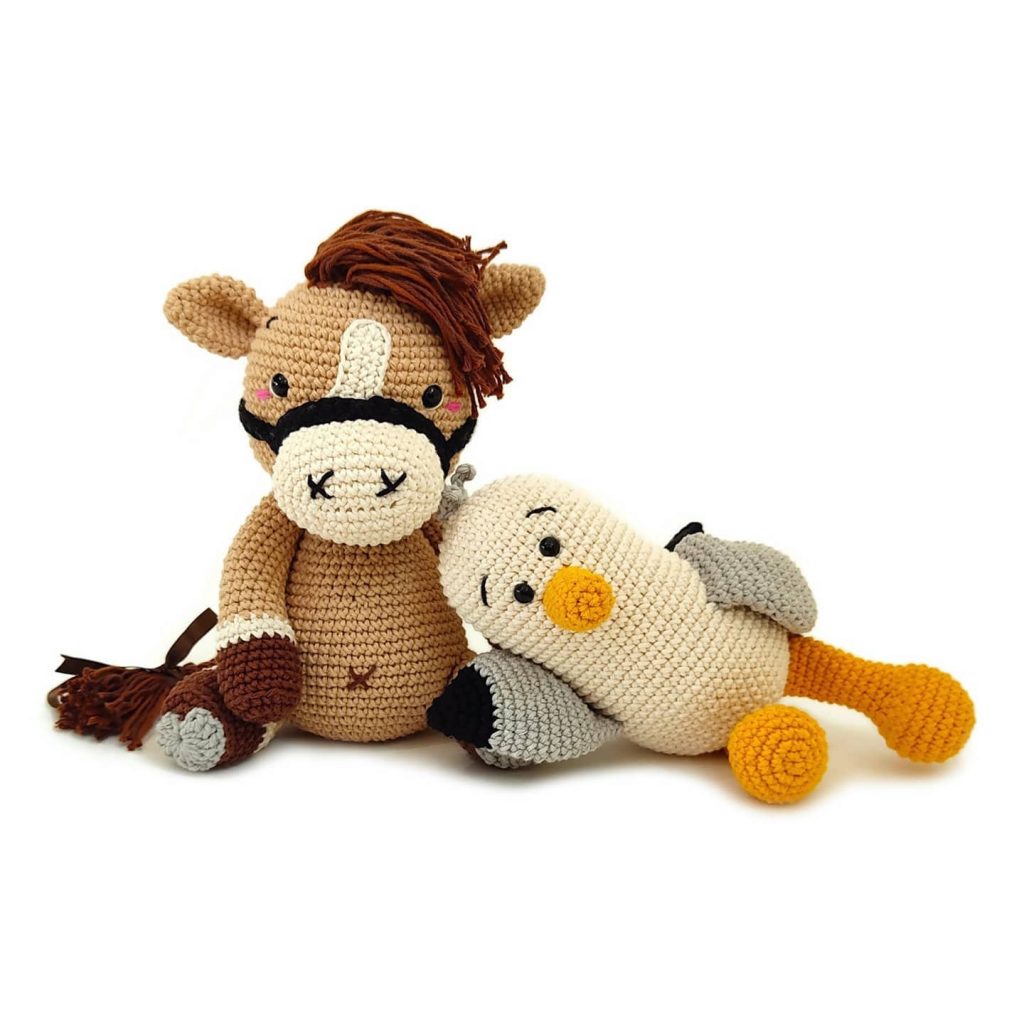
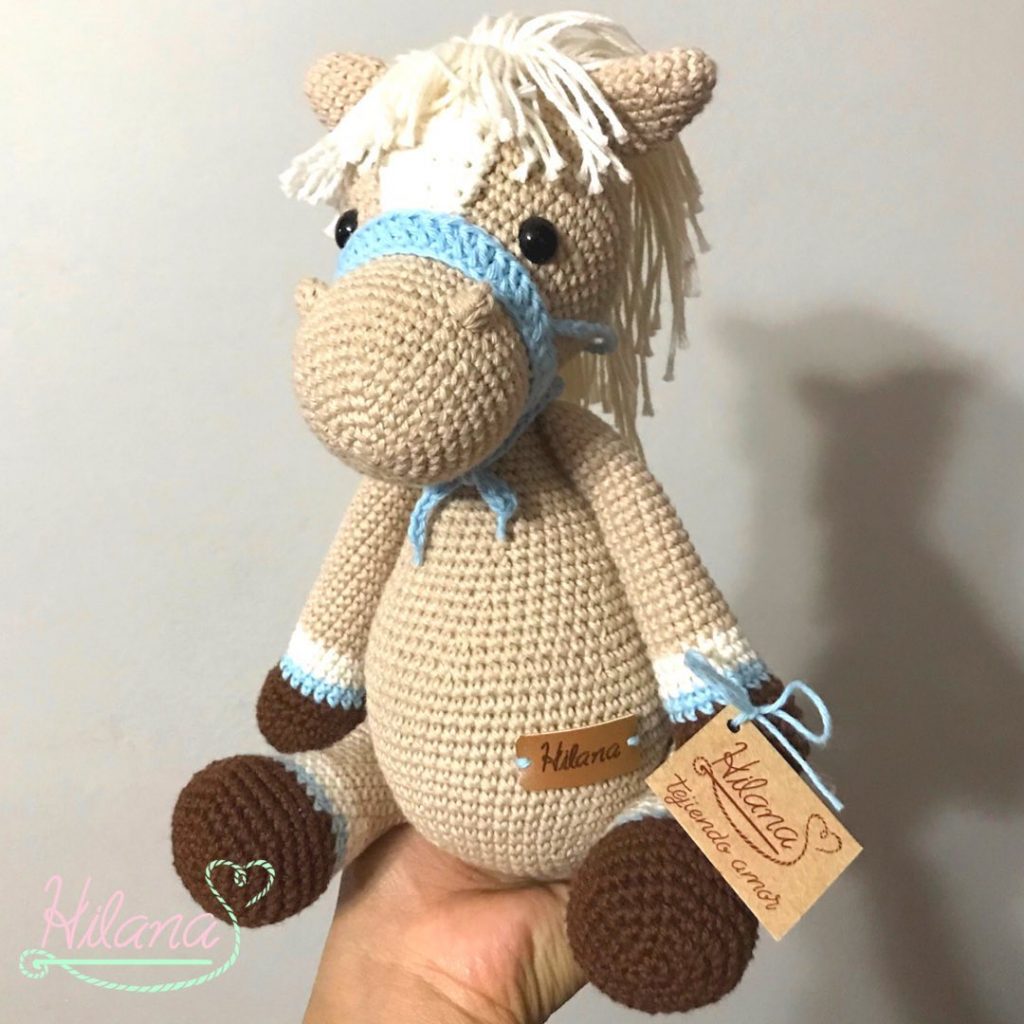
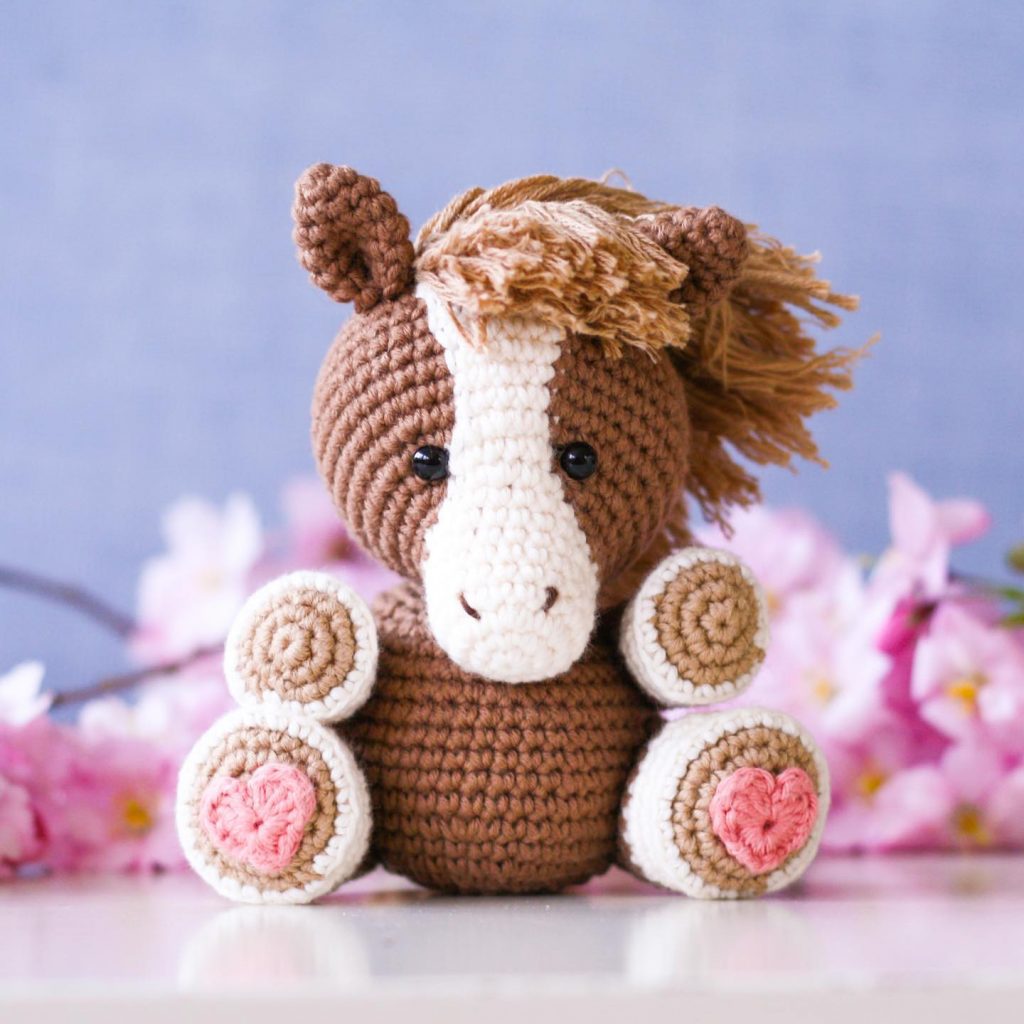
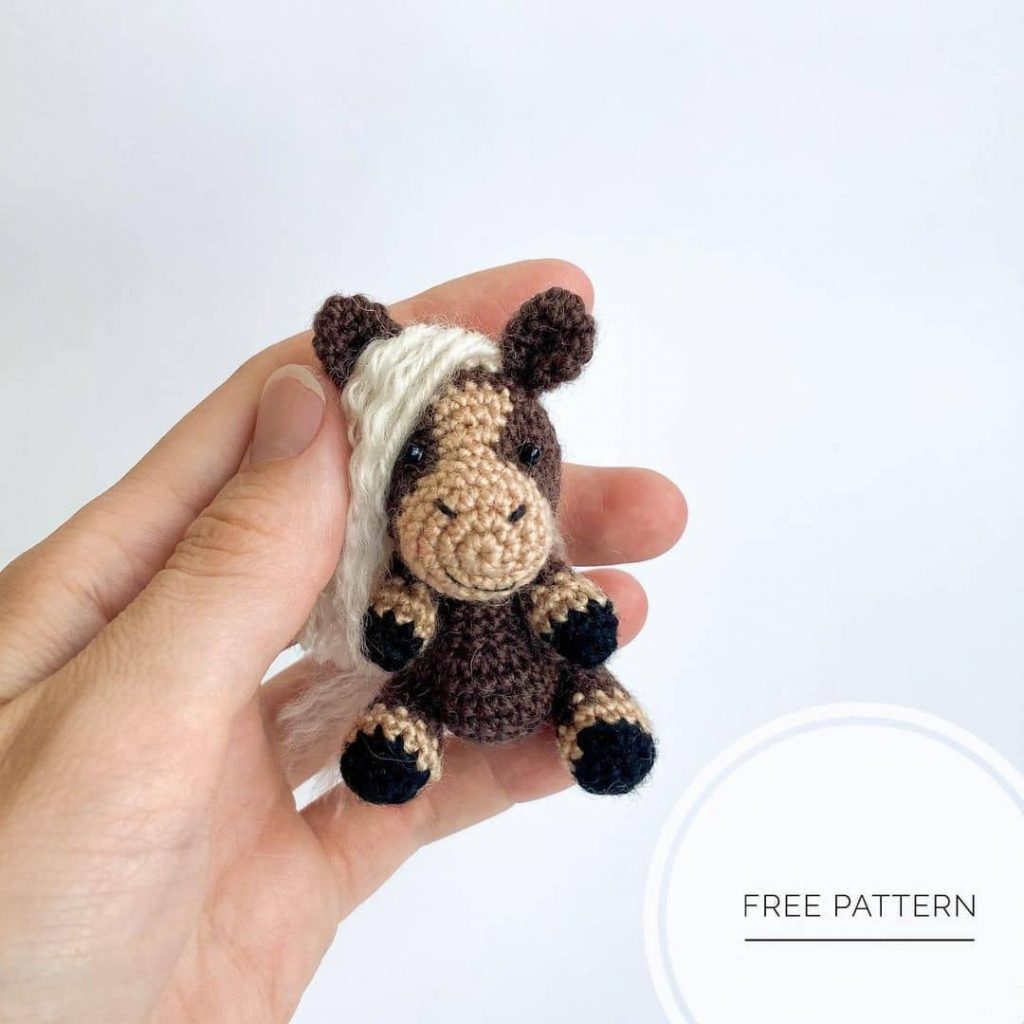
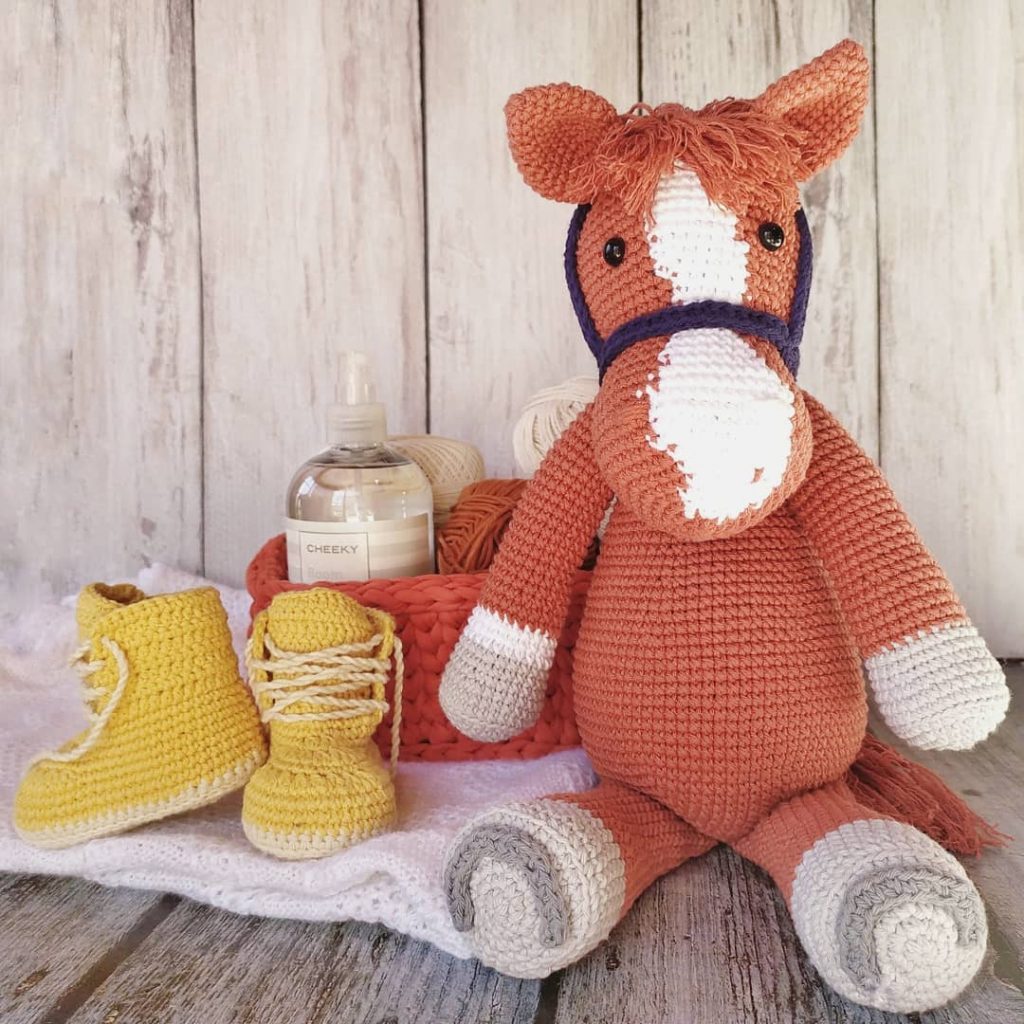
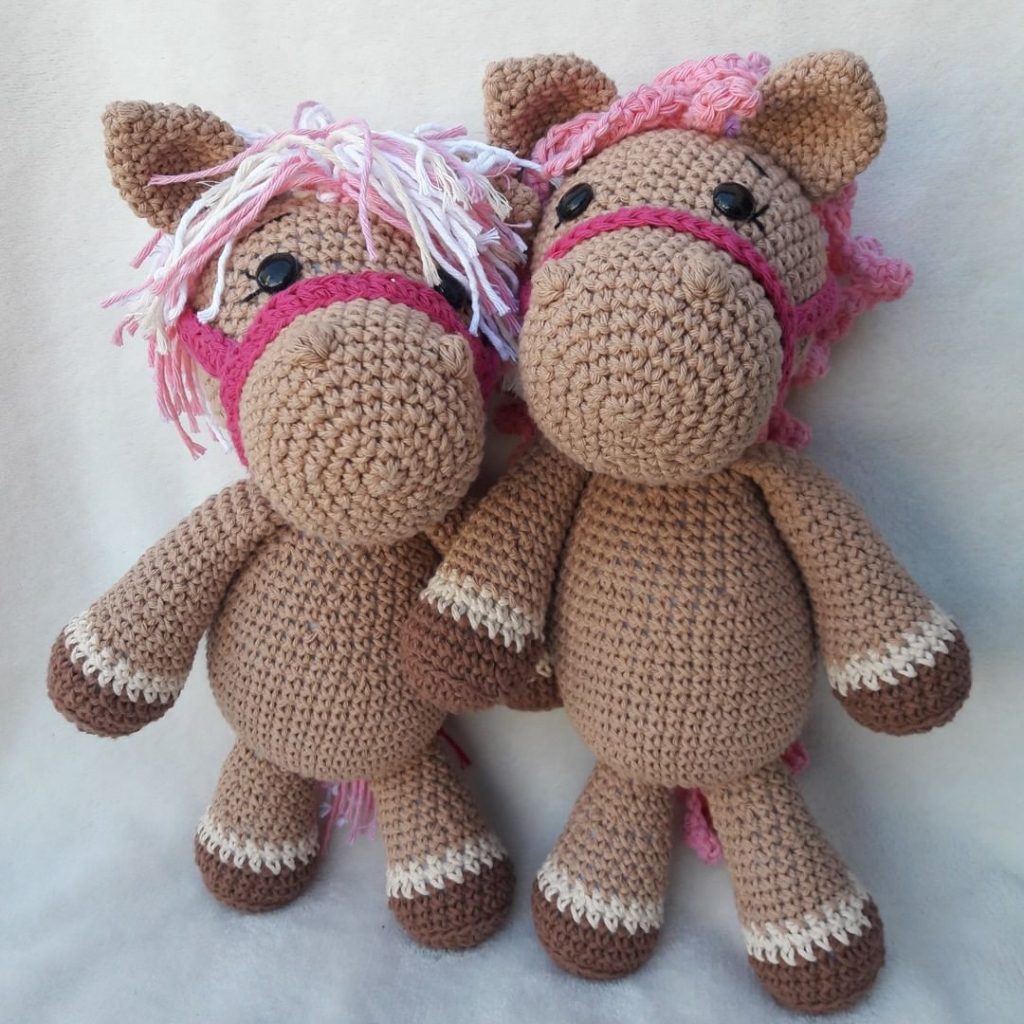
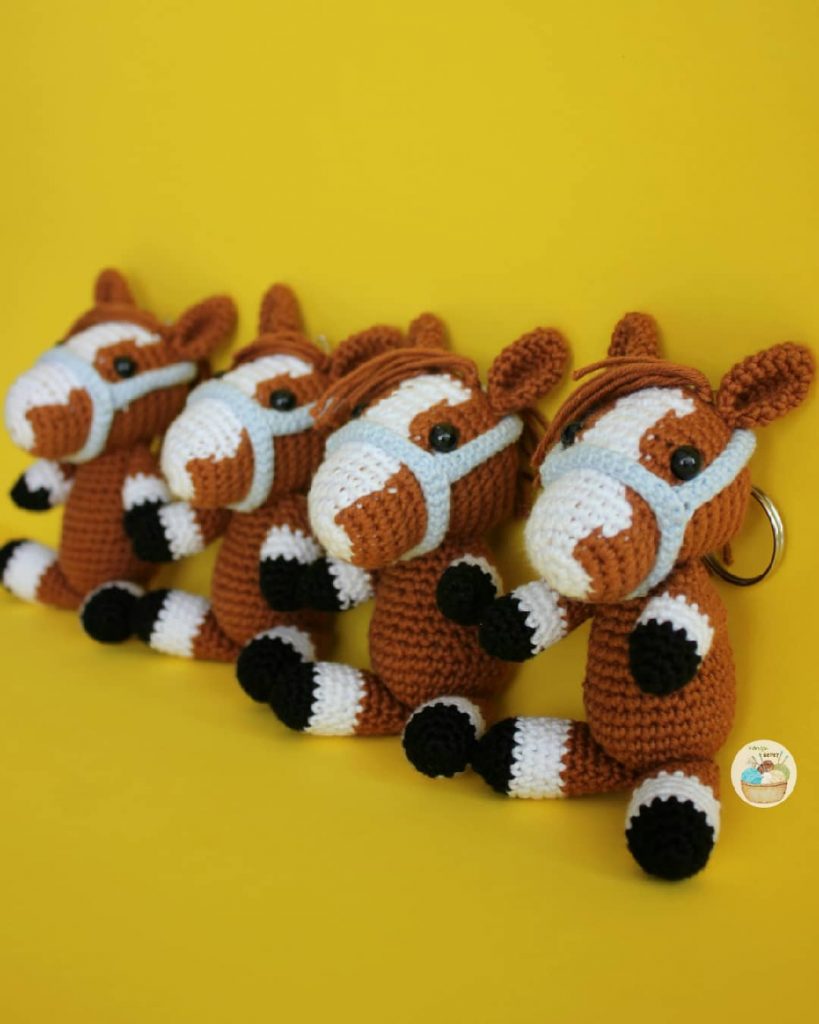
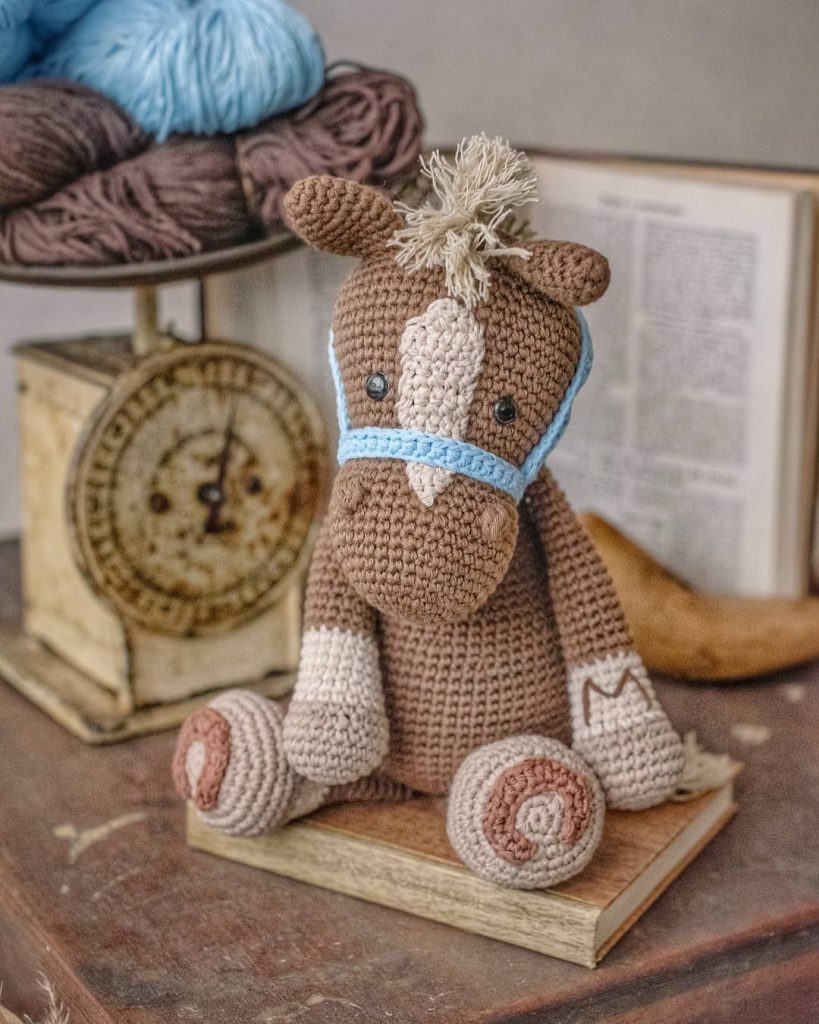
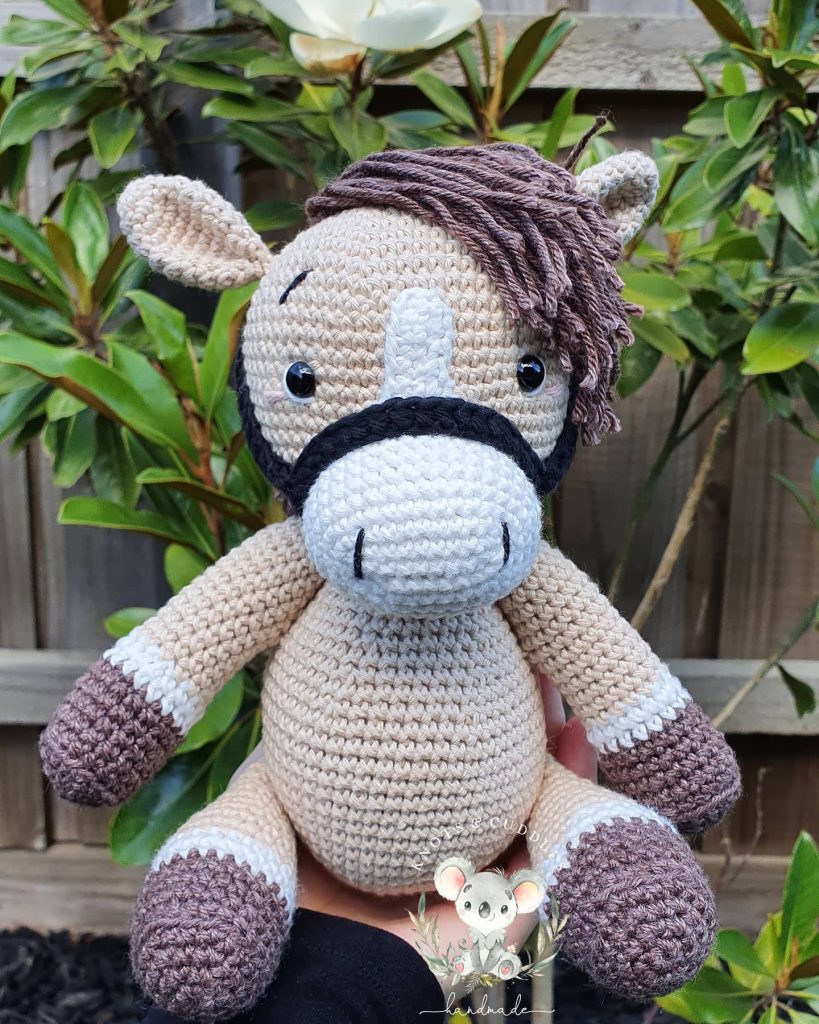
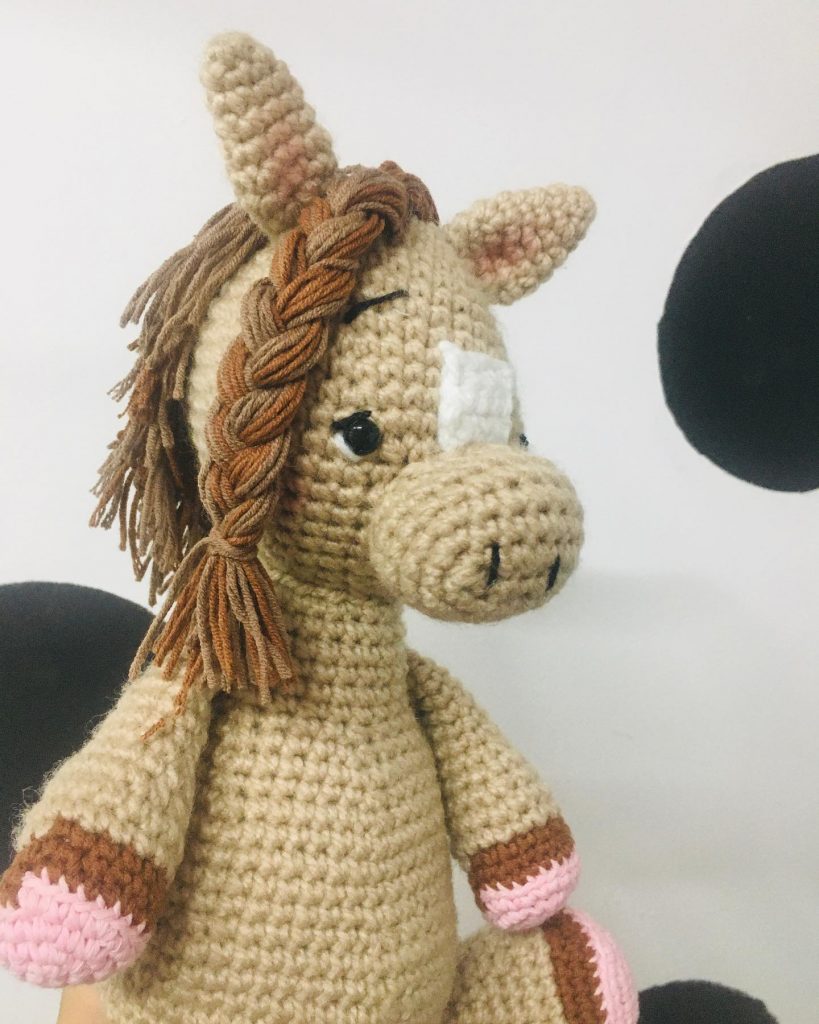
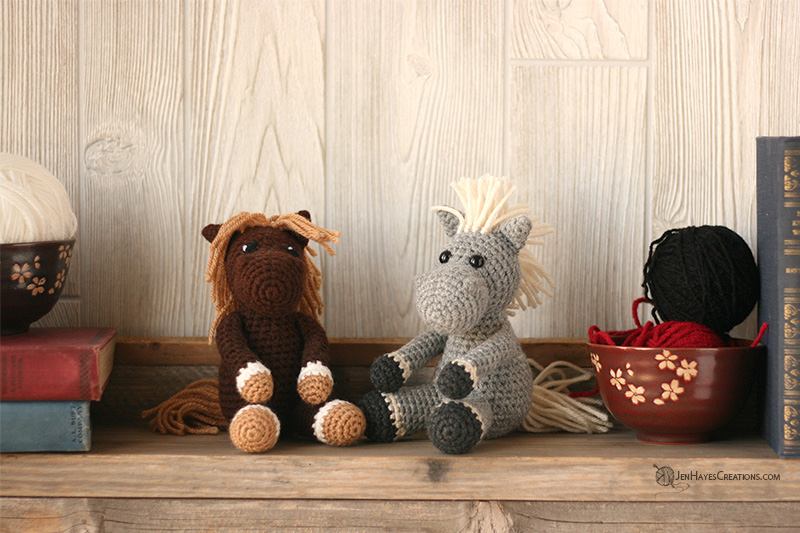
More Amigurumi Horse İdeas