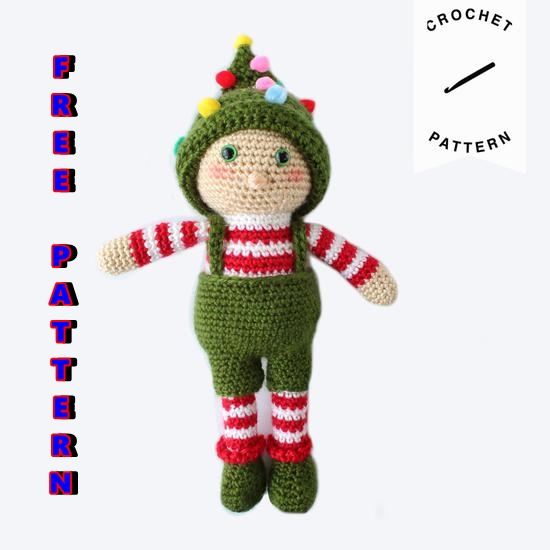
Ollie the Elf Amigurumi Free Crochet Pattern
Hello dear Amigurumi Followers
Today we share one free amigurumi crochet pattern again for you. As you know we share new amigurumi free patterns every day. The main crochets are amigurumi gazelles, amigurumi bears, amigurumi pola, amigurumi pandas, amigurumi penguins, amigurumi giraffes, amigurumi llama, amigurumi pigs, amigurumi bunny, amigurumi clowns, amigurumi lambs, amigurumi bees, amigurumi unicorns, amigurumi dolls, amigurumi foxes, amigurumi penguins, amigurumi dinosaurs, amigurumi elephants, amigurumi hippos, amigurumi monkeys, amigurumi cats, amigurumi dogs and more …
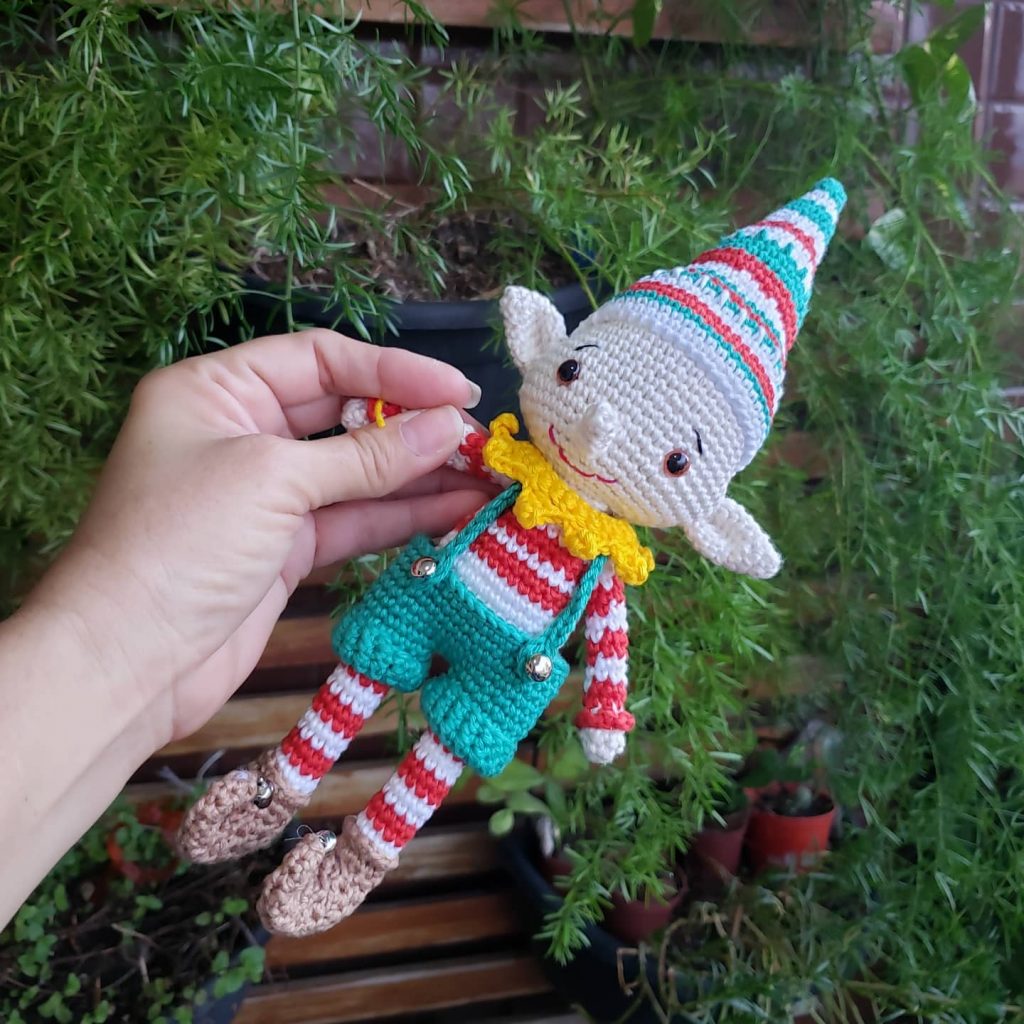
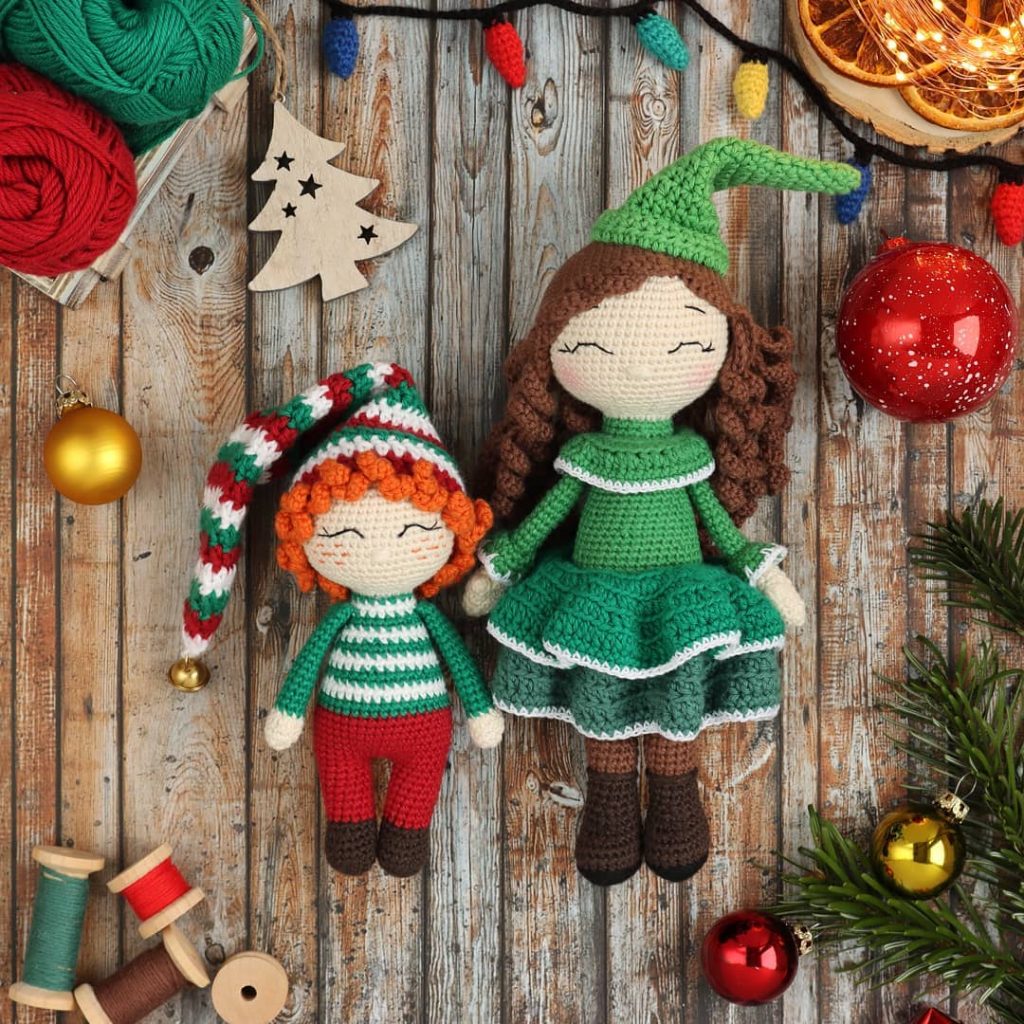
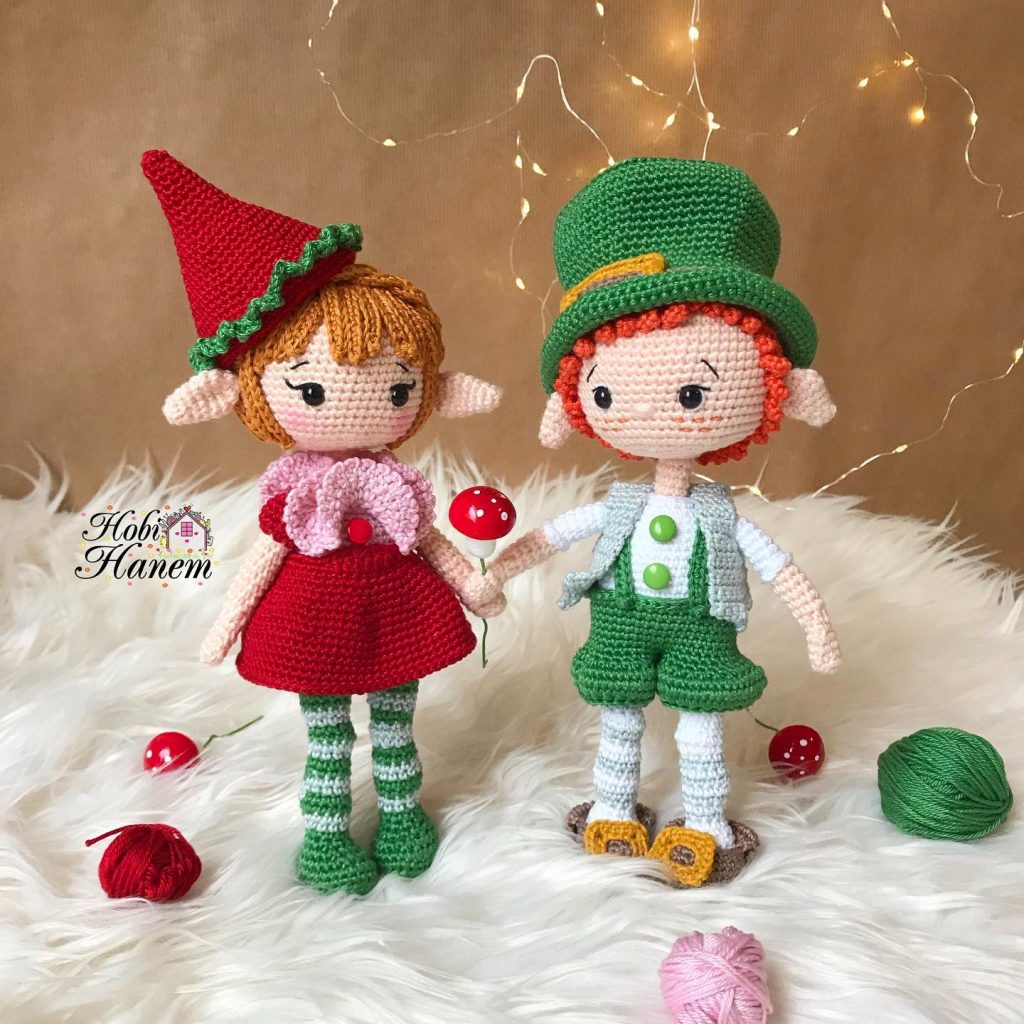
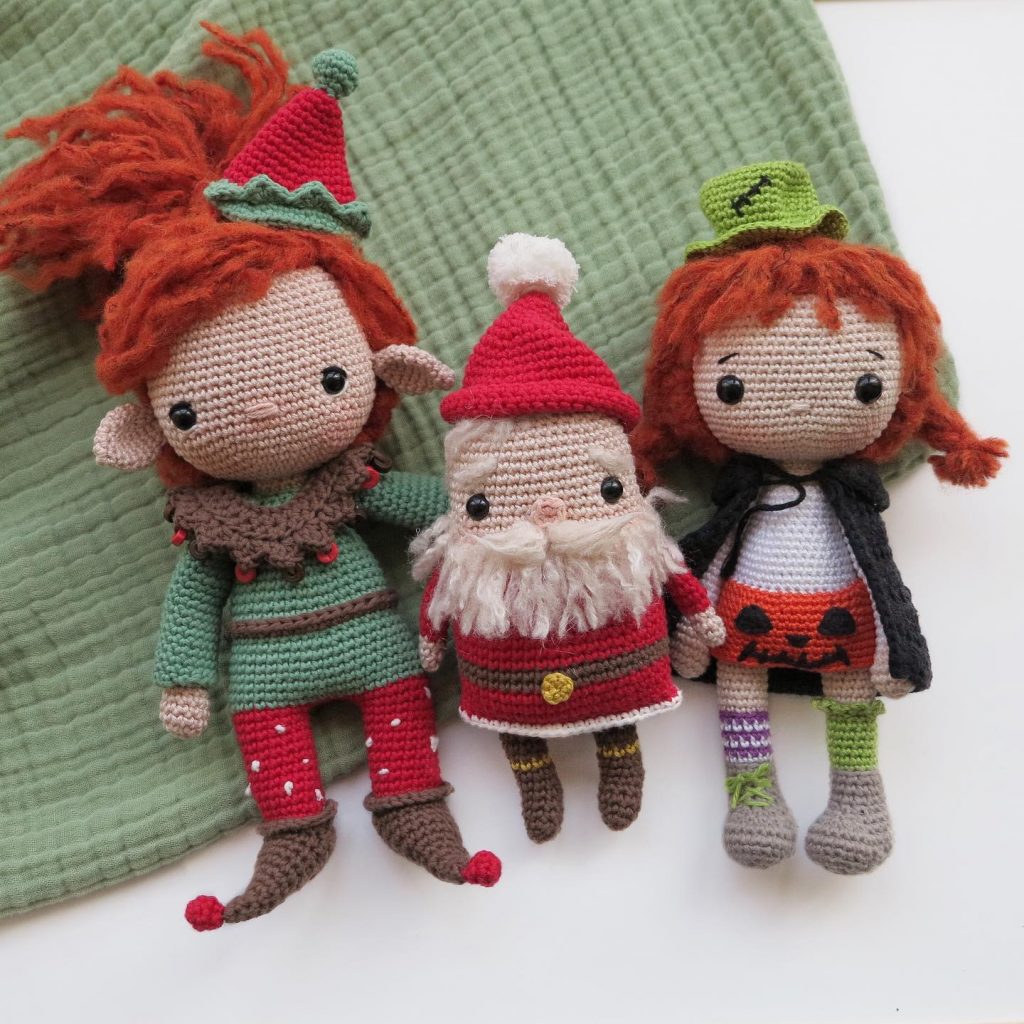
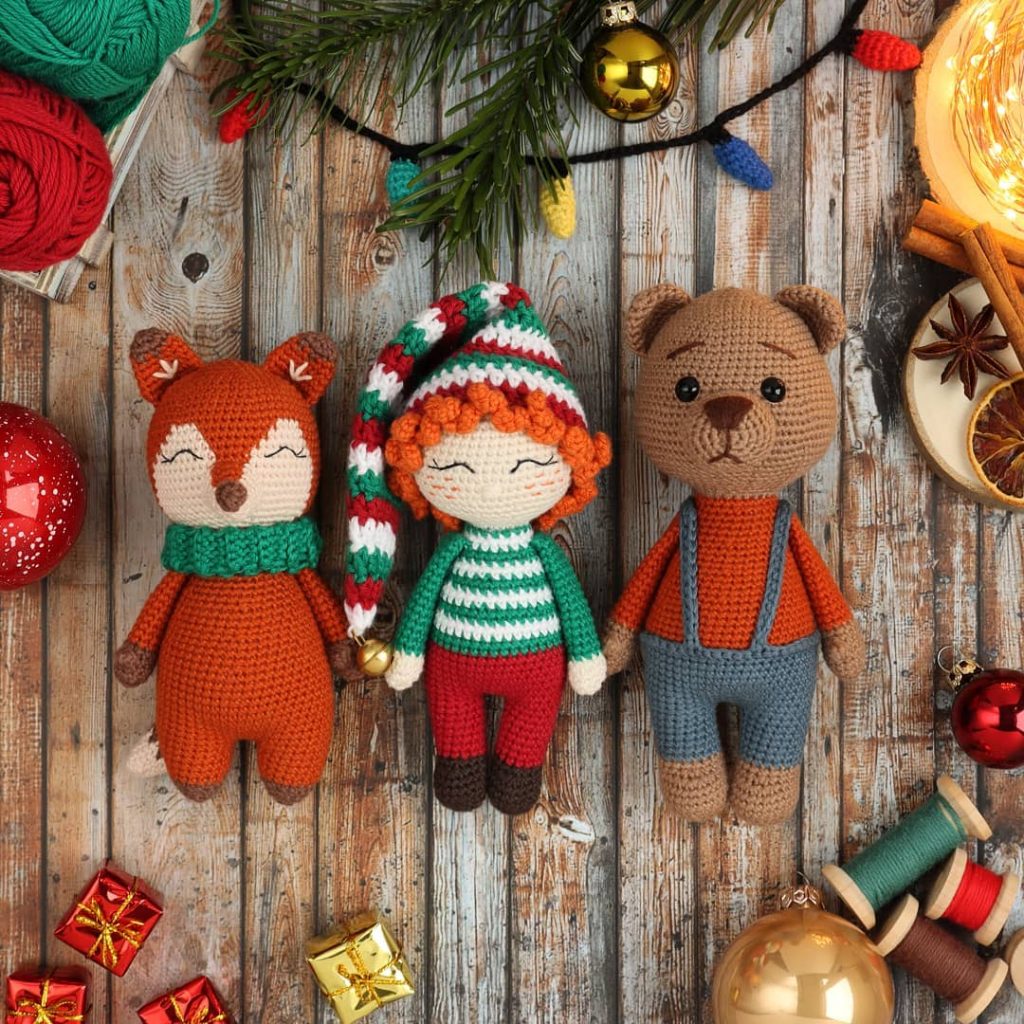
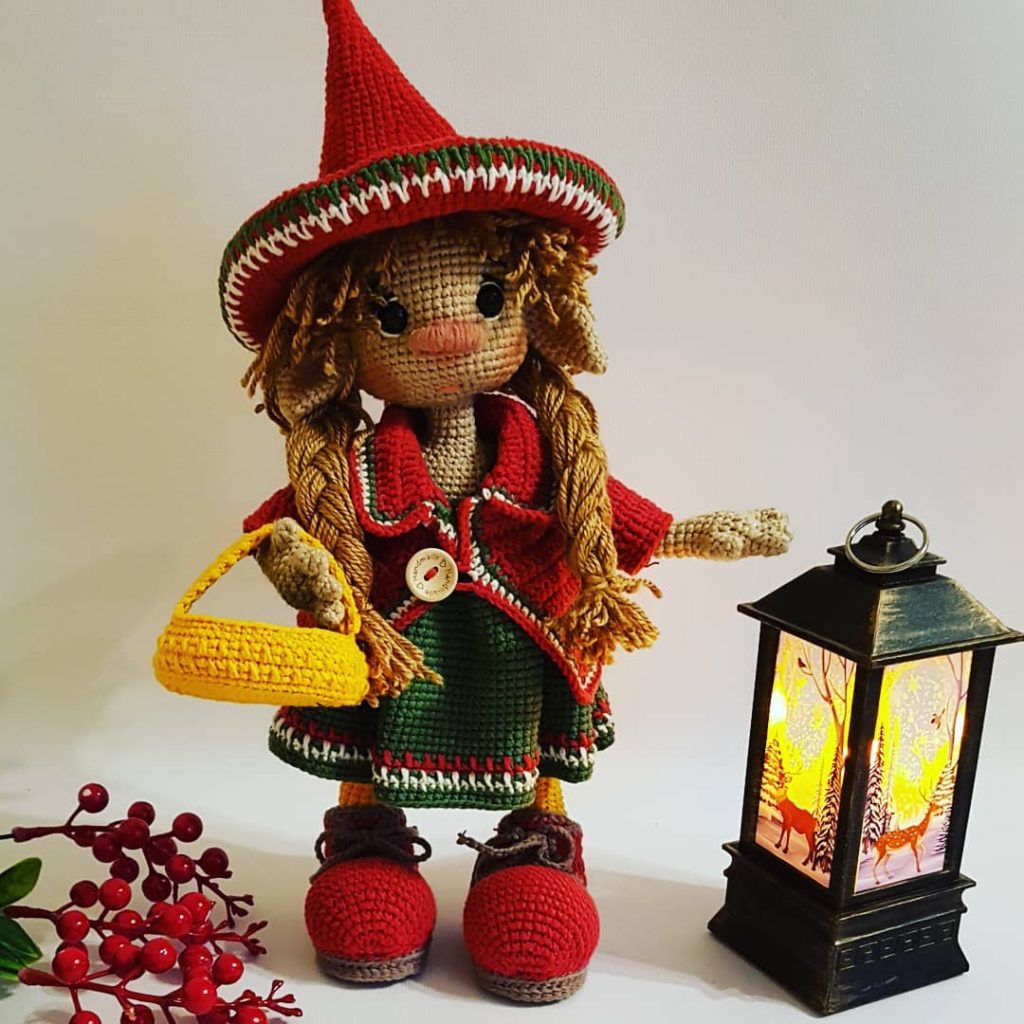
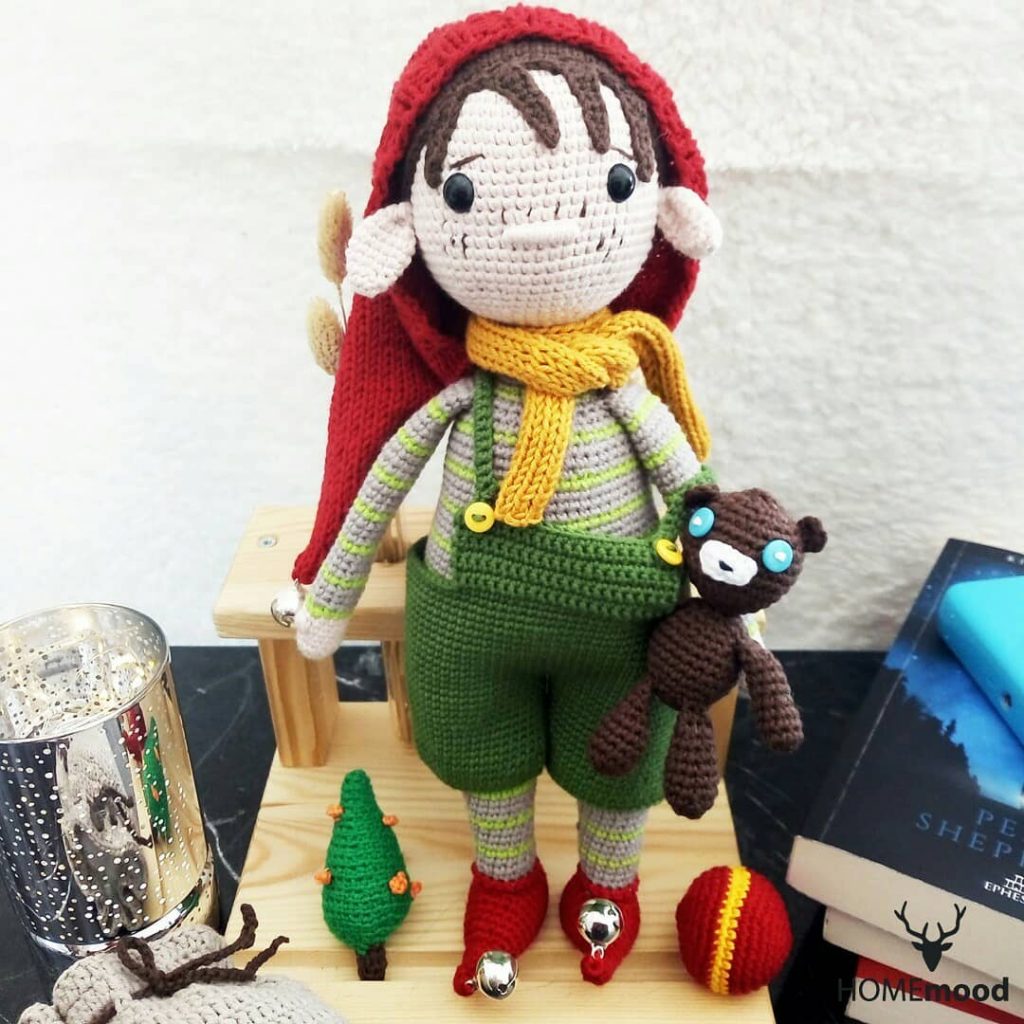
Todays daily new amigurumi free crochet pattern is amigurumi elf
I want to give you some informations about this pattern ;
If you enjoy making amigurumi, here I share this easy and free amigurumi pattern for you for free. Your kids will love these toys.
Materials
- 3.25mm crochet hook / D hook
- #4 medium weight yarn – I used Yarn Bee Soft Secret in Biscuit, Red, White, and Forest
- stitch markers
- tapestry needle
- 8mm safety eyes
- Polyfill stuffing
- Mini pom poms
- Hot glue gun
- Blush (optional)
Abbreviations
- ch – chain
- SC – single crochet
- DC – double crochet
- HDC – half double crochet
- sl – slip stitch
Arms (make 2)
Round 1: With yarn in Biscuit (skin color), create a magic loop and work 6 SC into it. Place a stitch marker to mark the beginning of the round.
Round 2: Inc in each space by working 2 SC into each (12).
Rounds 3-7: SC around for 5 rounds.
Rounds 8-21: Switch to Red yarn and SC around for 14 rounds, alternating between red and white every 2 rounds. Then BO leaving a long tail for sewing.
Legs (make 2)
Round 1: With White yarn, create a magic loop and work 6 SC into it. Place a stitch marker to mark the beginning of the round.
Round 2: Inc in each space by working 2 SC into each (12).
Rounds 3-8: SC around for 6 rounds.
Rounds 9-30: Switch to Red and SC for 22 rounds, alternating between red and white every 2 rounds. Then BO, leaving a long tail for sewing.
Body
Round 1: With yarn in Red, create a magic loop and work 6 SC into it. Place a stitch marker to mark the beginning of the round.
Round 2: Inc in each space by working 2 SC into each (12).
Round 3: *SC, inc* around (18).
Round 4: *SC 2, inc* around (24).
Round 5: *SC 3, inc* around (30).
Round 6: *SC 4, inc* around (36).
Round 7: *SC 5, inc* around (42).
Rounds 8-16: Switch to white, and alternating between red and white every 2 rounds, SC around for 9 rounds.
Round 17: *SC 5, dec* around (36).
Round 18: SC around for 2 rounds.
Round 19: *SC 4, dec* around (30).
Rounds 20-21: SC around for 2 rounds.
Round 22: *SC 3, dec* around (24).
Rounds 23-24: SC around for 2 rounds
Round 25: *SC 2, dec* around (18). Then BO, leaving a long tail for sewing.
Head
Round 1: With yarn in Biscuit (skin color), create a magic loop and work 6 SC into it. Place a stitch marker.
Round 2: Inc in each space by working 2 SC into each (12).
Round 3: *SC, inc* around (18).
Round 4: *SC 2, inc* around (24).
Round 5: *SC 3, inc* around (30).
Round 6: *SC 4, inc* around (36).
Round 7: *SC 5, inc* around (42).
Round 8: *SC 6, inc* around (48).
Rounds 9-18: SC around for 10 rounds. Insert safety eyes to round 5 after the last increase round, about 5 stitches apart. Start to add the stuffing.
Round 19: *SC 6, dec* around (42).
Round 20: *SC 5, dec* around (36).
Round 21: *SC 4, dec* around (30).
Round 22: *SC 3, dec* around (24).
Round 23: *SC 2, dec* around (18). Finish adding stuffing.
Round 24: *SC, dec* around (12).
Round 25: Decrease around (6). Cut the yarn and thread tail through a tapestry needle. Run the needle under the front loops of each stitch and secure yarn. Weave in the end.
Boots (make 2)
Round 1: With Green yarn, create a magic loop and work 6 SC into it. Place a stitch marker.
Round 2: Inc in each space by working 2 SC into each (12).
Round 3: *SC, inc* around (18).
Round 4: *SC 2, inc* around (24).
Round 5: SC 12, *SC 2, dec* 3 times (21).
Round 6: SC 12, *SC 1, dec* 3 times (18).
Round 7: SC 12, *dec* 3 times (15).
Rounds 8-11: SC around for 4 rounds.
Round 12: Switch to red and SC 1 round.
Round 13: *Ch 3, slip stitch into the same space,* repeat in each space around. Sl st into the first space and then BO. This might be tricky since the elf toy has such small feet, but keep at it! It took me a few tries getting the hook in the right spaces.
Tree Hat
Round 1: With Green yarn, chain 43. Slip stitch to the first chain space to form a ring (42).
Rounds 2-4: HDC around TBL for 3 rounds.
Rounds 5-6: HDC around normally for 2 more rounds.
Round 7: *HDC 5, dec* around (36).
Round 8: HDC for 1 round.
Round 9: *HDC 4, dec* around (30).
Round 10: HDC for 1 round.
Round 11: *HDC 3, dec* around (24).
Round 12: HDC for 1 round.
Round 13: *HDC 2, dec* around (18).
Round 14: HDC for 1 round.
Round 15: *HDC 1, dec* around (12).
Round 16: HDC for 1 round.
Round 17: Dec around (6). Cut the yarn and thread tail through a tapestry needle. Bring the needle through the remaining stitches and pull to close. Secure yarn and trim the excess.
To add the “lights”, use mini pompoms and a hot glue gun. Just add a drop of glue to each pom and place it where you want it on the tree hat. Use a yellow pom for the star on top.
Overalls
Round 1: With Green yarn, chain 16. Sl st to the first chain to form a loop (15).
Round 2-7: SC around for 6 rounds to make Leg 1. Then BO.
Repeat steps 1-7 for Leg 2 but don’t bind off.
Round 8: SC 15 on Leg 2 and then insert hook into a space on Leg 1, SC 15. You now have 1 round with 30 SC.
Round 9: *SC 4, inc* around (36).
Round 10: *SC 5, inc* around (42).
Round 11: *SC 6, inc* around (48).
Rounds 12-16: SC around for 5 rounds.
Round 17: *SC 6, dec* around (42).
Round 18: *SC 5, dec* around (36). Then BO.
To make the straps, attach a new piece of green yarn to a space on the last row, above the center of one leg. Chain 16, turn, and SC 15 into that chain. Sl st to the same stitch. Repeat on a stitch over the other leg.
Weave in any ends and trim the excess yarn. You’re done with the outfit for your crochet elf pattern!
Assembly
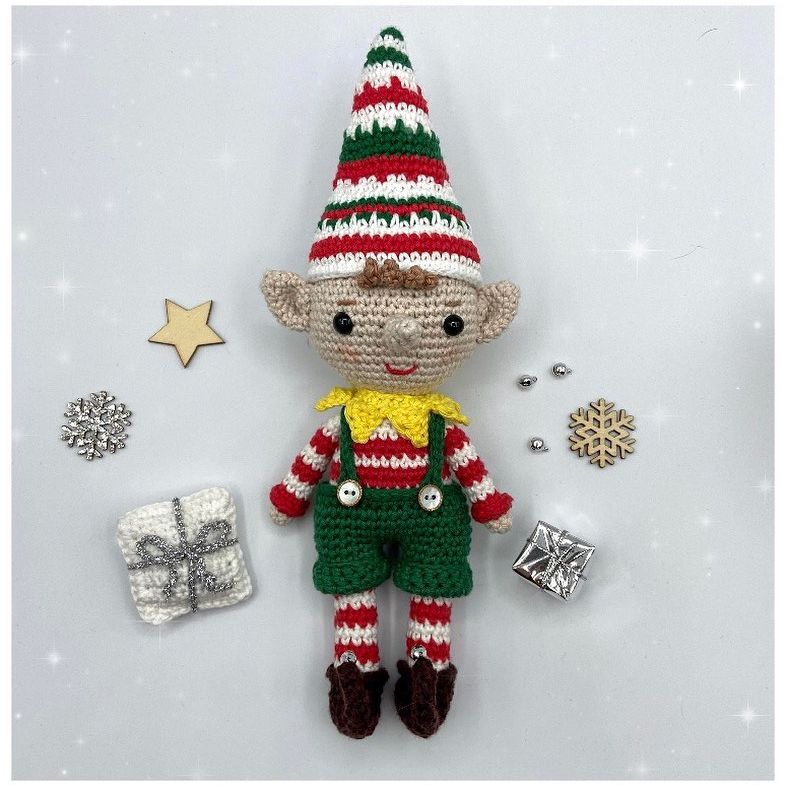
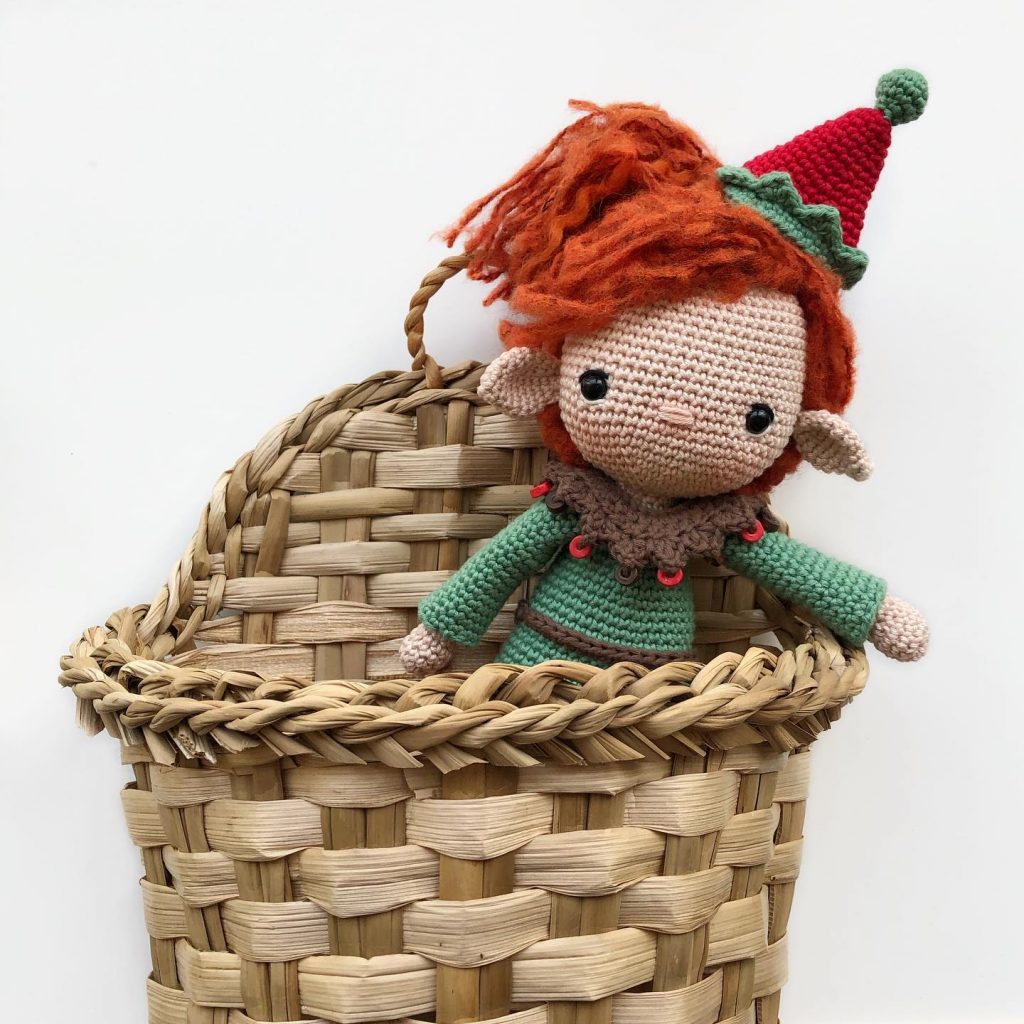
Now that we have all the parts of our easy crochet elf pattern ready, we can start assembling him! Add stuffing to the legs, body, and arms if you haven’t already. Then use the tail yarn you left to sew the arms onto the body, aligning the red stripes. Use the tail from the legs to attach the legs to the body. Slip the boots onto his feet.
Next, use the tail from the body to attach the head, going through one space on the body to one space on the head. Embroider on a nose with small stitches and the same yarn as the head. Then add a little blush for rosy cheeks. Using real blush and a small brush is the easiest and most natural way to do it, but you can also use paint, a marker or even embroider some blushes on!
Then put on the overalls and add a drop of hot glue to secure straps to the front of the pants. Optionally, stitch it in place for better hold. And then put his hat on. Glue or stitch it in place if you want to. I left all the clothing items removable so that he has a work outfit and pajamas! Weave in any loose ends and you’re finished with your elf toy!
More Amigurumi Elf İdeas