Amigurumi Cute Monkey Free Crochet Pattern
Hello dear Amigurumi Followers
Today we share one free amigurumi crochet pattern again for you. As you know we share new amigurumi free patterns every day. The main crochets are amigurumi gazelles, amigurumi bears, amigurumi pola, amigurumi pandas, amigurumi penguins, amigurumi giraffes, amigurumi llama, amigurumi pigs, amigurumi bunny, amigurumi clowns, amigurumi lambs, amigurumi bees, amigurumi unicorns, amigurumi dolls, amigurumi foxes, amigurumi penguins, amigurumi dinosaurs, amigurumi elephants, amigurumi hippos, amigurumi monkeys, amigurumi cats, amigurumi dogs and more …
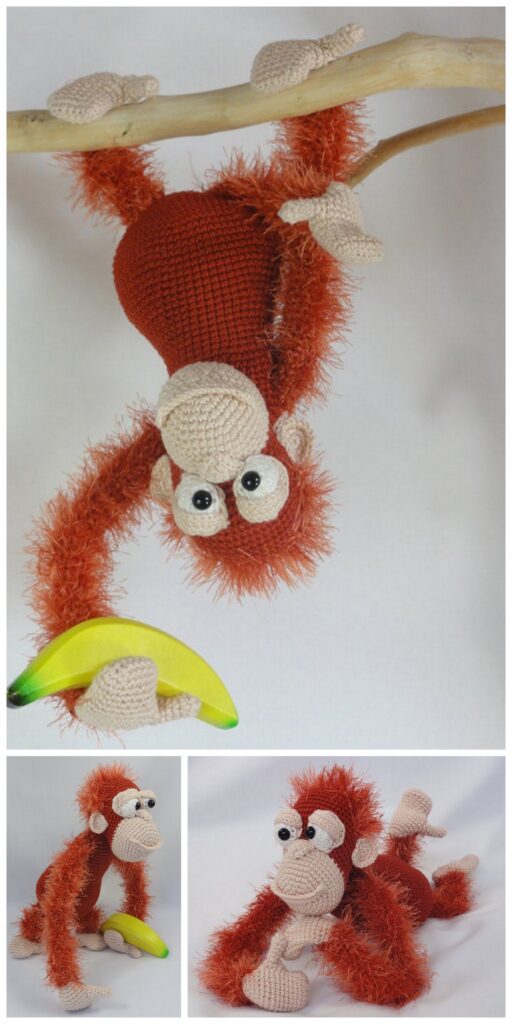
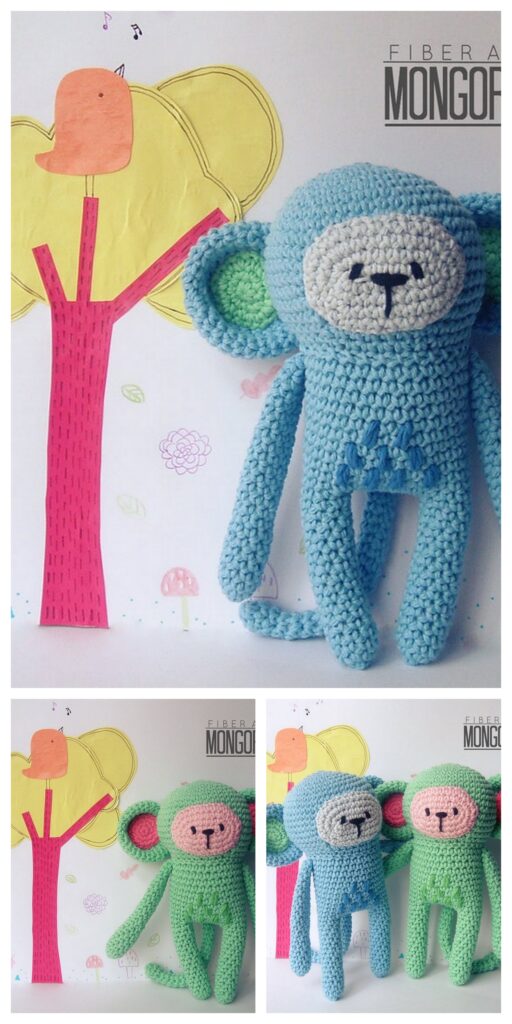
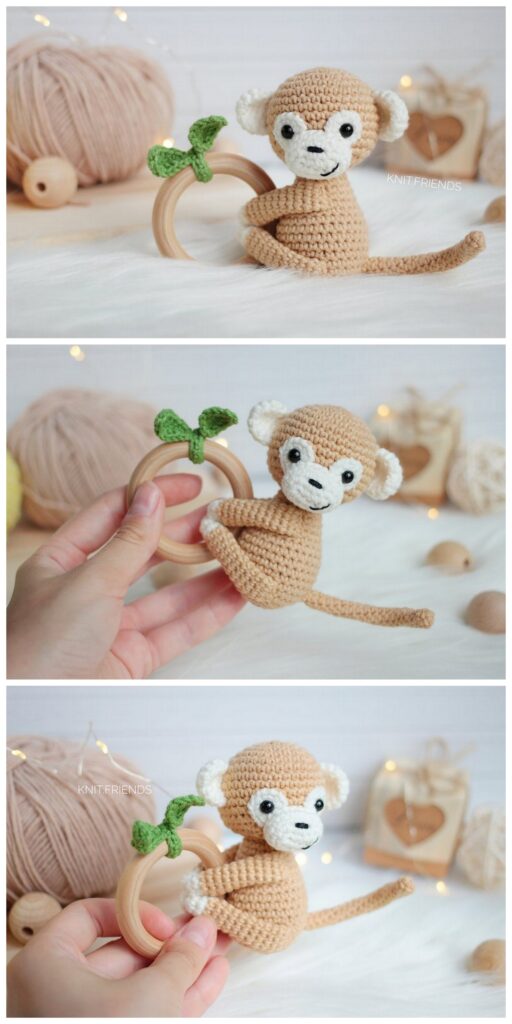
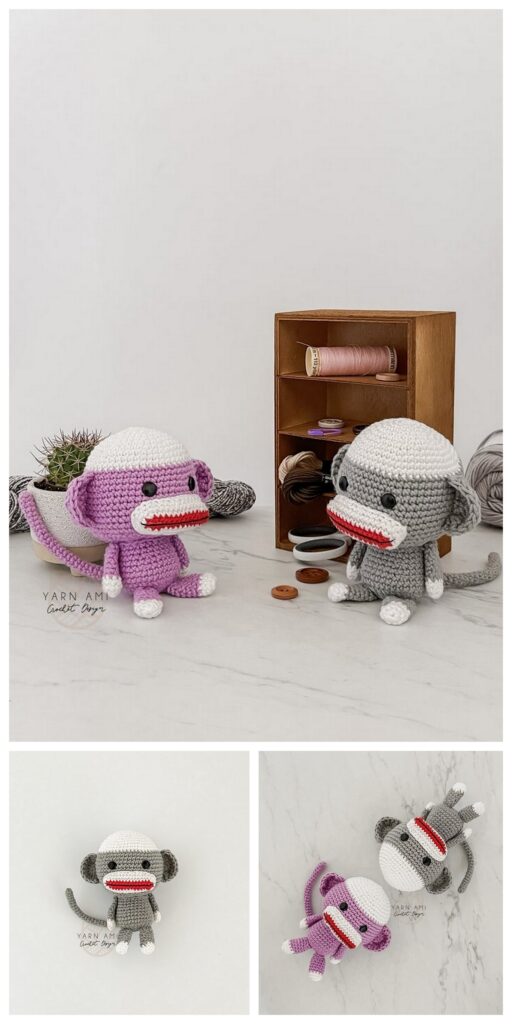
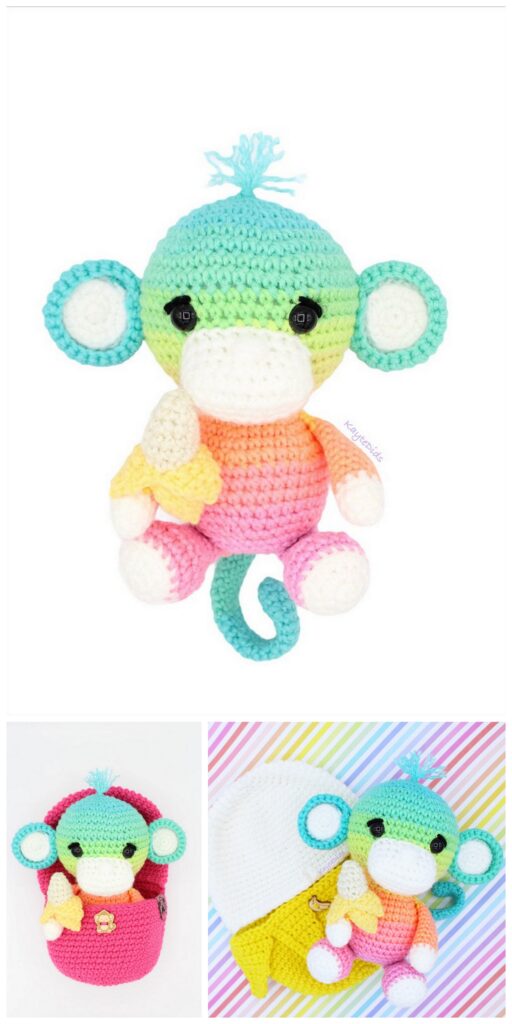
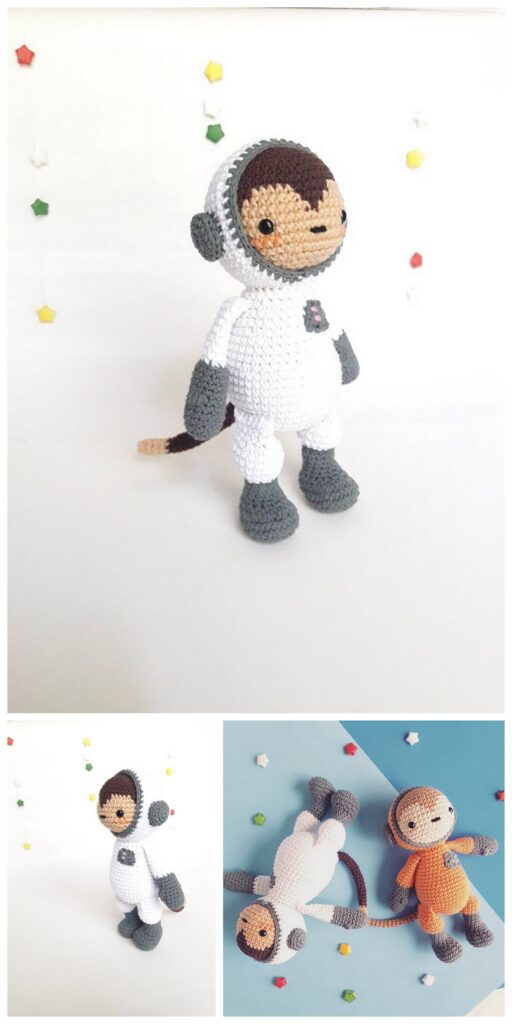
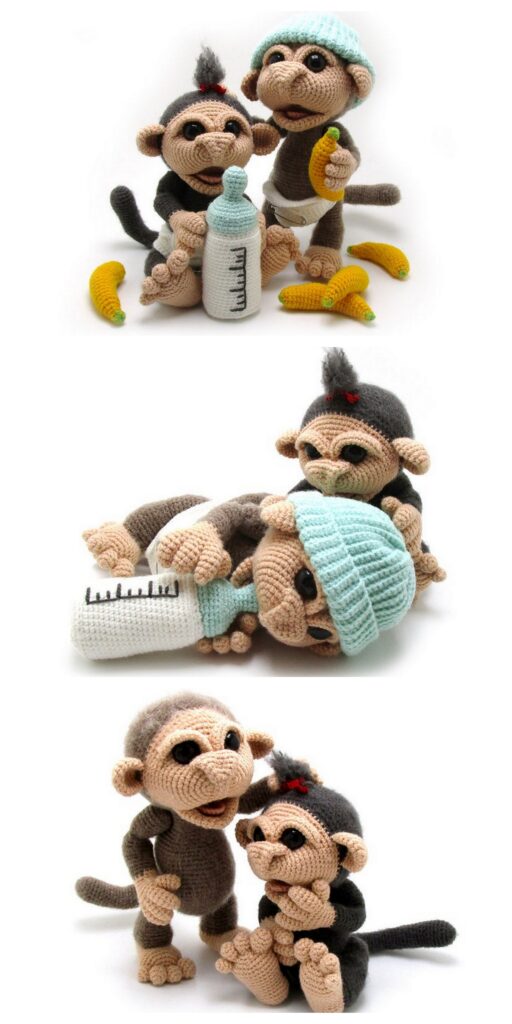
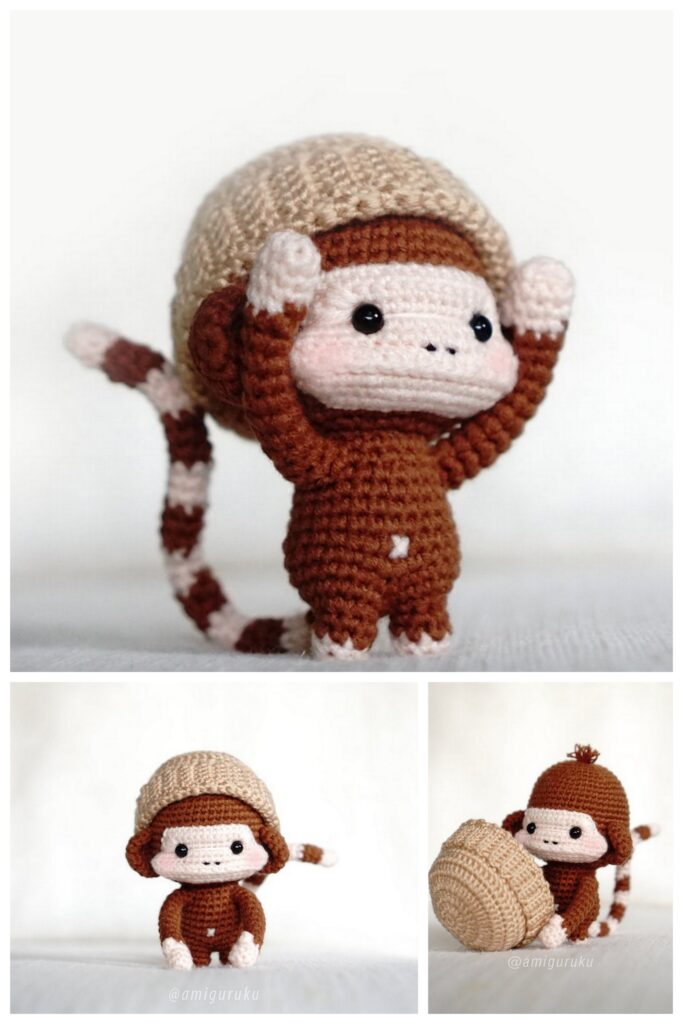
Todays daily new amigurumi free crochet pattern is amigurumi monkey
I want to give you some informations about this pattern ;
If you enjoy making amigurumi, here I share this easy and free amigurumi pattern for you for free. Your kids will love these toys.
MATERIALS
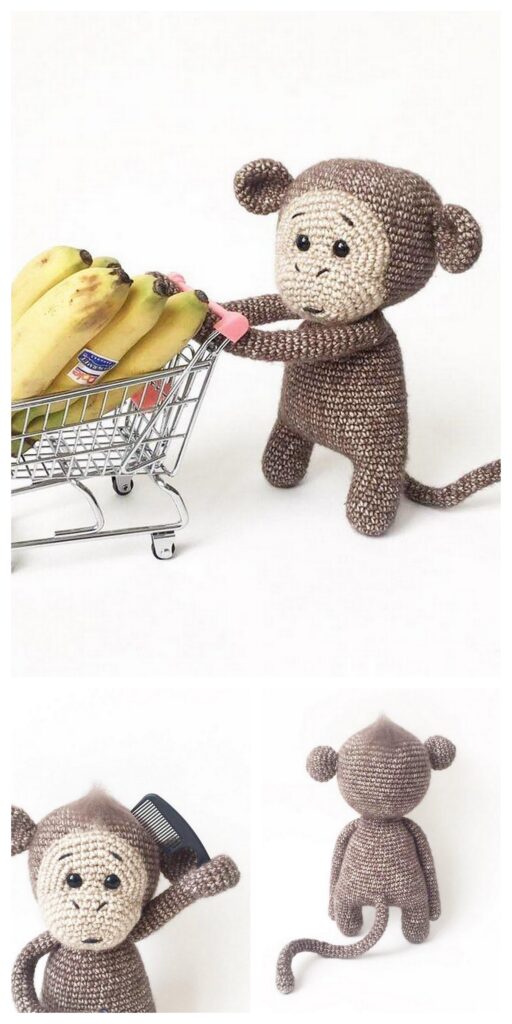
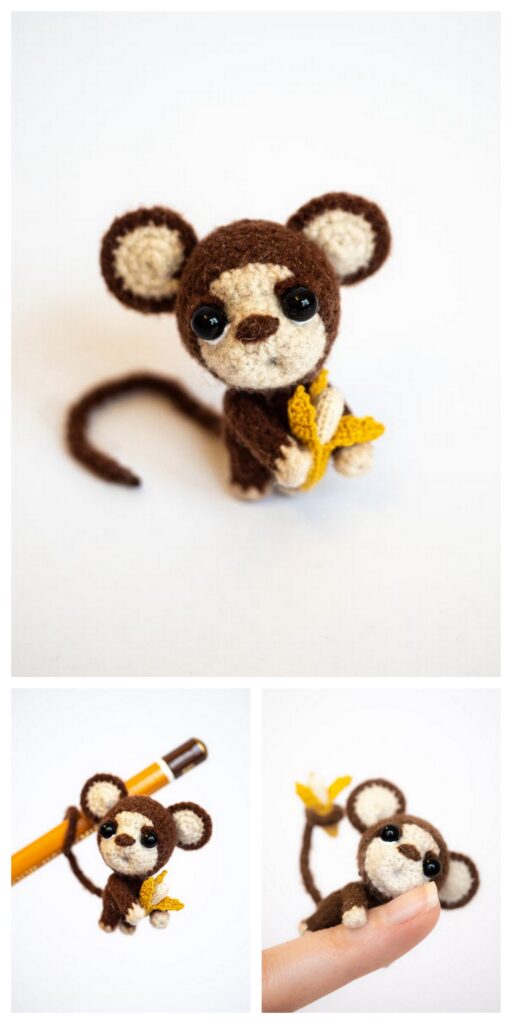
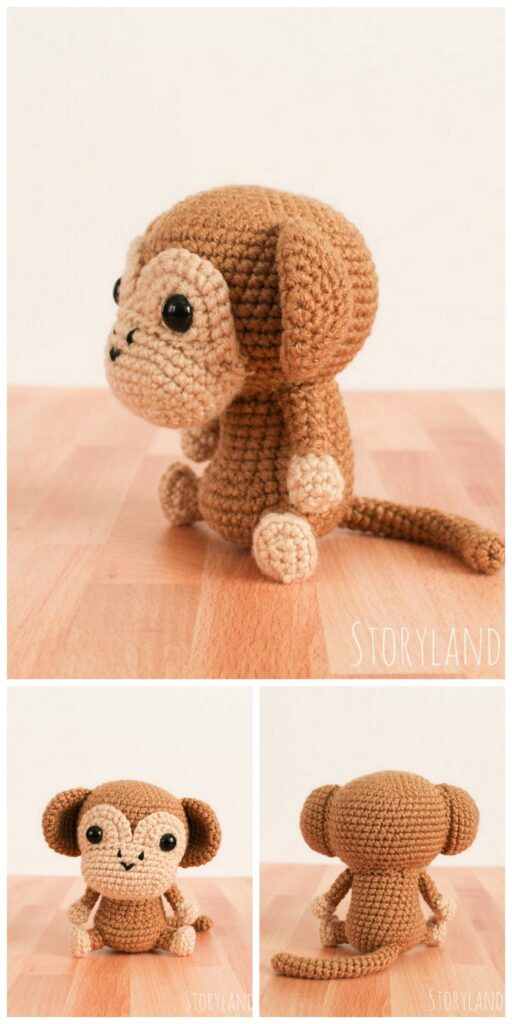
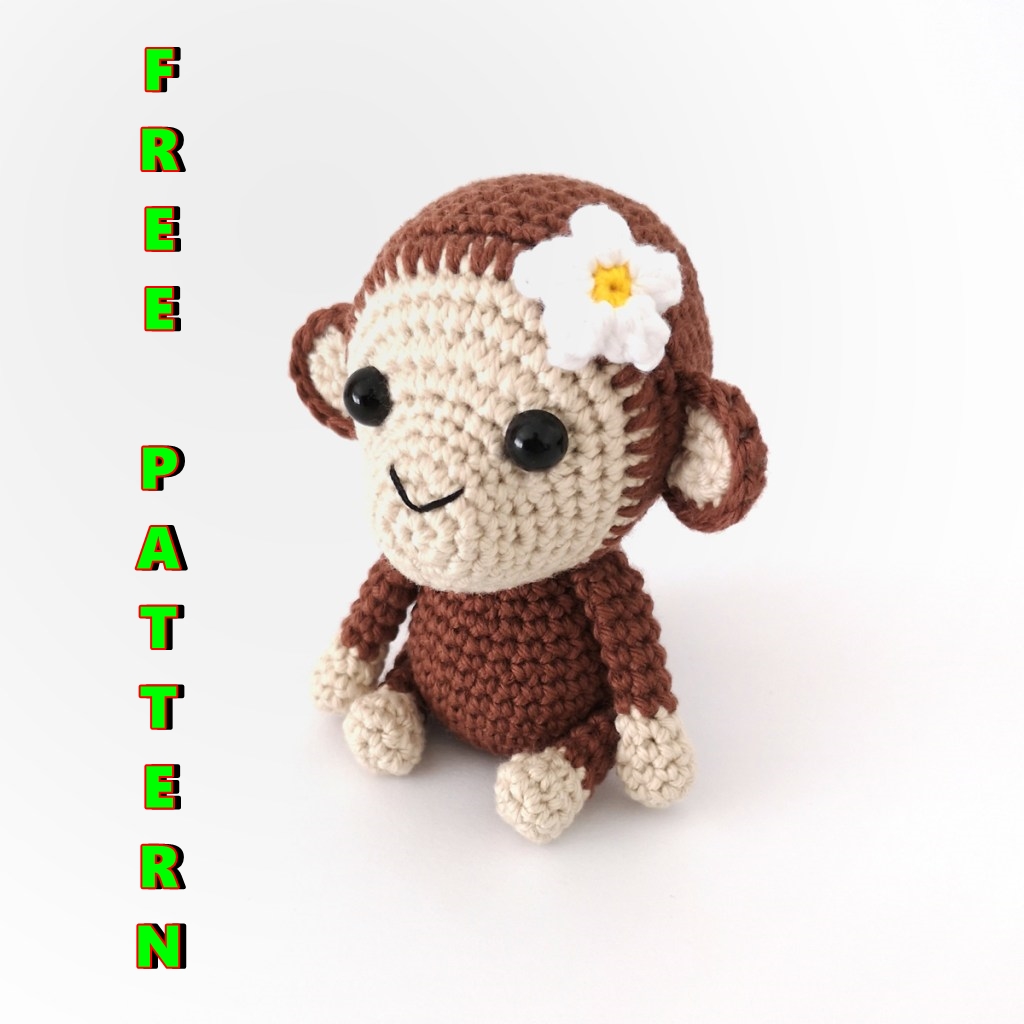
- DK Weight Yarn in beige, brown, yellow and white
(I used Paintbox Yarns Cotton DK in Coffee Bean, Vanilla Cream, Buttercup Yellow and Paper White) - 2.5mm crochet hook
- 8mm safety eyes
- Black embroidery floss
- Polyester Fiberfill
- Floral wire
- Stitch markers, yarn needle, scissors
STITCHES/ABBREVIATIONS
- ch – chain
- sc – single crochet
- inc – increase
- invdec – invisible decrease
- SPsc – single crochet spike stitch
- pc – popcorn stitch
- sl st – slip stitch
- st/s – stitch/es
- (…) – indicates stitch count at end of round
- […] – repeat the instructions in brackets
SPECIAL STITCHES
Single Crochet Spike Stitch – Insert hook into the stitch in the row below and draw up a loop to the height of the stitches of the working round. Yarn over and pull through both loops on hook.
Popcorn Stitch – 4 dc in the same stitch. Remove your hook and insert it under both loops of the first dc. Grab the last dc with your hook and pull it through the first dc. Ch 1 to close.
NOTES
The pattern is written using US terminology and measures approximately 3.5″ (9cm) tall when using the materials listed.
Pieces are worked in a continuous spiral starting with a magic ring unless otherwise specified. Mark the first stitch of each round with a removable stitch marker.
Gauge is not important in this pattern. Use a hook size to match your chosen yarn. Make sure that your stitches are tight enough to prevent stuffing showing through and adjust hook size if necessary.
Head (start in beige)
R1: 6 sc in magic ring (6)
R2: [Inc] x6 (12)
R3: [Sc, inc] x6 (18)
R4-5: [Sc] x18 (18)
R6: Sc, inc, [2 sc, inc], sc (24)
R7: 9 sc, [inc] x6, 9 sc (30)
R8: 9 sc, [sc, inc] x6, 9 sc (36)
R9: [Sc] x36 (36)
R10: [5 sc, inc] x6 (42)
R11: [Sc] x42 (42) – change to brown in last st.
R12: [SPsc] x42 working into R10 (42)
Insert eyes between R7 and R8, in 1st and last inc.
Using 2 strands of embroidery floss, embroider the nose. Start just above the magic circle and sew a wide V over 2 rounds.
R13-19: [Sc] x42 (42)
R20: [5 sc, invdec] x6 (36)
R21: 2 sc, invdec, [4 sc, invdec] x5, 2 sc (30)
Start stuffing and continue to stuff as you go.
R22: [3 sc, invdec] x6 (24)
R23: Sc, invdec, [2 sc, invdec] x5, sc (18)
R24: [Sc, invdec] x6 (12)
R25: [Invdec] x6 (6)
Fasten off and weave in end.
BODY (brown)
R1: 6 sc in magic ring (6)
R2: [Inc] x6 (12)
R3: [Sc, inc] x6 (18)
R4: Sc, inc, [2 sc, inc] x5, sc (24)
R5: [3 sc, inc] x6 (30)
R6-9: [Sc] x30 (30)
R10: [3 sc, invdec] x6 (24)
R11-12: [Sc] x24 (24)
R13: Sc, invdec, [2 sc, invdec] x5, sc (18)
R14: [Sc] x18 (18)
Fasten off, leaving a long tail for sewing. Stuff.
ARMS (make 2, start in beige)
R1: 6 sc in magic ring (6)
R2: [Inc, sc] x3 (9)
R3-4: [Sc] x9 (9)
R5: [Invdec, sc] x3 (6) – change to brown in last st.
R6-11: [Sc] x6 (6)
Flatten and sc across (2) – do not stuff.
Fasten off, leaving a long tail for sewing.
LEGS (make 2, start in beige)
R1: Ch 4, sc in 2nd ch from hook, sc in next ch, 3 sc in last ch. Working on the opposite side of the ch, sc, inc in last ch (8)
R2: 2 sc, [inc] x3, 3 sc (11)
R3: 2 sc, [invdec] x3, 3 sc (8)
R4: 2 sc, [invdec] x2, 2 sc (6) – change to brown in last st
Stuff the toe lightly.
R5-7: [Sc] x6 (6)
R8: 1 sc, flatten and sc across (2) – do not stuff the rest of the leg.
Fasten off, leaving a long tail for sewing.
EARS (make 2, beige)
R1: 6 sc in magic ring (6)
R2: Ch 1, turn. [Sc, inc] x3 (9)
Fasten off and weave in ends.
Make 2, brown
R1: 6 sc in magic ring (6)
R2: Ch 1, turn. [Sc, inc] x3 (9)
R3: Ch 1, turn. Place the beige piece against the brown piece right side facing you and sc in each st on both pieces to join together (9)
Fasten off, leaving a long tail for sewing.
Repeat for the 2nd ear.
TAIL
R1: 6 sc in magic ring (6)
R2-21: [Sc] x6 (6)
Fasten off, leaving a long tail for sewing.
Take your floral wire and bend over the end so that there is no sharp tip to poke through the end of the tail. Insert the wire into the tail and trim with approximately 1/2″ sticking out of the bottom. Bend the tail as desired. This can always be adjusted later once it has been attached.
Note: I chose not to stuff the tail because my piece is so small. If you use a heavier weight yarn, you may want to lightly stuff.
FLOWER (start in yellow)
R1: 5 sc in magic ring. Change to white in last sc and sl st to 1st sc to join (5)
R2: Ch 2 (counts as 1st dc), 3 dc in same st and complete pc as normal. Pc in each stitch around. Sl st to the back of starting ch 2 to join (5 pc petals)
Fasten off, leaving a long tail for sewing.
ASSEMBLY
- Sew the head to the body. The front of the body should be positioned over R12 of the head.
- Sew the arms to either side of the body on R14.
- Sew the legs to either side of the body in a sitting position. The back of the leg should be in line with the back of the arm.
- Sew the ears to either side of the head between R13 and R14. Position the top of the ear a little bit higher than the eyes.
- Insert the wire that’s sticking out of the tail into the back of the body. You want to make sure that your finished monkey will sit flat. Sew to the body and bend to adjust as necessary so the base of the tail provides support so she can sit on her own.
- Sew the flower to the side of the head over R12.
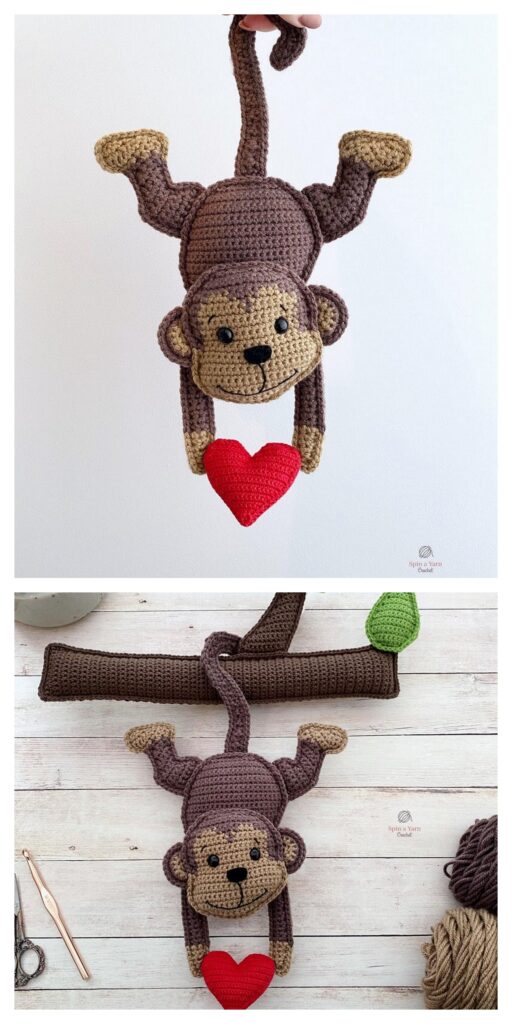
More Amigurumi Monkey İdeas