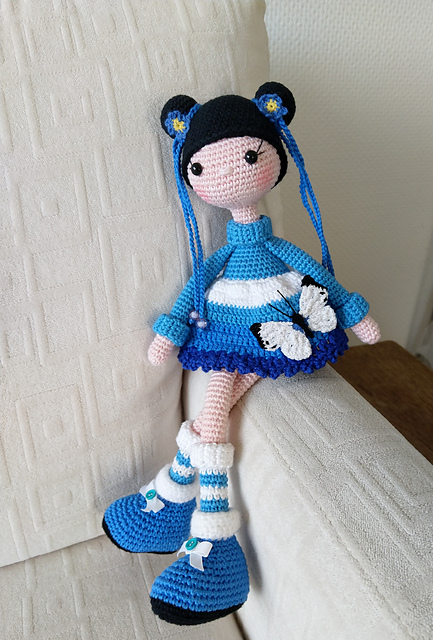
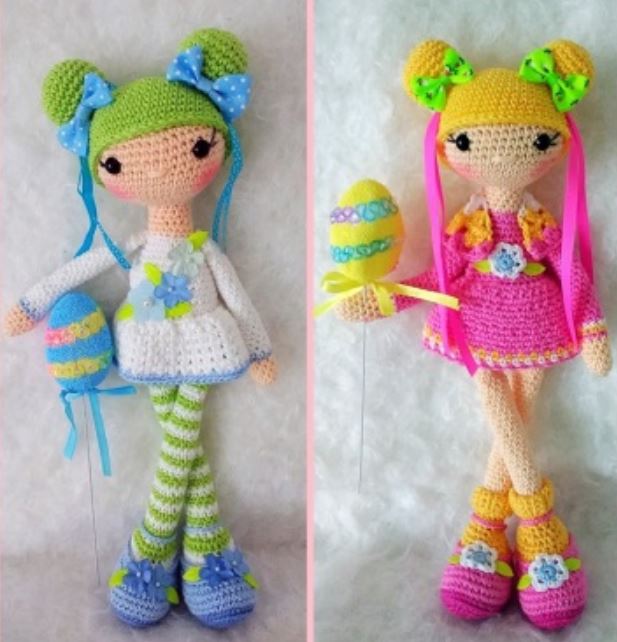
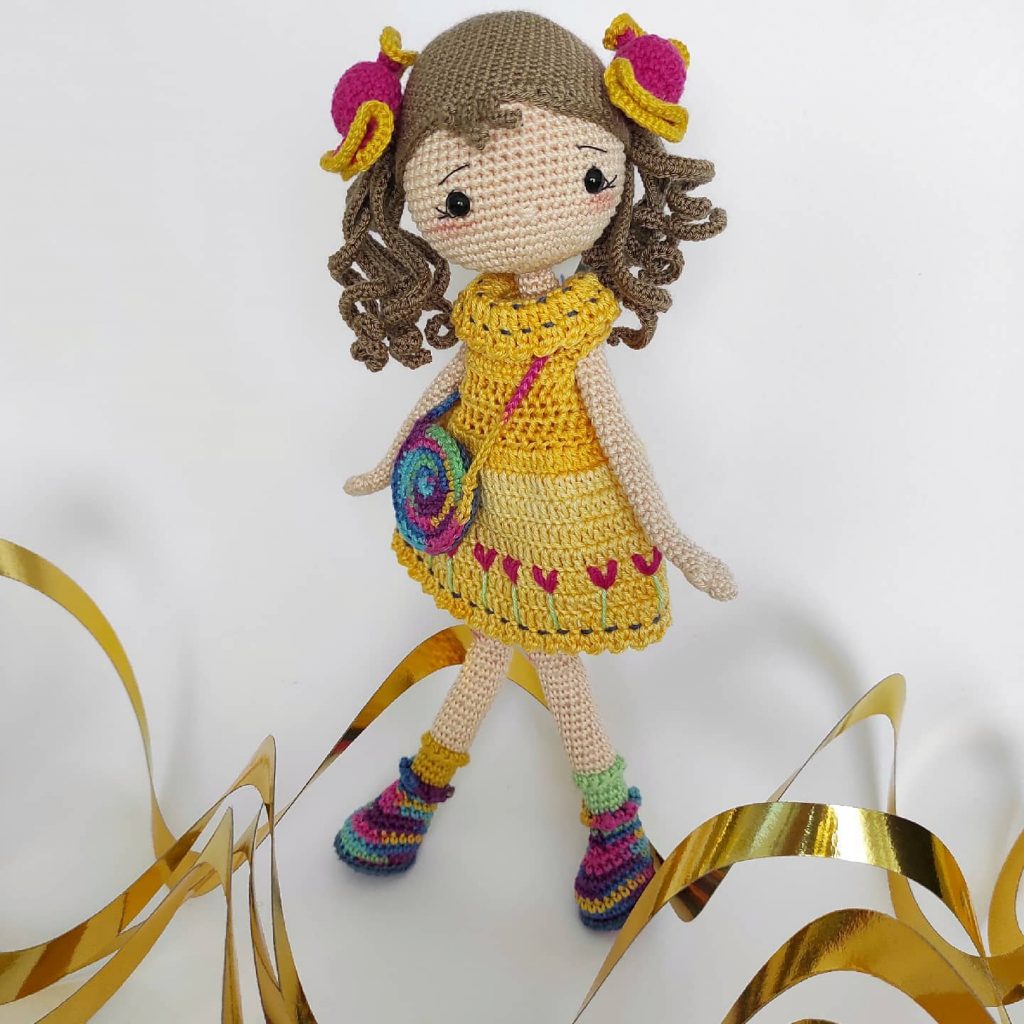
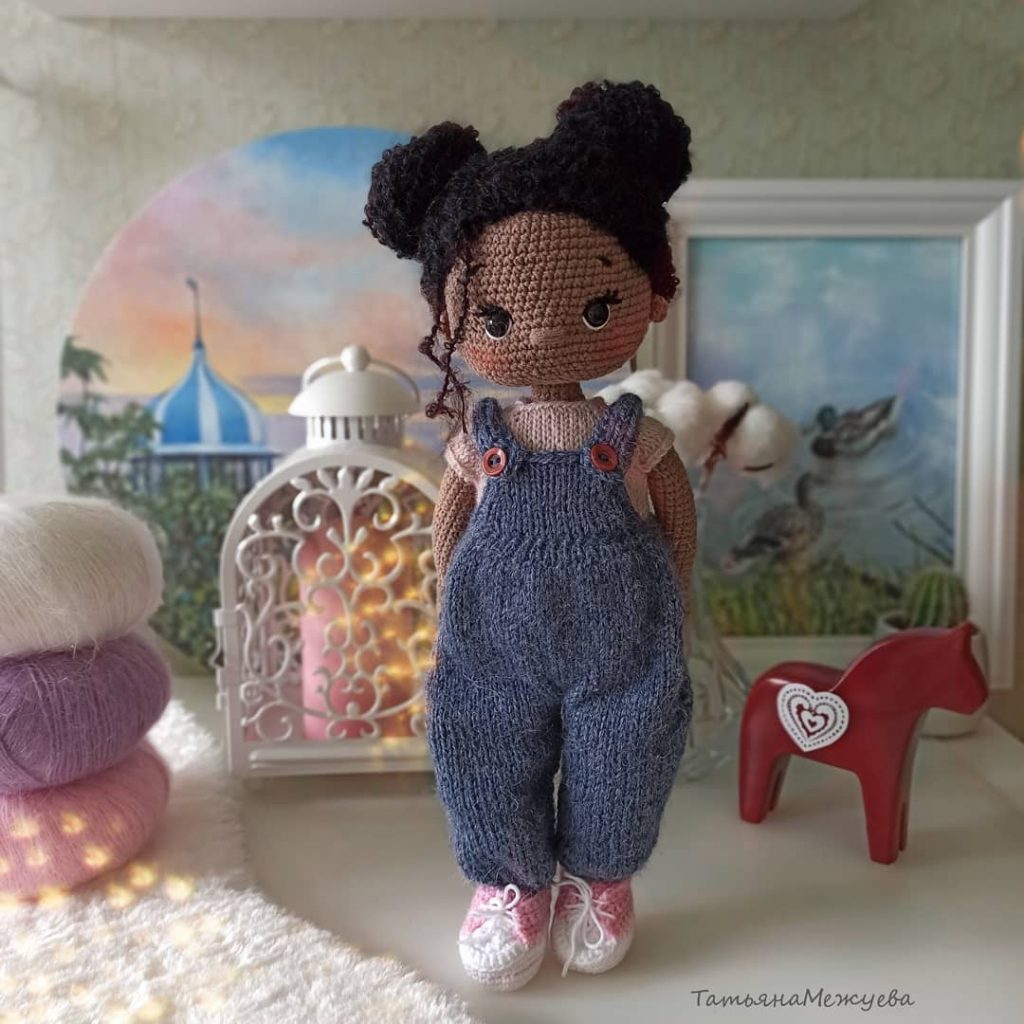
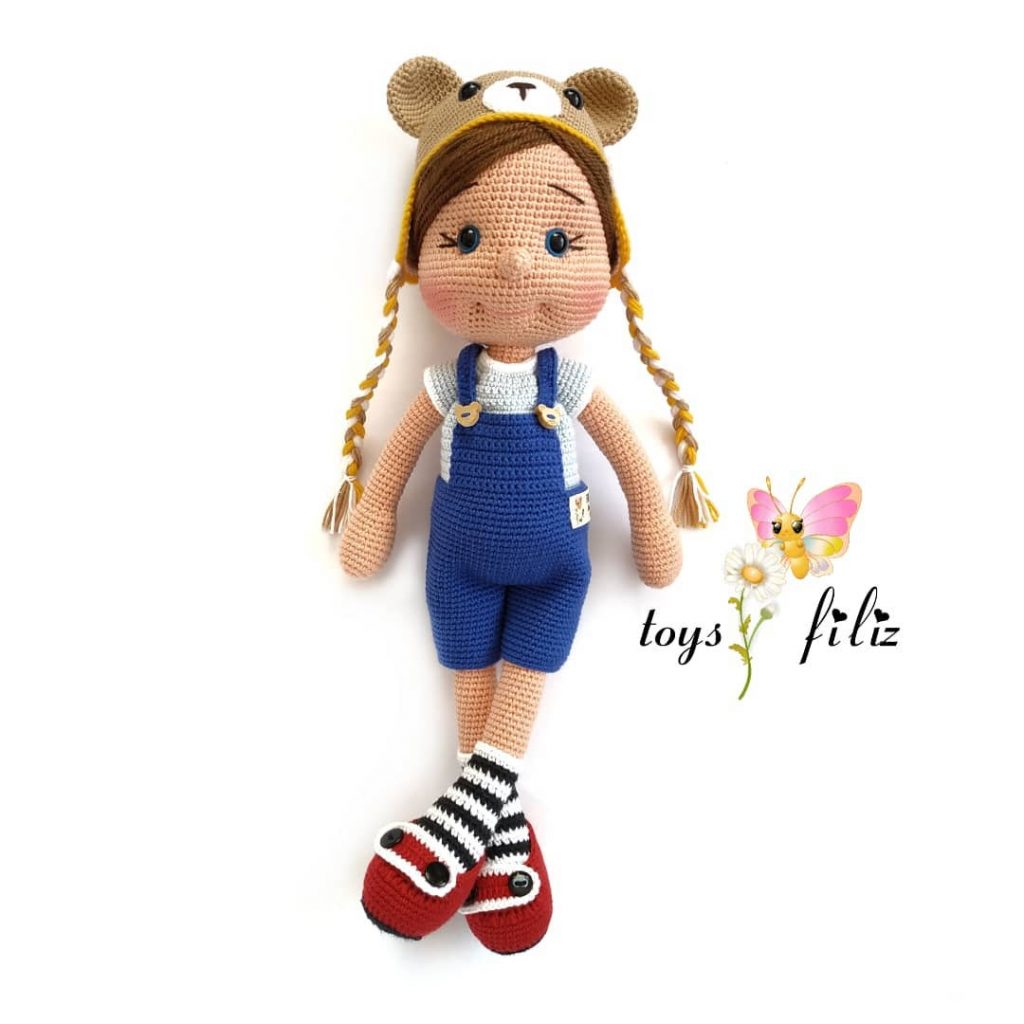
Amigurumi Jacky Doll Free Pattern
Hello dear Amigurumi Followers
Today we share one free amigurumi crochet pattern again for you. As you know we share new amigurumi free patterns every day. The main crochets are amigurumi gazelles, amigurumi bears, amigurumi pola, amigurumi pandas, amigurumi penguins, amigurumi giraffes, amigurumi llama, amigurumi pigs, amigurumi bunny, amigurumi clowns, amigurumi lambs, amigurumi bees, amigurumi unicorns, amigurumi dolls, amigurumi foxes, amigurumi penguins, amigurumi dinosaurs, amigurumi elephants, amigurumi hippos, amigurumi monkeys, amigurumi cats, amigurumi dogs and more …
Todays daily new amigurumi free crochet pattern is amigurumi doll
I want to give you some informations about this pattern ;
If you enjoy making amigurumi, here I share this easy and free amigurumi pattern for you for free. Your kids will love these toys.
Materials
• Lammy Yarns Rio (or other cotton yarn) in the following colours ; silver (003),
grey (004), white (005), black, skin colour (218).
• Super Soft Yarn from Zeeman ; White
• A 2 mm crochet hook , or a hook matching your yarn
• Yarn needle, embroidery needle
• Safety eyes (8/9 mm diam.)
• Scissors
• Tape measure
• Safety pins
• Stitch markers
• Some blush for the cheeks
• Accessories; e.g. Butterflies, Easter Eggs, ribbons, buttons, … you can find
these online or at a local craft supply or yarn shop or Action, Xenos even
Zeeman or Wibra
• Stuffing (Fiberfill)
• Optional ; embroidery thread
When Jacky is crocheted with a 2mm crochet hook and the indicated yarn, she will
be about 40 cm tall
Abbreviations
Yo Yarn over hook
ch Chain
tCh Turning Chain
Chstch Chain stitch
Slstch Slipstitch
MC Magic Circle
BLO Work into the back loop of the stitch only
tch Turning Chain
TW Turn your work
SC Single Crochet
HDC Half Double Crochet
DC Double Crochet
tog Together
2 tog Crochet 2 stitches together, making one stitch
out of two or Decrease (Dec)
Inc Crochet two stitches in one stitch making two
stitches out of one or Increase
(..) Total of stitches after a round or row
R Row or Round
( ) x 6 Repeat the action between brackets, times 6,
or for the indicated number of times
Unless mentioned otherwise, we will be working in continuous rounds ! Also, take
care to watch out for the colour changes in certain parts of the pattern, they will be
indicated as such.
Shoes
Make two
With black ;
Ch 10
R1. In 2nd chain from hook ;
SC2, SC7, SC Inc, proceed into the opposite side of the chain ( so, do not turn, just
keep on working in the back bumps of your chain, so you get a continuous ‘spiral’)
SC2 in same chain ( in total you should now have 4 SC’s in the same Chstch ), SC7,
SC Inc (22)
R2. SC Inc, SC1, SC Inc, SC 5, SC Inc, SC1, (SC Inc)x2, SC1, SC Inc, SC5, SC Inc, SC1,
SC Inc (30)
R3. (SC Inc)x2, SC2, SC Inc, SC6, SC Inc, SC2, (SC Inc)x 3, SC2, SC Inc, SC6, SC Inc,
SC2, SC Inc (40)
R4. SC4, SC Inc, SC15, (SC Inc)x 2, SC13, SC Inc, SC4 (44)
R5. BLO SC 44 around (44),
R6. Change colour to grey SC44 around (44)
R7 – R8.SC 44 around (44)
R9. SC18, (SC1, SC Dec)x 6, SC11 (38)
R10. SC38 around (38)
R11. SC12, (SC1, SC Dec)x 6, SC8 (32)
R12. SC32 around (32)
R13. SC10, (SC Dec)x 8, SC6 (24)
R14. SC24 around (24)
R15. (SC2, SC Dec)x 6 (12)
R16. SC12 around (12)
Change colour to grey
R17. SC4 ( you arrive in the middle of the back part of the shoe), change to white,
Slstch, SC18 (18)
R18. HDC18 around (18)
R19 – R20. HDC 18 around (18)
R21. (HDC 2, HDC Inc)x 6 (24)
R22. HDC 24 around (24)
R23. HDC23, SC1, HDC1 (24)
Fasten Off. Leave a tail for sewing the leg into the shoe later on. Fold over the ribbing
(brim) of the shoe. Make the second shoe.
Stuff only the shoe part, not the brim. You’ll need this space later on, for the leg.
Legs
Make two
With silver, we first start making a sock ;
SC 6 into MC
R 1. ( SC Inc ) x 6 (12)
R2 – R 7. SC12 around (12)
Change to White
R 8. SC12 around (12)
R 9. SC12 around (12)
Change to silver
R 10. SC12 around (12)
R 11. SC12 around (12)
Change to white
R12. SC12 around (12)
R13. SC 12 around (12)
Change to skin colour
R14 – R41. SC12 around ( 28 Rnds) ** (12)
Change to grey
R42. SC12 (12)
R43 – R44. SC12 around (12)
R45. (SC3, SC Inc)x 3 (15)
** Start stuffing the leg around Rnd 23, right up to approx. a cm above the last white
stripe of the sock. You will not stuff the remainder of the leg, since it is supposed to be
‘floppy, wobbly’ so it ‘falls’ nicely when you put your Jacky onto the edge of a
cupboard, on the mantelpiece or on the windowsill and the legs won’t stick straight
out !
Fasten off and weave in ends of the first leg after R45.
Do not fasten off the second leg. Instead, you will Ch 3 after R45, attach this Ch onto
the first leg with a SC and SC around the perimeter of the leg. Ch3 after this Rnd as
well, proceeding to attach this Ch3 with SC onto the first leg as well (36 SC)
Now, you will continue with the rest of …
Body
With silver ;
R1 – R12. SC 36 around (36)
R 13. Make a few SC’s so as to arrive in the middle of the back.
Change to white , SC 36 (36)
R 14. Change back to silver BLO SC5, SC Dec, SC2, SC Dec, SC12, SC Dec, SC2, SC
Dec, SC7 (32)
R15. SC6, SC Dec, SC15, SC Dec, SC6 (30)
R16. SC7, SC Dec, SC14, SC Dec, SC5 (28)
R17. SC8, SC Dec, SC13, SC Dec, SC4 (26)
Leave the body for now. We will start on the skirt
I begin working on the skirt at this point, because the body isn’t stuffed yet, so it’s
easier to manipulate. I fasten off the body part, and re-attach later, because the
yarn end with the skein tends to twist and turn and get tangled when I’m working on
the skirt, and this bothers me. However, if you’re ok with it, by all means, leave it as is,
so you can pick your yarn up later.
Position the body, its opening facing you, legs pointing upward. Attach white yarn
into the loops of R14.
The Skirt
With white
R1 Start by making an SC Increase in every stitch around, close the Rnd with a Slstch
(72)
R2. Ch2, SC72, Slstch (72)
R3. Ch2, SC72, Slstch (72)
Change to Silver
R4. Ch2, SC72, Slstch (72)
R5. Ch2, SC72, Slstch (72)
Change to Grey (004)
R6. Ch2, SC72, Slstch (72)
R7. Ch2, SC72, Slstch (72)
Change to black
R8. (SC3 into 1)x 72 (216)
Fasten Off, weave in ends
Sew the crotch shit and stuff the body. You will be stuffing the rest of the body as you
go. You will not stuff the neck, a special part will be made for support purposes ,
which I call the ‘sausage’
Proceed with making the body ;
R18. SC 7, SC Dec, SC12, SC Dec, SC3 (24)
R19. SC7, SC Dec, SC11, SC Dec, SC2 (22)
R20. SC7, SC Dec, SC10, SC Dec, SC1 (20)
R21. With silver SC7, SC Dec, SC9, SC Dec, SC2 (18)
Change to skin colour
R22. SC4, SC Dec, SC8, SC Dec, SC2 (16)
R23. SC4, SC Dec, SC7, SC Dec, S1 (14)
R24. SC4, SC Dec, SC6, SC Dec (12)
R25 – R28. SC12 around (12)
Now for the head. Do not fasten off, but continue onwards from R28 as follows ;
The Head
R29. (SC1, SC Inc)x 6 (18)
R30. (SC2, SC Inc)x 6 (24)
R31. (SC3, SC Inc)x 6 (30)
R32. (SC4, SC Inc)x 6 (36)
R33. (SC5, SC Inc)x 6 (42)
R34. (SC6, SC Inc)x 6 (48)
R35 – R43. SC 48 around ** (48)
** place a stitch marker in between row 39 and row 40, you will attach your safety
eyes here later.
When I start decreasing i the head part, I tend to change the colour from skin colour
to white, this allows me to determine the positioning of the hair more accurately later
on. This is a personal preference of course, and if you prefer continuing in skin colour,
please feel free to do so !
R44. (SC6, SC Dec)x 6 (42)
R45. (SC5, SC Dec)x 6 (36)
R46. (SC4, SC Dec)x 6 (32)
R47. (SC6, SC Dec)x 6 (24)
The Sausage
Before you continue Decreasing, you will make the ‘sausage’ for the neck part.
Starting with skin colour ;
SC 5 into MC
R1. (SC Inc) around (10)
R2 – R14. SC10 around (10)
Stuff firmly, it is important that the sausage be firm to be able to support the neck, so
don’t skimp on the Fiberfil !
Place the sausage in the neck, making sure it covers it and that the bottom part of
the sausage meets the body. ( you can gentle squeeze the body to feel where it
should go)
The Eyes and the Nose
Attach the safety eyes in between R 11 & R 12 of the head, leaving a space of about
8 stitches in between them.
If you do this at this point, you can still easily add eyelashes to the eyes before
securing them, because the stitches can still be easily reached with your needle.
I usually use a piece of black 4ply cotton thread, of which I remove two strands. You
can also use embroidery thread if you have this, and glue on some fake lashes,
whichever you prefer.
Now, create a nose with the skin coloured yarn , one row down and in between the
eyes. Make two stitches over the width of 2 v-stitches (SC’s)).
Stuffing the Head
In order for the head to have a nice, round and even shape, without lumps or
bumps, it is key to stuff it with care.
I proceed as follows ;
Put four fingers into the head, carefully stretching the fabric of the bottom part with
your index finger and your middle finger. Don’t stretch your crochet work out too
much, though ! Take some Fiberfil, pry it open, gently place it across the bottom of
the head, repeat, working in layers as it were and making sure to carefully line all the
sides as well. The middle part is left unfilled for now, so it should look a bit like a donut.
You stuff the middle in the end of the stuffing process, this when the sides are all
lined, this is for an even result, without lumps, from the bottom up, all the way to the
top.
You can give the cheeks a flush of colour, or even make a freckle or two ?
I use light pink blush and apply it with an eyeshadow brush. Dip the brush into the
blush, swipe over a paper towel to remove the excess and apply carefully. Less is
more, so apply carefully, you can always add more if need be. If you apply too
much, you won’t be able to correct it anymore, so I urge you to be vigilant !
Proceed with closing the head ;
R48. (SC2, SC Dec)x 6 (18)
R49. (SC1, SC Dec)x 6 (12)
Fasten off, weave in ends.
The Arms
(Make two)
With skin colour ;
R 1. SC 5 into MC (5)
R 2. (SC Inc)x 5 (10)
R 3 – R6. SC 10 around (10)
! Change to silver
R 7 – R 30. SC 10 around ** (10)
** Start stuffing when you’ve arrived at approx. Rnd 12.
You will not stuff the rest of the arm, just like the legs aren’t stuffed completely . This is
to ensure the arms from falling/hanging nicely at the sides of the body.
Pinch the arm together and crochet together two by two stitches. (4)
Attach both arms onto the body at approx. the height of the neck, right where the
colour changes from skin colour to silver.
Ribbing/Brim for the neck
This part of the pattern is crocheted in rows, not in a spiral.
The finished piece should look like a small rectangle.
With silver ;
R1. Ch 8, SC into 2nd from hook, SC6, tCh (7)
R2 – R 22. SC7 , tCh around for 21 rows (7)
Fasten off. Leave a long tail for sewing.
Depending on how firmly you’ve stuffed the body, you might need to make a row or
two extra here.
Fold in two and sew shut at the ‘short’ sides. Place onto the colour change of the
neck part (silver to skin colour), with the fold facing up.
Because it can be a bit of a challenge to attach this part, I always pin it into place
first. I also press the arms down to the sides of the body, in order to make it easier to
wrap the ribbing around the neck. Sew together the two short sides of your
rectangle, creating a seam, which should be positioned at back of the neck. Secure
the ribbing onto the body with a few strategically placed stitches. Be careful not to
pull your stitches too tough, or you will get an uneven, ‘bumpy’ result !
The Ribbing for the Sleeves/Arms
(Make two)
This part of the pattern is crocheted in rows, not in a spiral.
The finished piece should look like a small rectangle.
With silver ;
R1. Ch 8, SC into 2nd from hook, SC 6, tch (7)
R2 – R 17. SC7 , tCh around (7)
Fasten off. Leave a long tail for sewing.
You might also need a row or two more here, again depending on how firmly the
arms have been stuffed. Fold over the finished piece, sew close on the shortest sides,
pin into place and attach to the arm where the colour changes from silver to skin
colour, the fold facing down. Sew both short sides together, creating a seam. Secure
with a few stitches, making sure your seam faces the back of the arm. Again, do not
pull too hard on the stitches here, so you don’t get any ‘lumps’, and the ribbing stays
nice and even.
The Socks
(Make two)
This part of the pattern is crocheted in rows, not in a spiral.
The finished piece should look like a small rectangle.
With white ;
R1. Ch 8, SC into 2nd from hook, SC6, tCh (7)
R2 – R 19. SC7, tCh around (7)
Fasten off. Leave a long tail for sewing.
Depending on how firmly you’ve stuffed the body, you might need to make a row or
two extra here.
Fold in two and sew shut at the ‘short’ sides. Place onto the colour change, with the
fold facing up.
Pin into place. Sew together the two short sides of your rectangle, creating a seam,
which should be positioned at the back of the leg. Secure the ribbing onto the leg
with a few strategically placed stitches. Be careful not to pull your stitches too tough,
or you will get an uneven, ‘bumpy’ result !
Assembly for Leg & Shoe
Now it’s time to put some shoes on !
You will attach the leg to the shoe, using the tail of the Supersoft yarn you’ve left out
before. First, work the yarn tail up to the middle of the ribbing. Next, unfold , place
the leg into the opening and carefully guide your yarn tail through the shoe and
through the leg and back again, thus securing the shoe onto the leg. Don’t pull too
tightly on your stitches and make sure the toes of shoes are pointing forward ! These
stitches should be made at about mid-height, right where you’ve just worked up your
yarn tail, making sure the leg is positioned deep enough into the shoe.
Fasten off. Weave in ends. Fold the ribbing back over. Repeat this process for the
second leg.
Hair
(‘Wig’ part)
With black ;
R 1. SC 6 into MC or Ch 2 and SC 6 into first Chstch (6)
R 2. ( SC Inc ) x 6 (12)
R 3. ( SC 1, SC Inc )x 6 (18)
R 4. ( SC 2, SC Inc )x 6 (24)
R 5. ( SC 3, SC Inc )x 6 (30)
R 6. ( SC 4, SC Inc )x 6 (36)
R 7. ( SC 5, SC Inc )x 6 (42)
R 8. ( SC 6, SC Inc )x 6 (48)
R 9 – R 17. SC 48 around (48)
R 18. Slstch around, work loosely!
Fasten off, leave long tail for sewing.
Hair Buns
Make two
With black ;
R 1. SC 6 into MC or Ch 2 and SC 6 into first Chstch (6)
R 2. ( SC Inc ) x 6 (12)
R 3. ( SC 1, SC Inc )x 6 (18)
R 4. ( SC 2, SC Inc )x 6 (24)
R 5 – R 6. SC 24 around (24)
R 7. ( SC 2, SC Dec)x 6 (18)
Fasten off, leave long tail for sewing the buns onto the hair.
Where you put them, is down to your imagination.
I usually put mine rather high up onto the head ( in between Rnds 7 & 11, counting
from the MC on the ‘wig’ hair part you’ve just created )
First, I encourage you to pin down the buns, so you can still move them, see what
looks best. Find the placement that ‘works’ for you and sew shut about 3/4ths of the
bun. This way, you can still stuff them more, if need be.
We all like nice, tight looking buns, don’t we ?
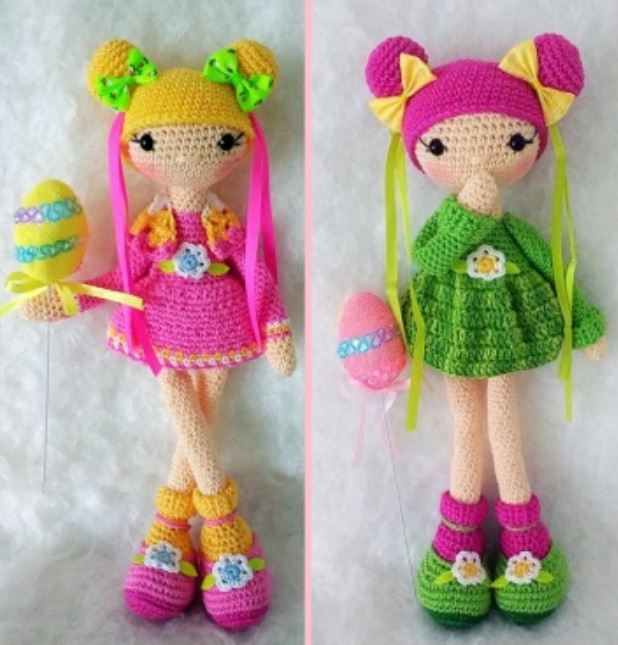
Accessories
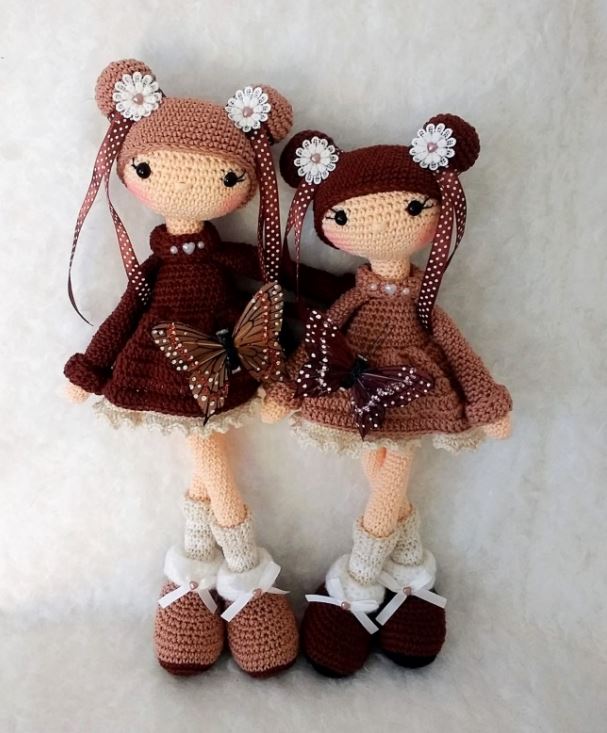
Now, for the most fun part. After all your hard crochet work, you can relax and start
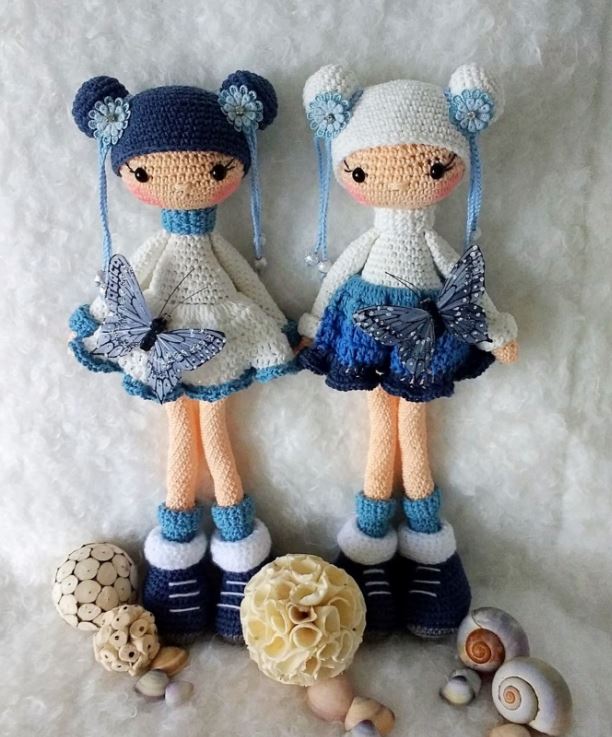
decorating your Jacky. You can use whatever you fancy and what you feel your
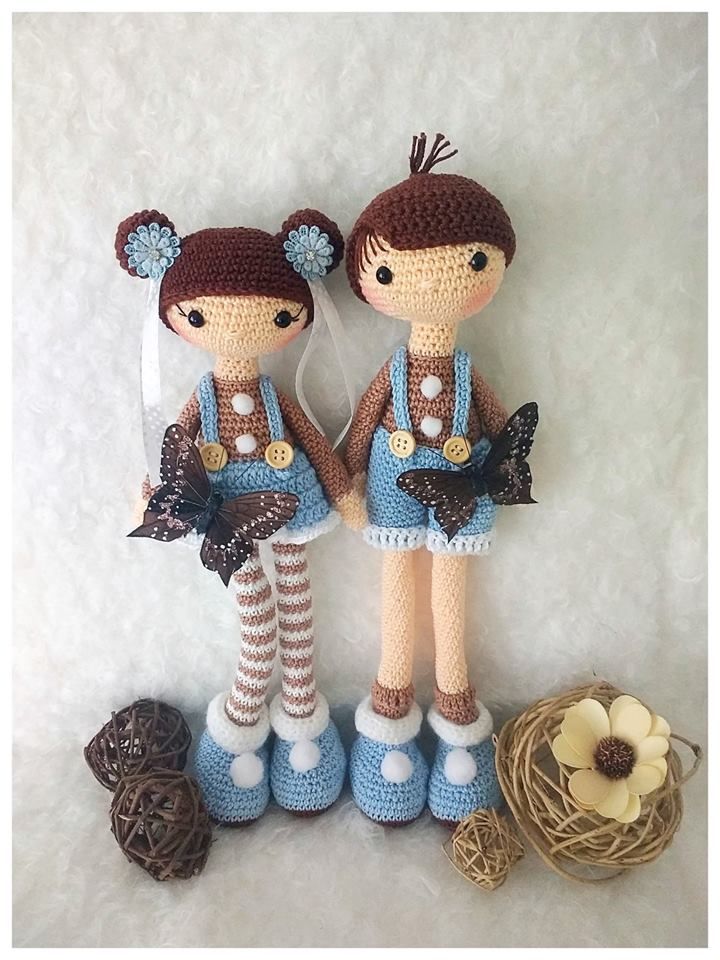
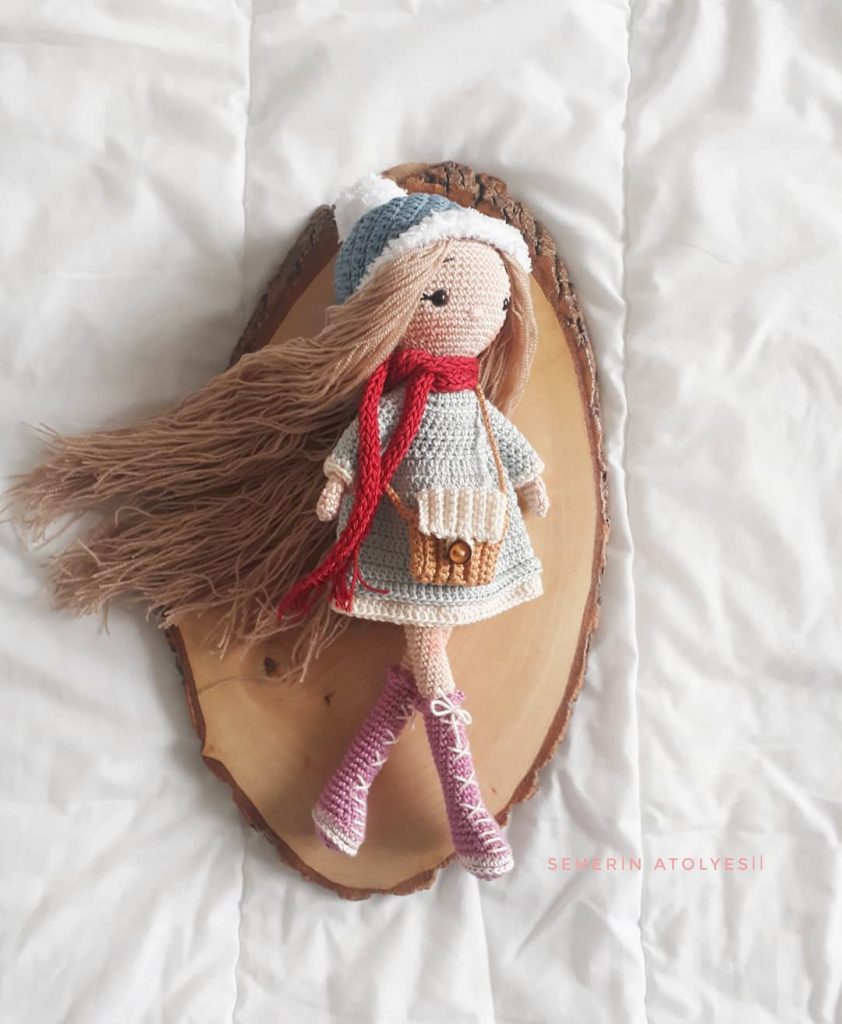
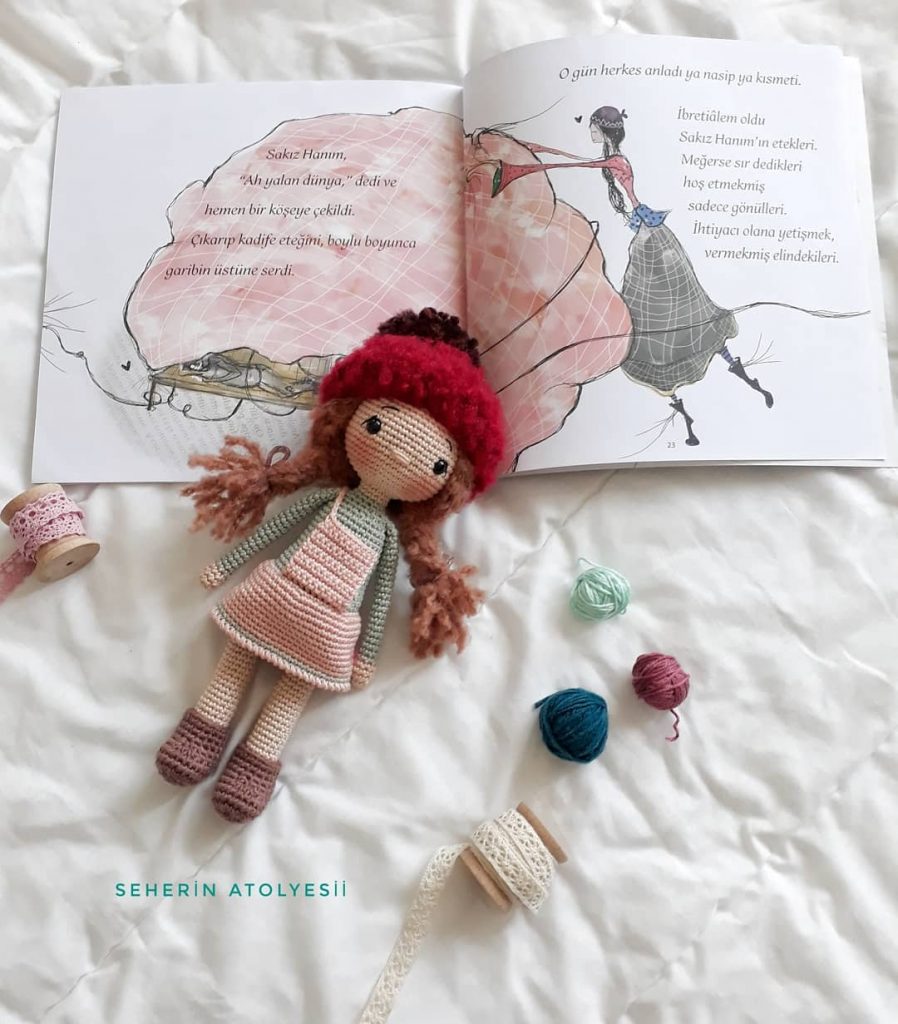
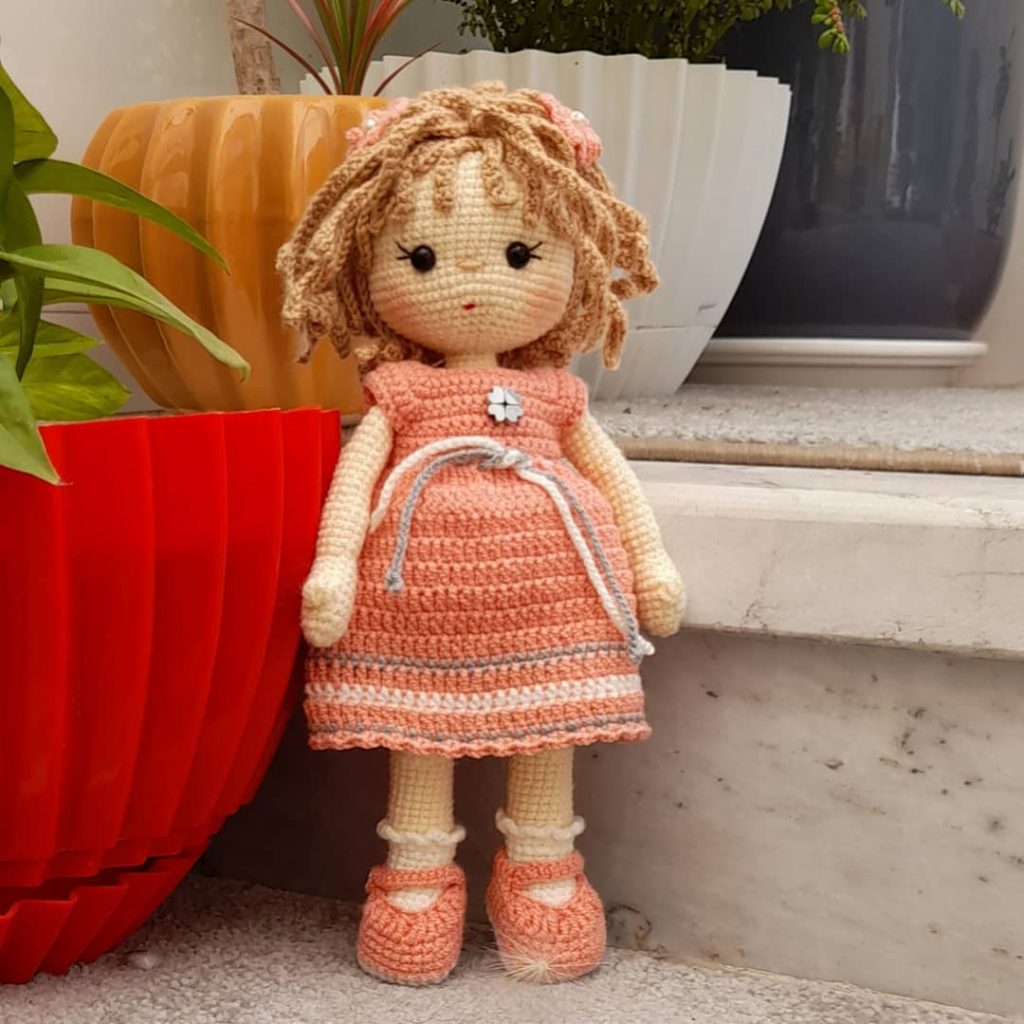
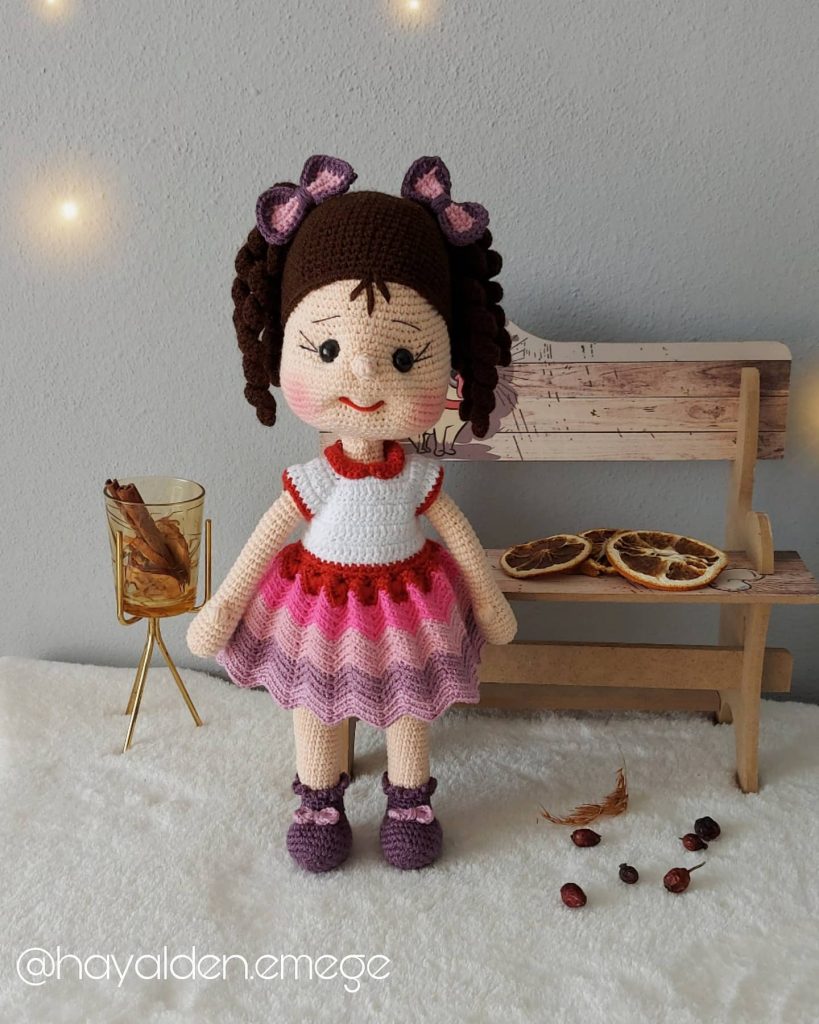
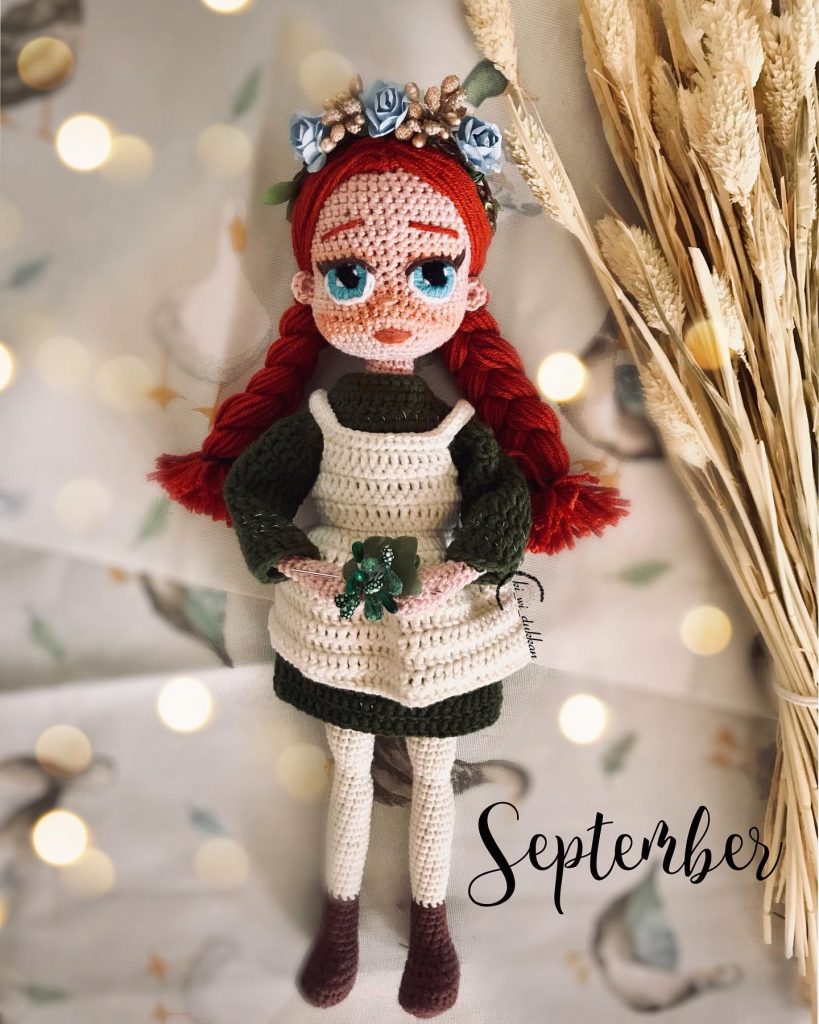
version of Jacky needs. You can adapt her to the Season, make a boy version of
Jacky with some trousers, change her hairstyle, add flowers, buttons, … The
possibilities are endless !
Is she ready ? Put her in the spotlights and show her off, share her with the rest of the
World !
The Low Shoes (ballerina’s)
These are not made separately, but are attached to the leg.
Proceed as follows ;
R1 – R 9 : See description Shoe n°1, then change to sock colour
R10. Same as in description of shoe n°1 (see pg. 5) but BLO (!)
R11 – R16. Same as in description shoe n°1 (see pg. 5)
R17. (SC1, SC Inc)x 6 (12)
R18 – R23. SC23 around (23)
Change to skin colour and proceed with the rest of the shoe pattern from R24
onwards.
In order to accentuate the shoe, make a few stitches (colour of the shoe) into the
front loops of R10.
Next, Ch30, and wrap this chain forming an ‘X’ around on the front of the foot, right
beneath the ribbing, wrapping it further around onto the back of the leg. Secure it at
the back of the leg (see photo).
Tiny Daisy Flower for the Low Shoe *
With yellow ;
R 1. SC 6 into MC , Slstch,
Change to White ;
R 2. (Ch3, SC1)x 5
Fasten off. Weave in ends.
(*The pattern of this Daisy Flower is by Christel Krukkert, from her book ‘Christels’
Knuffels’, it’s the flower on the dress of the little pig.)
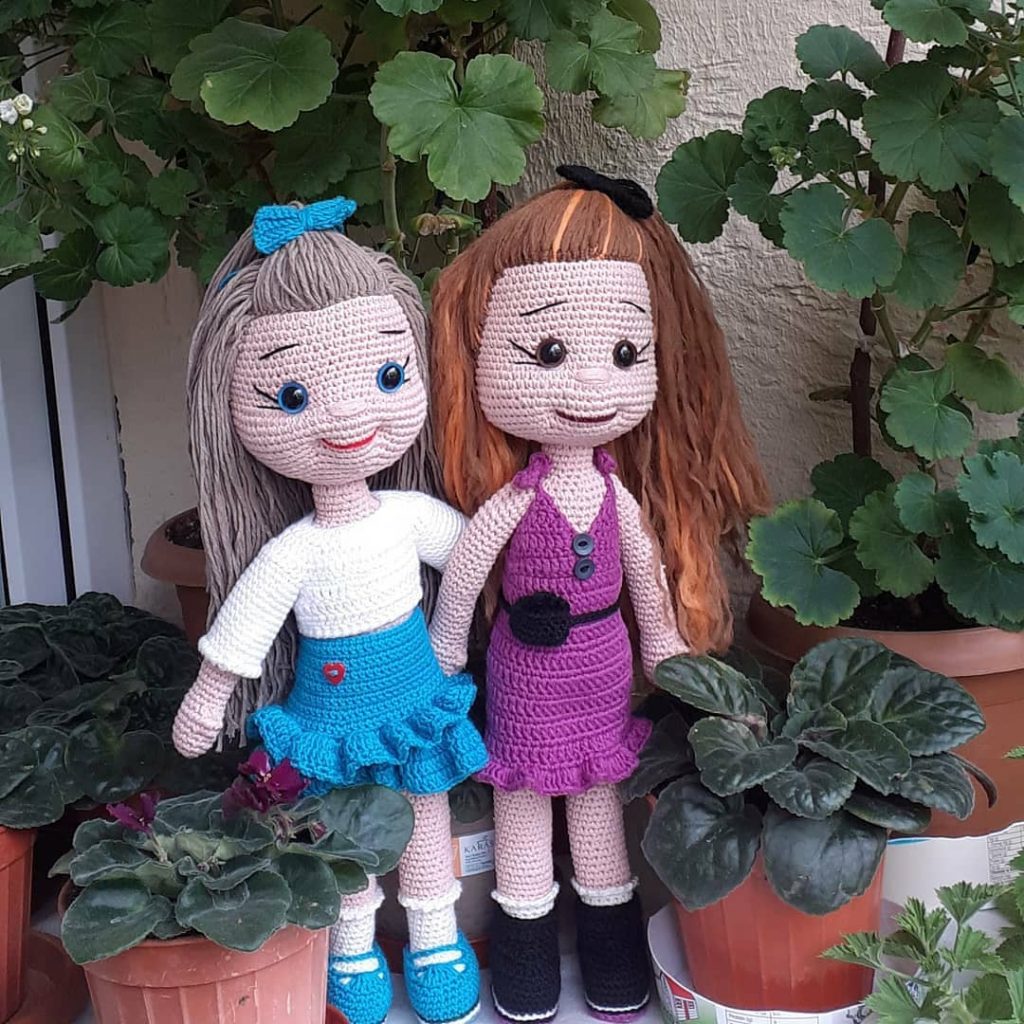
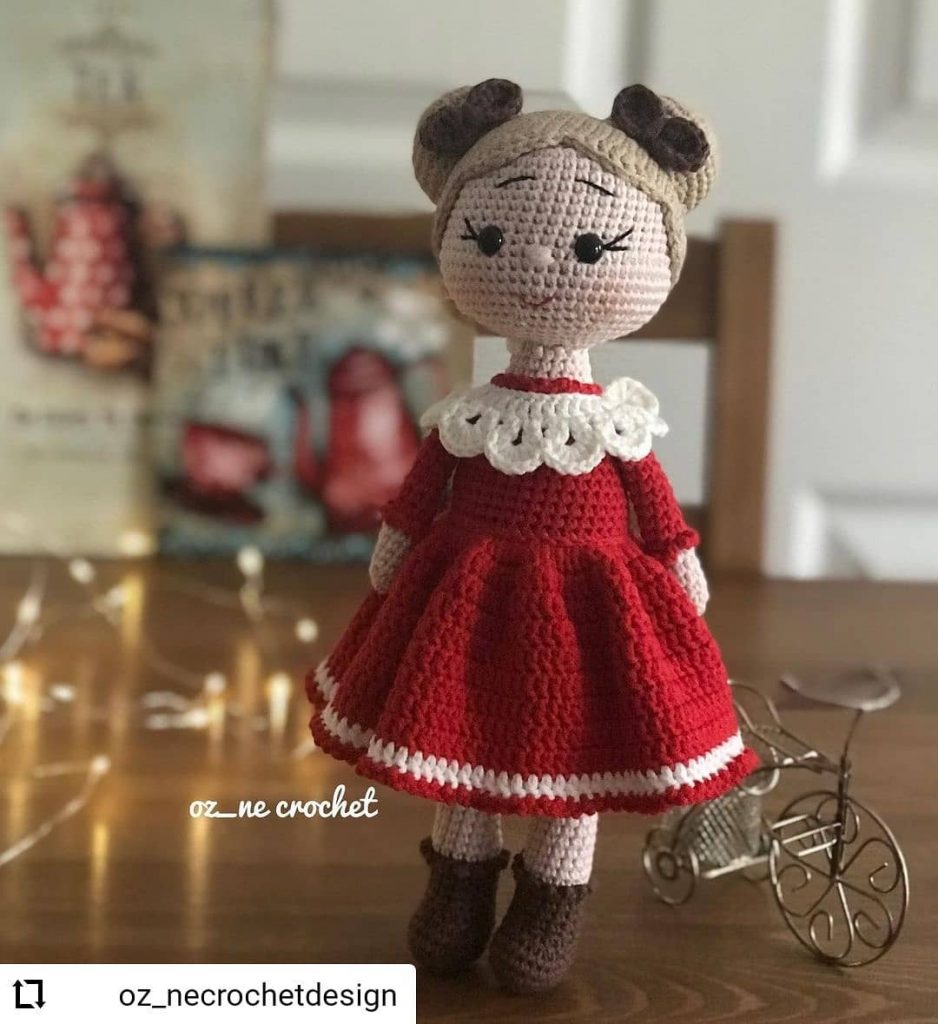
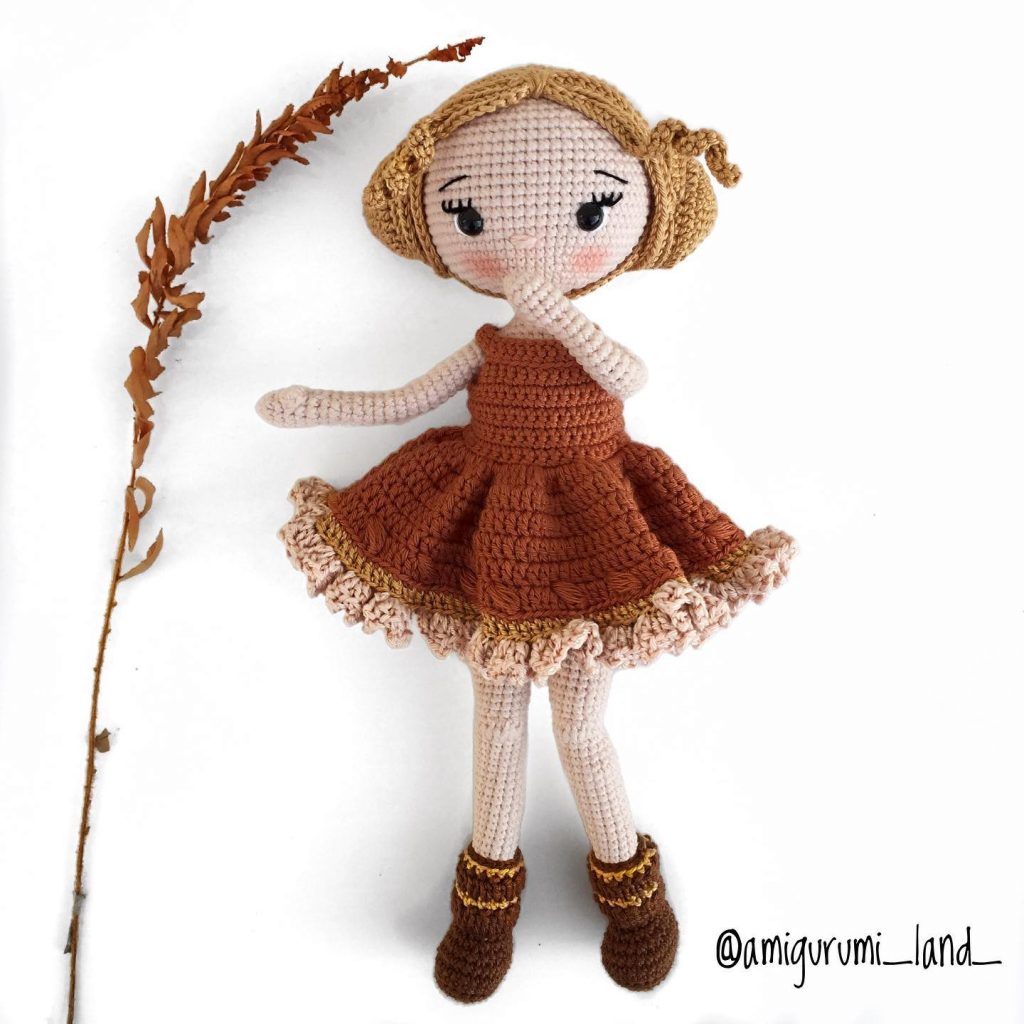
More Amigurumi Doll İdeas