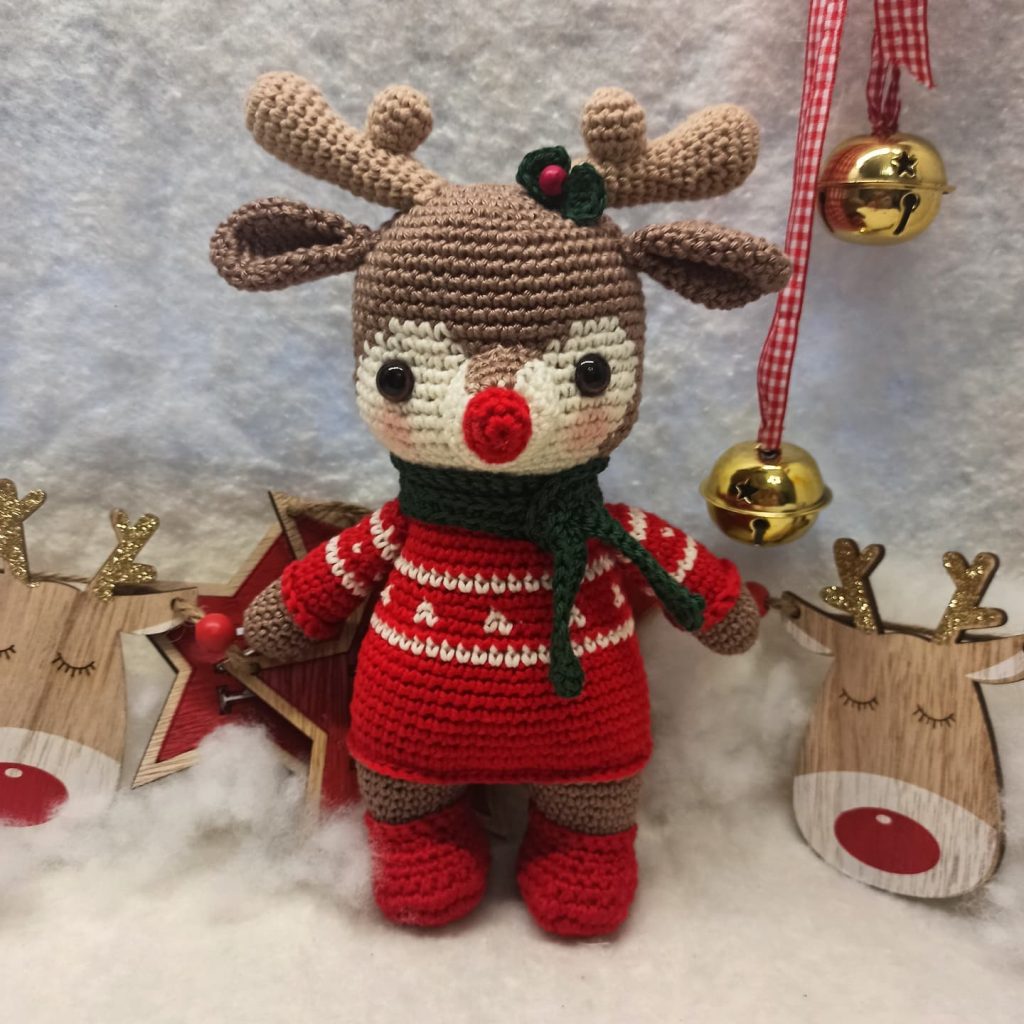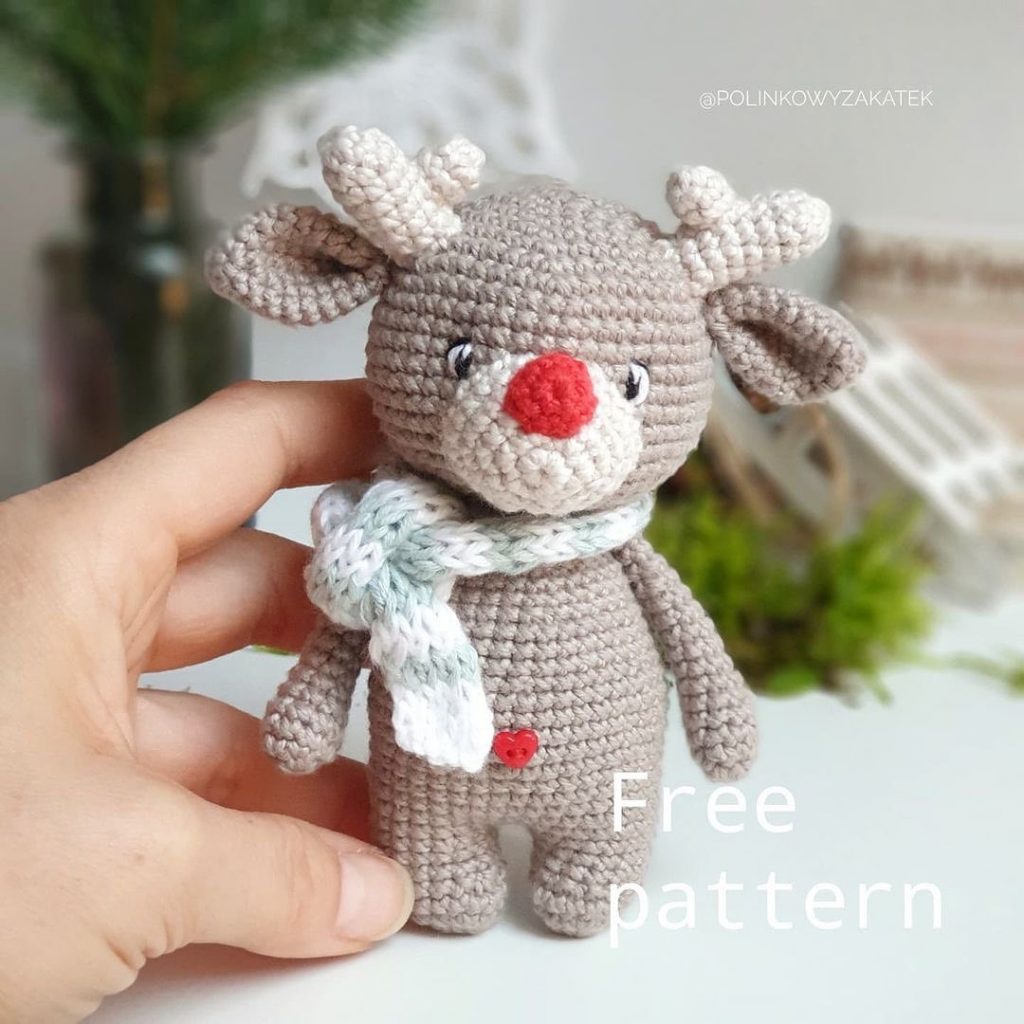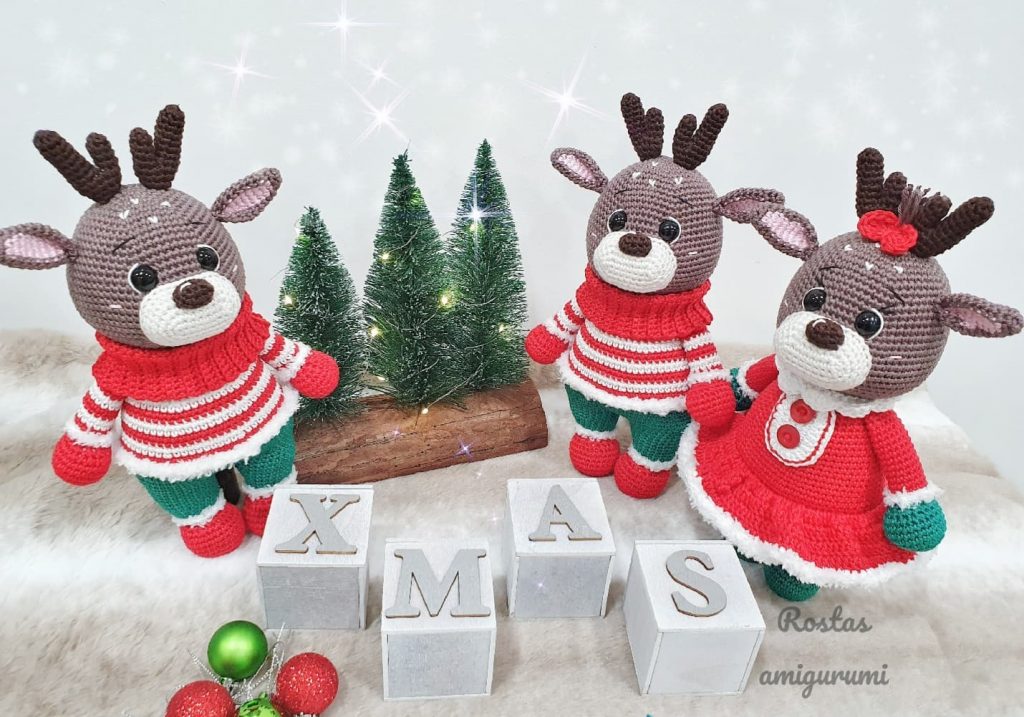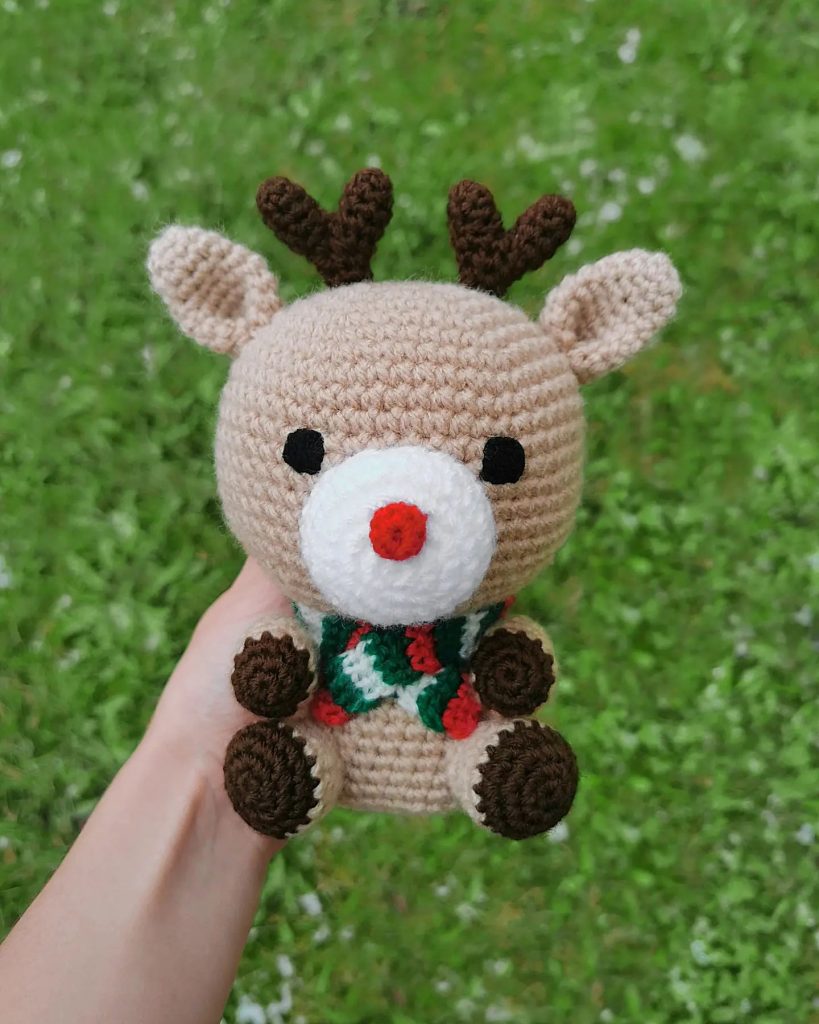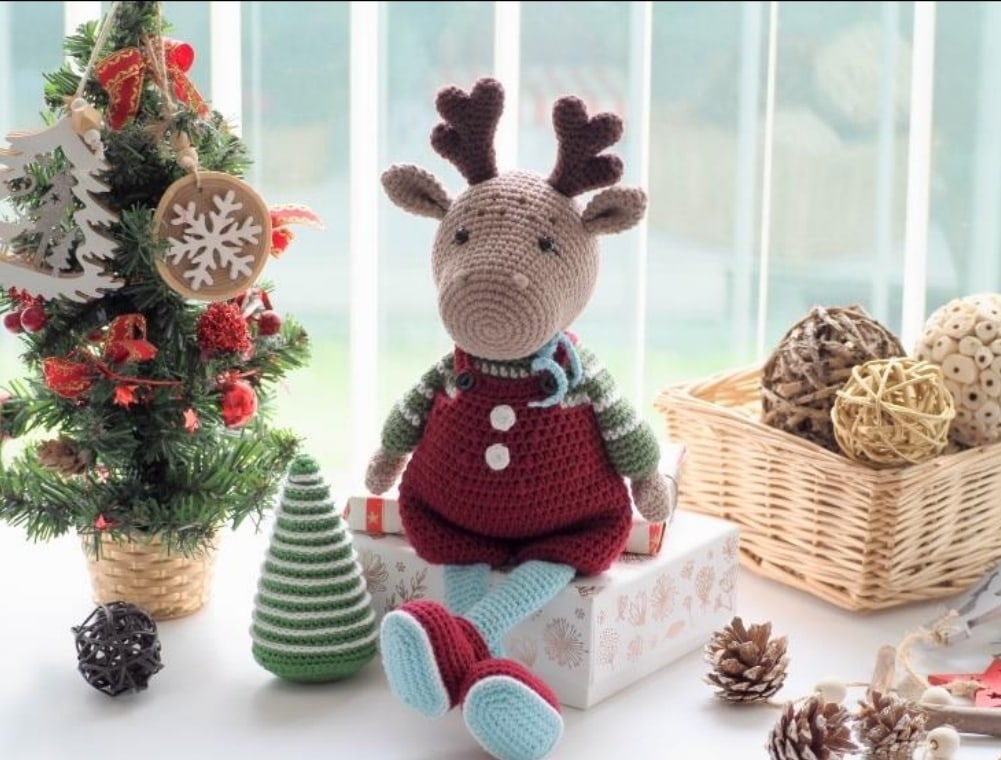
Crochet Christmas Reindeer Amigurumi Free Pattern
Hello dear Amigurumi Followers
Today we share one free amigurumi crochet pattern again for you. As you know we share new amigurumi free patterns every day. The main crochets are amigurumi gazelles, amigurumi bears, amigurumi pola, amigurumi pandas, amigurumi penguins, amigurumi giraffes, amigurumi llama, amigurumi pigs, amigurumi bunny, amigurumi clowns, amigurumi lambs, amigurumi bees, amigurumi unicorns, amigurumi dolls, amigurumi foxes, amigurumi penguins, amigurumi dinosaurs, amigurumi elephants, amigurumi hippos, amigurumi monkeys, amigurumi cats, amigurumi dogs and more …
Todays daily new amigurumi free crochet pattern is amigurumi reindeer
I want to give you some informations about this pattern ;
If you enjoy making amigurumi, here I share this easy and free amigurumi pattern for you for free. Your kids will love these toys.
Materials
• 2.5 mm hook
• Cotton yarn
(I used Alize cotton baby “soft”, 50% cotton:
- blue (335), white (55), burgundy (57),
- green (274)
YarnArt “Jeans”, 50% cotton: - brown (71), dark brown (70)
• White embroider thread
• Safety eyes 8.00 mm
• Stuffing
• Yarn needle
• Stitch marker
Abbreviations
• ch – chain
• sc – single crochet
• st/sts – stitch/stitches
• inc – increase
• dec – decrease
• slst – slip stitch
• hdc – half double crochet
• inc hdc – 2 hdc in the same stitch
• FLO – use only front loops
• BLO – use only back loops
HEAD
Use the brown yarn.
Rnd 1: 6 sc in magic ring [6]
Rnd 2: (inc) x6 [12]
Rnd 3: (inc, sc) x6 [18]
Rnd 4: (2 sc, inc) x6 [24]
Rnd 5: (inc, 3 sc) x6 [30]
Rnd 6: 2 sc, (inc, 4 sc) x5, inc, 2 sc [36]
Rnd 7-12: sc around [36], 6 rounds
Rnd 13: 4 sc, (inc, 5 sc) x5, inc, sc [42]
Rnd 14: sc around [42]
Rnd 15: (6 sc, inc) x6, [48]
Rnd 16: sc around [48]
Rnd 17: (inc, 7 sc) x6 [54]
Attach the safety eyes between rounds 14
and 15 with 8 sts between.
Rnd 18-25: sc around, [54], 8 rounds
Start to stuff the head.
• Tip: I used invisible decreases for next
rounds.
Rnd 26: (dec, 7 sc) x6 [48]
Rnd 27: (dec, 6 sc) x6 [42]
Rnd 28: (dec, 5 sc) x6 [36]
Rnd 29: (dec, 4 sc) x6 [30]
Rnd 30: (dec, 3 sc) x6 [24]
Rnd 31: (dec, 2 sc) x6 [18]
Rnd 32: (dec, sc) x6 [12]
Stuff the head firmly.
Cut the yarn, leave a tail for fasten off.
How to close the end of the round: with a darning needle, insert the remaining yarn through all the front loops of the stitches on the last round. Pull all together at once and sew to hide the yarn inside the part you are working on.
EARS (make 2)
Use the brown yarn.
Rnd 1: 6 sc in magic ring [6]
Rnd 2: (sc, inc) x3 [9]
Rnd 3: (2 sc, inc) x3 [12]
Rnd 4: sc around [12]
Rnd 5: (3 sc, inc) x3 [15]
Rnd 6-9: sc around [15], 4 rounds
Don’t stuff the ears, cut the yarn, leaving a
tail for sewing
Fold the ear in half and sew two sides together
HORNS (make 2)
Use the dark brown yarn.
First and second piece:
Rnd 1: 6 sc in magic ring [6]
Rnd 2: (sc, inc) x3 [9]
Rnd 3: sc around [9]
Cut the yarn, leave a tail.
Third piece:
Rnd 1: 6 sc in magic ring [6]
Rnd 2: (sc, inc) x3 [9]
Rnd 3-4: sc around [9], 2 rounds
Don’t cut the yarn of third piece.
We are going to connect the first piece with third. Insert your hook in first stitch of first piece (after finished the round 3) and make a sc. it will be the first stitch of round 5 and new beginning. Put your stitch marker here.
Rnd 5: two pieces together: 9 sc around first
piece, 9 sc around third piece, [18]
Close the opening between two pieces with remaining tail of first piece.
Rnd 6: (dec, 4 sc) x3 [15]
Rnd 7: (dec, 3 sc) x3 [12]
Rnd 8: (dec, 2 sc) x3, [9]
Stuff the horn lightly.
Rnd 9: 2 sc, insert the hook in second piece and pull up the yarn. Crochet 9 sc around second piece and 7 sc around the horn [18]
Don’t move the stitch marker.
Close the opening between second piece and horn with remaining tail of second piece.
Rnd 10: (dec, 4 sc) x3 [15]
Rnd 11: (dec, 3 sc) x3 [12]
Rnd 12: sc around [12]
Rnd 13: (dec, 2 sc) x3 [9]
Rnd 14: sc around [9]
Stuff the horns lightly
Fasten off. Cut the yarn leaving a tail for sewing.
BODY
Use the blue yarn.
Ch 9. Stitches are worked around both sides
of the foundation chain.
*if you have some questions how to crochet an oval,
Make sure your chain isn’t twisted.
Rnd 1: start in second ch from the hook, inc in this st, 6 sc, 3 sc in last st.
Continue on the other side of the foundation chain, 7 sc, [18]
Rnd 2: 2 inc, 6 sc, 3 inc, 6 sc, inc [24]
Rnd 3: (sc, inc) x2, 6 sc, (sc, inc) x3, 7 sc, inc [30]
Rnd 4: (2 sc, inc) x2, 6 sc, (2 sc, inc) x3, 8 sc, inc [36]
Rnd 5: (3 sc, inc) x2, 6 sc, (3 sc, inc) x3, 9 sc, inc [42]
Rnd 6: 3 sc, (inc, 4 sc) x2, 6 sc, (inc, 4 sc) x3, 6 sc, inc, sc [48]
Rnd 7: 4 sc, (inc, 5 sc) x2, 6 sc, (inc, 5 sc) x3, 6 sc, inc, sc, [54]
Rnd 8-13: sc around [54], 6 rounds
Change the yarn to green.
How to change the color of yarn:
With the two loops from the previous yarn on the hook, wrap the new yarn around the hook, then pull the new yarn through the two loops of the stitch
Make sure that the first stitch of round 14 is green.
Rnd 14: (dec, 7 sc) x6 [48]
Rnd 15-16: sc around [48], 2 rounds
Change the yarn to white.
Rnd 17: sc around [48]
Change the yarn to green.
Rnd 18: (dec, 6 sc) x6, [42]
Rnd 19-20: sc around [42], 2 rounds
Change the yarn to white.
Rnd 21: sc around [42]
Change the yarn to green.
Rnd 22: (dec, 5 sc) x6 [36]
Rnd 23-24: sc around, [36], 2 rounds
Change the yarn to white.
Rnd 25: (dec, 4 sc) x6 [30]
Change the yarn to green.
Rnd 26-28: sc around [30], 3 rounds
Rnd 29: (dec, 3 sc) x6 [24]
Stuff the body firmly.
Cut the yarn leaving a long tail for sewing.
HANDS (make 2)
Use the brown yarn.
Rnd 1: 6 sc in a magic ring [6]
Rnd 2: (sc, inc) x3 [9]
Rnd 3: sc around [9]
Rnd 4: (2 sc, inc) x3 [12]
Rnd 5: sc around [12]
Rnd 6: 5 sc, bobble stitch (it should be a thumb), 6 sc [12]
How to make a thumb:
• Yarn over.
• Insert your hook in the next st and pull up a loop.
• Yarn over again and pull through 2 loops.
This will leave one loop of the dc still on your hook (2 loops on hook)
• yarn over and pull through 2 loops (3 loops on hook).
• yarn over… repeat it 3 times.
• ….and pull through all 4 loops on your hook
Rnd 7: sc around [12]
Rnd 8: (dec, 2 sc) x3 [9]
Stuff the hand firmly.
Change the yarn to green.
Rnd 9: FLO: (inc) x9 [18]
Rnd 10-14: sc around [18], 5 rounds
Change the yarn to white.
Rnd 15: (dec, 4 sc) x3 [15]
Change the yarn to green.
Rnd 16-18: sc around [15], 3 rounds
Change the yarn to white.
Rnd 19: sc around [15]
Change the yarn to green.
Rnd 20: (dec, 3 sc) x3 [12]
Rnd 21-22: sc around [12], 2 rounds
Change the yarn to white.
Rnd 23: sc around [12]
Change the yarn to green.
Rnd 24-27: sc around [12], 4 rounds
Crochet 4 sc more, after round 27 to bring
the tail of yarn in the corner.
Cut the yarn, leave a tail for sewing.
Stuff the hand lightly.
SHOES and LEGS (make 2)
Use the blue yarn.
Ch 9. Stitches are worked around both sides
of the foundation chain.
Make sure your chain isn’t twisted.
Rnd 1: start in second ch from the hook:
inc in this st, 6 sc, 3 sc in last st.
Continue on the other side of the
foundation chain: 7 sc, slip stitch in the first
st, ch 1, [18]
Rnd 2: 2 inc, 6 sc, 3 inc, 6 sc, inc, slst in first st, ch 1 [24]
Rnd 3: (sc, inc) x2, 6 sc, (sc, inc) x3, 7 sc, inc, slst in first st, ch 1 [30]
Rnd 4: (2 sc, inc) x2, 6 sc, (2 sc, inc) x3, 8 sc, inc, slst in first st, ch 1, [36]
Change the yarn to burgundy.
•Tip: change the yarn by doing last stitch of round 4. The slip stitch and starting change will be bungundy color.
Rnd 5: BLO: sc in next 36 st, slst in first st, ch 1, [36]
Rnd 6-9: sc in next 36 st, slst in first st, ch 1, [36], 4 rounds
Rnd 10: 14 sc, 6 dec, 10 sc, slst in first st, ch 1 [30]
Rnd 11: 12 sc, 5 dec, 8 sc, slst in first st, ch 1 [25]
Rnd 12: 10 sc, 4 dec, 7 sc, (fig 35, 36) [21]
Don’t make a slip stitch now, we are going to attach the blue yarn and begin to crochet the leg. Leave the burgundy yarn, don’t cut it. We will come back to shoe later, after to finish the leg.
Stuff the shoe firmly
Attach the blue yarn to first back loop of round 12. Make a starting chain, in this loop crochet a sc and it will be the first stitch of the leg. Put your stitch marker here.
Then all stitches of the leg are crocheted around, don’t join at the end of each round.
Rnd 13: BLO: 9 sc, 3 dec, 6 sc, [18]
Rnd 14: (sc, dec) x6 [12]
Rnd 15-41: sc around, [12], 27 rounds
Stuff the leg lightly.
Cut the yarn leaving a long tail for sewing.
Go back to our shoe. Make a slip stitch in the first front loop of round 12, ch 1.
Rnd 13: FLO: sc in next 21 loops, slst in first st, ch 1 [21]
Rnd 14: sc in next 21 st, [21]
Fasten off.
Lay the shoe so that the tip is at the top and away from your face. Then, insert your hook in last front loop of round 5, pick up the white yarn. Make a slst in each front loop around the shoe. Fasten off.
• Tip: make a slst loosely
OVERALLS
Use the burgundy yarn.
Ch 20. Make a slst in first chain, ch 1, [20]
Rnd 1: (hdc, inc hdc) x10, slst in first st, ch 1 [30]
Rnd 2: hdc in next 30 st , slst in first st, ch 1 [30]
Rnd 3: (hdc in next 14 st, inc hdc) x2, slst in first st, ch 1 [32]
Rnd 4: hdc in next 32 st, slst in first st, [32]
Fasten off the first piece and don’t cut the yarn of the second piece. We are going to connect two pieces together.
Insert your hook into the next stitch of the first piece (after fasted off) and complete a slst to connect the pieces. Make
the starting chain and hdc in this stitch. This will mark the first stitch of the shorts and is now your new starting point.
Place your stitch marker here.
Rnd 5: with the two pieces together: 32 hdc around the first piece, 32 hdc around the second piece, slst in first st, ch 1, [64]
Close the gap between two pieces using the remaining tail of the first.
Rnd 6-11: hdc in next 64 st, slst in first st, ch 1, [64], 6 rounds
Rnd 12: (hdc2tog, hdc in next 6 st) x8, slst in first st, ch 1 [56]
*hdc2tog =half double crochet decreases
(crochet together 2 stitches with a half
double crochet stitch to lose 1 stitch).
How to make decrease with hdc stitch
(hdc2tog):
-Yarn over hook.
-Insert hook into stitch.
-Yarn over hook and pull through. There
should be three loops on your hook.
-Yarn over hook.
- Insert your hook into the next stitch.
-Yarn over and pull through. There should
be five loops on your hook.
-Yarn over and pull through all five loops.
Rnd 13: hdc in next 56 st, slst in first st, ch 1 [56]
Rnd 14: (hdc2tog, hdc in next 5 st) x8, slst in first st, ch 1 [48]
Rnd 15: hdc in next 48 st [48]
Rnd 16: (hdc2tog, hdc in next 4 st) x8, slst in first st, ch 1 [40]
Rnd 17: hdc in next 40 st, slst in first st, [40]
Don’t cut the yarn, we are going to make the suspenders.
Ch 25, skip 5 chains (loop for button), yarn over and insert your hook in
next chain, hdc in next 20 chain st
Make a slst in next 5 st, then ch 25. Skip 5 chains (leave it for button), insert your hook in next chain, hdc in next 20 chain st
Fasten off.
Skip 11 stitches from the second suspender,
insert your hook in 12th stitch and make starting chain, hdc in this stitch.
Follow the pattern below:
Row 1: hdc in next 11 st, ch 1, turn, [11]
Row 2-3: hdc in next 11 st, ch 1, turn, (59, 60) [11]
Fasten off
Sew the two small buttons onto the front side of the overalls, matching up the bottom hole created.
Create the two white bottons (6 sc in magic ring) and sew them on the frant side of the overalls
Assembling:
Place the horns between rounds 22 and 25 with 6 sts in (fig 62) and sew them to the head
Place the ears below the horns and sew them between rounds 20 and 24
Embroider two points like the points of the nose on the front side of the head
Use the black thread, embroider one eyelash for both eyes
Use the brown yarn, embroider few freckles on the head
Sew the head to the body by going across each stitch of the body and the head. Do it between rounds 13 and 20 of the head.
Sew the arms to the body between rounds 28 and 29
Insert the legs into the shorts (fig 73) and sew them to the body on the front side
between round 1 and 2.
• Tip: make sure that the feet are facing in the right deriction befoure sewing
Use the blue yarn, make a lace of 60 chains and wrap it around the neck of reindeer.
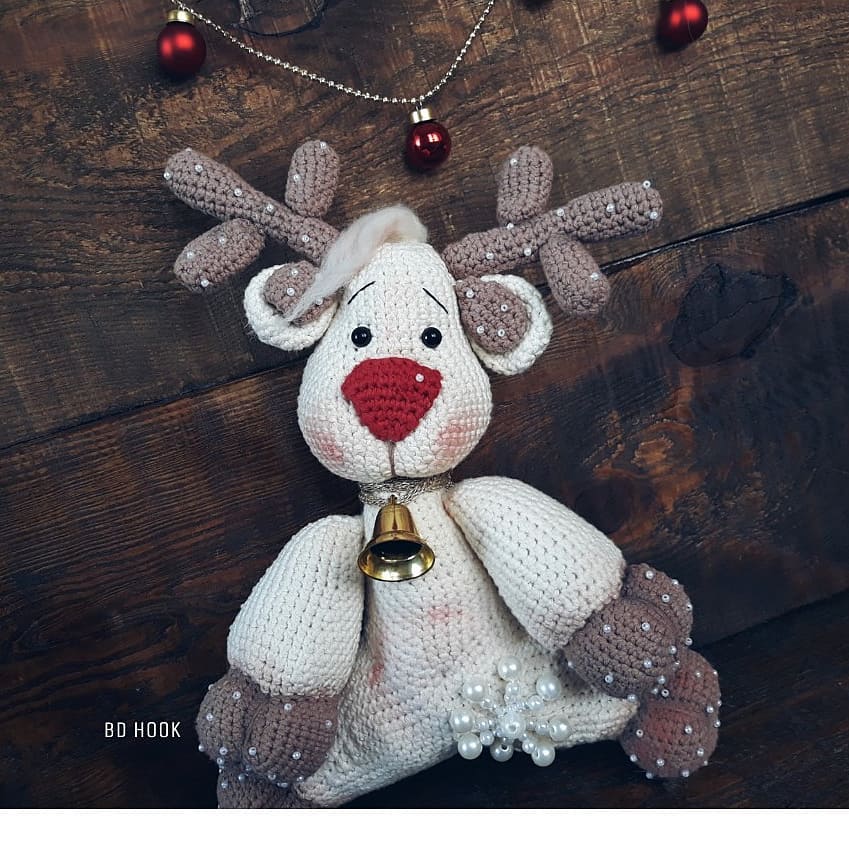
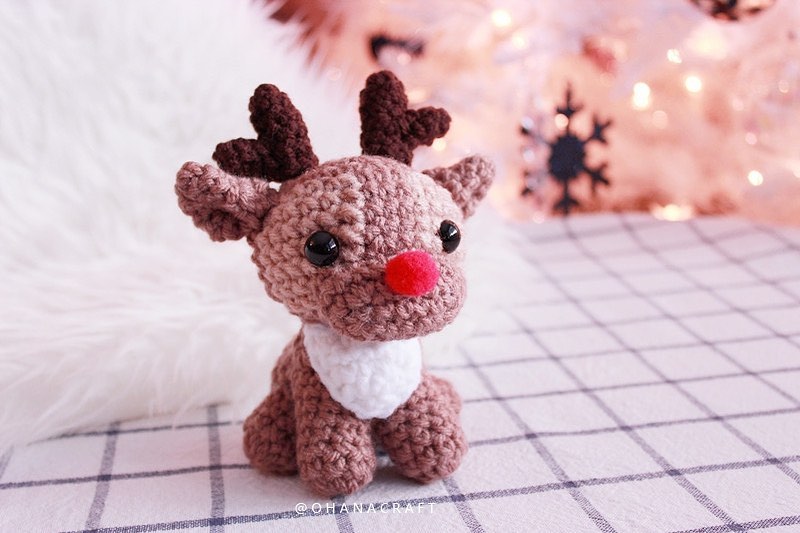
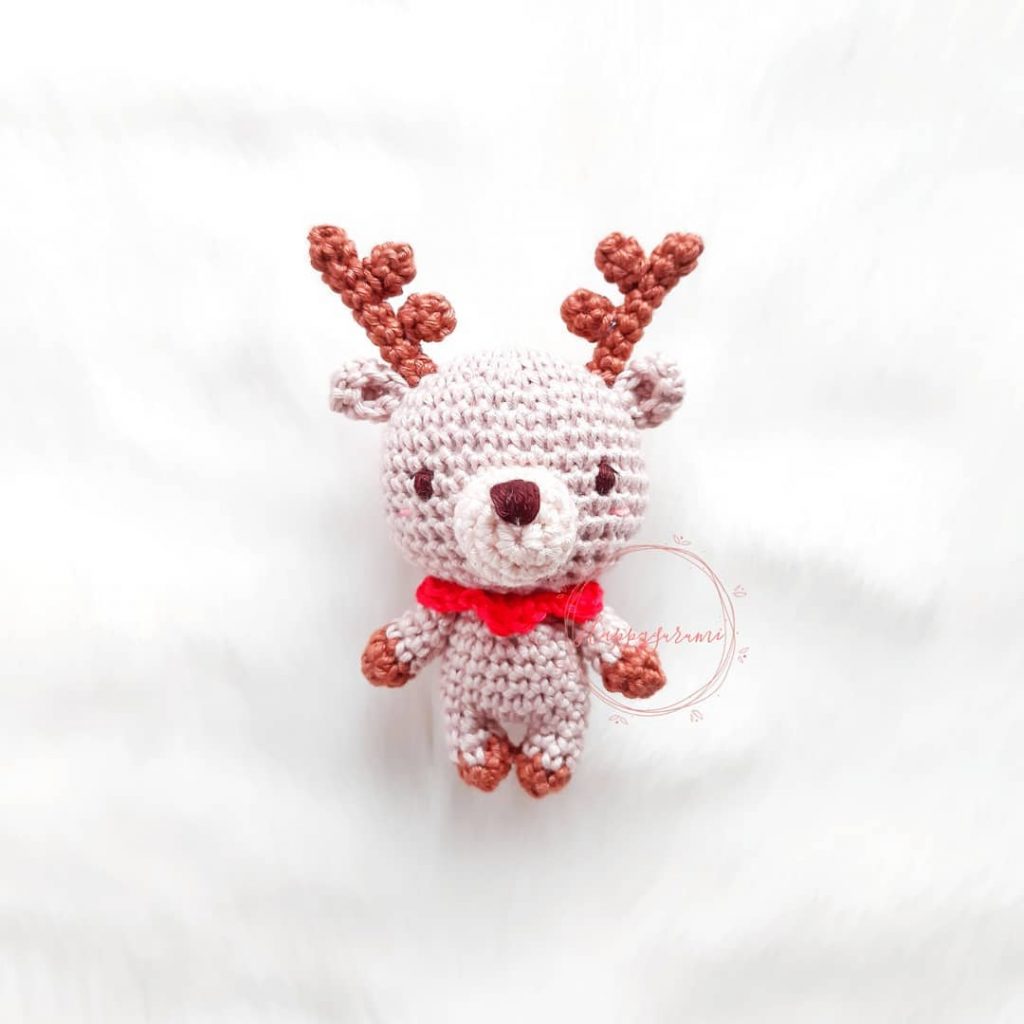
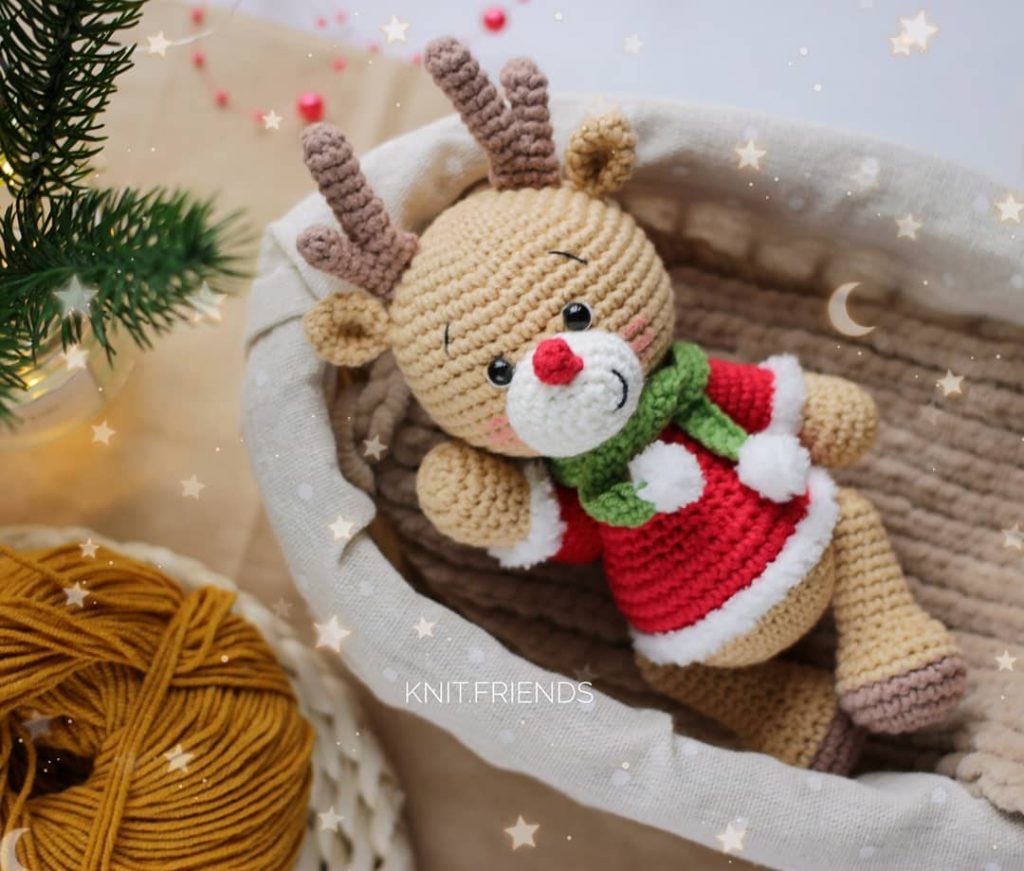
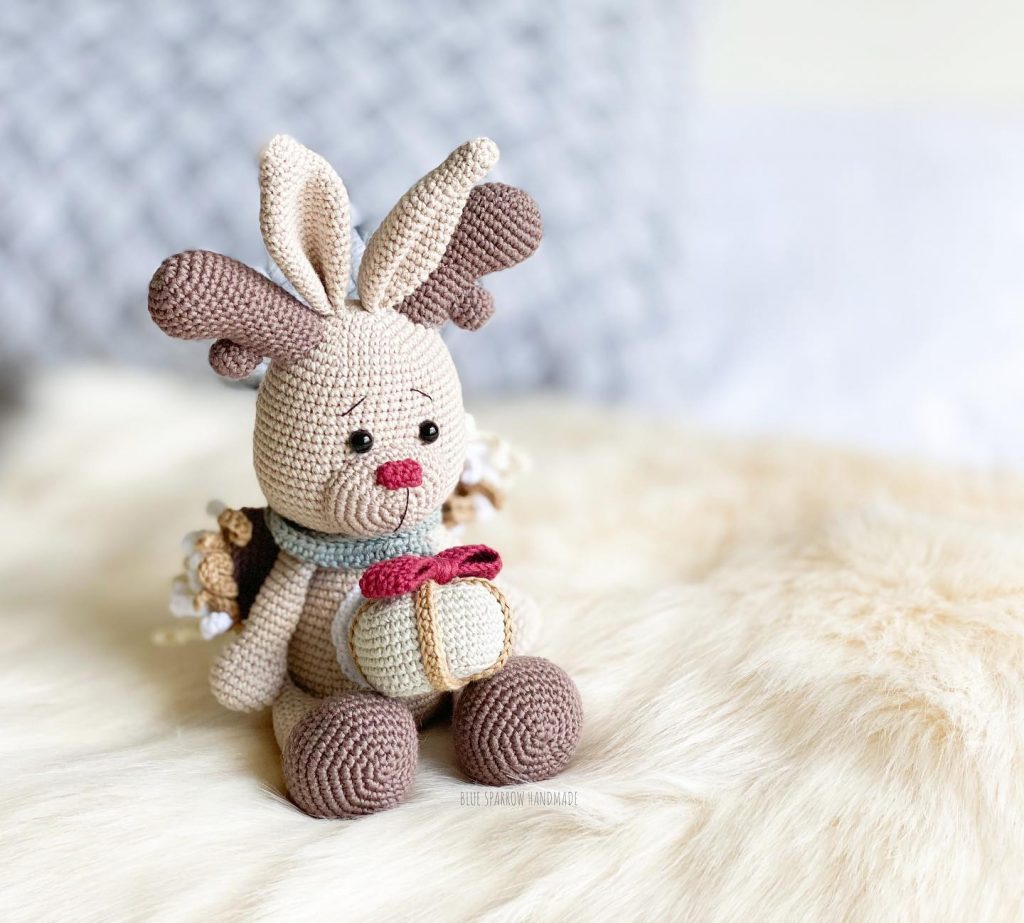
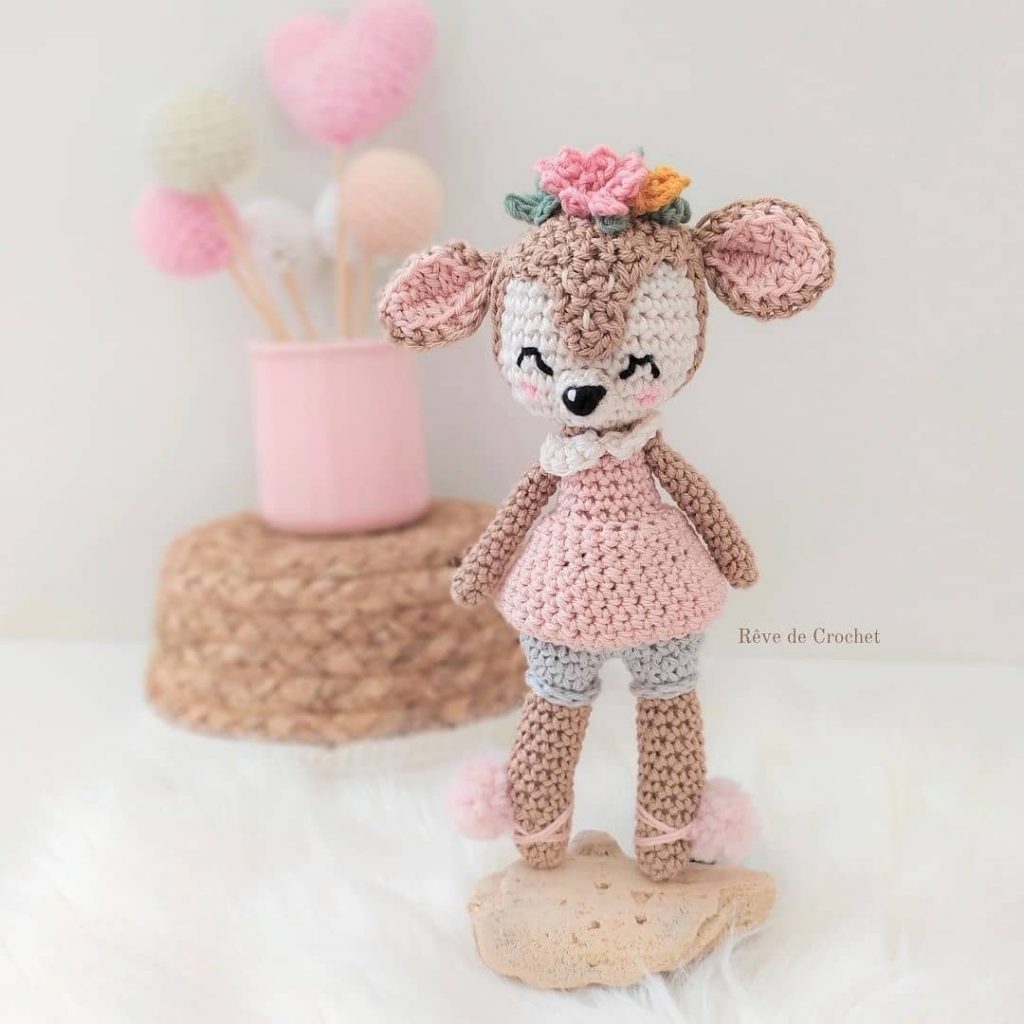
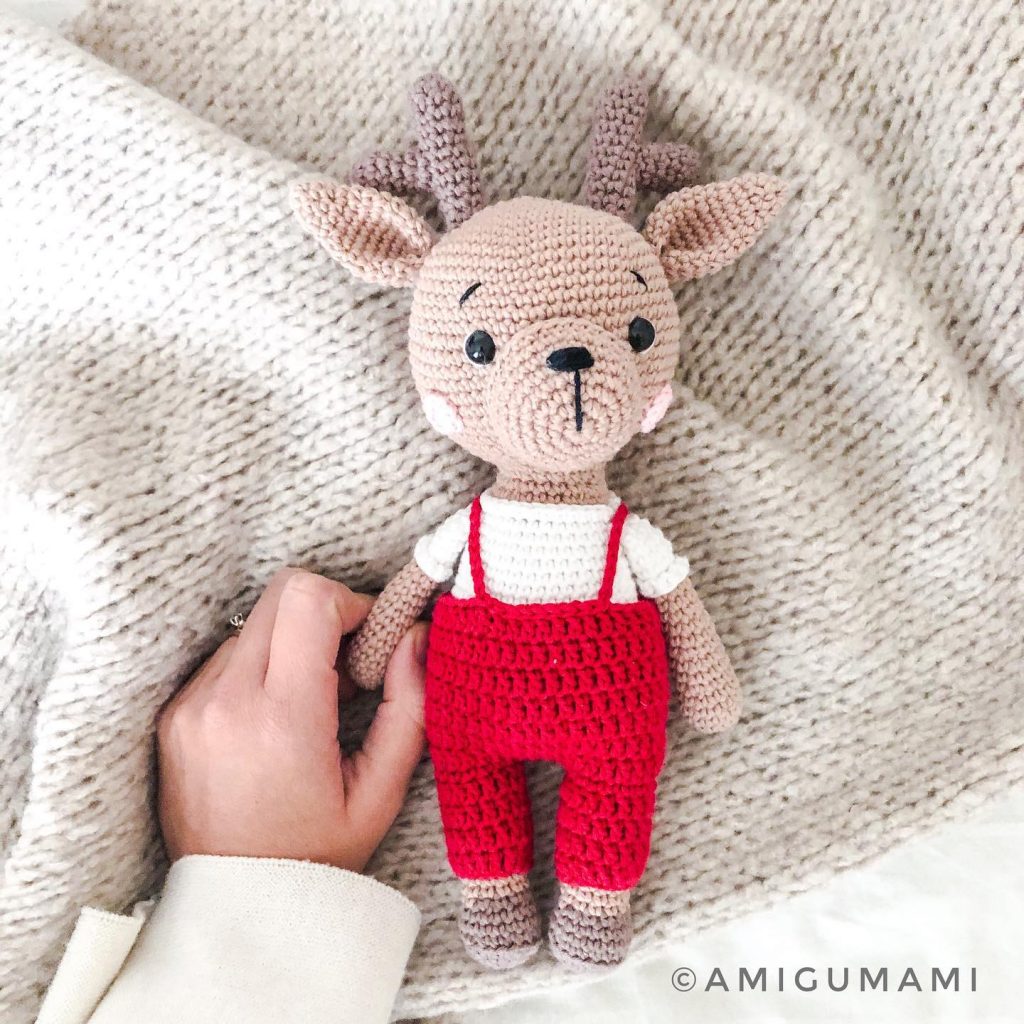
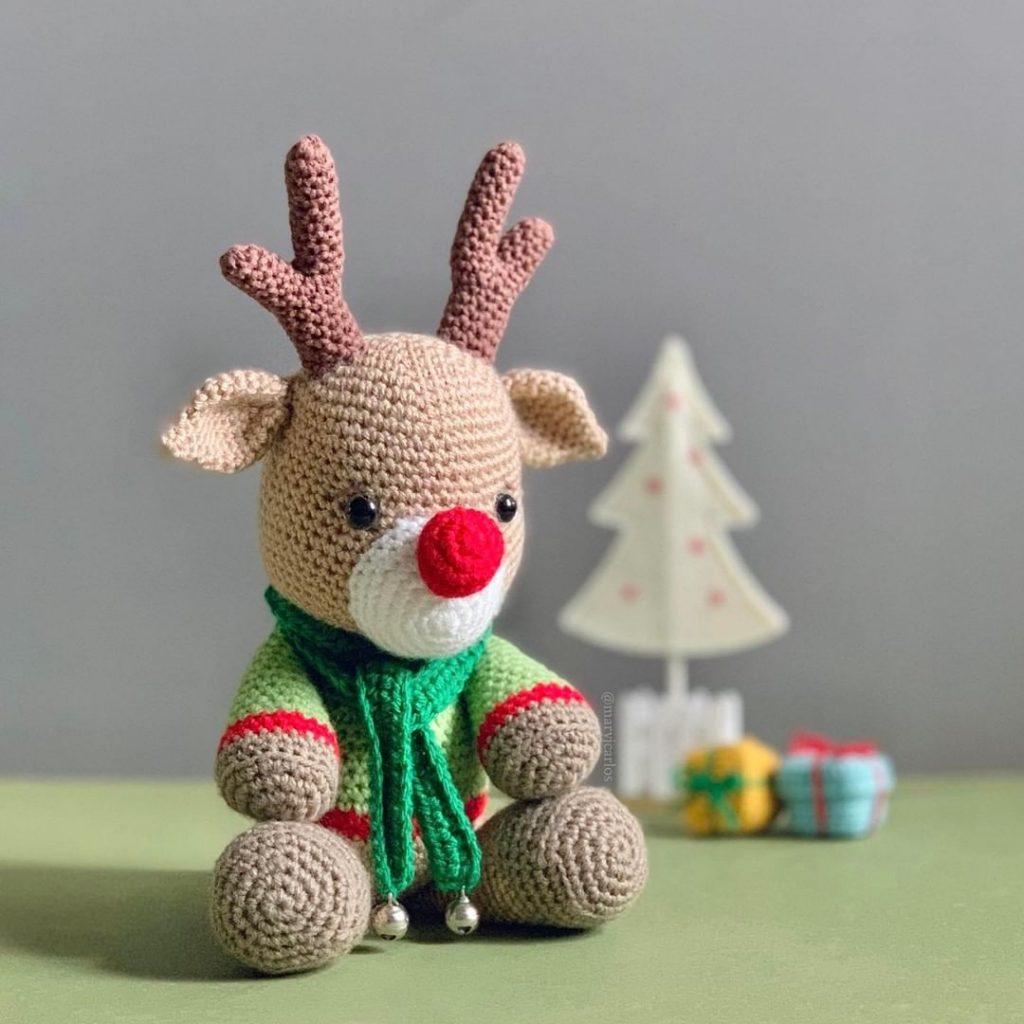
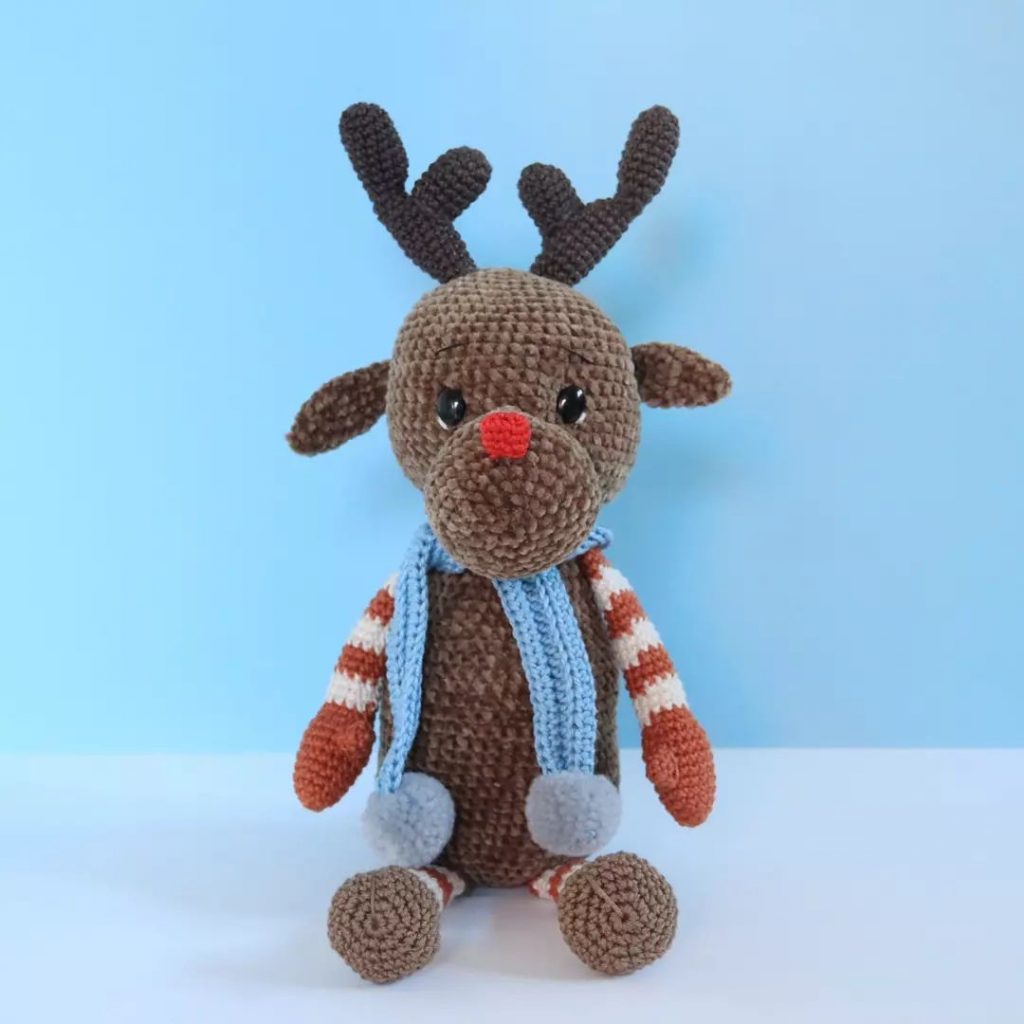
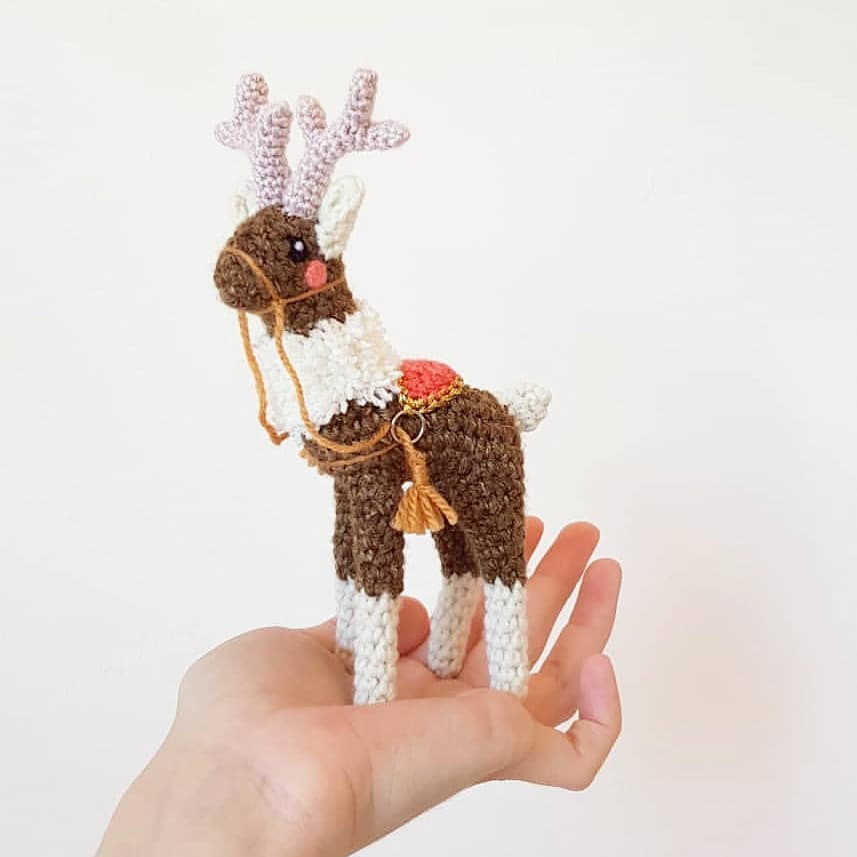
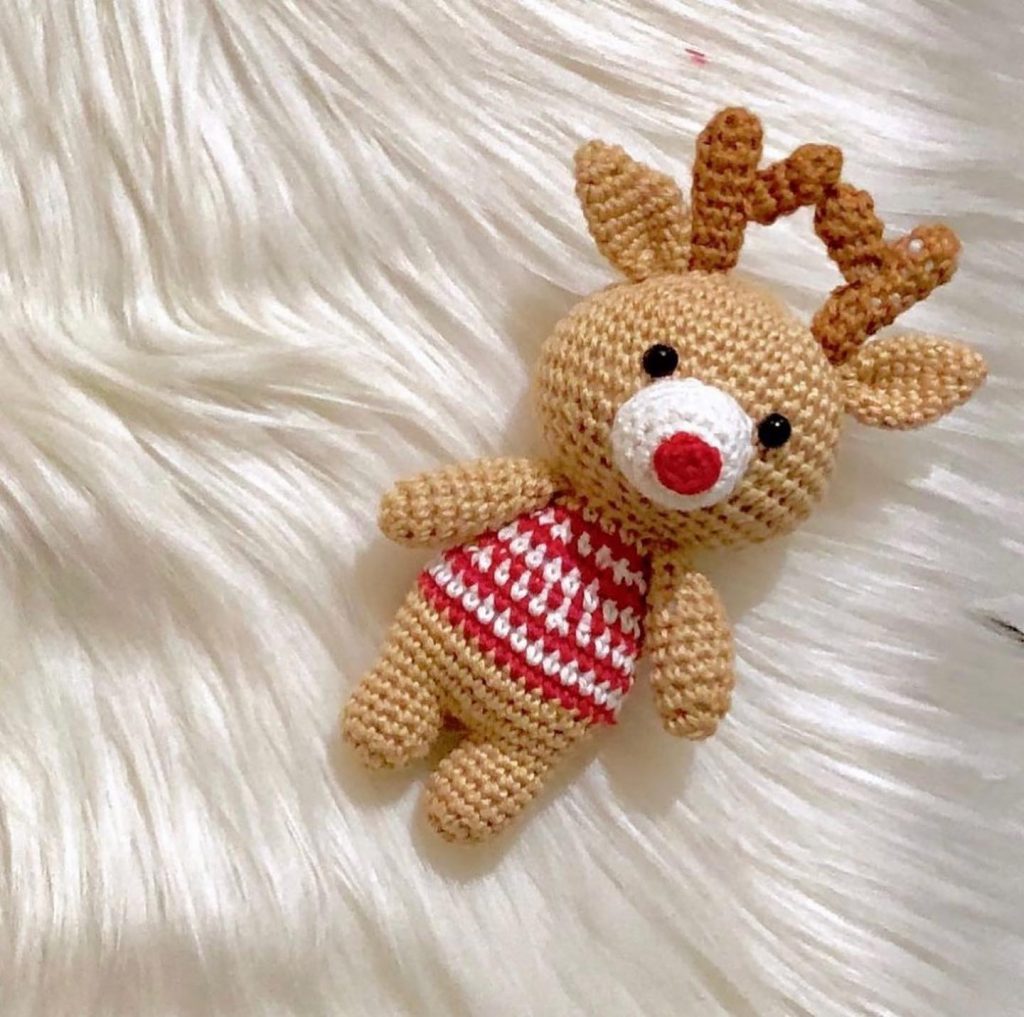
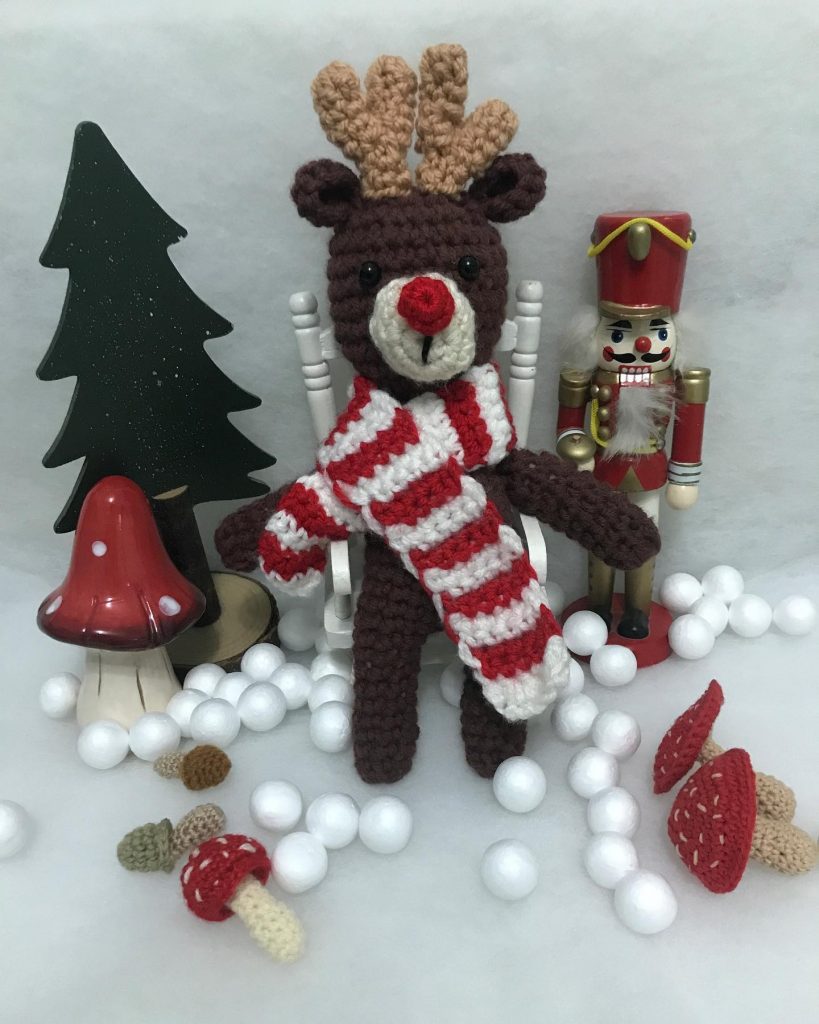
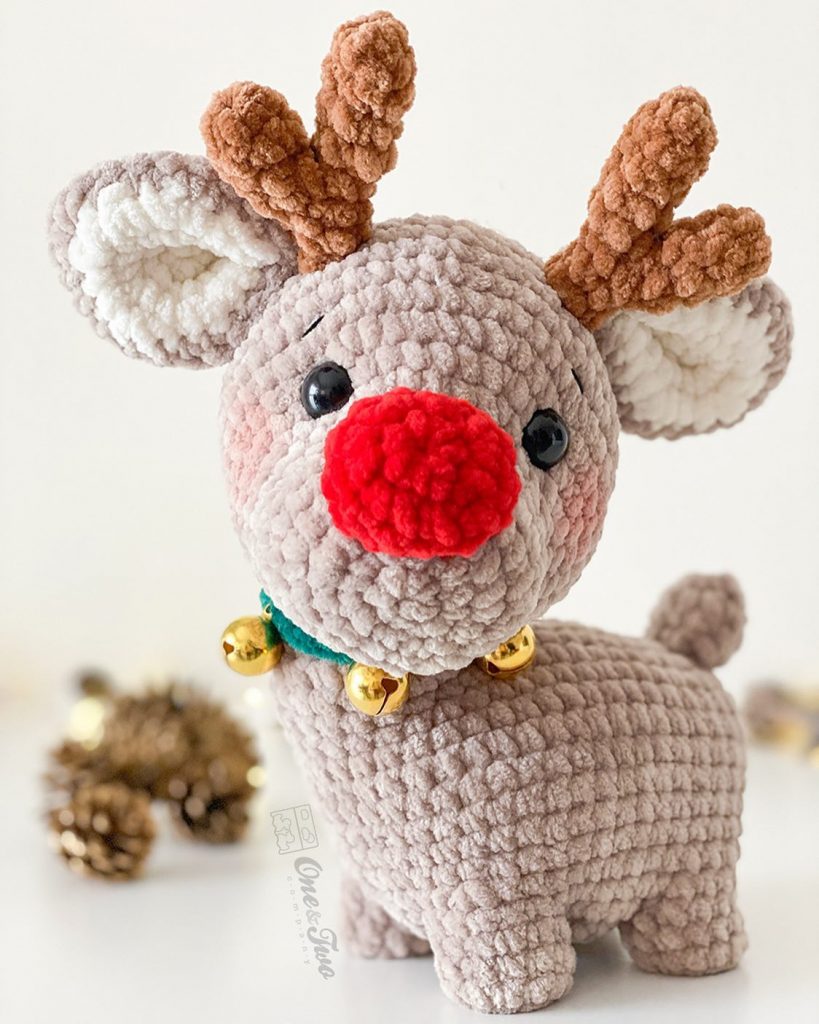
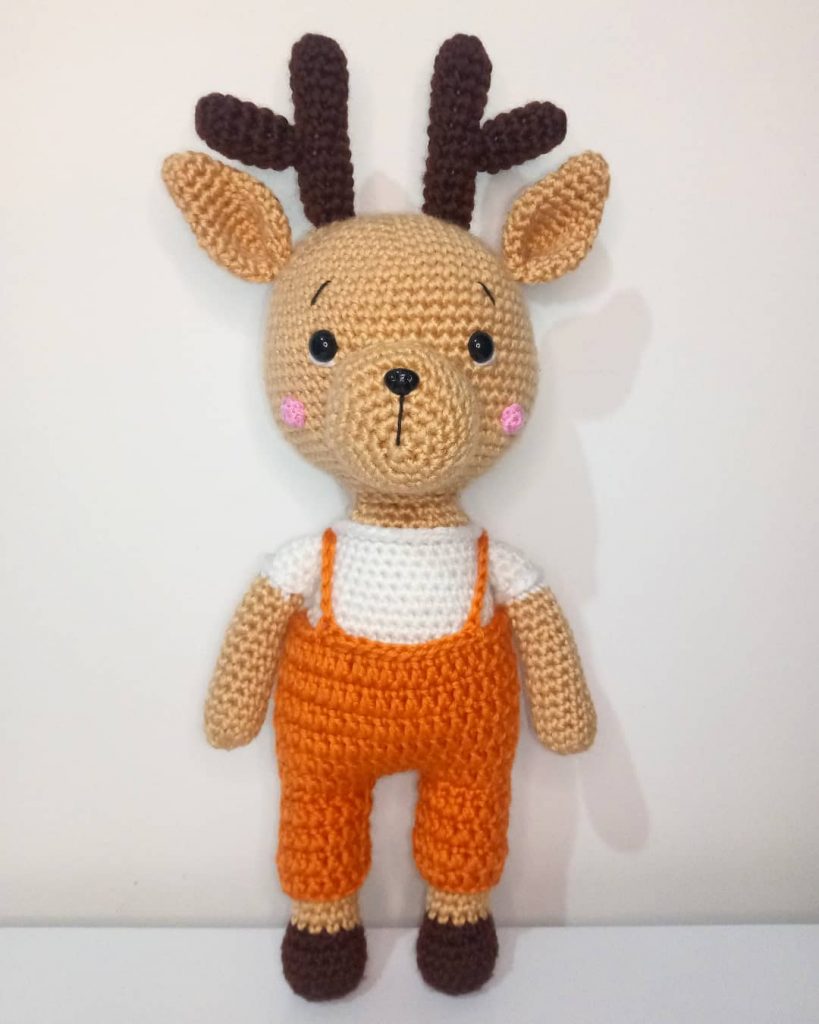
More Amigurumi Reindeer İdeas