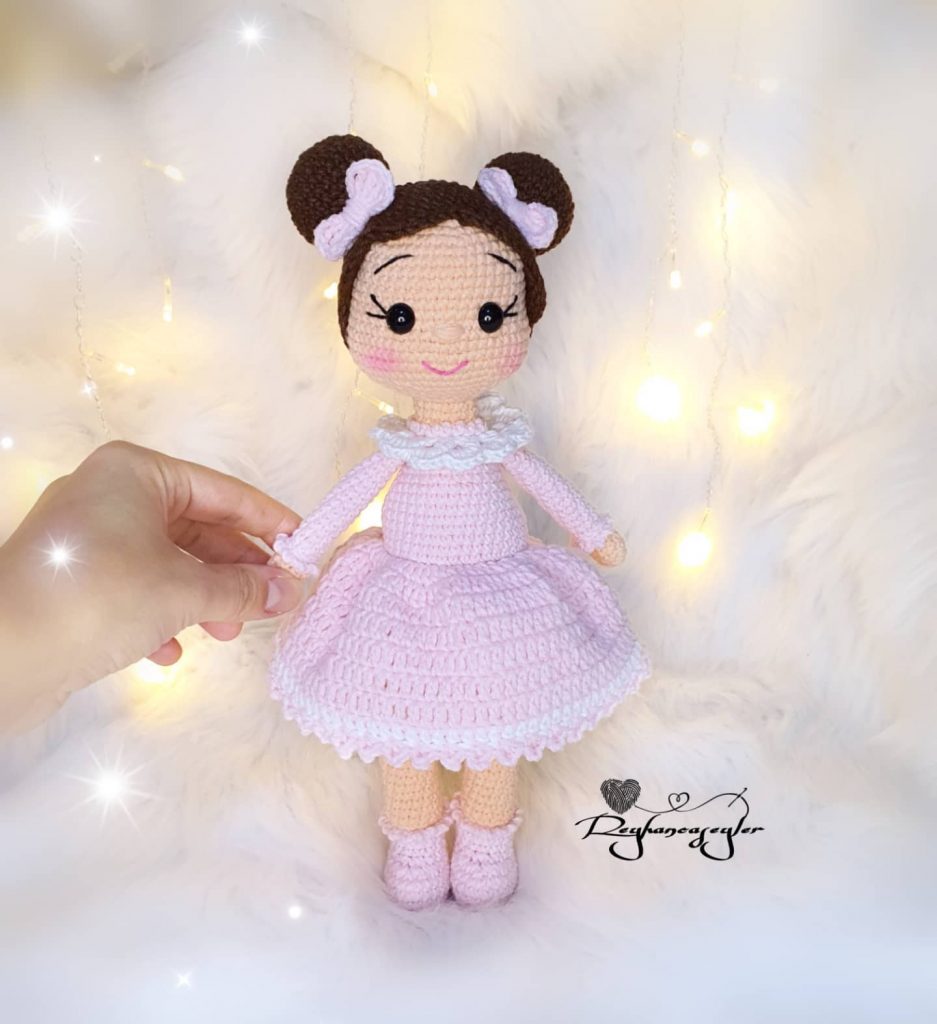
Free Pattern with Cute Baby Amigurumi Dresses
Hello dear Amigurumi Followers
Today we share one free amigurumi crochet pattern again for you. As you know we share new amigurumi free patterns every day. The main crochets are amigurumi gazelles, amigurumi bears, amigurumi pola, amigurumi pandas, amigurumi penguins, amigurumi giraffes, amigurumi llama, amigurumi pigs, amigurumi bunny, amigurumi clowns, amigurumi lambs, amigurumi bees, amigurumi unicorns, amigurumi dolls, amigurumi foxes, amigurumi penguins, amigurumi dinosaurs, amigurumi elephants, amigurumi hippos, amigurumi monkeys, amigurumi cats, amigurumi dogs and more …
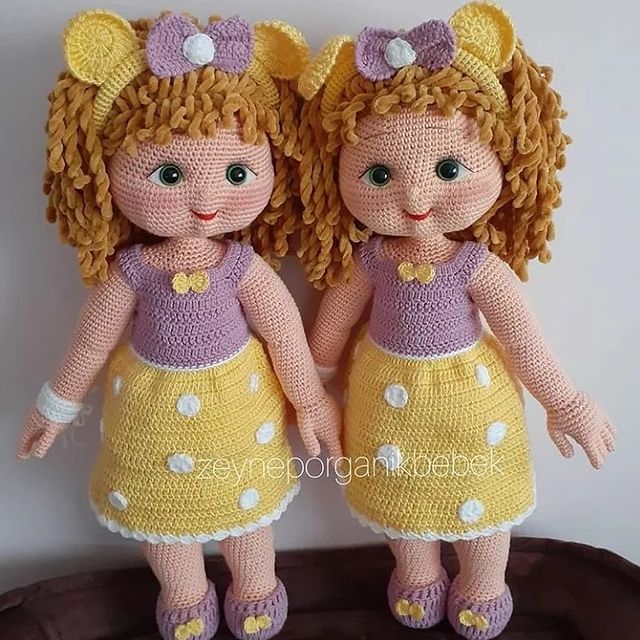
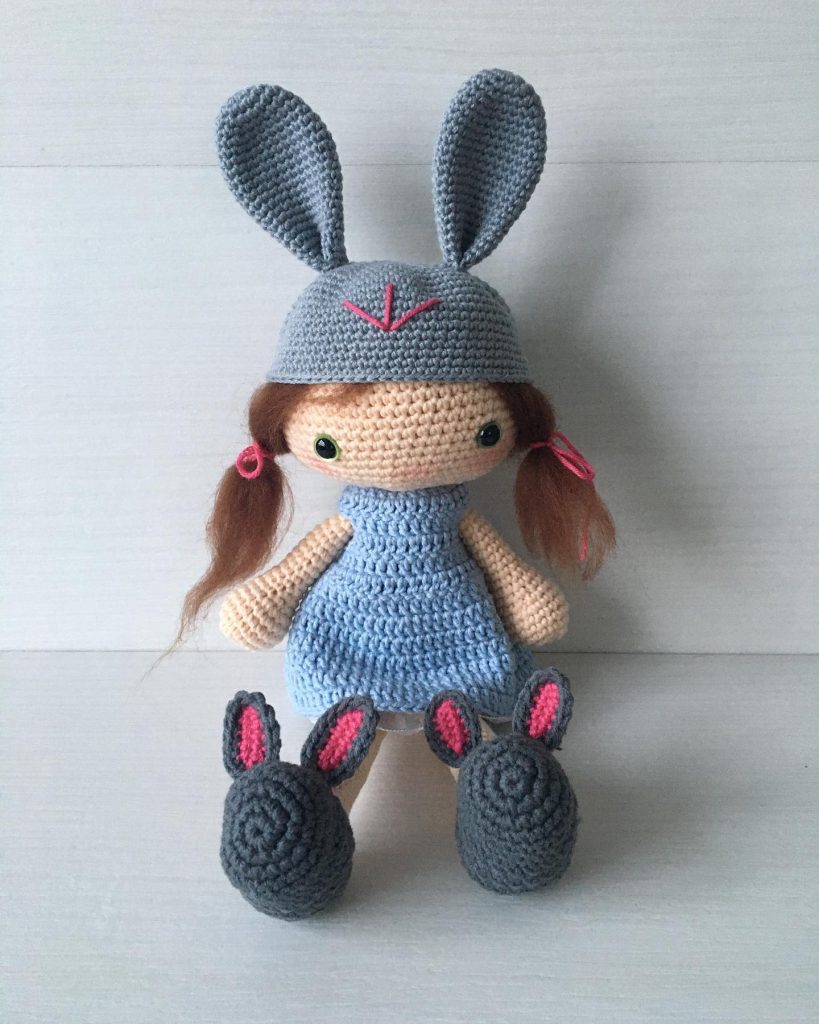
Todays daily new amigurumi free crochet pattern is amigurumi doll
I want to give you some informations about this pattern ;
If you enjoy making amigurumi, here I share this easy and free amigurumi pattern for you for free. Your kids will love these toys.
Materials
yarn and hook of your choice.
My doll is crocheted by YarnArt Jeans
with a hook 1.75 mm.
Abbreviations
sc – single crochet stitch
inc – increase
dec – decrease
ch – chain stitch
sl st – slip stitch
dc – double crochet stitch
Legs (2 pieces):
Start with the color of the sole or heel,
crochet in a spiral:
1) 6sc in magic ring.
2) (inc)х6 (12)
3) (sc, inc)х6 (18)
4) (2sc, inc)х6 (24)
Change the yarn to the color of shoes.
If no shoes, the color of the legs.
5) Work in back loop 24sc
6-8) 24sc
9) 8sc, (dec)х4, 8sc (20)
10) 8sc, (dec)х2, 8sc (18)
11) 8sc, dec, 8sc (17)
12) 17sc
Here boots end, change the yarn to the color of the legs
13-14) 17sc
15) 4sc, inc, 7sc, inc, 4sc (19)
16-17) 19sc
18) 5sc, inc, 7sc, inc, 5sc (21)
19) 21sc
Fasten off sl st. Stuff with fiberfill.
Don’t fasten off after finishing the second leg, continue crocheting the body.
Body:
Join second leg with the first one with sl.st.
20) 42sc
21-22) 42sc
23) (6sc, inc)х6 (48)
24) 48sc
25) (7sc, inc)х6 (54) + 11 sc (shift the, row in the left side of the doll).
Change the yarn to the color of the blouse.
26) 54sc
27) Work in front loop 54 sc (it’s a crease in a blouse), then work in back loop 54 sc.
We continue to crochet from the back loop of the Rnd 27:
28-29) 54sc
30) (dec, 16sc)х3 (51)
31) 51sc
32) (dec, 15sc)х3 (48)
33) 48sc
34) (dec, 14sc)х3 (45)
35) 45sc
36) (dec, 13sc)х3 (42)
37) 42sc
38) (dec, 12sc)х3 (39)
39) 39sc
40) (dec, 11sc)х3 (36)
41) 36sc
42) (dec, 10sc)х3 (33)
43) 33sc
44) (dec, 9sc)х3 (30)
45) (dec, 8sc)х3 (27)
46) (dec, 7sc)х3 (24)
47) 24sc
We change the yarn to pale pink, then we will crochet the head.
Head:
48) (3sc, inc)х6 (30)
49) 2sc, inc, (4sc, inc)х5, 2sc (36)
50) (5sc, inc)х6 (42)
51) 3sc, inc, (6sc, inc)х5, 3sc (48)
52) (7sc, inc)х6 (54)
53) 4sc, inc, (8sc, inc)х5, 4sc (60)
54) (9sc, inc)х6 (66)
55-62) 66sc
If you want to use the safety eyes (15 mm), insert them between Rnd 55 and
Rnd 56 at the distance of 9 stitches.
63) (dec, 9sc)х6 (60)
64) dec, 4 sc, (dec, 8sc)х5, 4sc (54)
65) (dec, 7sc)х6 (48)
66) dec, 3sc, (dec, 6sc)х5, 3sc (42)
67) (dec, 5sc)х6 (36)
68) dec, 2 sc, (dec, 4 sc)х5, 2sc (30)
69) (dec, 3sc)х6 (24)
70) dec, sc, (dec, 2sc)х5, sc (18)
71) (dec, sc)х6 (12)
72) (dec)х6 (6)
Tighten the hole, fasten off and cut the thread.
Hands:
We start with the wrist, work with the
yarn color of the legs in a spiral.
1) 6sc in magic ring
2) (inc)х6 (12)
3) 12sc
4) 4dc in one stitch, 11sc – it will be
the thumb.
5) sc, decrease of 3sc (as usual decrease, but crochet it not through 2, but through 3 stitches), chain, 11sc (14)
6) 14sc
7) sc, dec, 11sc (13)
8) 13sc
9) dec, 11sc (12)
10) 12sc
11) dec, 10sc (11)
12-16) 11sc
We change the yarn to the color of the blouse, the sleeves begin.
17-22) 11sc
Do not cut the thread! Stuff 2/3 оf hand with fiberfill. The hole is fold in half, so that the thumb is on the side, then crochet the loops of opposite sides together.
Fasten off sl st, leaving a tail of the thread for sewing the hand to the body.
Pay attention to where the color change is to hide the transition at hand. On the other hand, we change the color so that the transition is also under the hand. That is, you should get the right and left handles with the color transition under the hand.
We sew the handles under the Rnd 46 of the body, that is, we recede from the head 2 rows and sew.
Hat:
Crochet a hat in the color of the arms and legs in a spiral.
1) 6sc in magic ring
2) (inc)х6 (12)
3) (sc, inc)х6 (18)
4) (2sc, inc)х6 (24)
5) (3sc, inc)х6 (30)
6) (4sc, inc)х6 (36)
7) (5sc, inc)х6 (42)
8) (6sc, inc)х6 (48)
9) (7sc, inc)х6 (54)
10) (8sc, inc)х6 (60)
11) (9sc, inc)х6 (66)
12-20) 66sc
21) (dec, 9sc)х6 (60)
22) 60sc
23) (dec, 8sc)х6 (54)
24) 54sc
Try on the hat, the end of the row is the back of the hat. We dress the hat so that you can not see the head from the back (the t-shirt ends and the hat starts right away).
In front, in the center, 13 rows should remain from the face, the hat covers the rest of the head. Adjust the number of rows if your hat is smaller or bigger.
Fasten off sl st, leaving a tail of the thread for sewing the hat to the head.
Align the hat on the head and sew on the edge.
Muzzle:
1) 8ch, 1sc in the 2nd ch from the hook, 5sc, 4sc in the last stitch of the chain, 5sc on the other side of the chain, 3sc in one stitch (18)
2) (inc, 5sc, inc, 2sc)х2 (22)
3) inc, 7sc, (inc)х3, 9sc, (inc)х2 (28)
4) 28sc.
Fasten off sl st, leaving a tail of the thread for sewing the muzzle to the hat.
Ears:
1) 7sc in magic ring (7)
2) ch, unfold and crochet 7sc (7)
3) ch, unfold and crochet (inc)х7 (14)
4) ch, unfold and crochet 14sc (14)
Crochet 2 details in the color of the Tshirt – this will be the inner part of the ears. At the end, the thread fasten off sl st and cut. Then we crochet 2 more same details, but in the color of the hat – this will be the outer part of the ears. At the end we fasten off sl st the thread, but do not cut it. We fold the inner and outer parts and crochet them together with the remaining thread in the color of the hat.
Assembly and design of the hat:
– sew the muzzle;
– sew the ears;
– embroider a nose;
– embroider eyes.
Eyes:
To decorate the eyes you will need 3 colors of yarn: white, black and the color of the iris. You can use the same yarn, yarn a little thicker or moulinet.
Eyes are embroidered by a cross on 7- 10 rows, if you count from a T-shirt.
This is Rnd 54-57 by description.
Between eyes 4-5 stitches, depending on where the center of the face comes to the loop or between the loops.
Below is a scheme of a face for embroidery of eyes, a yellow strip in a bottom – the edge of a T-shirt, brown in a top – the edge of a hat.
If after embroidery by a black thread you have clearly pronounced clearance, then it can be colored with a black marker
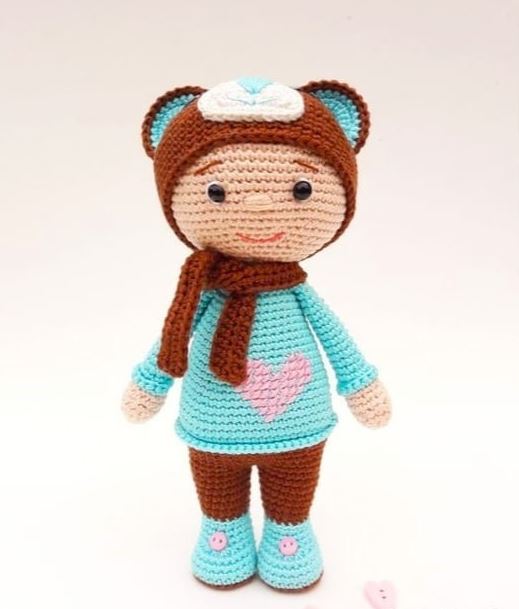
Embroidery on the tummy:
The Embroidery on the tummy of the doll is embroidered with a cross, as well as the eyes.
With the help of pins determine the location of the future drawing. I recede 3 rows from the bottom edge of the Tshirt and 1 loop from the line of decrease on the body. Note that the whole drawing fits on the front of the
T-shirt and does not go over to the side of the doll.
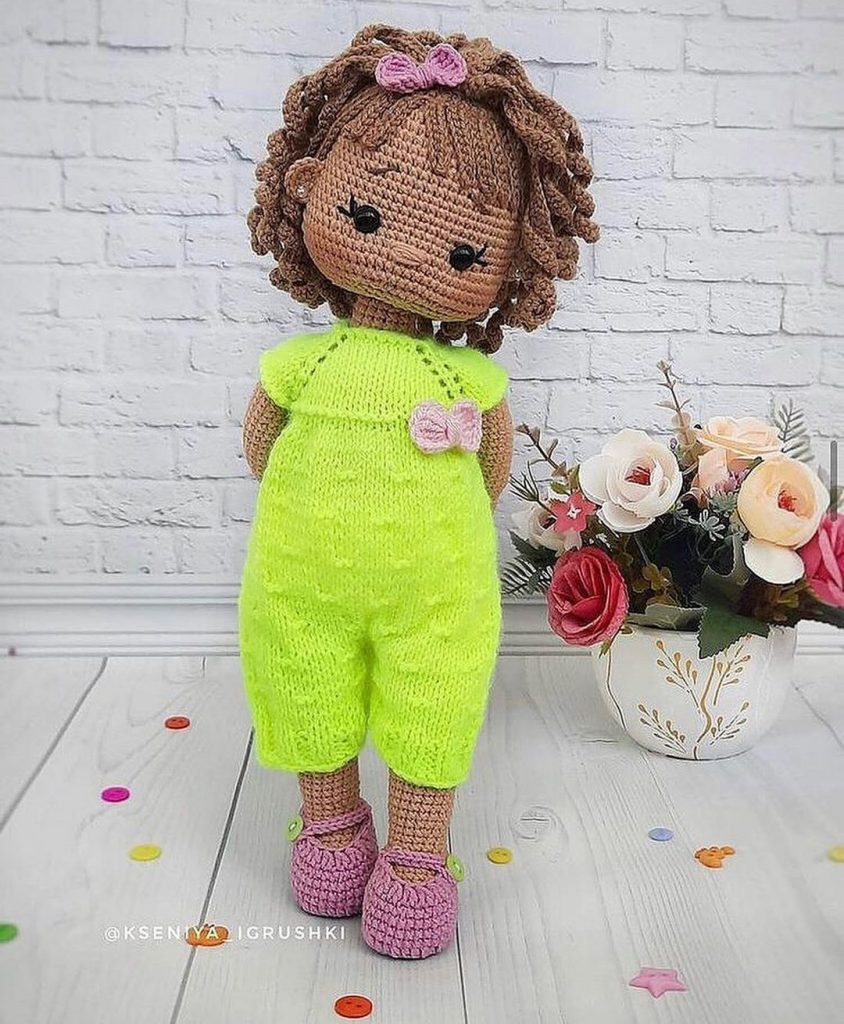
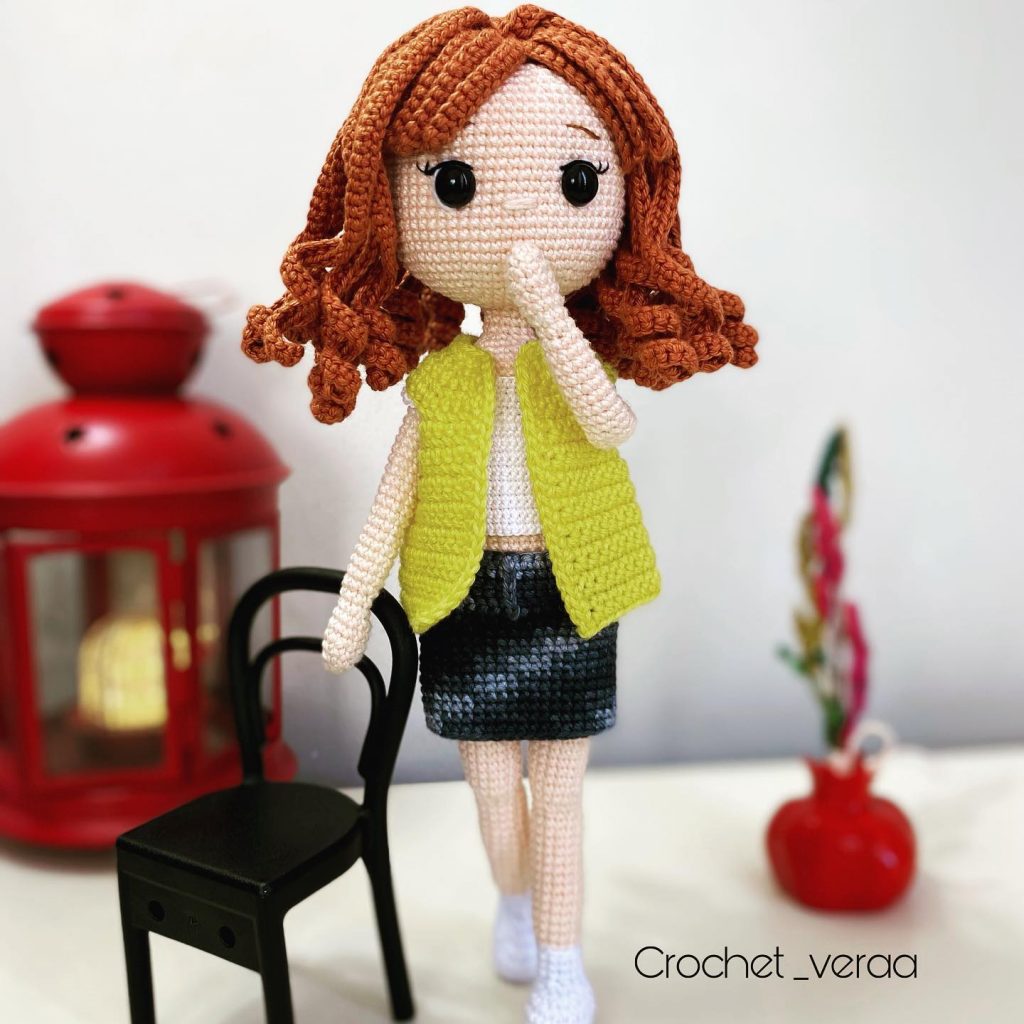
More Amigurumi Doll İdeas