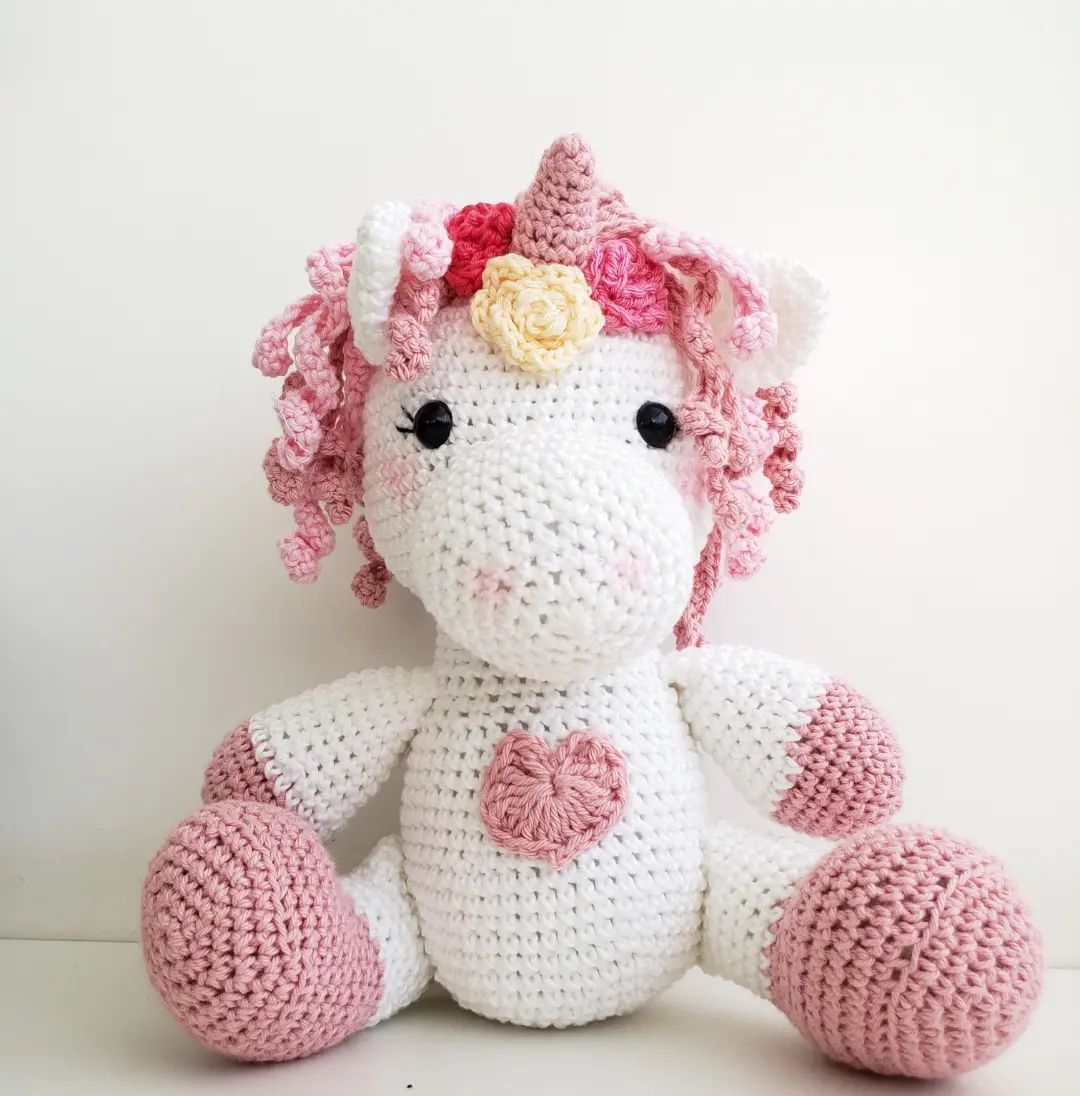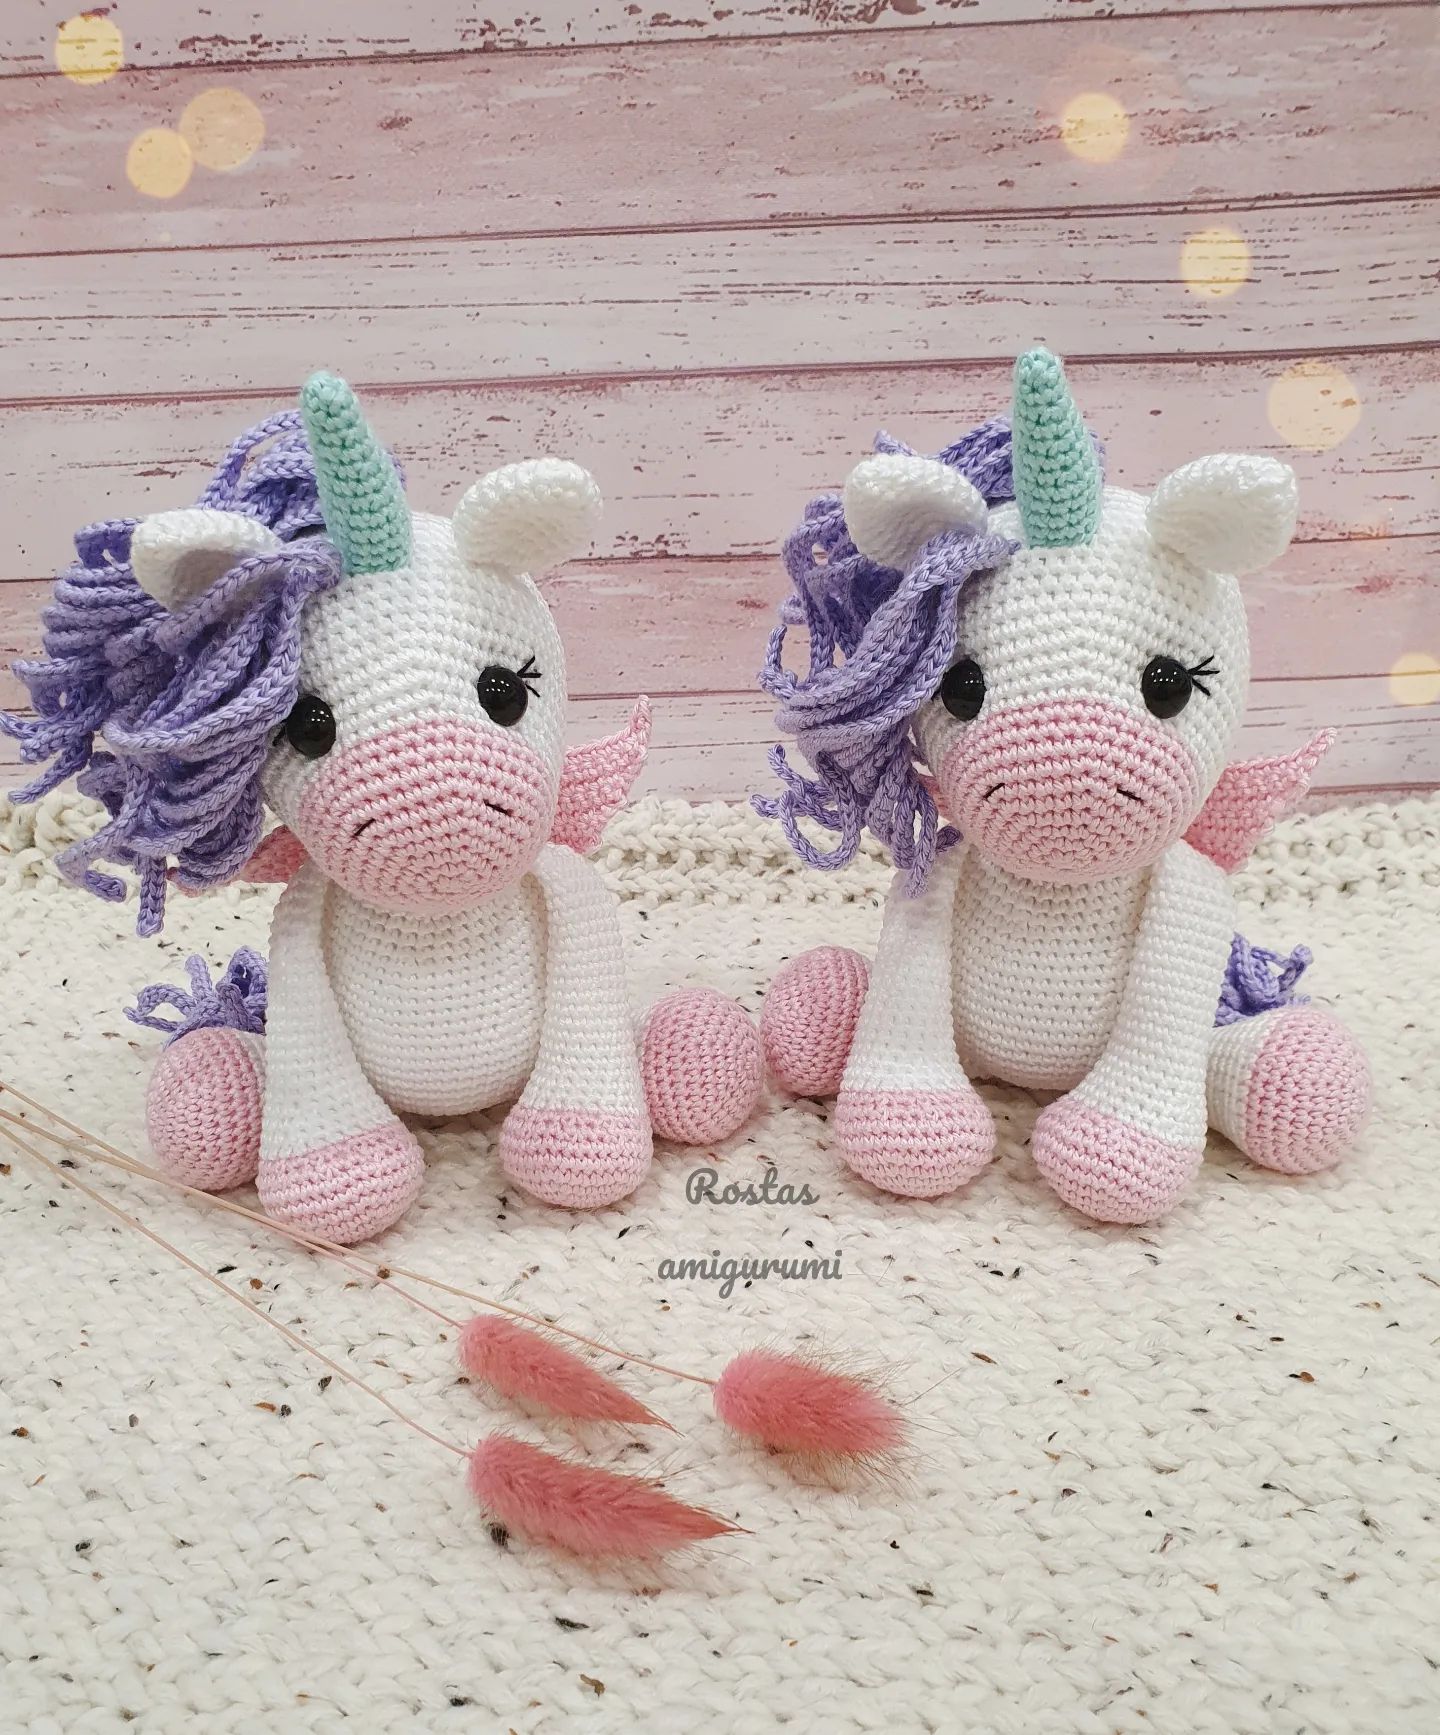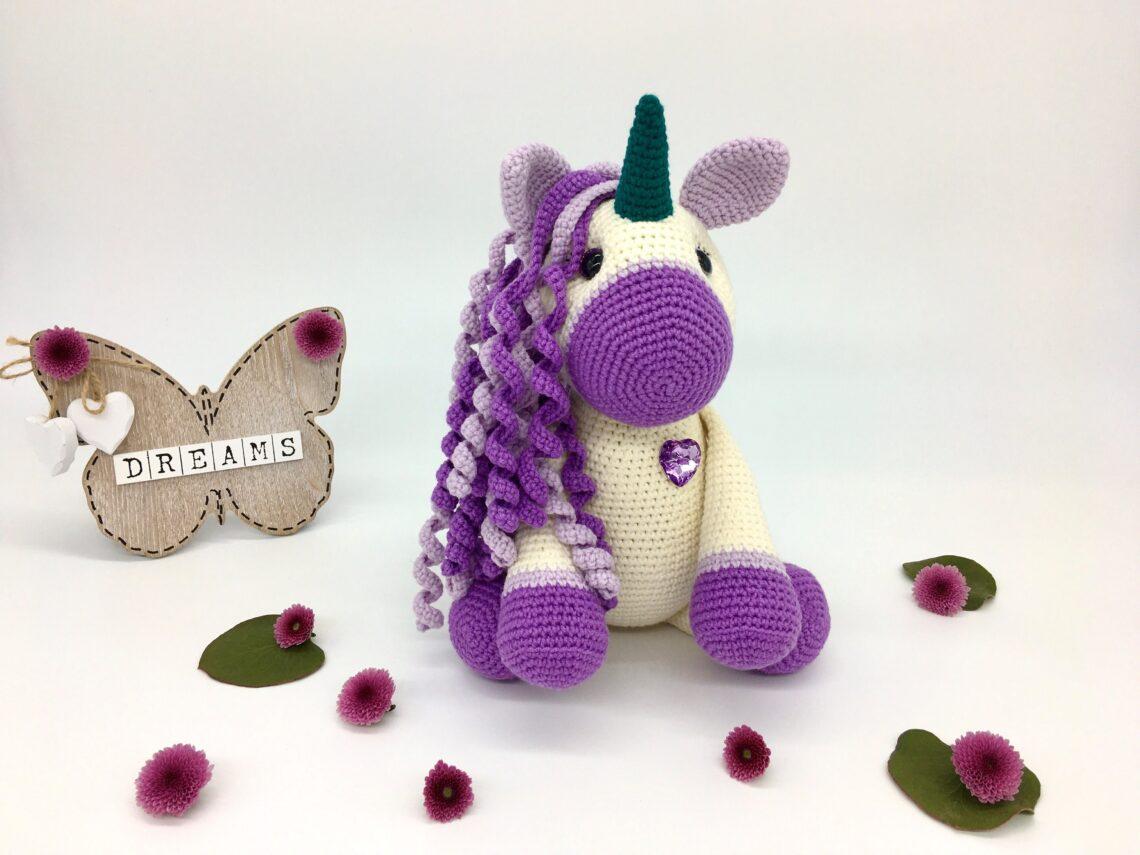
Violet Amigurumi Unicorn Free Pattern
Hello dear Amigurumi Followers
Today we share one free amigurumi crochet pattern again for you. As you know we share new amigurumi free patterns every day. The main crochets are amigurumi gazelles, amigurumi bears, amigurumi pola, amigurumi pandas, amigurumi penguins, amigurumi giraffes, amigurumi llama, amigurumi pigs, amigurumi bunny, amigurumi clowns, amigurumi lambs, amigurumi bees, amigurumi unicorns, amigurumi dolls, amigurumi foxes, amigurumi penguins, amigurumi dinosaurs, amigurumi elephants, amigurumi hippos, amigurumi monkeys, amigurumi cats, amigurumi dogs and more …
Todays daily new amigurumi free crochet pattern is amigurumi unicorn
I want to give you some informations about this pattern ;
If you enjoy making amigurumi, here I share this easy and free amigurumi pattern for you for free. Your kids will love these toys.
MATERIALS
Yarn: Sport Weight yarn in cream (320m), dark purple (160m), light purple (160m) and teal (160m)
A blend of acrylic and cotton is a fab blend for toys, making it robust, but washable.
My recommendations for this amigurumi unicorn are: Debbie Bliss Baby Cashmerino or Cascade Yarns Pacific Sport.
Hook: 3mm
Black embroidery thread
Fiberfill for stuffing
Scissors
Darning needle
Pins with large heads
Stitch marker or thin yarn to use instead
12mm safety eyes
Heart shaped button for decoration
ABBREVIATIONS
MR: Magic Ring/Circle
Chain(s): ch(s):Yarn over, pull through
Slip Stitch (ss): Insert hook, yarn over, pull through all loops.
Single Crochet(s): sc(s): Insert hook into stitch, yarn over, pull up a loop, you will have two loops on the hook. Yarn over, pull through remaining two loops.
Half Double Crochet (hdc): Yarn over and insert your hook into the chain or stitch, yarn over and pull through (you will have three loops on the hook) yarn over and pull through all three loops on the hook
Double Crochet (dc): Yarn over, insert into chain space, yarn over, pull through, you will have three loops on the hook. Yarn over, pull through two loops, yarn over, pull through remaining two loops.
Increase (inc): two single crochet stitches in the same stitch
Invisible Decrease (inv): insert the hook into the front loop of the first stitch (two loops on hook) and immediately insert it again into the front loop of the next stitch (three loops on the hook). Yarn over and draw through the first two loops on the hook (two loops on the hook). Yarn over and draw through the two loops on the hook to finish your invisible decrease
Back Loops Only (BLO)
Fasten Off (FO)
(…..) x 6: repeat the pattern inside the brackets by the given number (in this example, repeat the pattern in the brackets 6 times)
{…}: number shown inside these brackets equals the number of total stitches at the end of each round
Ears
Crochet from the top of the ear downwards.
R1: MR – 6 x SC into the ring {6}
R2: (SC in next ST, INC) x 3 {9}
R3: (SC in next 2 ST, INC) x 3 {12}
R4: (SC in next 3 ST, INC) x 3 {15}
R5: (SC in next 4 ST, INC) x 3 {18}
R6: (SC in next 5 ST, INC) x 3 {21},
R7-R10 (4 rounds): SC in each ST around {21}
R11: (SC in next 5 ST, INV DEC) x 3 {18}
R12: (SC in next 4 ST, INV DEC) x 3 {15}
R13: (SC in next 3 ST, INV DEC) x 3 {12}
R14: (SC in next 2 ST, INV DEC) x 3
FO leaving a long piece of yarn for sewing {9}, do not stuff the ears.
Horn
Crochet from the top of the horn downwards.
R1: MR – 5 x SC into the ring {5}
R2: SC in next 2 ST, INC, SC in next 2 ST {6}
R3: (SC in next 2 ST, INC) x 2 {8}
R4: SC in each ST around {8}
R5: (SC in next 3 ST, INC) x 2 {10}
R6: SC in each ST around {10}
R7: (SC in next 4 ST, INC) x 2 {12}
R8: SC in each ST around {12}
R9: (SC in next 5 ST, INC) x 2 {14}
R10: SC in each ST around {14}
R11: (SC in next 6 ST, INC) x 2 {16}
R12: SC in each ST around {16}
FO leaving a long piece of yarn for sewing.
Stuff the horn well.
Head
Start from the front to the back of the head.
R1: MR – 6 x SC into the ring {6}
R2: INC in each ST around {12}
R3: (SC in next ST, INC) x 6 {18}
R4: (SC in next 2 ST, INC) x 6 {24}
R5: (SC in next 3 ST, INC) x 6 {30}
R6: (SC in next 4 ST, INC) x 6 {36}
R7: (SC in next 5 ST, INC) x 6 {42}
R8: (SC in next 6 ST, INC) x 6 {48}
R9-R12 (4 rounds): SC in each ST around {48}
Change yarn to light purple colour.
R13: SC in each ST around {48}
Change yarn to cream colour.
R14: SC in each ST around {48}
R15: SC in next 9 ST, INC, (SC in next 5 ST, INC) x 5, SC in next 8 ST {54}
R16: SC in next 10 ST, INC, (SC in next 6 ST, INC) x 5, SC in next 8 ST {60}
R17: SC in next 11 ST, INC, (SC in next 7 ST, INC) x 5, SC in next 8 ST {66}
R18-R26 (9 rounds): SC in each ST around {66} – leave your stitch marker in at the start of R18 & R25 as you will need to refer to it when placing the eyes and crocheting the mane.
R27: (SC in next 9 ST, INV DEC) x 6 {60}
R28: (SC in next 8 ST, INV DEC) x 6 {54}
R29: (SC in next 7 ST, INV DEC) x 6 {48}
R30: (SC in next 6 ST, INV DEC) x 6 {42}
You can now place the eyes:
– stuff the amigurumi unicorn’s head first.
– it helps to use pins with large heads to first mark the spots where the eyes will be placed – you can make a decision whether you are happy with the placement and if it looks symmetrical before you insert the safety eyes; the safety eyes usually make a large hole in between the stitches so it is not recommended to change the placement of the eyes once they are in (Pic H1).
– place the eyes between rounds R18 and R19.
– first eye – count 25 stitches from your marker at the start of R18 and place the eye between ST25 and ST26.
– second eye – count 43 stitches from your marker at the start of R18 and place the eye between ST43 and ST44.
– you can now insert the safety eyes but do not put the safety backs on yet (Pic H2).
Sculpting the eyes (indented eye look):
– take a long piece of yarn and thread your needle.
– remove the left eye; place the needle in a stitch next to the left eye hole (Pic H3).
– remove the right eye; come across the side with the needle and place it into a stitch next to the right eye hole; pull all the way through till the yarn tail is not showing.
– place your needle in another stitch next to the right eye and come across the side with the needle again (Pic H4).
– repeat the process back and forth between the two eye holes while pulling on the yarn tightly each time you come across the side.
– you will need to repeat this about three times until you achieve the indented eye look you want and then you can weave the yarn end in (Pic H5).
– place the eyes back in the holes; remove some or most of the stuffing and place the safety backs on making sure they snap in place tightly.
– you can now re-stuff the head (Pic H6) and continue crocheting R31.
R31: (SC in next 5 ST, INV DEC) x 6 {36}
R32: (SC in next 4 ST, INV DEC) x 6 {30}
R33: (SC in next 3 ST, INV DEC) x 6 {24}
R34: (SC in next 2 ST, INV DEC) x 6 {18}
R35: (SC in next ST, INV DEC) x 6 {12}
R36: SC in each ST around {12}, close the hole using a yarn needle and weave the yarn end in.
Body
Start from the bottom of the amigurumi unicorn body to the top.
R1: MR – 6 x SC into the ring {6}
R2: INC in each ST around {12}
R3: (SC in next ST, INC) x 6 {18}
R4: (SC in next 2 ST, INC) x 6 {24}
R5: (SC in next 3 ST, INC) x 6 {30}
R6: (SC in next 4 ST, INC) x 6 {36}
R7: (SC in next 5 ST, INC) x 6 {42}
R8: (SC in next 6 ST, INC) x 6 {48}
R9: SC in each ST around {48}
R10: (SC in next 7 ST, INC) x 6 {54}
R11: (SC in next 8 ST, INC) x 6 {60}
R12: SC in each ST around {60}
R13: (SC in next 9 ST, INC) x 6 {66}
R14: SC in each ST around {66}
R15: (SC in next 10 ST, INC) x 6 {72}
R16-R20 (5 rounds): SC in each ST around {72}
R21: (SC in next 10 ST, INV DEC) x 6 {66}
R22-R23 (2 rounds): SC in each ST around {66}
R24: (SC in next 9 ST, INV DEC) x 6 {60}
R25-R26 (2 rounds): SC in each ST around {60}
R27: (SC in next 8 ST, INV DEC) x 6 {54}
R28-R29 (2 rounds): SC in each ST around {54}
You can now start stuffing the body.
R30: (SC in next 7 ST, INV DEC) x 6 {48}
R31-R32 (2 rounds): SC in each ST around {48}
R33: (SC in next 6 ST, INV DEC) x 6 {42}
R34-R35 (2 rounds): SC in each ST around {42}
R36: (SC in next 5 ST, INV DEC) x 6 {36}
R37-R38 (2 rounds): SC in each ST around {36}
R39: (SC in next 4 ST, INV DEC) x 6 {30}
R40-R41 (2 rounds): SC in each ST around and FO leaving a long piece of yarn for sewing {30}
Arms
Start from the bottom of the arm upwards.
R1: Magic ring – 6 x SC into the ring {6}
R2: INC in each ST around {12}
R3: (SC in next ST, INC) x 6 {18}
R4: (SC in next 2 ST, INC) x 6 {24}
R5: (SC in next 3 ST, INC) x 6 {30}
R6: (SC in next 4 ST, INC) x 6 {36}
R7: SC in each ST around – BLO {36}
R8-R9 (2 rounds): SC in each ST around {36}
R10: (SC in next 4 ST, INV DEC) x 6 {30}
R11-R12 (2 rounds): SC in each ST around {30}
Change yarn to light purple colour.
R13: SC in each ST around {30}
R14: (SC in next 3 ST, INV DEC) x 6 {24}
Change yarn to cream colour.
R15-R16 (2 rounds): SC in each ST around {24}
You can now start stuffing the arm.
R17: (SC in next 6 ST, INV DEC) x 3 {21}
R18-R19 (2 rounds): SC in each ST around {21}
R20: (SC in next 5 ST, INV DEC) x 3 {18}
R21-R24 (4 rounds): SC in each ST around {18}
R25: INV DEC, SC in next 16 ST {17}
R26-R27 (2 rounds): SC in each ST around {17}
You can now stop stuffing the arm.
R28: INV DEC, SC in next 15 ST {16}
R29-R30 (2 rounds): SC in each ST around {16}
R31: INV DEC, SC in next 14 ST {15}
R32: SC in each ST around {15}
R33: INV DEC, SC in next 13 ST {14}
R34: SC in each ST around {14}
R35: SC in next 4 ST and then SC the opening together to close the arm, FO leaving a long piece of yarn for sewing.
Legs
Start from the bottom of the leg upwards.
R1: Magic ring – 6 x SC into the ring {6},
R2: INC in each ST around {12}
R3: (SC in next ST, INC) x 6 {18}
R4: (SC in next 2 ST, INC) x 6 {24}
R5: (SC in next 3 ST, INC) x 6 {30}
R6: (SC in next 4 ST, INC) x 6 {36}
R7: (SC in next 5 ST, INC) x 6 {42}
R8: SC in each ST around – BLO {42}
R9: SC in each ST around {42}
R10: (SC in next 5 ST, INV DEC) x 6 {36}
R11: SC in each ST around {36}
R12: (SC in next 4 ST, INV DEC) x 6 {30}
You can now start stuffing the leg.
R13: SC in each ST around {30}
Change yarn to light purple colour.
R14: SC in each ST around {30}
R15: (SC in next 8 ST, INV DEC) x 3 {27}
Change yarn to cream colour.
R16: SC in each ST around {27}
R17: (SC in next 7 ST, INV DEC) x 3 {24}
R18: SC in each ST around {24}
R19: (SC in next 6 ST, INV DEC) x 3 {21}
R20-R21 (2 rounds): SC in each ST around {21}
R22: (SC in next 5 ST, INV DEC) x 3 {18}
R23-R24 (2 rounds): SC in each ST around {18}
You can now stop stuffing the leg.
R25: INV DEC, SC in next 16 ST {17}
R26-R27 (2 rounds): SC in each ST around {17}
R28: SC the opening together to close the leg and FO leaving a long piece of yarn for sewing.
Mane
Crochet two rows of 11 ringlets each; starting from the front of the head towards the back of the head.
First row of 11 ringlets – light purple colour:
Step 1: Count 36 STs from the start of R25 of the head and insert the hook through in between ST36 and ST37; draw a loop (Pic M1) and start a chain.
Step 2: Chain 81 STs for the first ringlet (Pic M2), then 80xSC into the chain starting from 2nd CH from the hook.
Step 3: Insert your hook into the next stitch on the top of the head (Pic M3); draw a loop again and start to crochet another ringlet (Pic M4).
Step 4: Crochet 11 ringlets in total as per the pattern below:
First 4 ringlets – chain 81 STs and then 80xSC into the chain starting from 2nd CH from the hook.
Another 3 ringlets – chain 91 STs and then 90xSC into the chain starting from 2nd CH from the hook.
Last 4 ringlets – chain 101 STs and then 100xSC into the chain starting from 2nd CH from the hook.
Step 5: FO and weave both yarn ends in
Second row of 11 ringlets – dark purple colour:
Repeat Step 1 to Step 5 above but insert the hook through in between ST37 and ST38 in R25 in Step 1.
If you would like your unicorn to have a very thick mane you can add another row of ringlets.
Tail
Use the same method that you used for crocheting the mane.
Crochet 3 rows of ringlets – 3 ringlets per row:
First row of 3 ringlets – between R15 & R16 of the body – chain 71 STs and then 70xSC into the chain starting from 2nd CH from the hook.
Second row of 3 ringlets – between R16 & R17 of the body – chain 61 STs and then 60xSC into the chain starting from 2nd CH from the hook.
Third row of 3 ringlets – between R17 & R18 of the body – chain 56 STs and then 55xSC into the chain starting from 2nd CH from the hook.
FO and weave all yarn ends in.
Assembly
Head and ears of the amigurumi unicorn:
Pin the ears to the head first to make sure they are symmetrical from the front, side and the back too. Sew the ears to the head. I placed the ears between R24 and R26.
Head and horn of the amigurumi unicorn:
Pin the horn to the head first making sure that it is placed in the centre between the ears. I placed the horn between R16 and R23. Sew the horn to the head, adding more stuffing if needed.
Head and body of the amigurumi unicorn:
Pin the body to the head first making sure that the head is in the centre from the front and back. Sew the body to the head adding more stuffing if needed.
Arms of the amigurumi unicorn:
Pin the arms to the body in a forward facing angle (at about 45°) making sure both arms are symmetrical from the front and back. Sew the arms to the body. I placed the arms between R31 and R37 of the body.
Legs of the amigurumi unicorn:
Turn the body upside down with the nose facing away from you. Pin the legs to the body as shown in the photo below making sure they look symmetrical. The best way to ensure you are happy with the placement of the legs is to sit your toy up and adjust the placement of the legs if needed. Sew the legs to the body. I placed the legs between R3 and R9 of the body.
Eye lash embroidery:
Embroider the eye lashes with a long piece of thread black yarn.
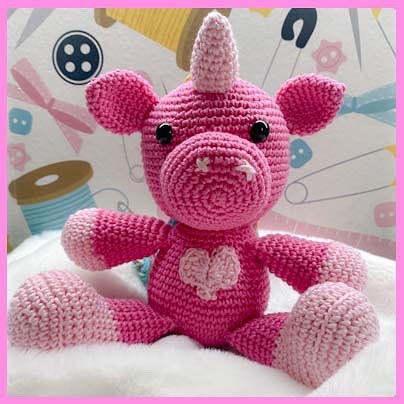
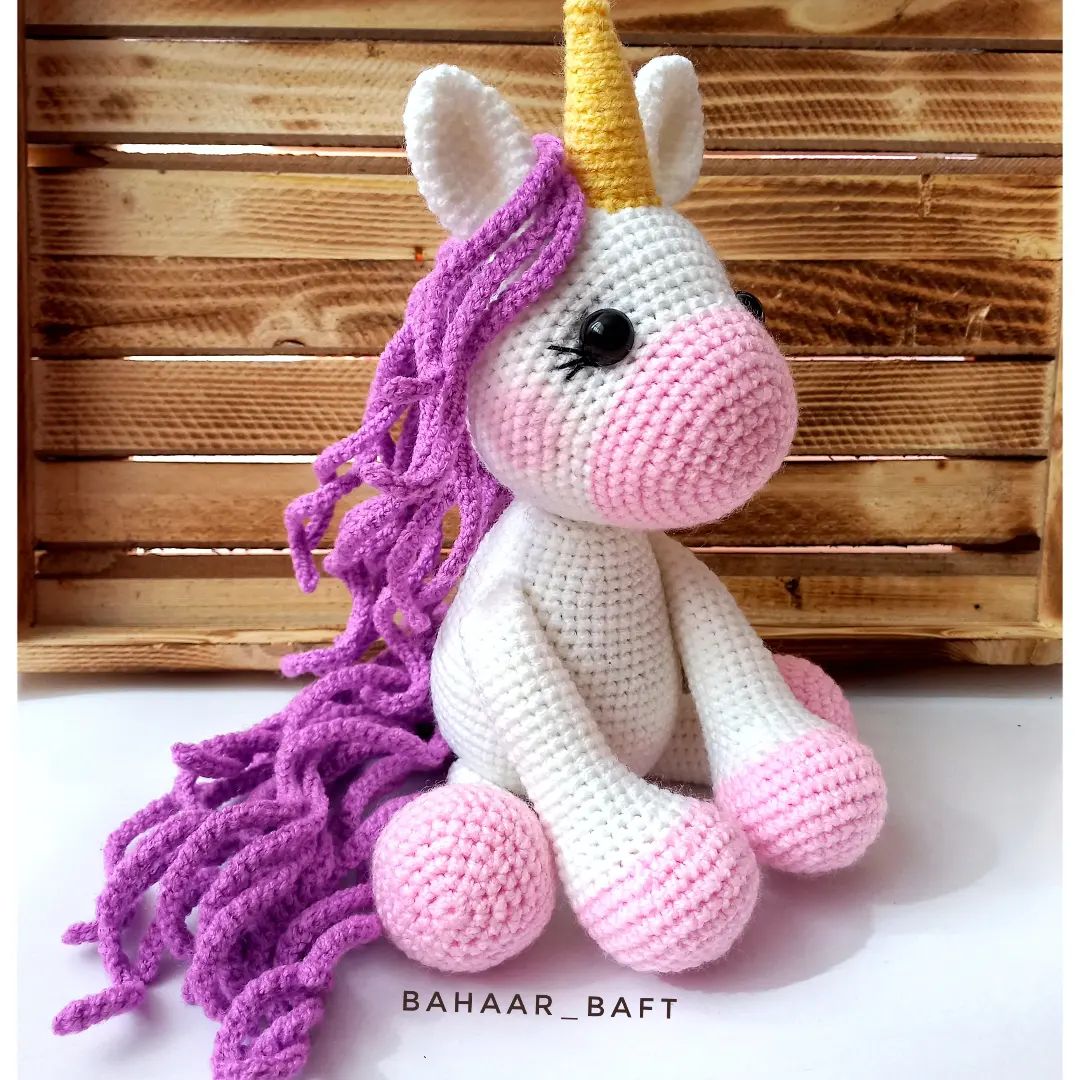
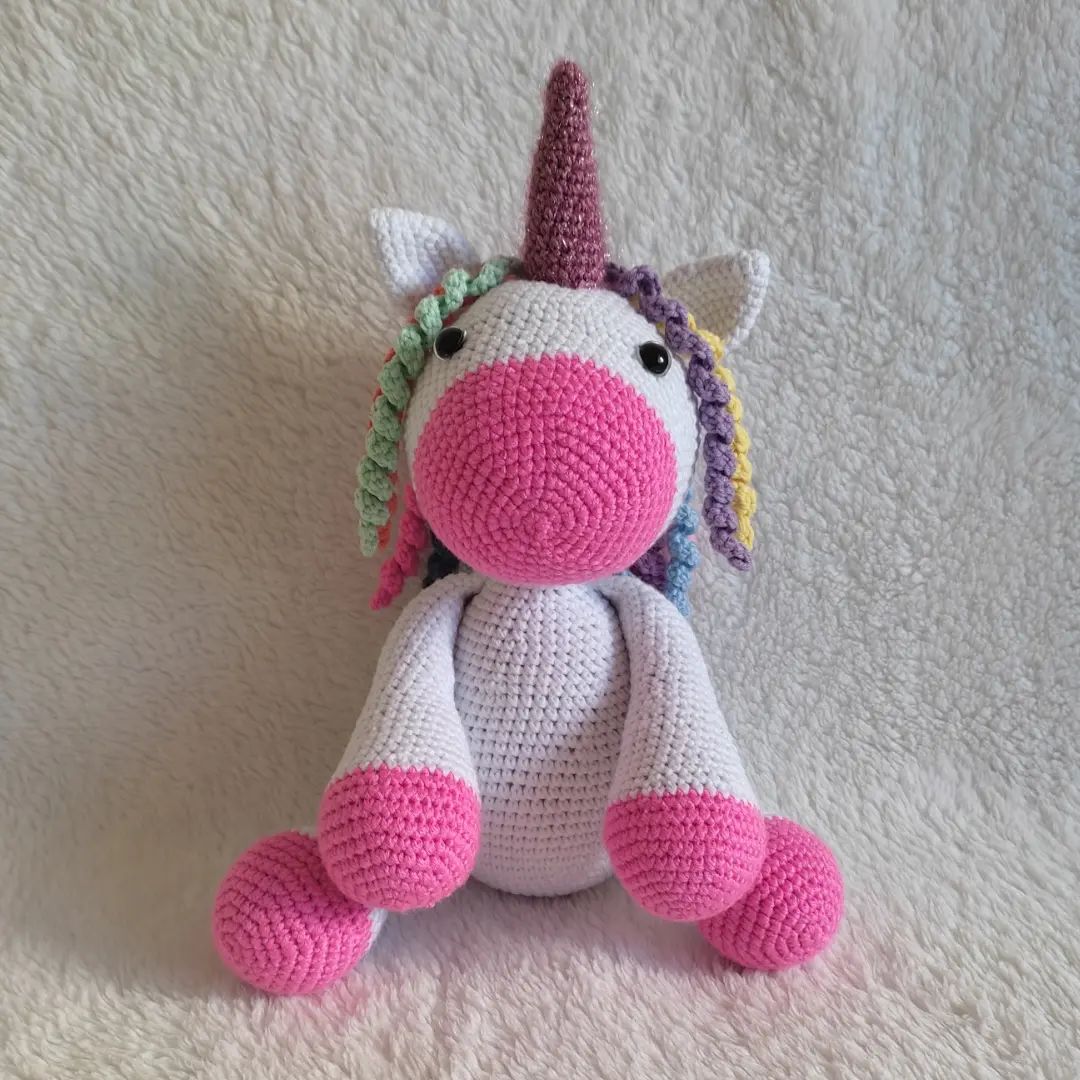
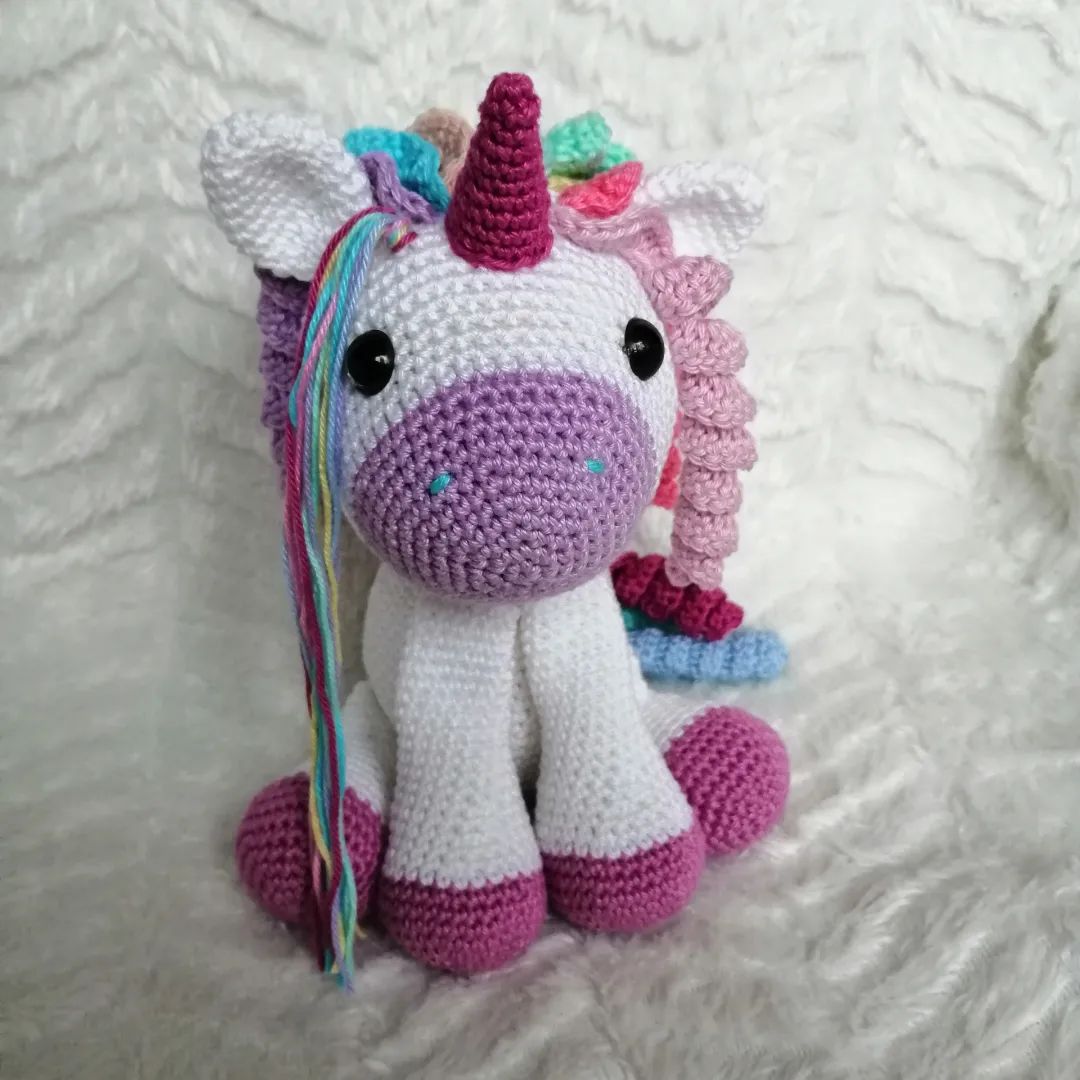
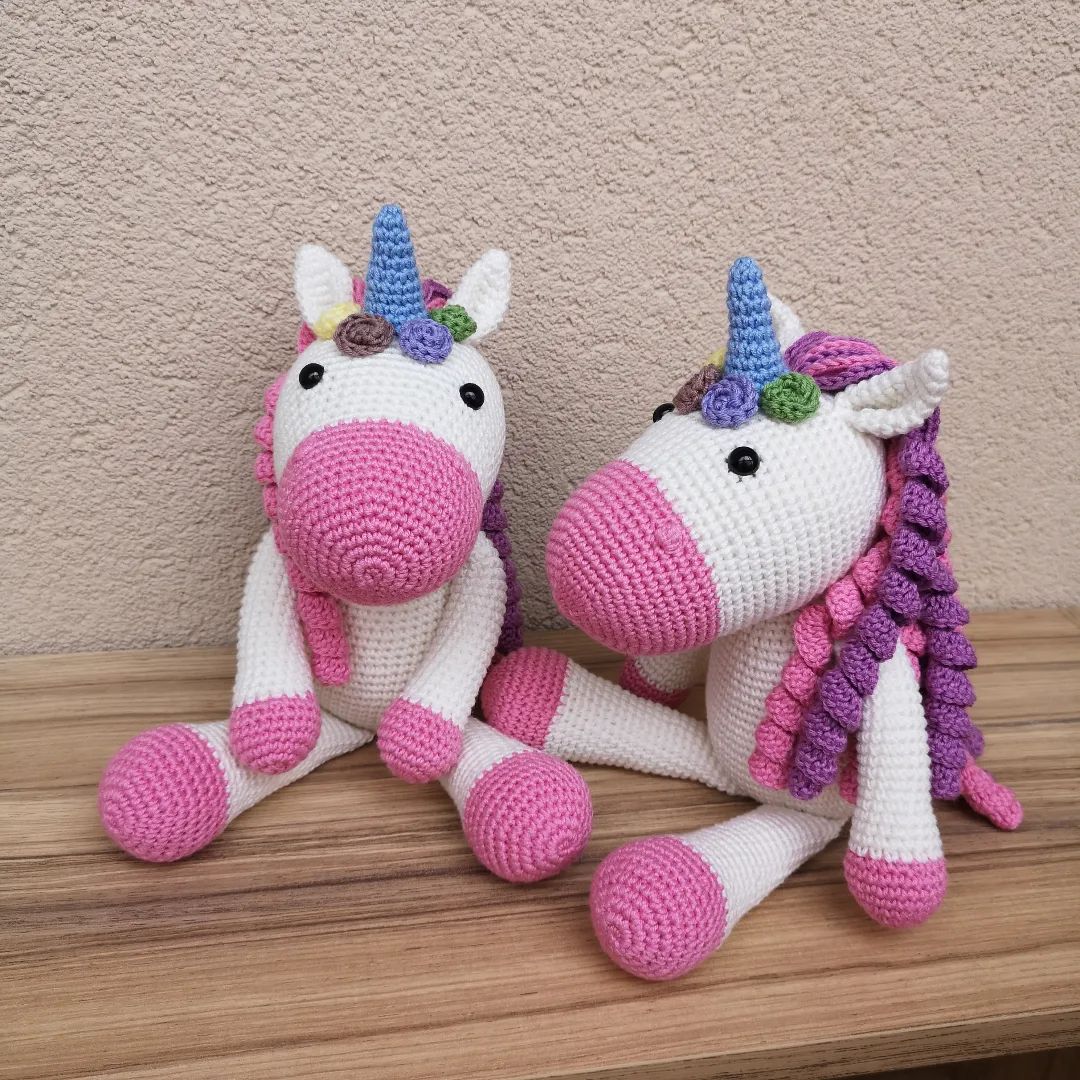
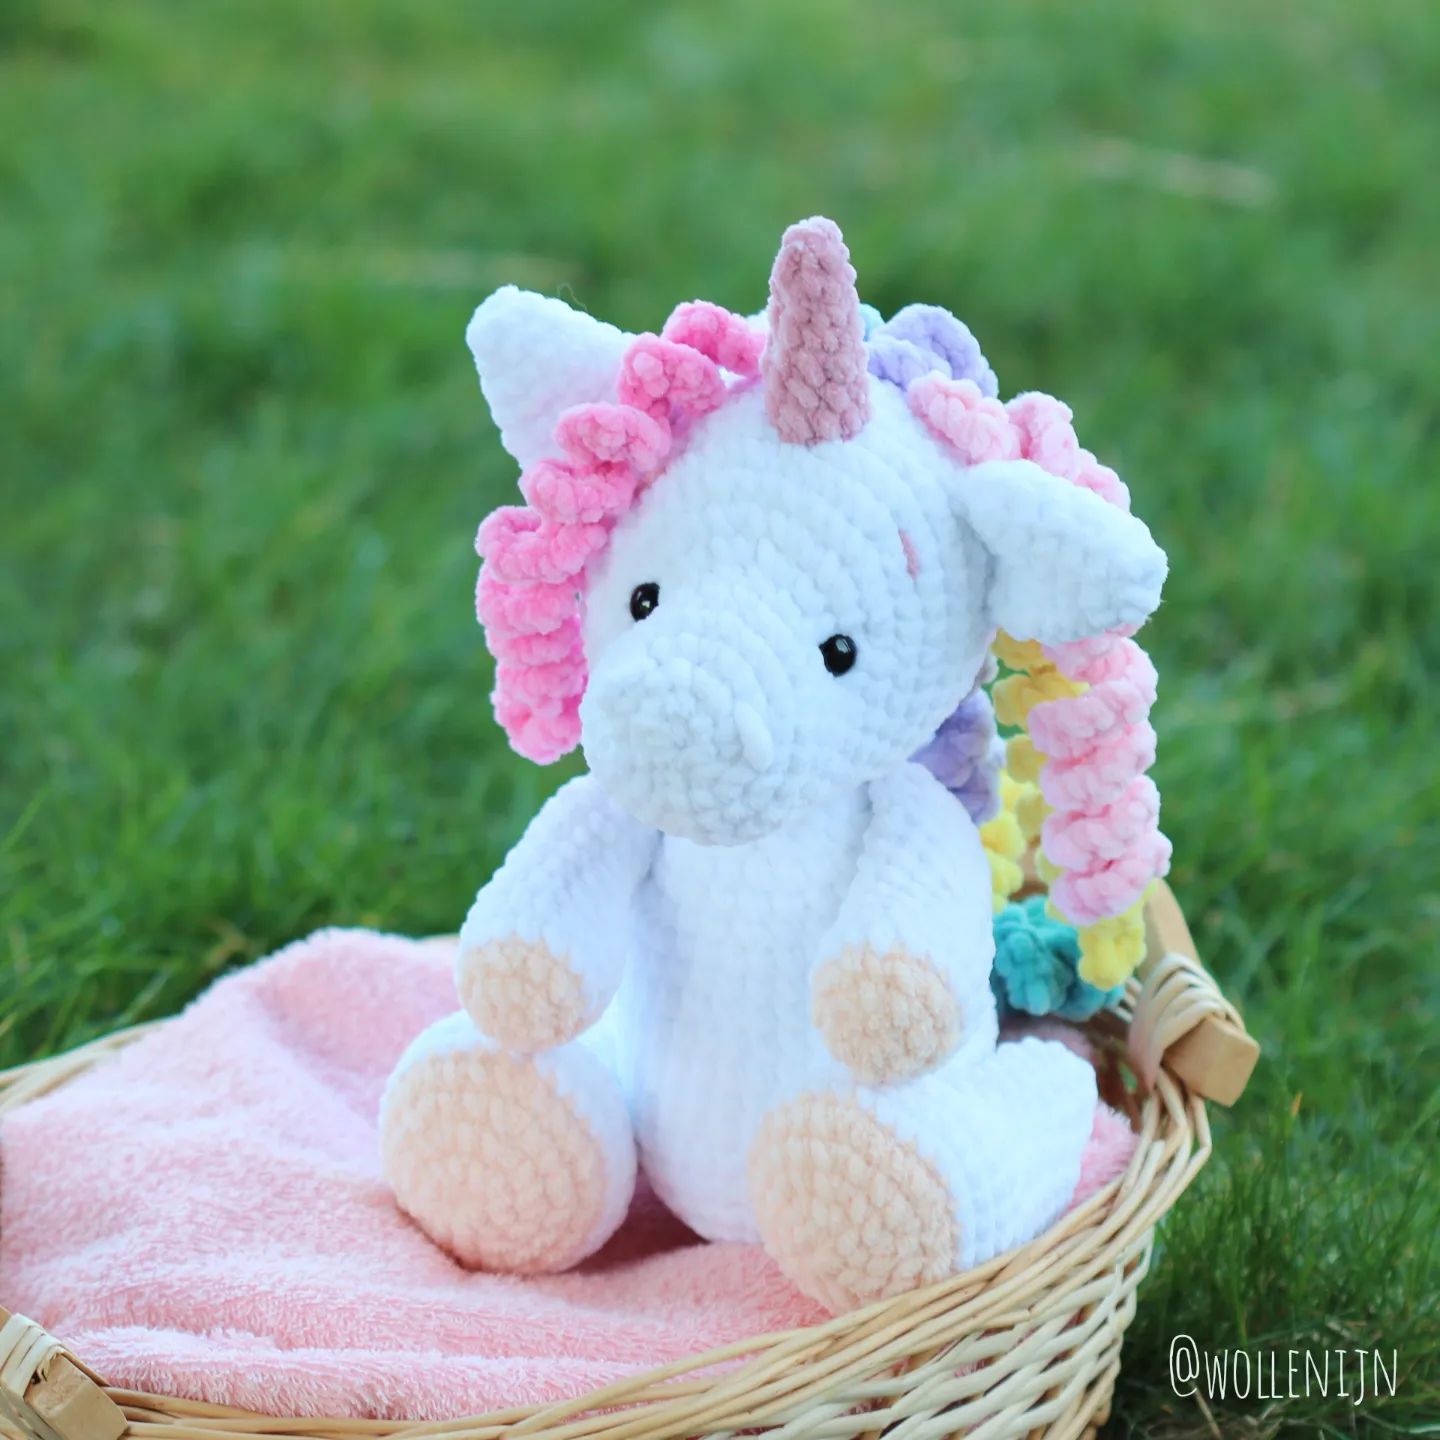
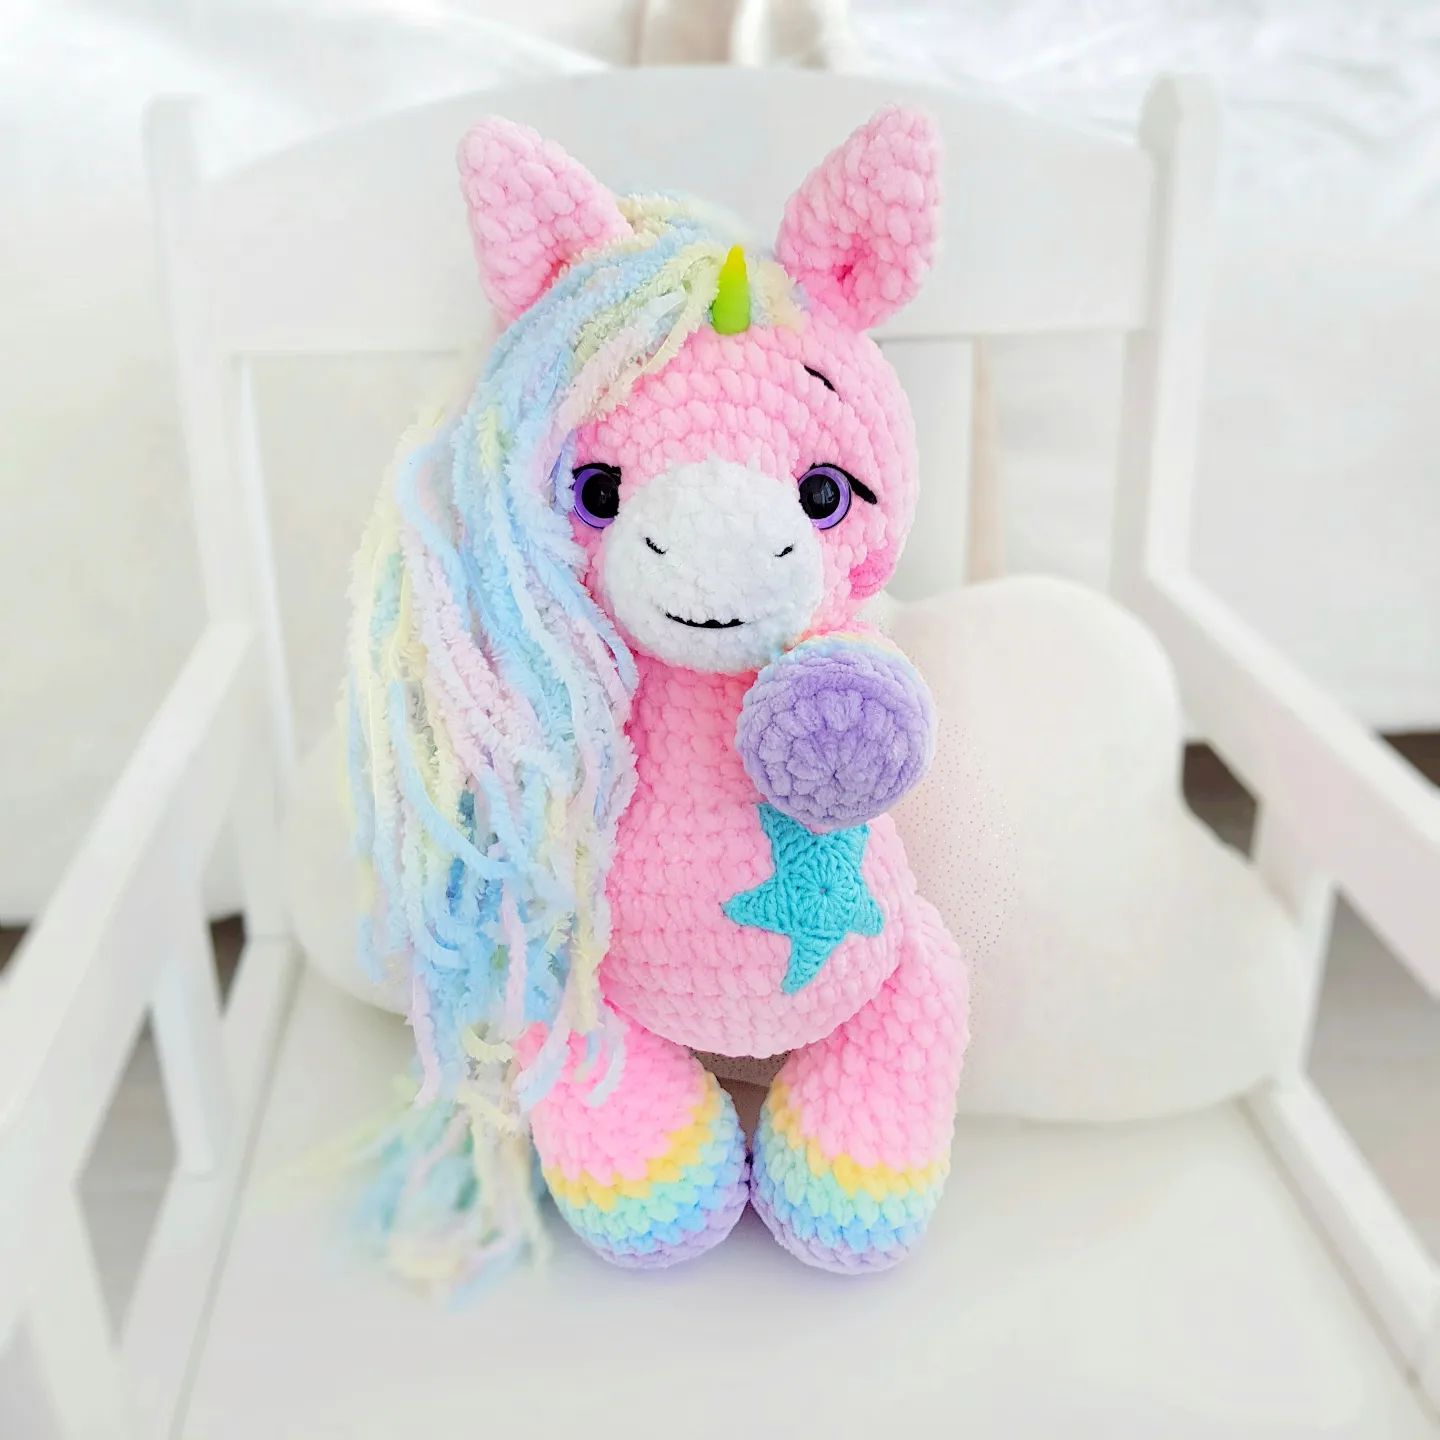
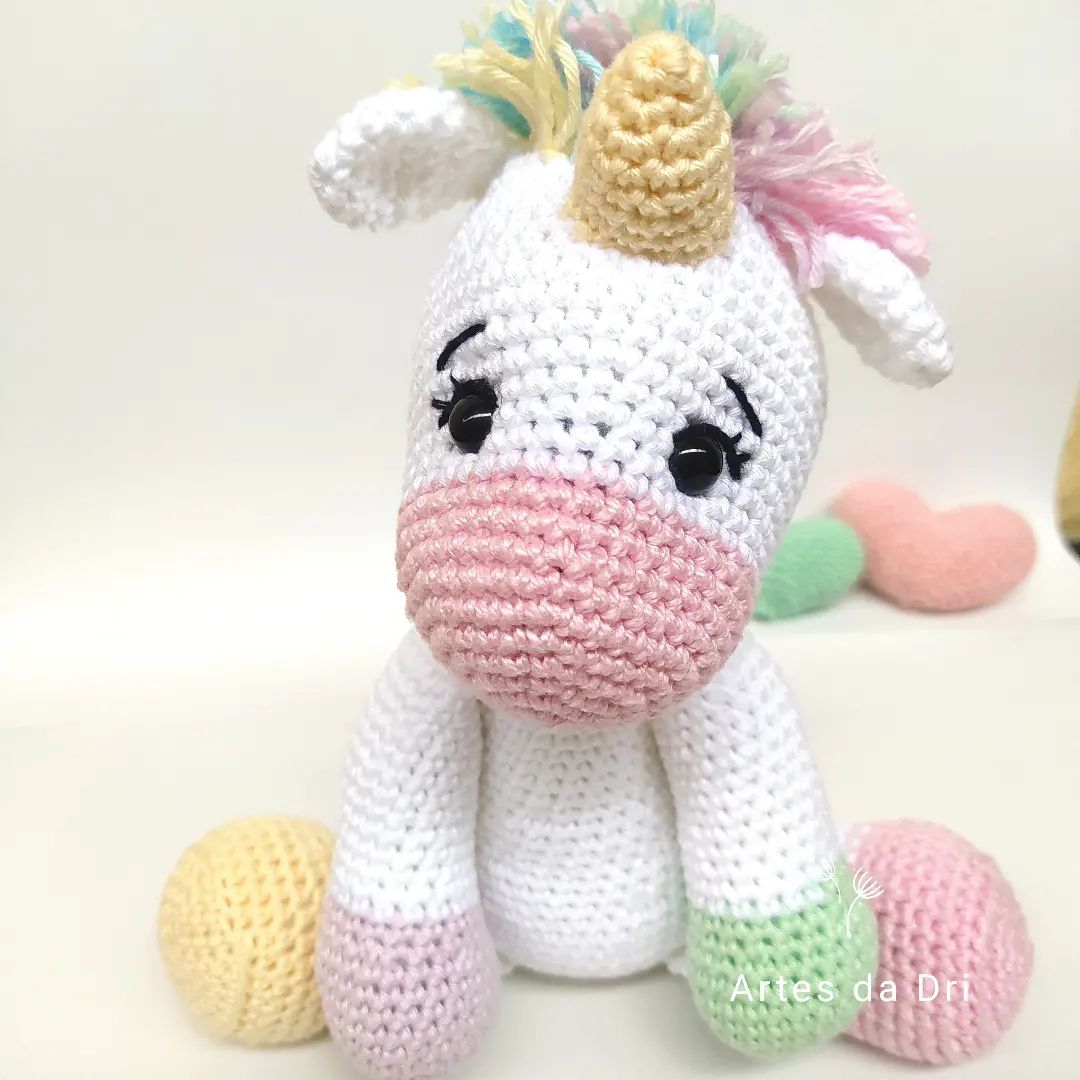
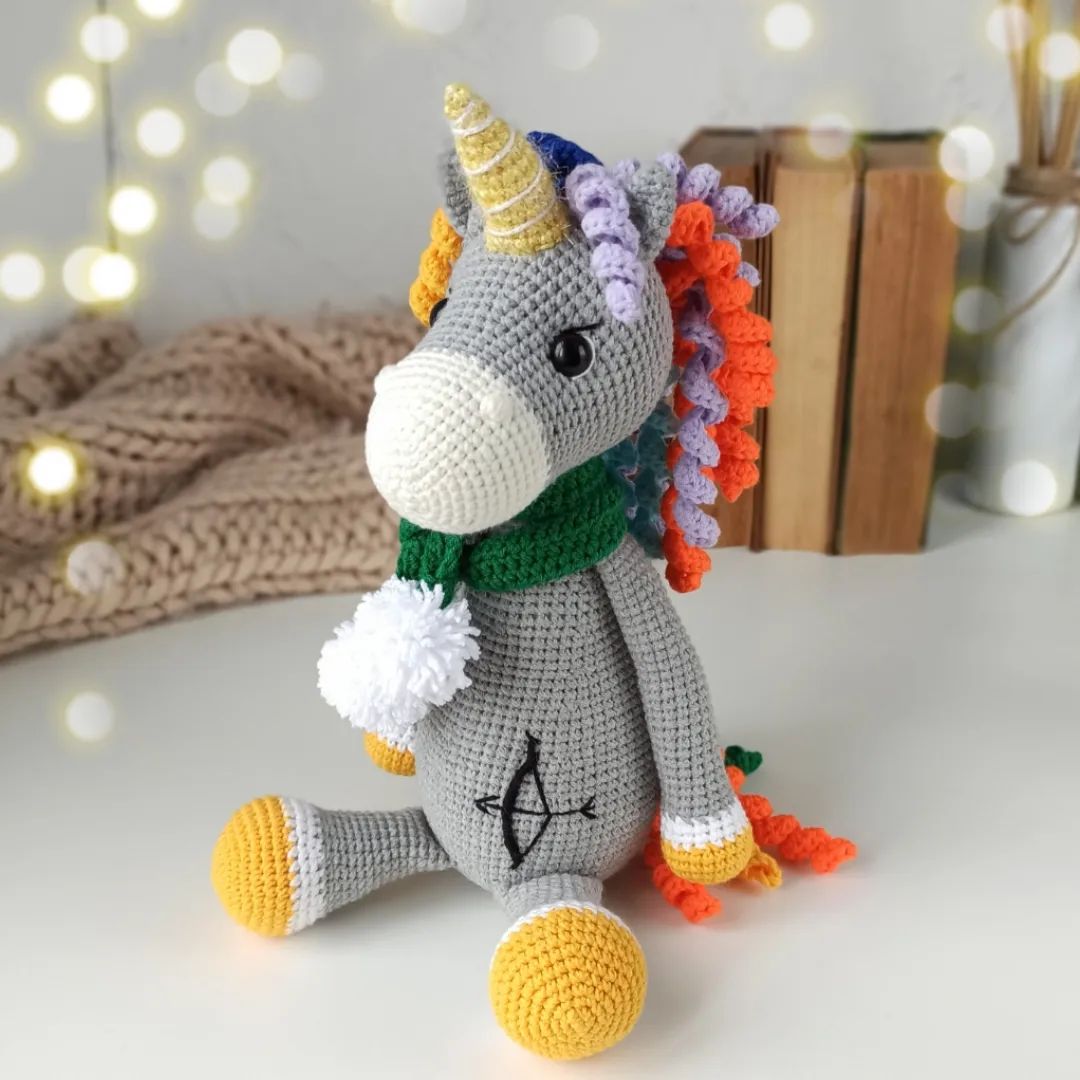
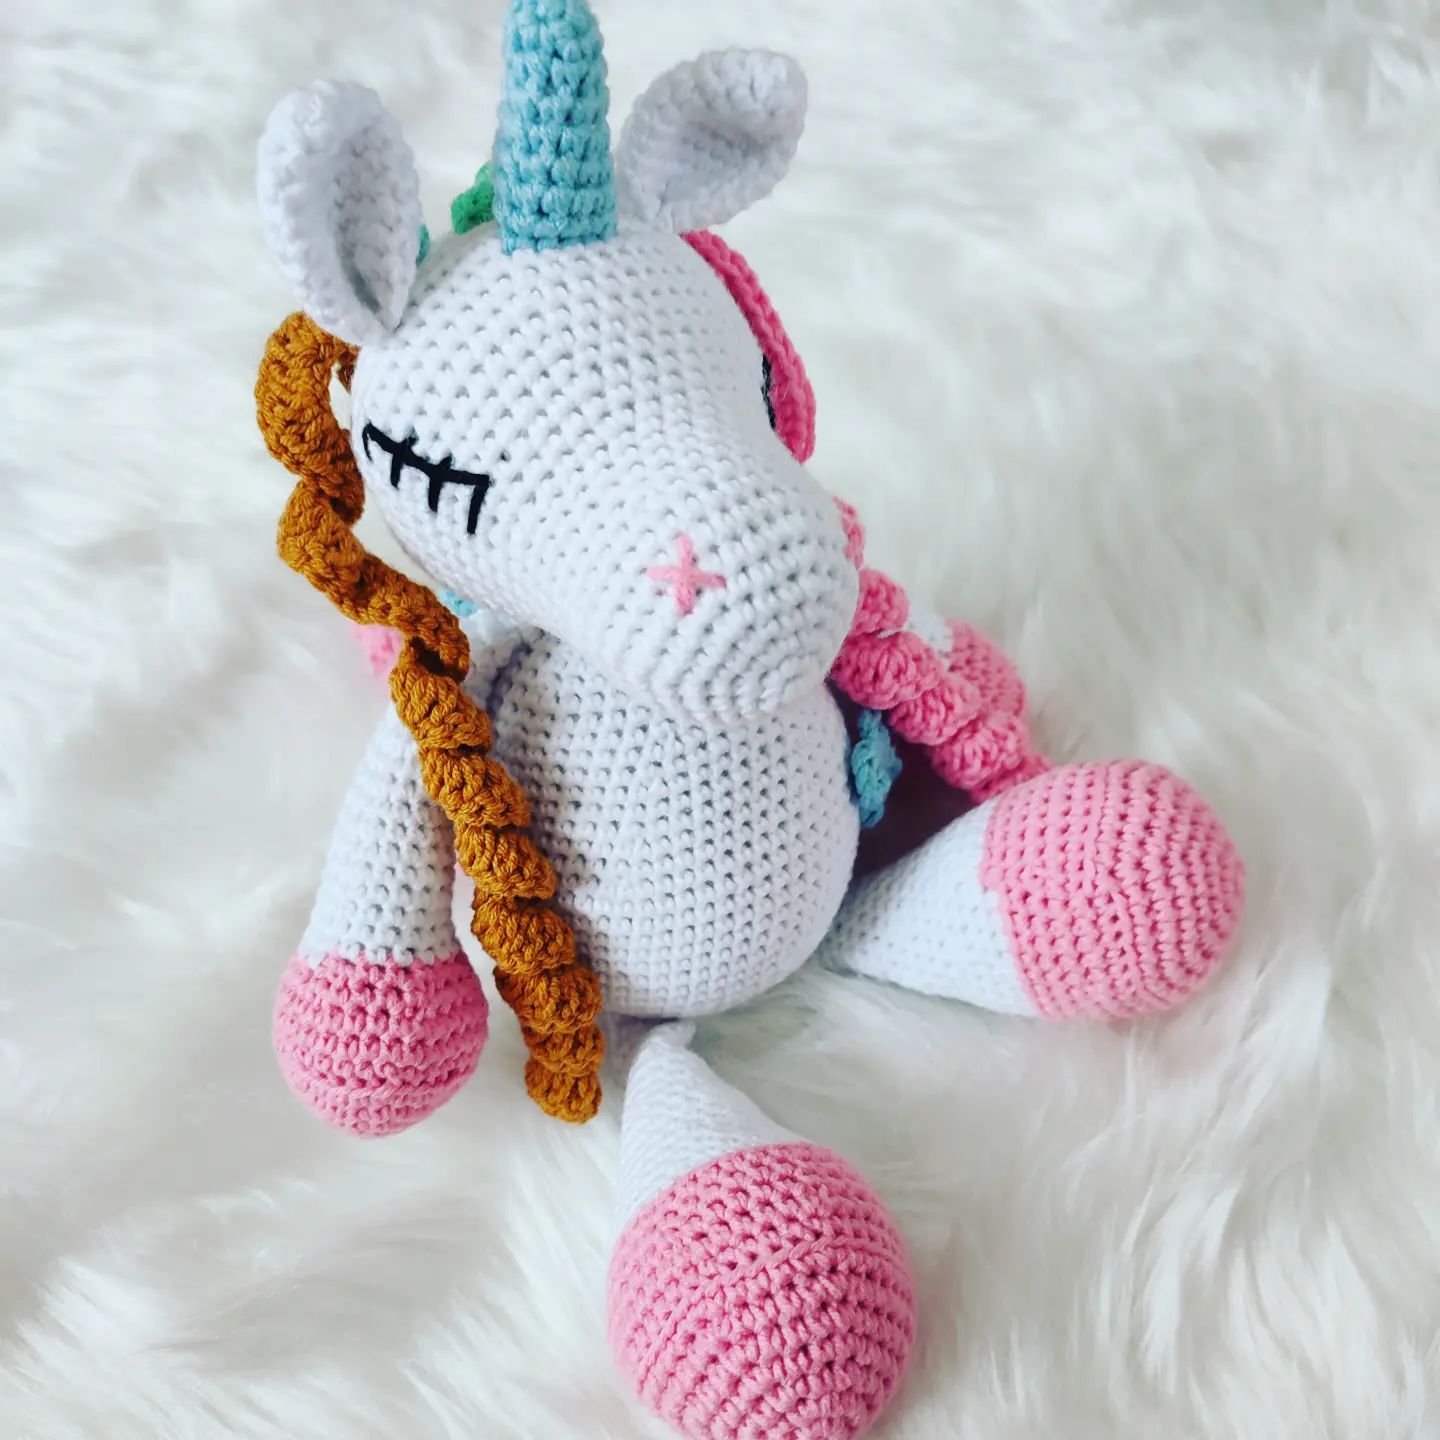
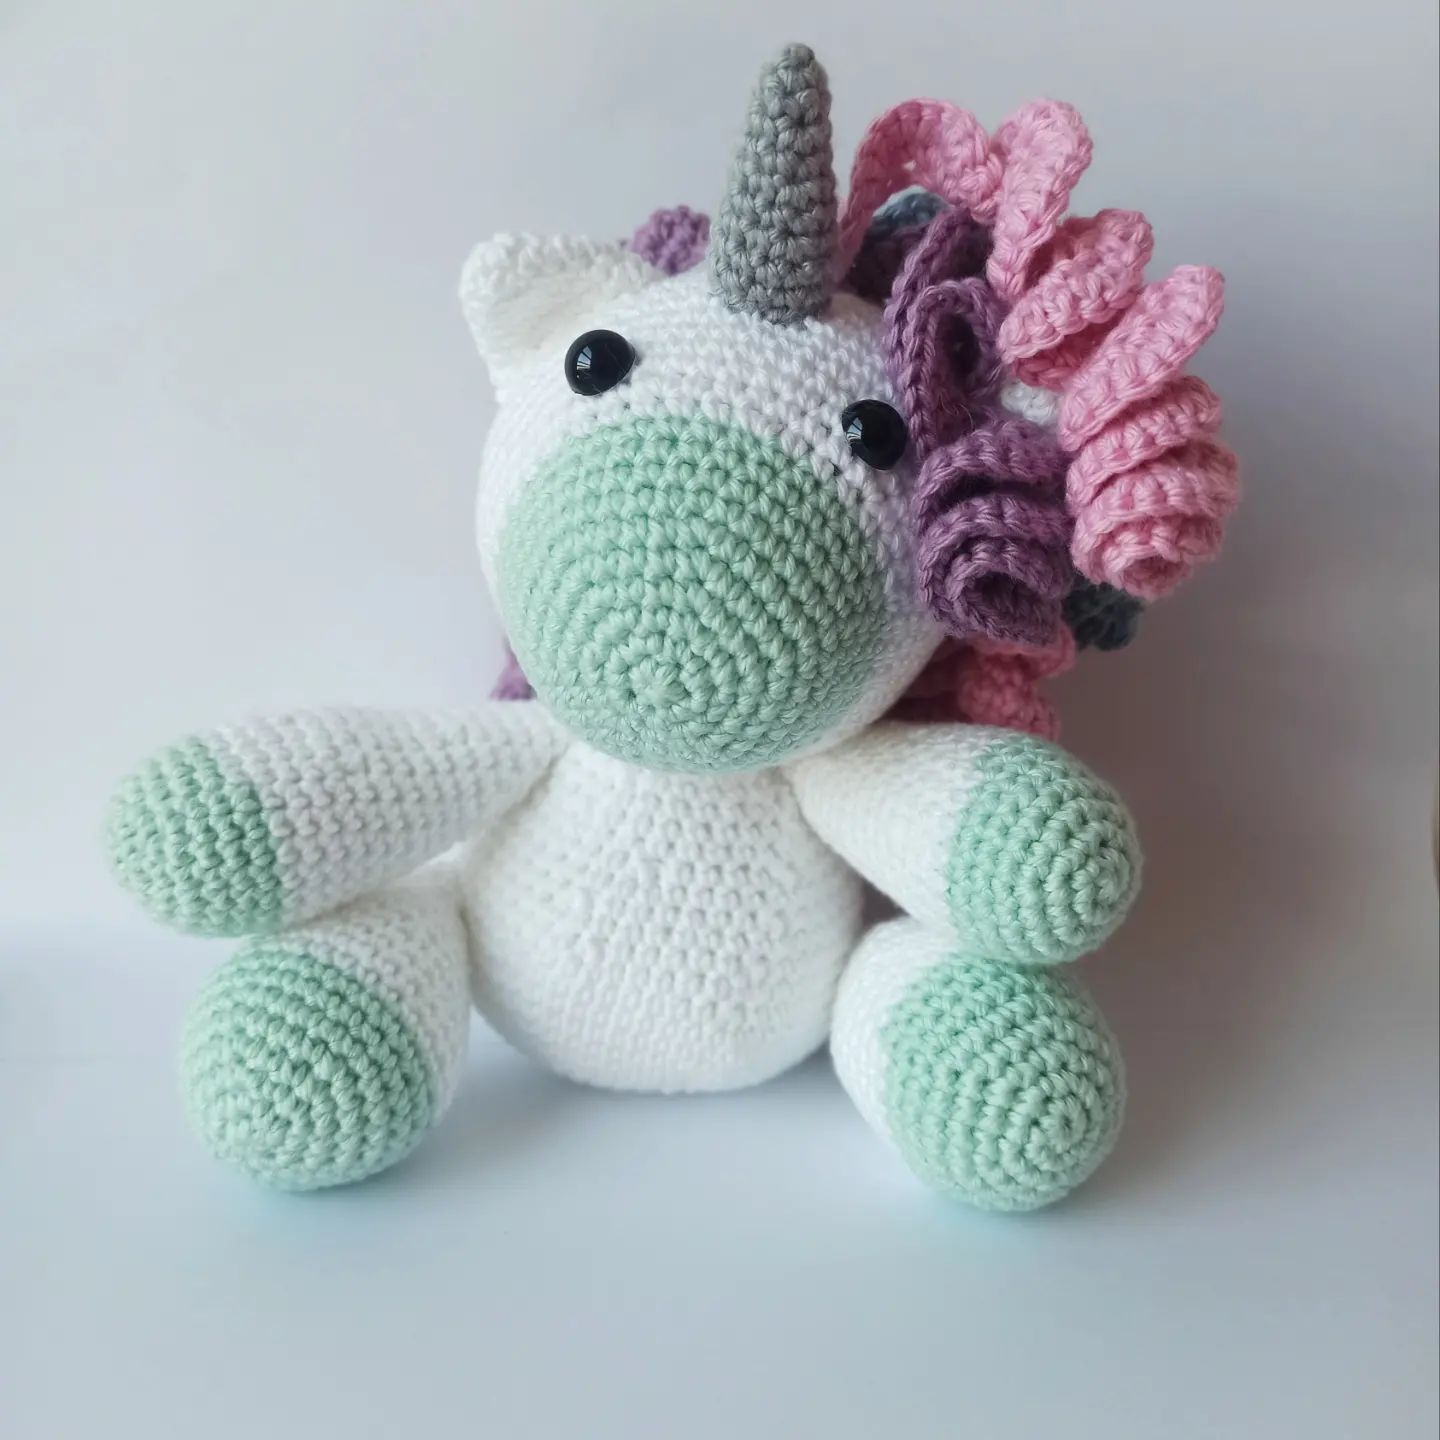
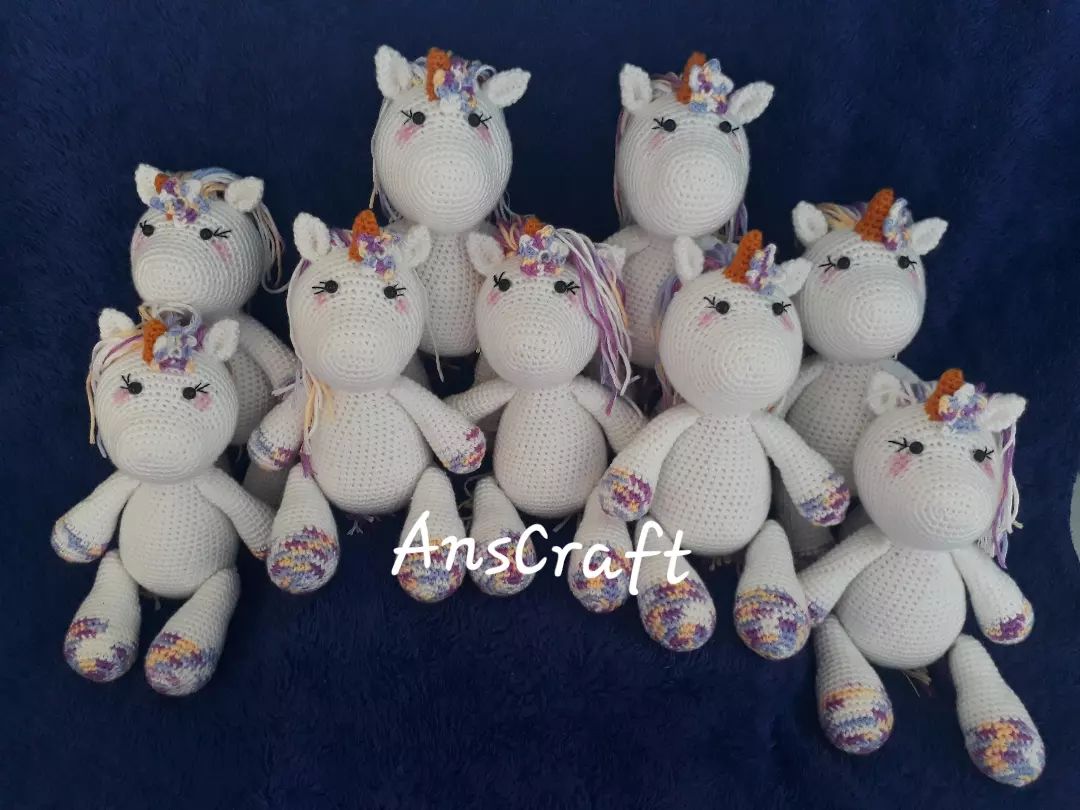
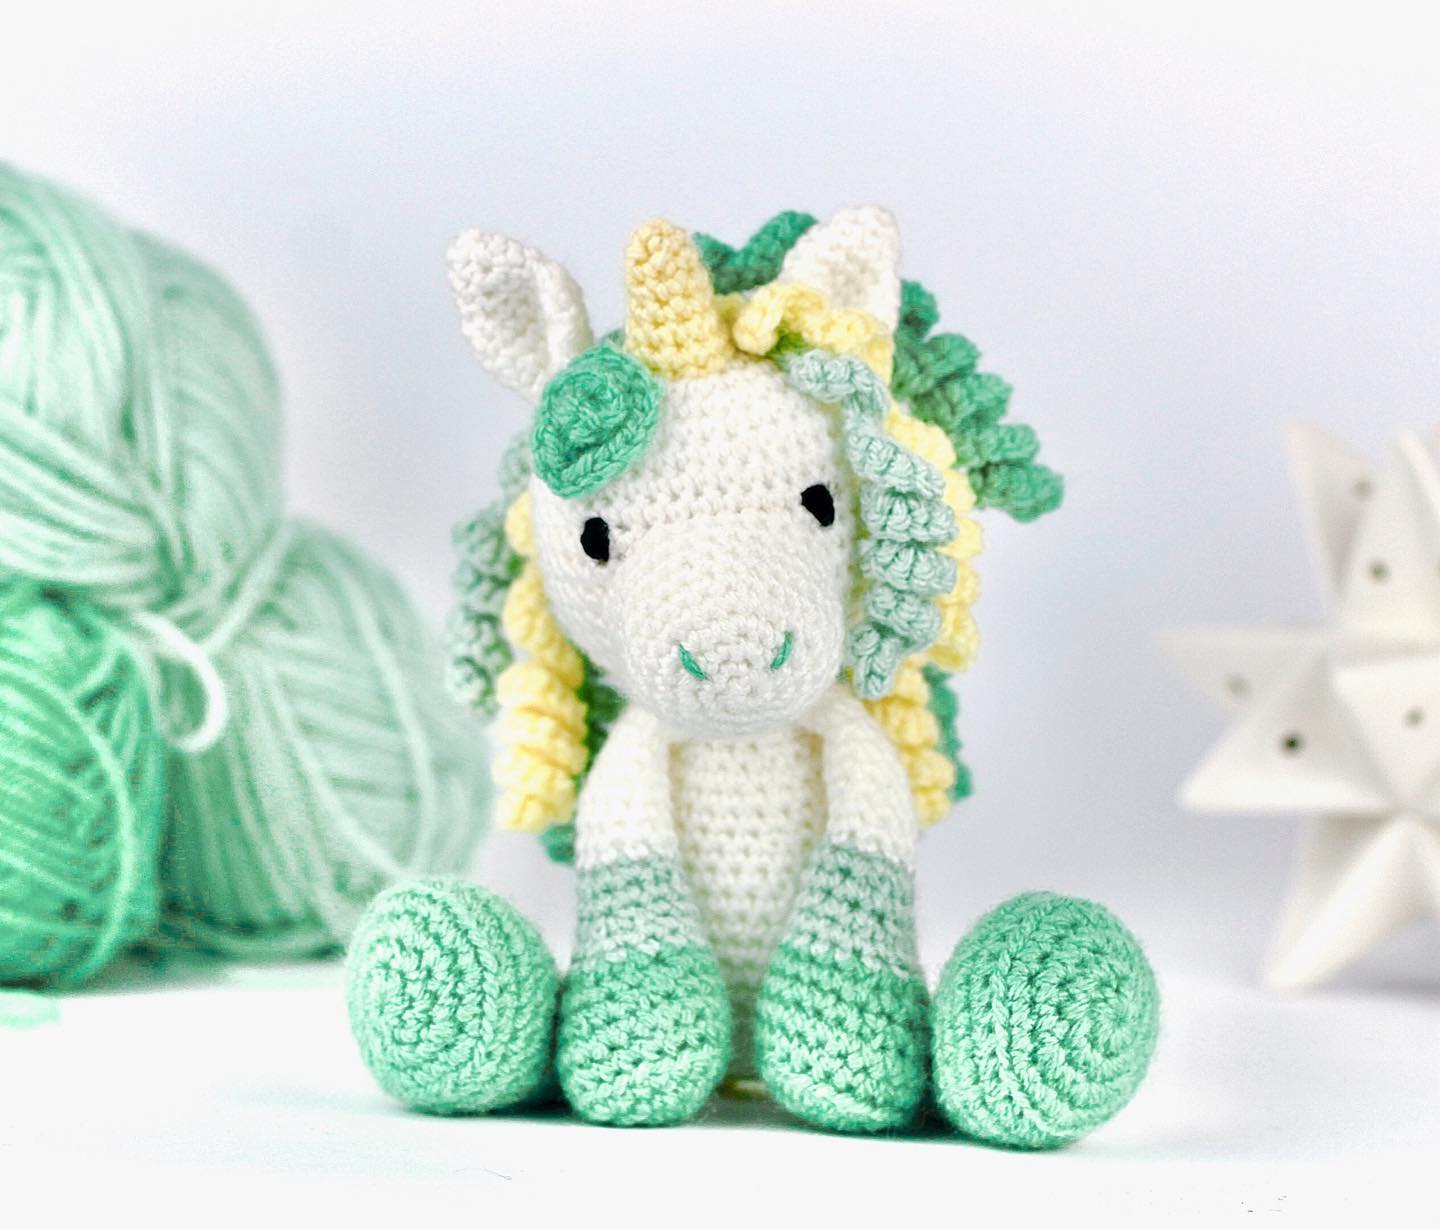
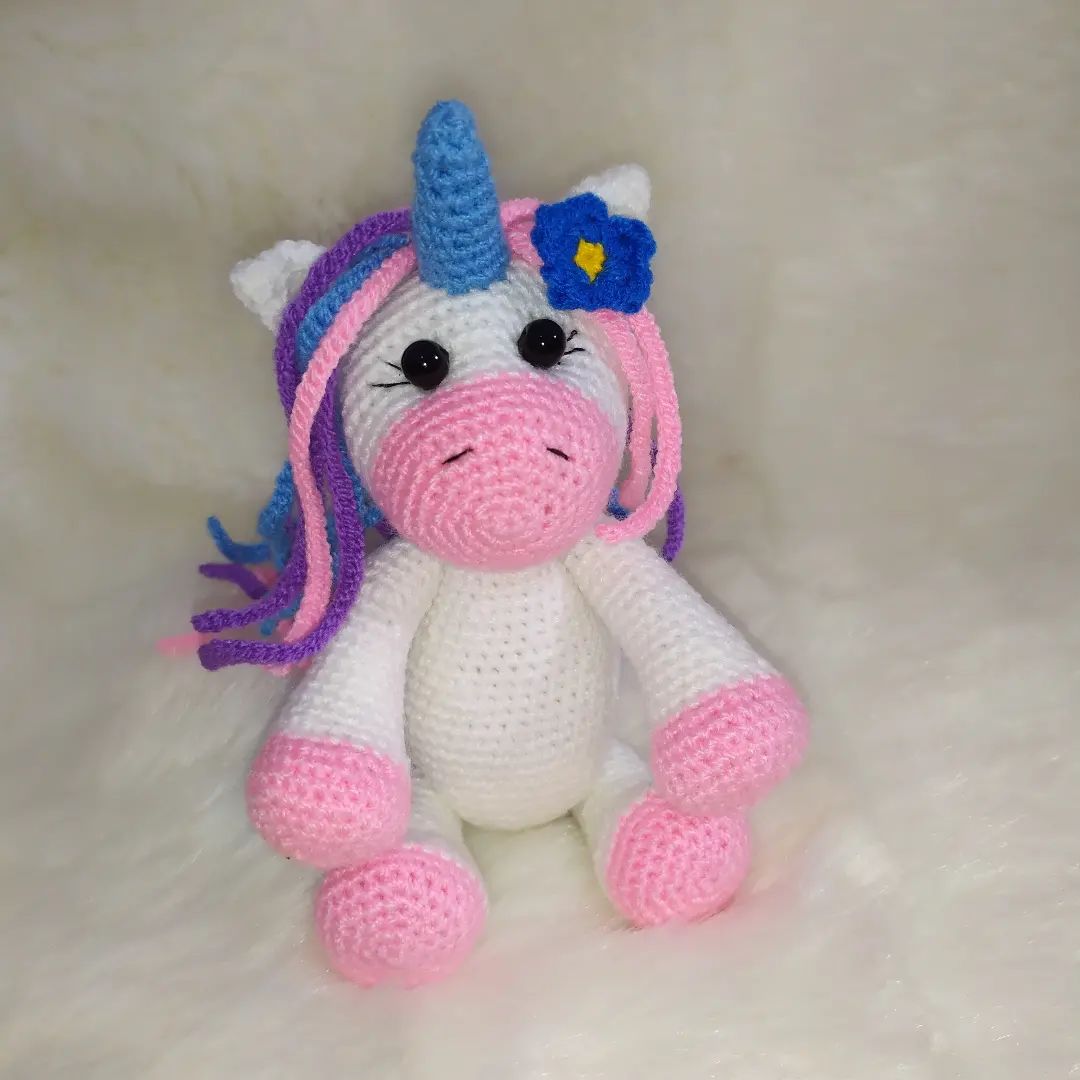
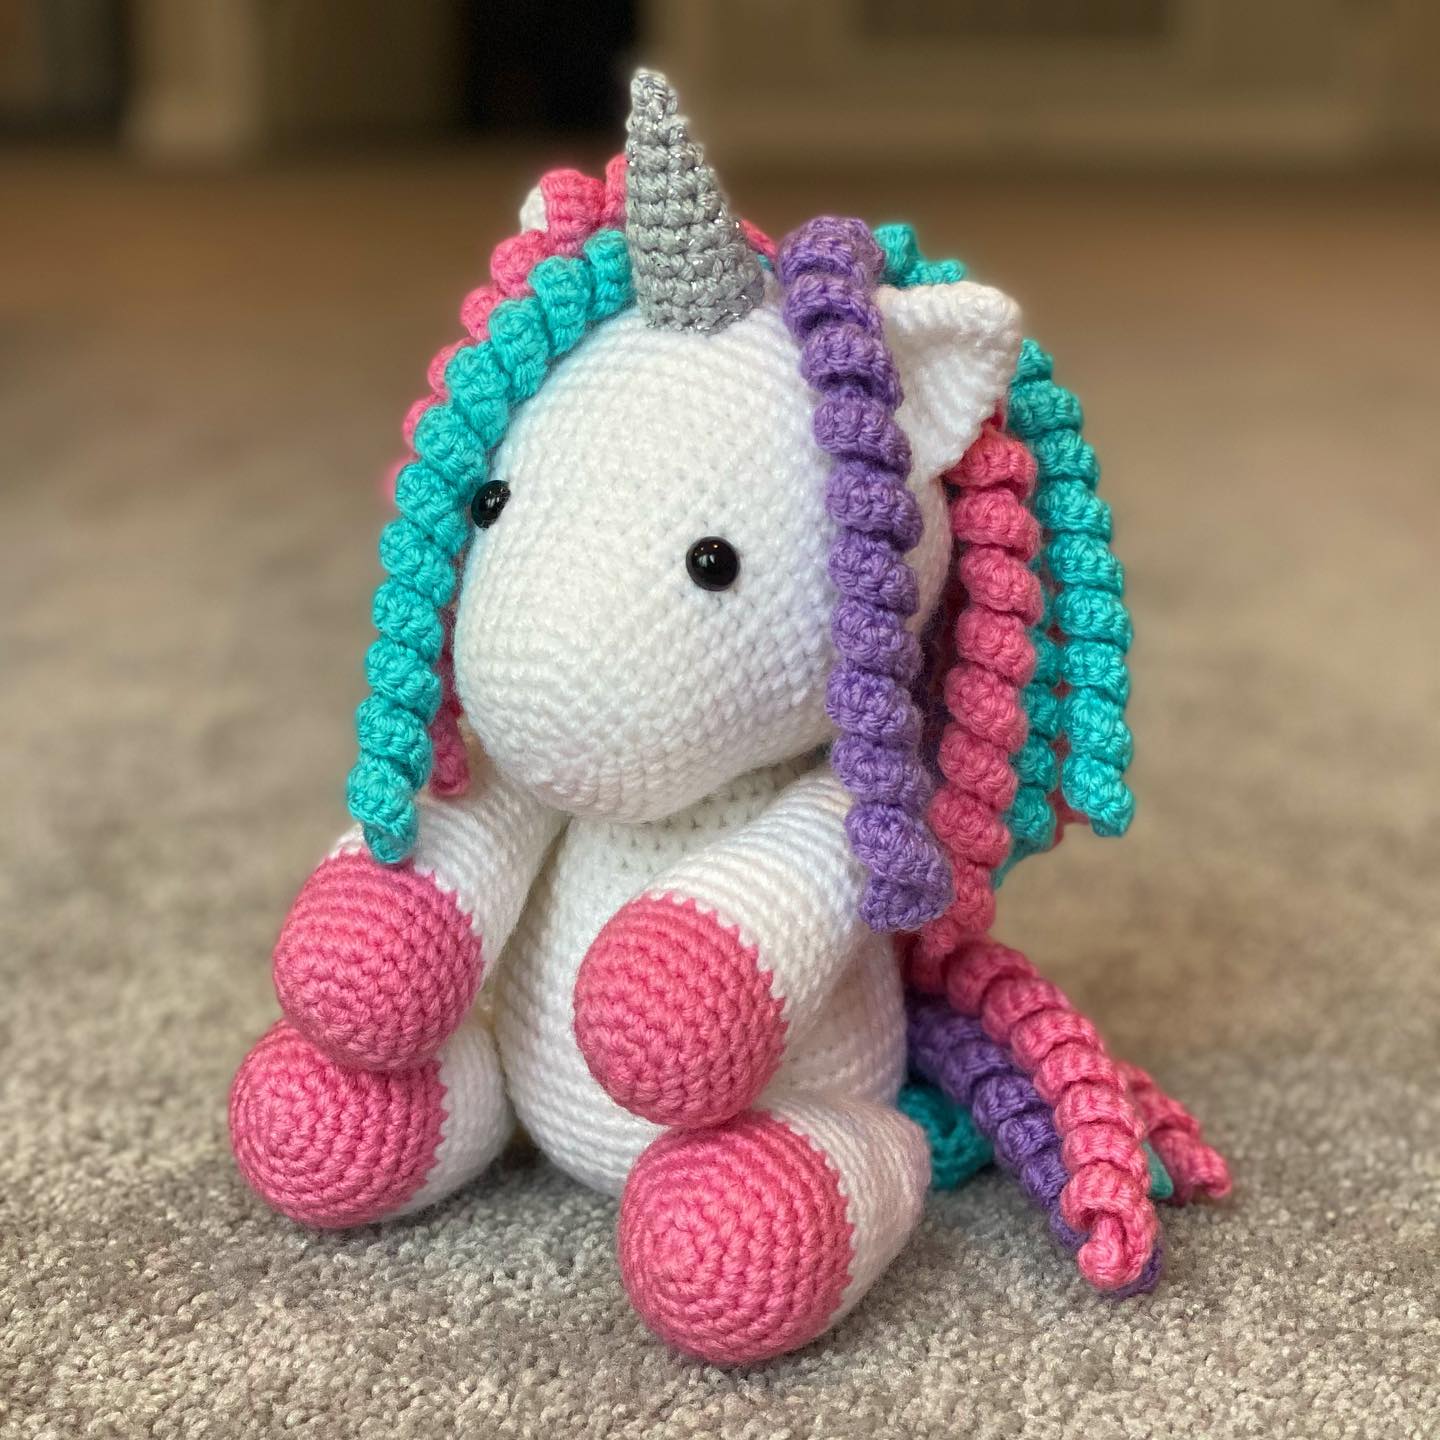
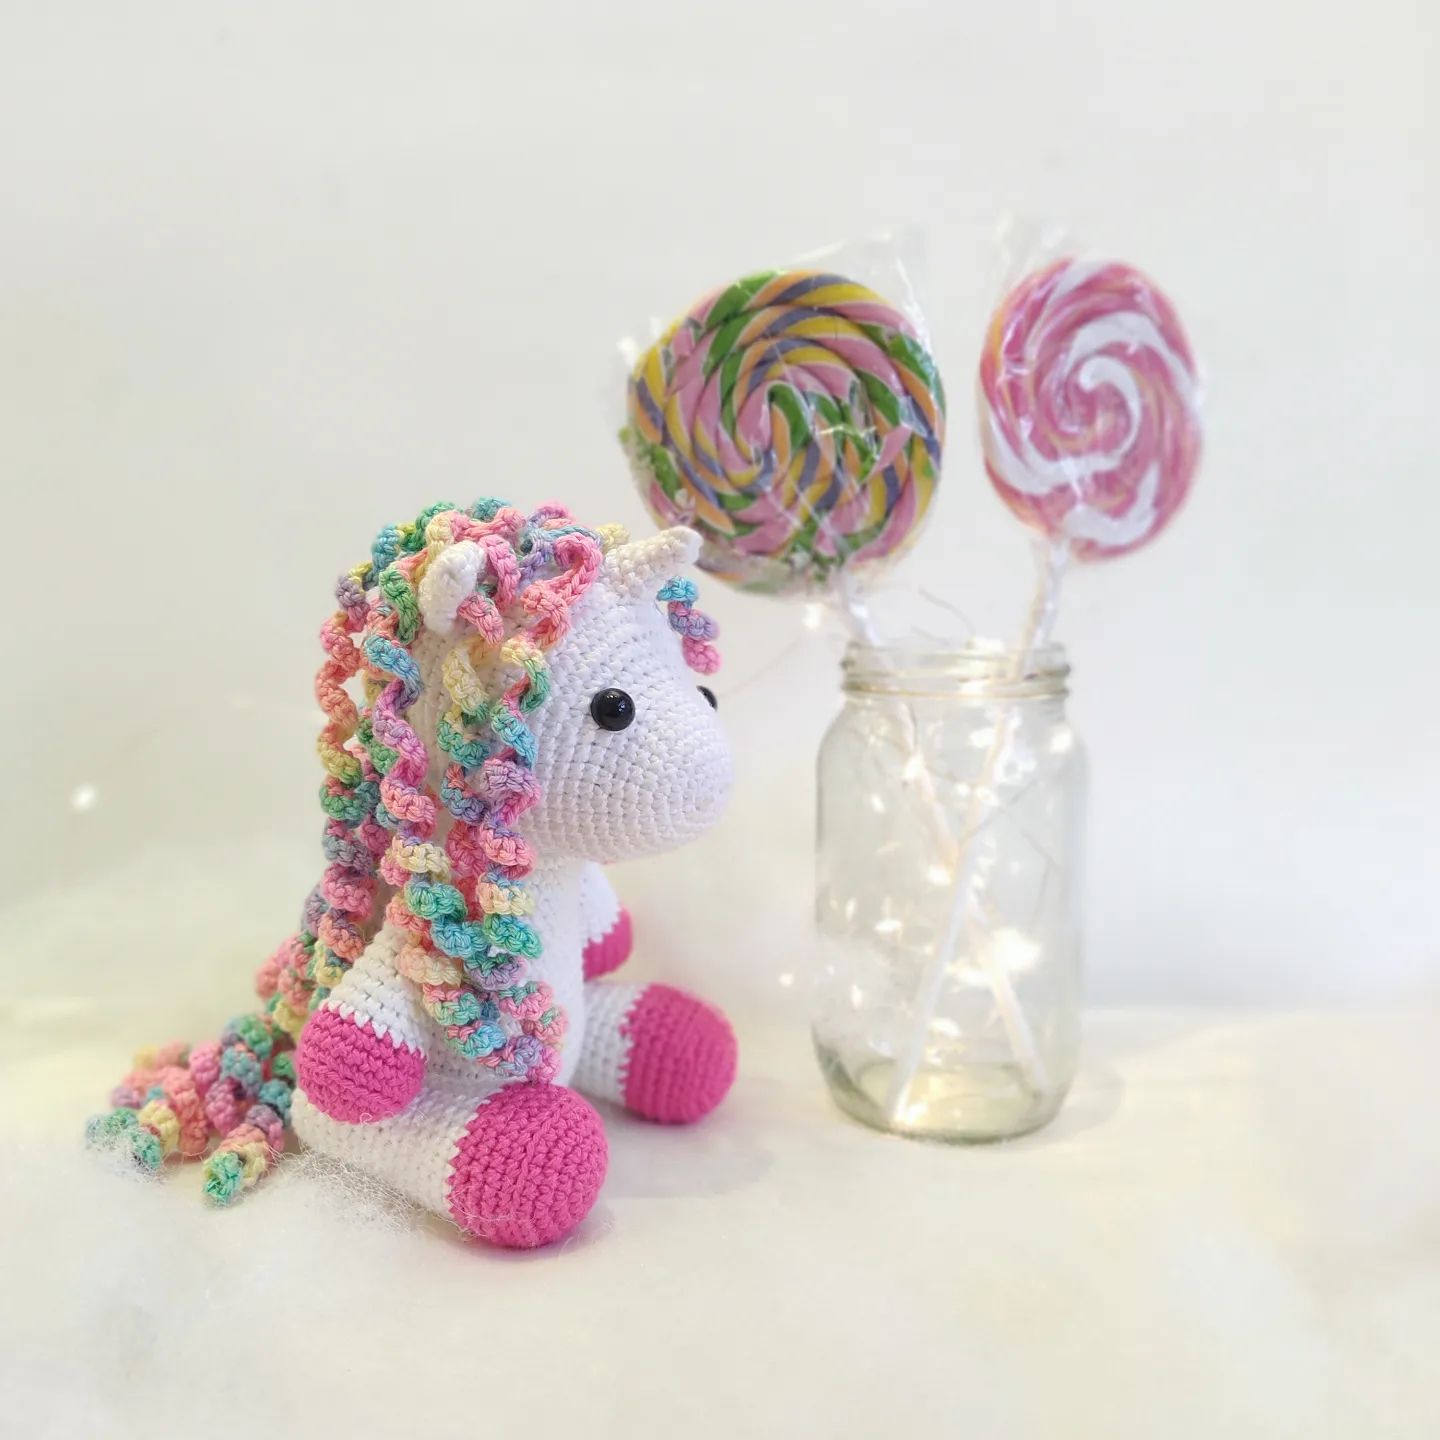
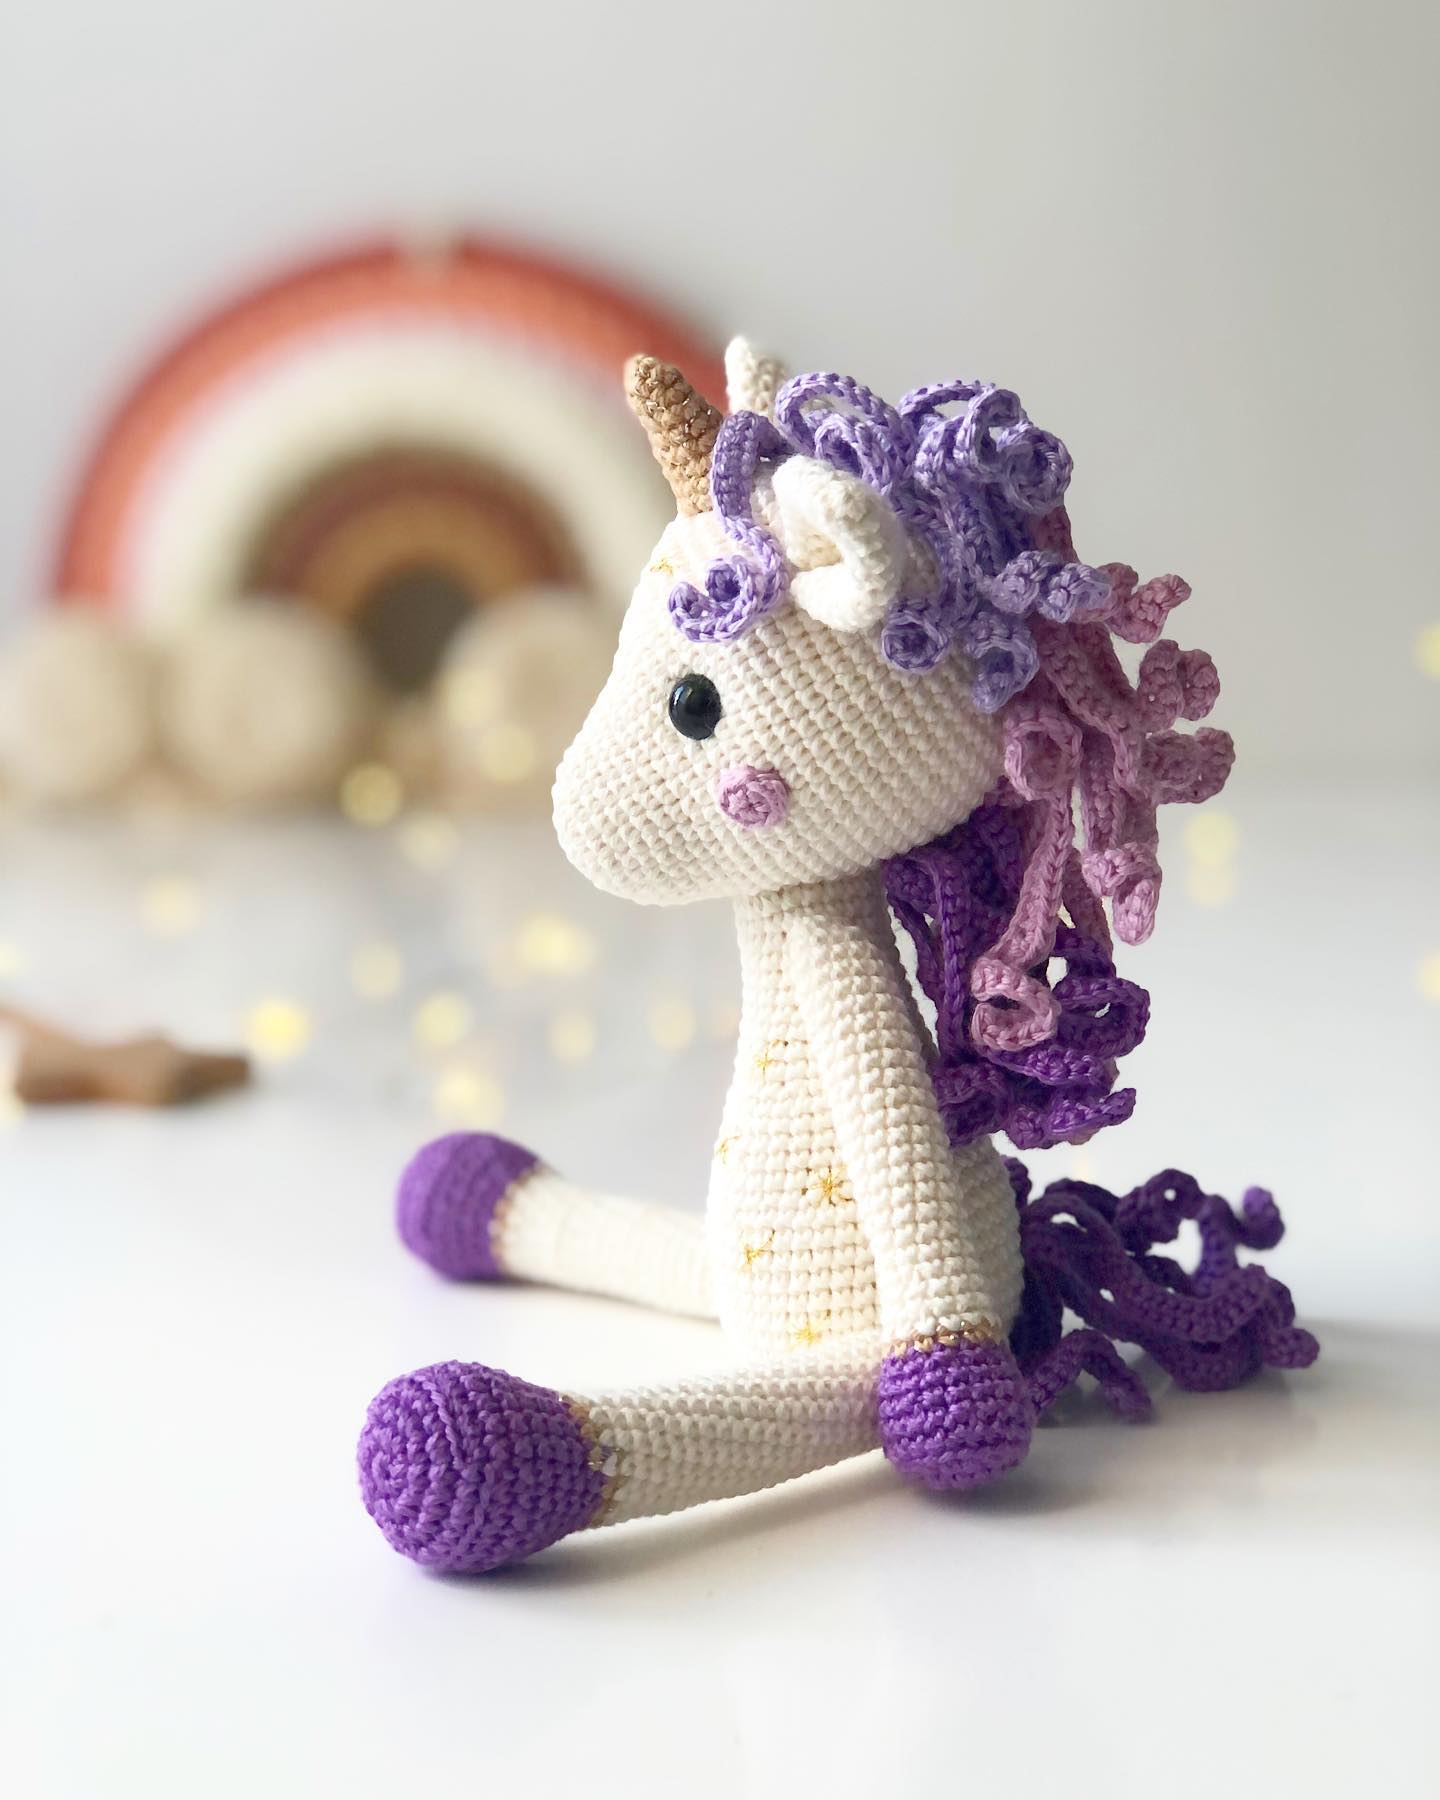
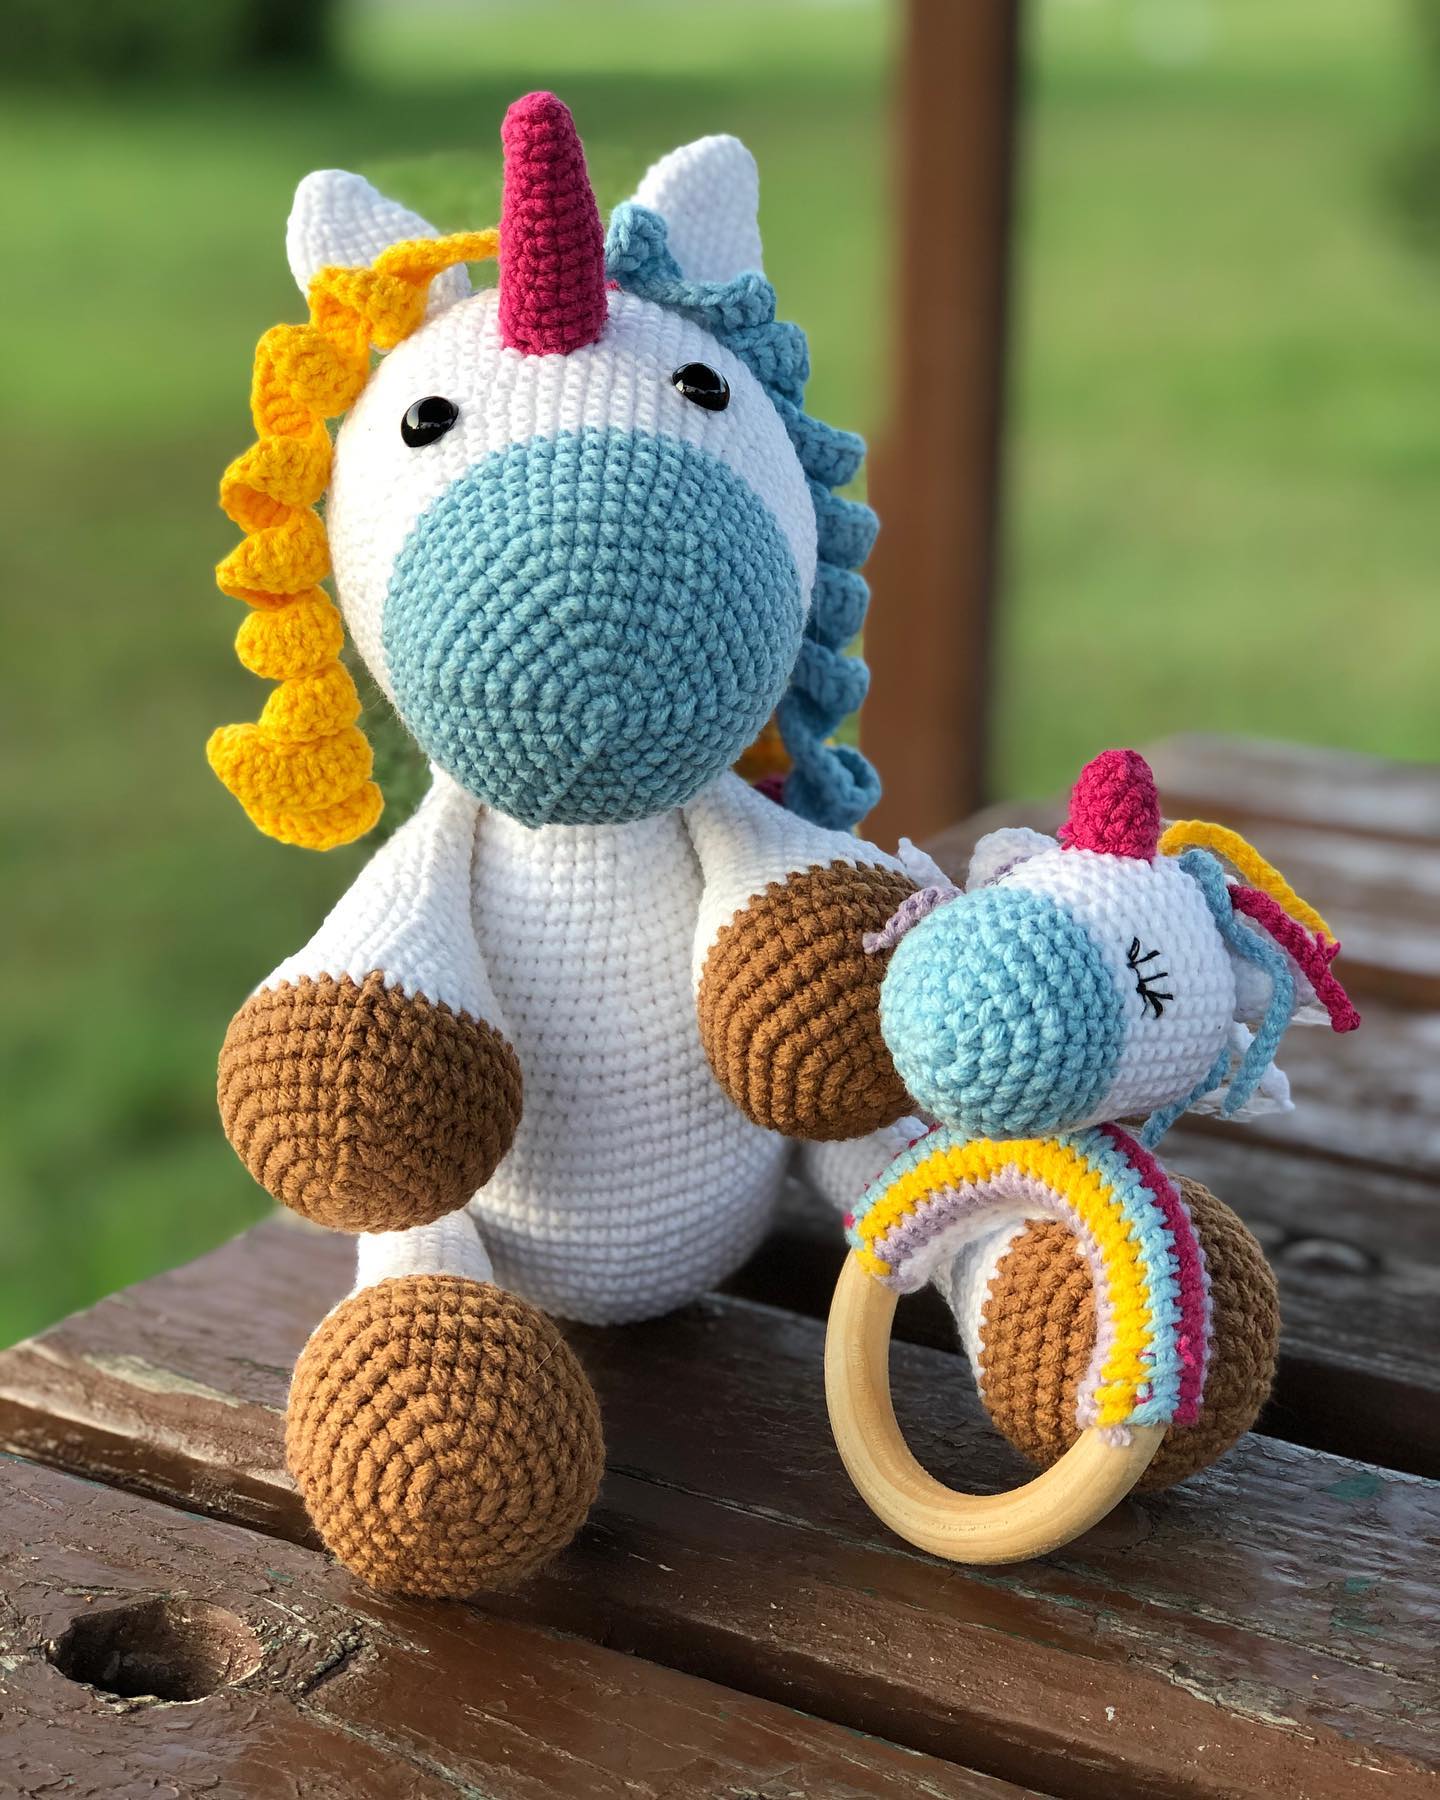
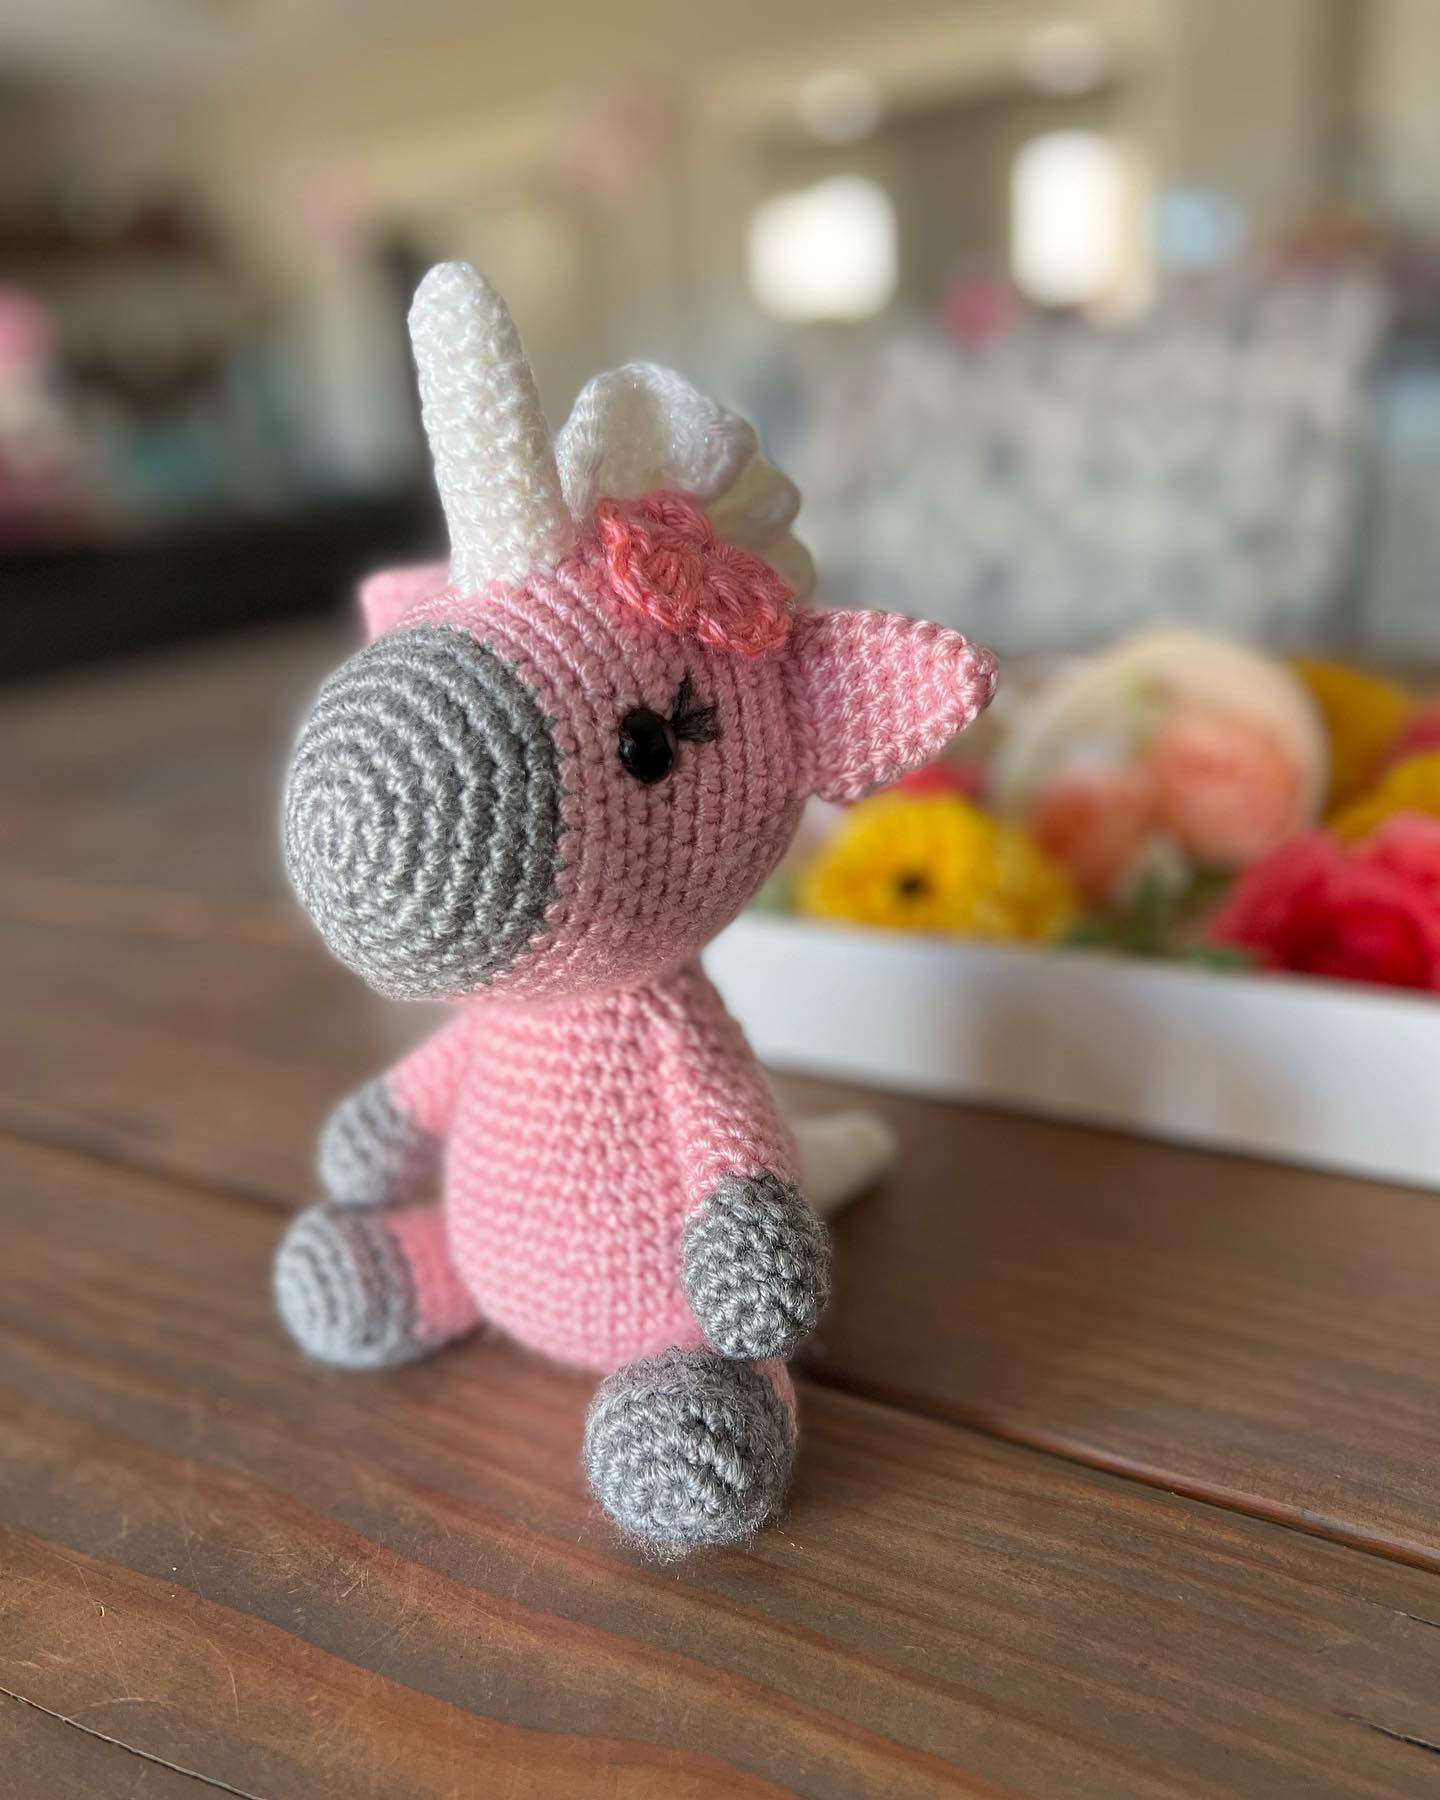
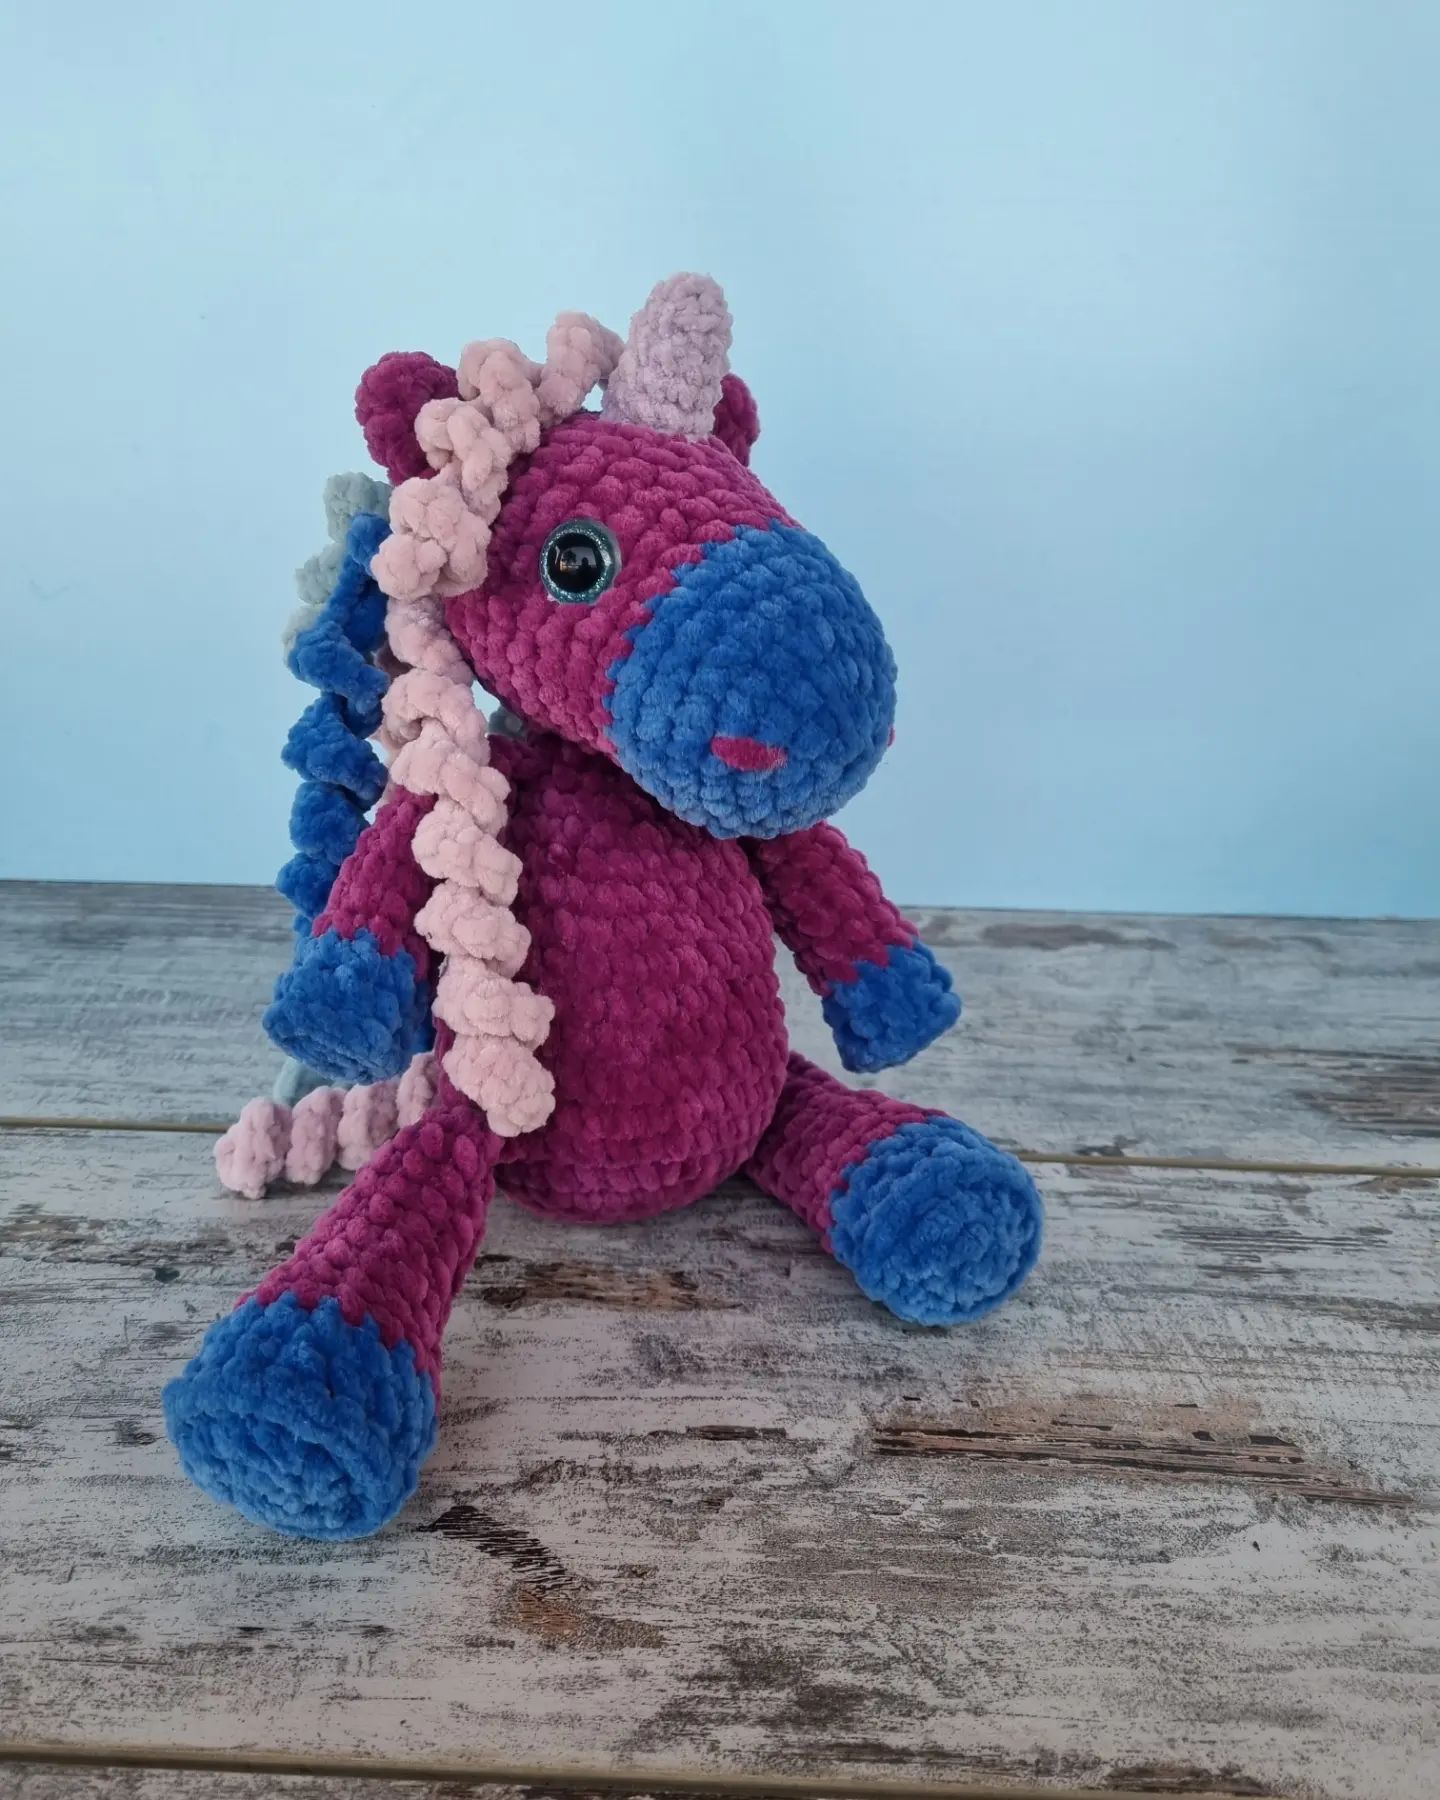
More Amigurumi Unicorn İdeas